Loading ...
Loading ...
Loading ...
17SECTION 4 — PRODUCT CARE
7. The engine is equipped with a twist-
and-pull drain port. Turn the oil drain
valve ⁄-turn counter-clockwise, then pull
outward to begin draining oil. After the
oil has finished draining, push the end of
the oil drain valve back in and turn ⁄turn
clockwise to secure it back in place Re-cap
the end of the oil drain valve to keep debris
from entering the drain port
7. Replace the oil filter, and refill the engine
with new oil as instructed in the engine
operator’s manual.
Note: Place an absorbent towel beneath the
oil filter to keep oil off the clutch.
8. To refill the oil, close the oil drain and refer
to the engine operator’s manual for refilling
instructions, oil type and amount.
Note : Maintenance, repair, or replacement
of the emission control devices and systems
which are being done at owner’s expense
may be performed by any engine repair
establishment or individual. Warranty
repairs must be performed by an
authorized service dealer.
Cleaning the Tractor
Any fuel or oil spilled on the machine should
be wiped off promptly. Do NOT allow debris to
accumulate around the cooling fins of the engine,
the transmission’s cooling fan or on any other part
of the machine.
Smart Jet
Your tractor’s deck is equipped with a water port
on its surface as part of its deck wash system.
Use the Smart Jet to rinse grass clippings from
the deck’s underside and prevent the buildup of
corrosive chemicals. Complete the following steps
AFTER EACH MOWING:
1. Drive the tractor to a level, clear spot on
your lawn, near enough for your garden
hose to reach.
CAUTION
Make certain the tractor’s discharge chute is directed AWAY
from people, your house, garage, parked cars, etc.
2. Disengage the PTO, set the parking brake
and stop the engine.
3. Thread the hose coupler (packaged with
your tractor’s Operator’s Manual) onto the
end of your garden hose.
4. Attach the hose coupler to the water port
on your decks surface. See Figure 4-2.
Figure 4-2
5. Turn the water on.
6. While sitting in the operator’s position on
the tractor, start the engine and place the
throttle lever in the FAST
position.
7. Move the tractor’s PTO into the engaged
(ON) position.
8. Remain in the operator’s position with
the deck engaged for a minimum of two
minutes, allowing the underside of the deck
to thoroughly rinse.
9. Move the tractor’s PTO into the disengaged
(OFF) position.
10. Turn the ignition key to the STOP
position to turn the tractor’s engine off.
11. Turn the water off and detach the hose coupler
from the water port on your deck’s surface.
Note: On 50” and 54” decks there are two
water ports; one on each side of the deck.
12. After cleaning your deck with the Smart Jet
system, return to the operator’s position and
engage the PTO. Keep the deck running for
a minimum of two minutes, allowing the
underside of the deck to thoroughly dry.
Lubrication
WARNING
Before lubricating, repairing, or inspecting, always disengage
the PTO, set the parking brake, stop the engine and remove the
key to prevent unintended starting.
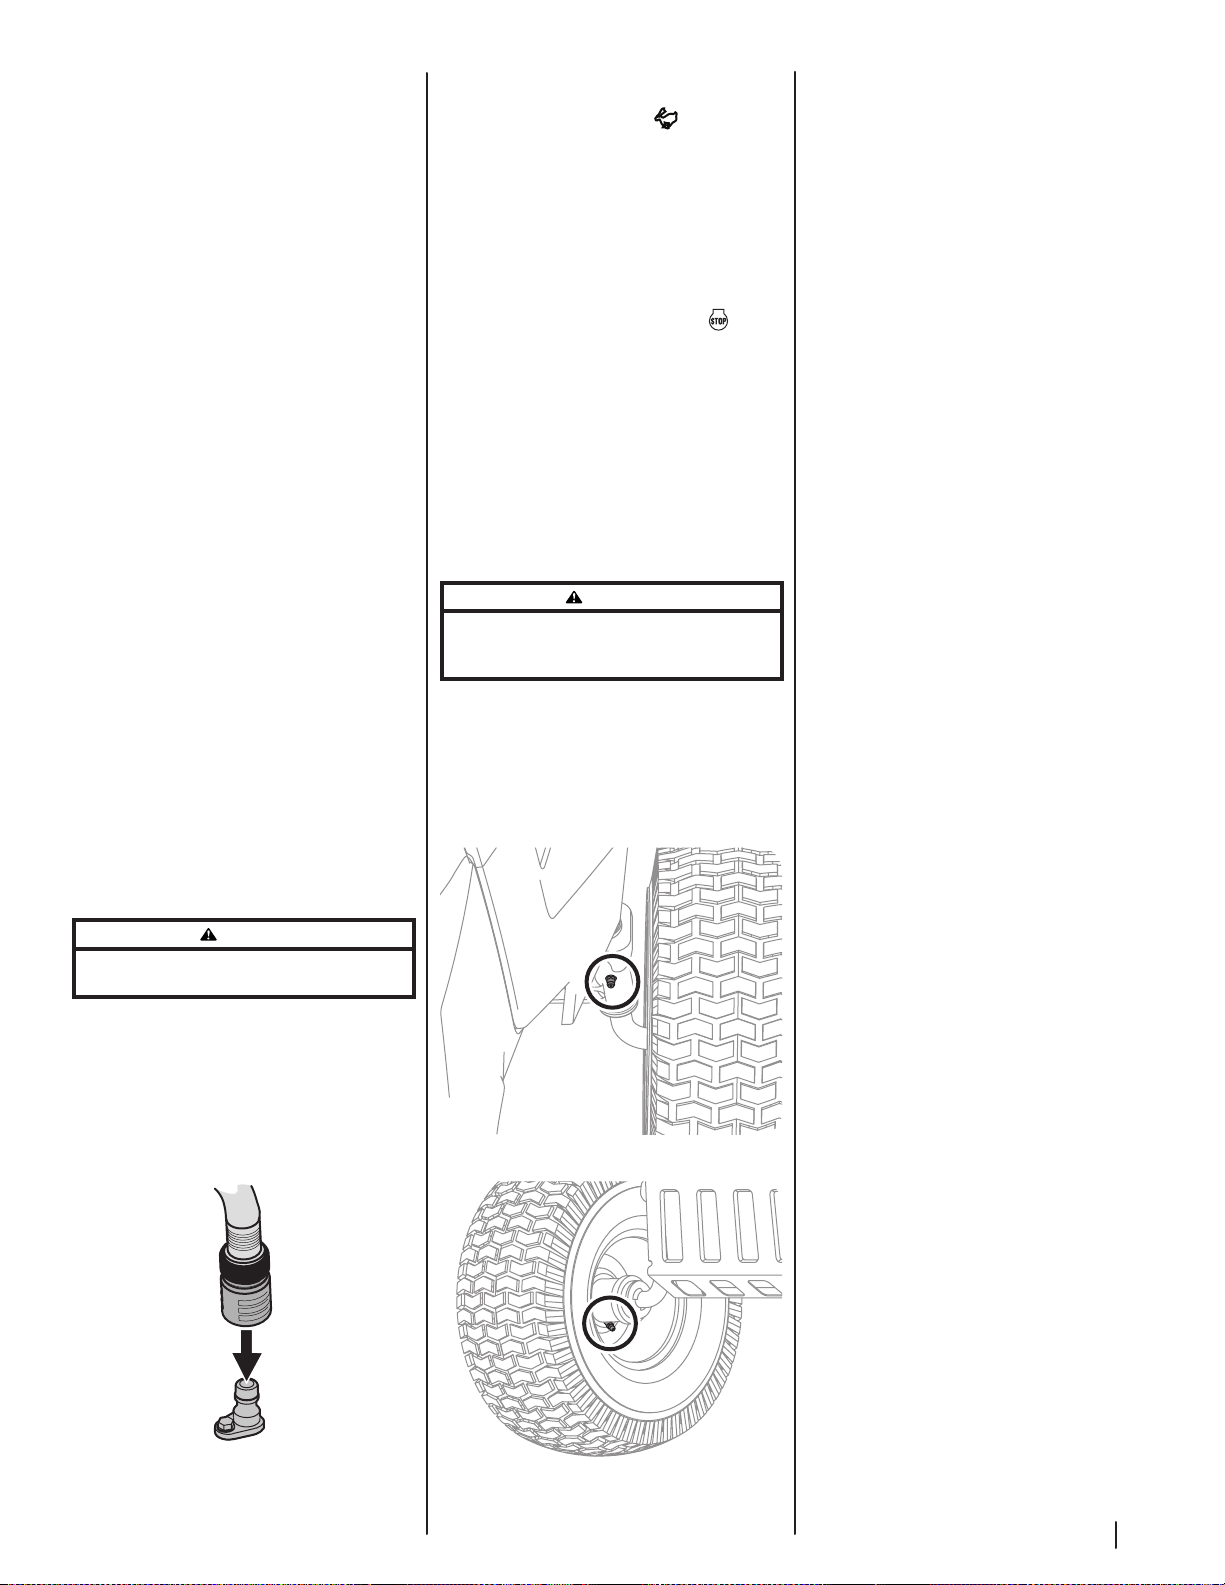
Front Wheels
Each of the front wheel axles and rims is equipped
with a grease fitting. See Figure 4-3 for the location of
the grease fitting on the axles and Figure 4-4 for the
location of the grease fitting on the rims. Lubricate
with a No. 2 multi-purpose grease applied with a
grease gun after every 25 hours of tractor operation.
Figure 4-3
Figure 4-4
Deck Wheels
The wheels on the deck which are spherical shaped
(50” and 54” decks have 4) are equipped with a
grease fitting. Lubricate with a No. 2 multi-purpose
grease applied with a grease gun after every 25
hours of tractor operation.
Pivot Points & Linkage
Lubricate all the pivot points on the drive system,
parking brake and lift linkage at least once a
season with light oil.
Note: It is not necessary to grease the steering
pinion/sector gear interface. Doing so will allow dirt
to accumulate and can affect steering performance.
Hydrostatic Transmission
The hydrostatic transmission is sealed at the factory
and is maintenance-free. The fluid level cannot be
checked and the fluid cannot be changed.
Loading ...
Loading ...
Loading ...