Loading ...
Loading ...
Loading ...
Document No. NOV-MNL-104
COPYRIGHT ©2021 Novaerus, US
7
7. Instructions for Use
The product should be placed in a dry location and connected to a suitable
grounded outlet. The product is intended to be wall mounted or placed on a
stand. Please follow the wall mounting instructions included in this document.
Once the product is installed, turn the power switch to the on position. The
device is now operating and the blue light will be illuminated. The product
includes a fan speed switch to allow the product to be set on a slow or high
speed. Roman numeral I indicates slow speed, Roman numeral II indicates high
speed.
8. Wall Mounting Instructions
The mounting of this product shall be conducted by a person that is experienced
with the proper use of standard installation tools such as a drill, screw driver,
tape measure and level. The unit should be installed approximately two third’s up
the wall.
The product can be wall mounted using suitable fasteners for the corresponding
wall type. Fix the screws horizontally with a spacing of 7-1/8" (180 mm). Leave
the screw head protruding no more than 0.5" (12 mm) from the wall for hanging.
Ensure screws are tightly secured into the wall and a solid connection is made
between the screws and the unit. Ensure the product is level. Follow these
instructions depending upon mounting surface:
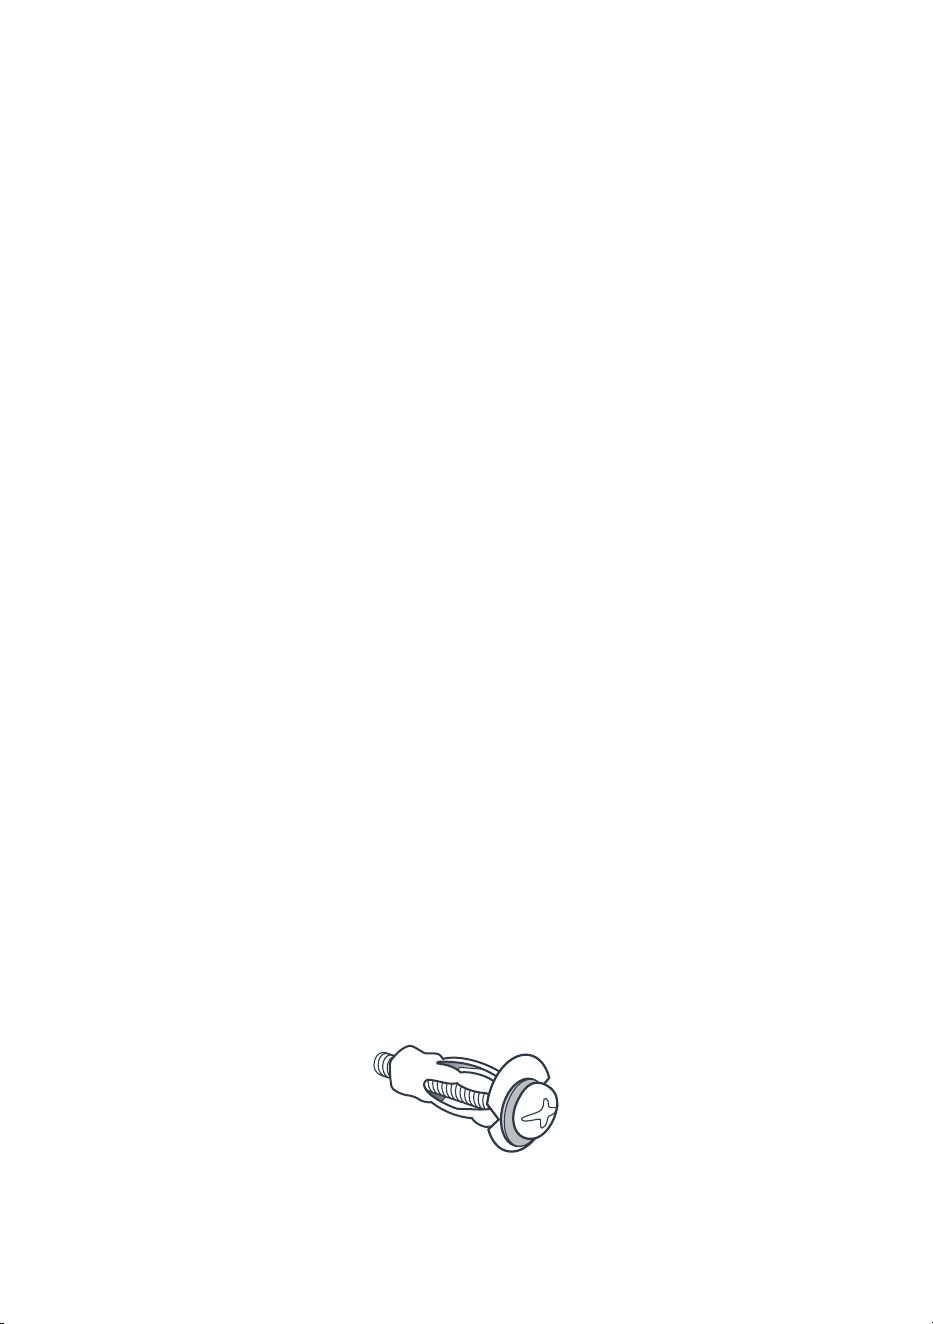
Hollow Wall Construction
For hollow wall installations studded with metal or wood framing and sheathed
with drywall, plaster, or plywood, an appropriate hollow wall xing such as a #10
re-usable anchor should be used.
Each of the two re-usable anchors used must be rated for a 20.0 lb. (9.1 kg)
rating minimum, and be the appropriate size for the sheathing thickness. Use #10
size minimum.
Typical drill size is 3/8" (9.5 mm) for the #10 re-usable anchor shown. Follow
manufacturer’s instructions.
Loading ...
Loading ...
Loading ...