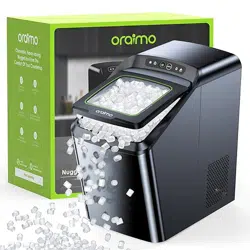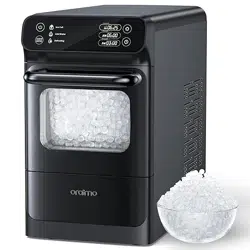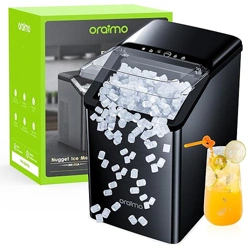
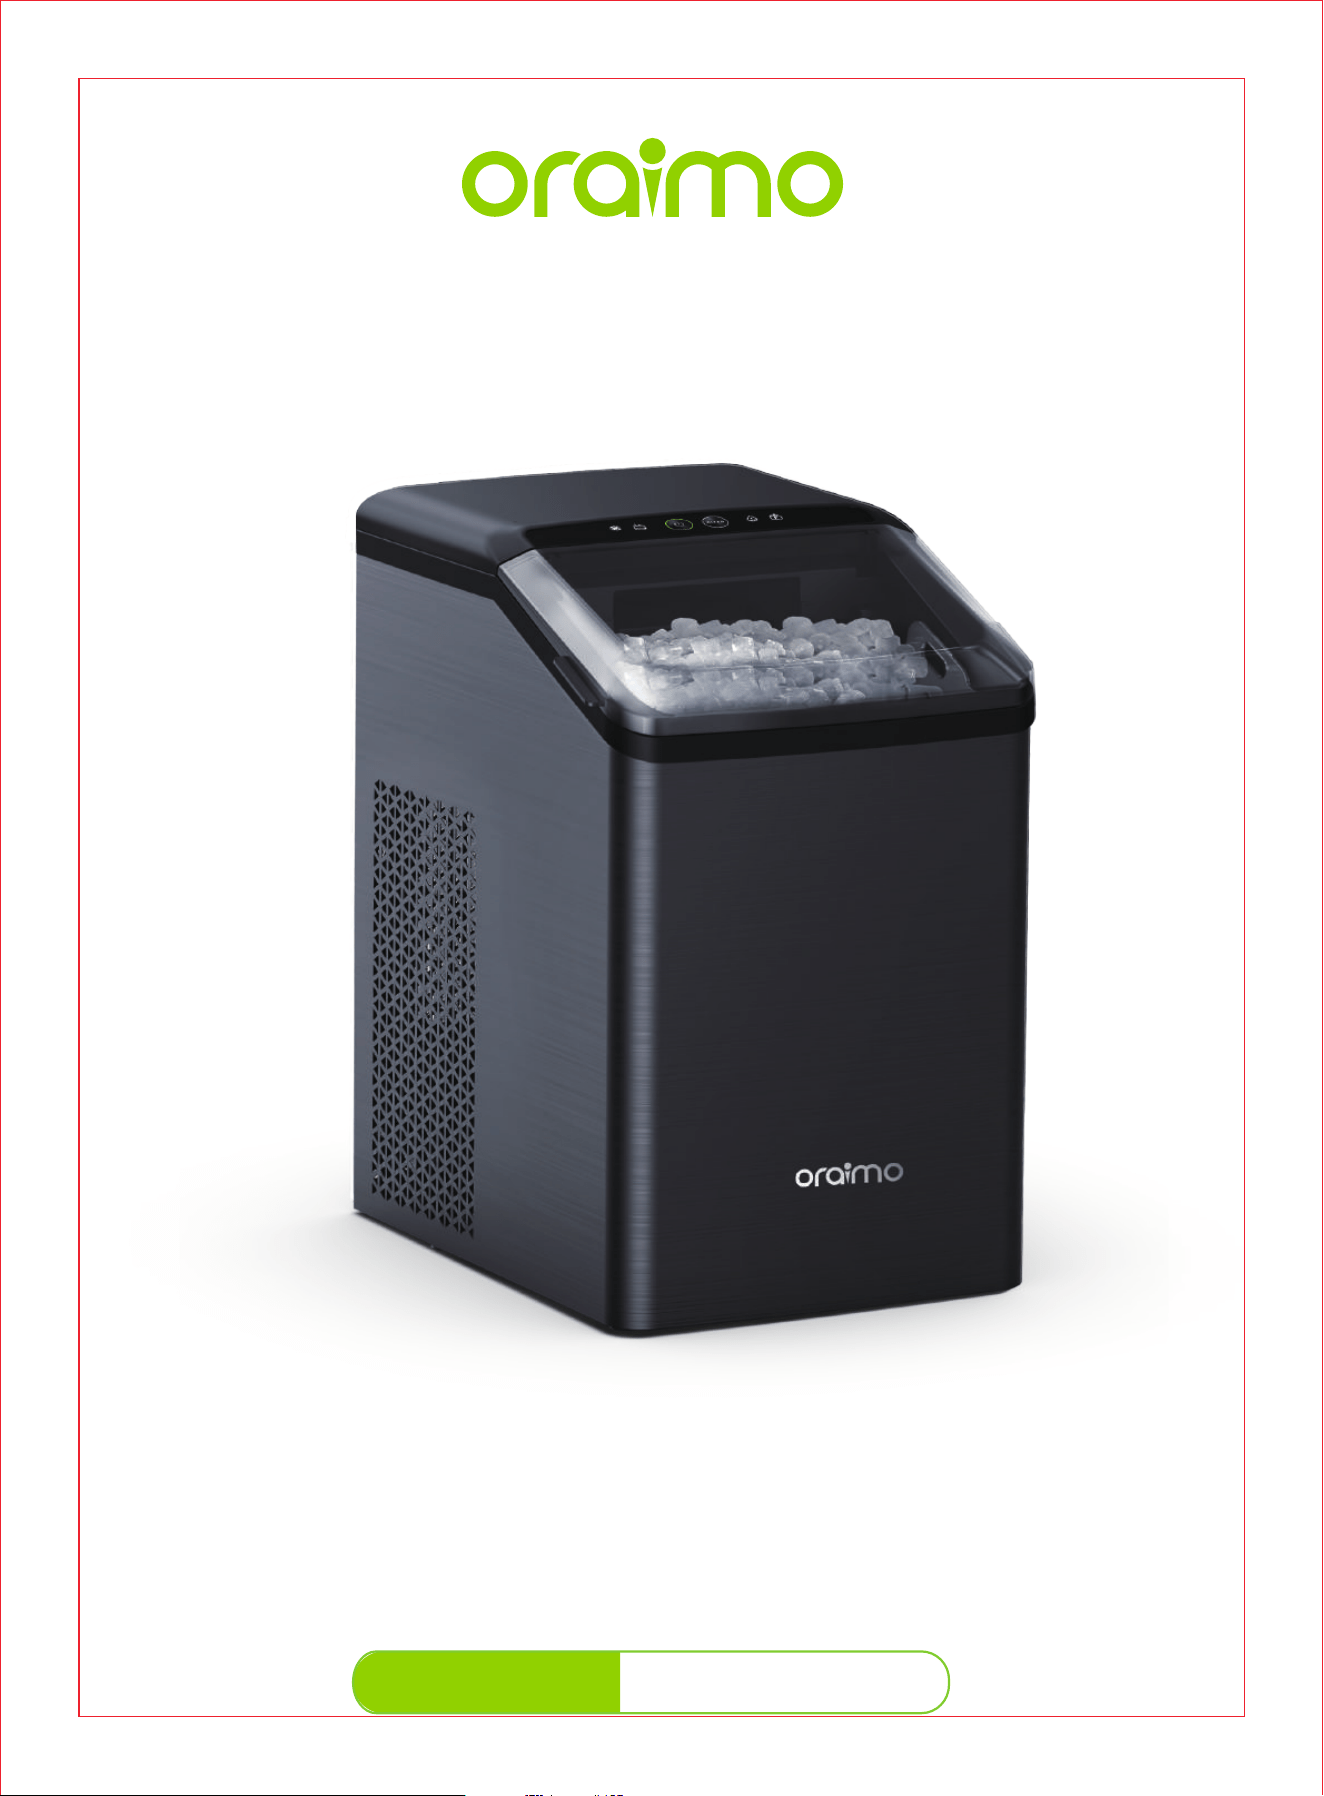
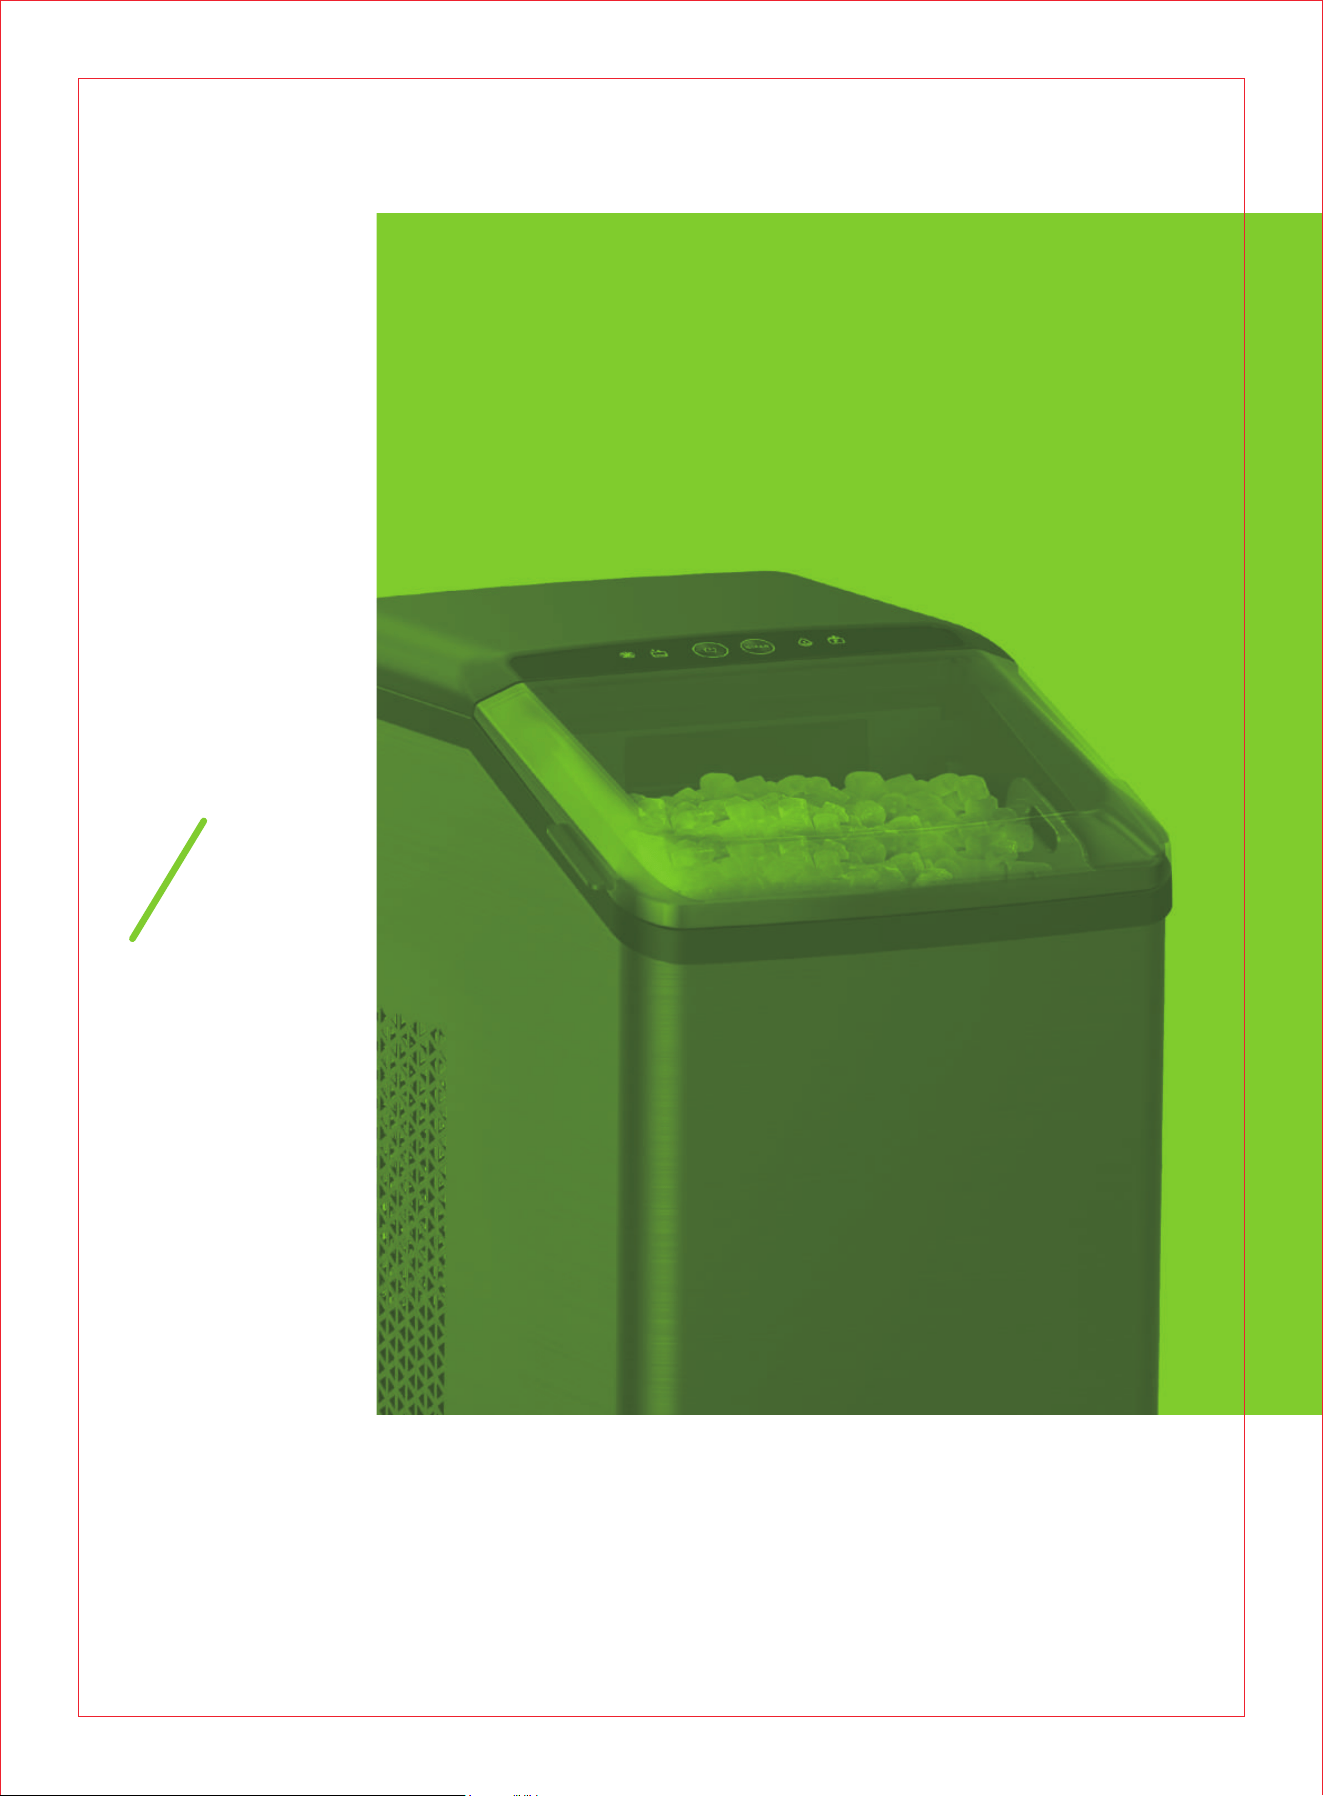
Ice Maker
OIM-512A
User Manual
us.oraimo.com
Scan to Visit Our Website
1-833-502-0669
Mon-Fri: 8:30 am-5:30 pm PST/PDT
CONTENTS
1
IMPORTANT
SAFETY
INSTRUCTIONS
1-2
2
KNOWING
YOUR
ICE MAKER
3-5
3
USING
YOUR
ICE MAKER
6-7
4
CLEANING
AND
MAINTENANCE
8-10
5
TROUBLE-
SHOOTING
GUIDE
11-12
6
WARRANTY
AND
SERVICE
13
ICE MAKER

CONTENTS
1
IMPORTANT
SAFETY
INSTRUCTIONS
1-2
2
KNOWING
YOUR
ICE MAKER
3-5
3
USING
YOUR
ICE MAKER
6-7
4
CLEANING
AND
MAINTENANCE
8-10
5
TROUBLE-
SHOOTING
GUIDE
11-12
6
WARRANTY
AND
SERVICE
13
ICE MAKER
READ ALL INSTRUCTIONS BEFORE USE AND SAVE FOR FUTURE REFERENCE
SPECIFICATIONS
This appliance is not intended for use by persons (including children) with reduced physical, sensory
or mental capabilities, or lack of experience and knowledge, unless they have been given supervi
sion or instruction concerning the use of the appliance by person responsible for their safety.
Close supervision is necessary when any appliance is used by or near children. Children should
be supervised to ensure that they do not play with the appliance. Cleaning and user maintenance
shall not be done by children unless they are older than 8 and supervised. Keep the appliance and
its cord out of reach of children.
Use the appliance only for intended household purposes as described in this User Manual.
INTENDED USE
When using an electrical appliance, especially when children are present, basic safety
precautions should always be followed, including the following:
This appliance must be provided with correct voltage via a professionally installed power socket.
Make sure the voltage indicated on the label of the appliance is the same as your local supply.
DO NOT operate the appliance with a damaged cord or plug or if the product malfunctions, is
dropped or damaged in any manner.
Always plug the appliance directly into a wall outlet / receptacle. Never use with an extension cord or
relocatable power tap (outlet / power strip).
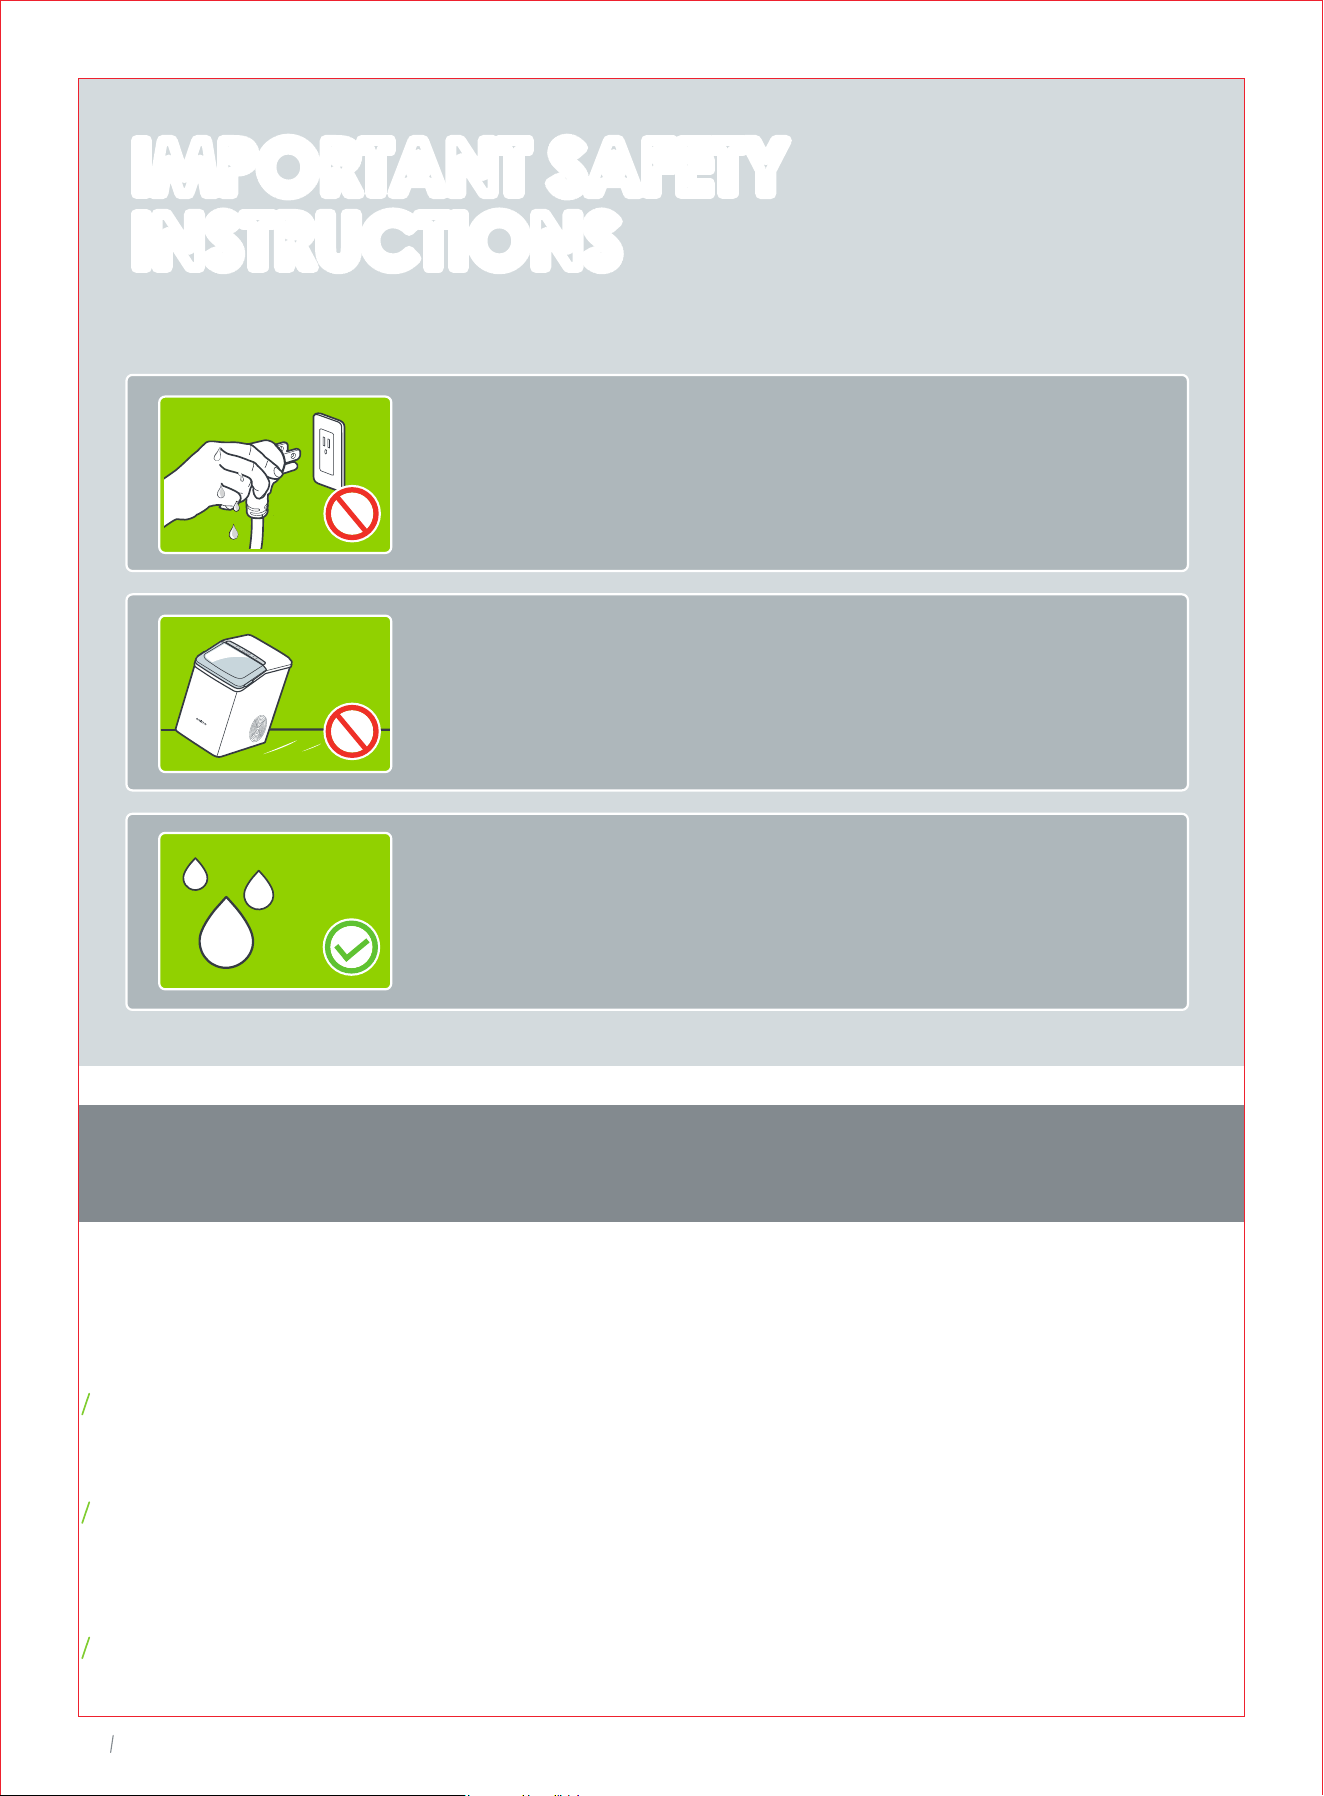
DO NOT let cord hang over edge of table or counter, or touch hot surfaces.
DO NOT immerse any part in water or any other liquid.
ELECTRICITY SAFETY
DO NOT attempt to disassemble, repair, modify or replace any part of the appliance. No user
serviceable parts inside. All servicing should be performed by qualified personnel only.
Always place and use the appliance on a dry, stable, level, and horizontal surface. Make sure it
cannot be easily knocked over by a person or object.
Always turn the appliance OFF and unplug it before cleaning, making any repairs or servicing,
or whenever not in use.
DO NOT sit on or place any object on top of the appliance.
DO NOT use with water that is micro-biologically unsafe or of unknown quality.
DO NOT use mechanical devices to defrost. Carry out self-cleaning cycle to remove any frozen parts.
If the appliance is stored in a cold environment, wait at least 3 hours for the appliance to warm to
room temperature before plugging it in.
RELATED TO USE
FOR HOUSEHOLD USE ONLY
SAVE THESE INSTRUCTIONS
DO NOT touch or hold the mains plug with wet hands.
01
Ice Maker
02
Ice Maker
Fill the water tank with fresh potable water or connect
with water filtration system to prolong the service life.
IMPORTANT SAFETY
INSTRUCTIONS
IMPORTANT SAFETY
INSTRUCTIONS
DO NOT tilt the ice maker. If tipped over, set it upright
on a flat, level surface for at least 2 hours before use.
Input
Rated Power
Ice Basket Capacity
Water Tank
Daily Production
120V~ 60Hz
170W
2.5lbs./1.1kg
0.48Gal./1.8L
37lbs./17kg

READ ALL INSTRUCTIONS BEFORE USE AND SAVE FOR FUTURE REFERENCE
SPECIFICATIONS
This appliance is not intended for use by persons (including children) with reduced physical, sensory
or mental capabilities, or lack of experience and knowledge, unless they have been given supervi
sion or instruction concerning the use of the appliance by person responsible for their safety.
Close supervision is necessary when any appliance is used by or near children. Children should
be supervised to ensure that they do not play with the appliance. Cleaning and user maintenance
shall not be done by children unless they are older than 8 and supervised. Keep the appliance and
its cord out of reach of children.
Use the appliance only for intended household purposes as described in this User Manual.
INTENDED USE
When using an electrical appliance, especially when children are present, basic safety
precautions should always be followed, including the following:
This appliance must be provided with correct voltage via a professionally installed power socket.
Make sure the voltage indicated on the label of the appliance is the same as your local supply.
DO NOT operate the appliance with a damaged cord or plug or if the product malfunctions, is
dropped or damaged in any manner.
Always plug the appliance directly into a wall outlet / receptacle. Never use with an extension cord or
relocatable power tap (outlet / power strip).
DO NOT let cord hang over edge of table or counter, or touch hot surfaces.
DO NOT immerse any part in water or any other liquid.
ELECTRICITY SAFETY
DO NOT attempt to disassemble, repair, modify or replace any part of the appliance. No user
serviceable parts inside. All servicing should be performed by qualified personnel only.
Always place and use the appliance on a dry, stable, level, and horizontal surface. Make sure it
cannot be easily knocked over by a person or object.
Always turn the appliance OFF and unplug it before cleaning, making any repairs or servicing,
or whenever not in use.
DO NOT sit on or place any object on top of the appliance.
DO NOT use with water that is micro-biologically unsafe or of unknown quality.
DO NOT use mechanical devices to defrost. Carry out self-cleaning cycle to remove any frozen parts.
If the appliance is stored in a cold environment, wait at least 3 hours for the appliance to warm to
room temperature before plugging it in.
RELATED TO USE
FOR HOUSEHOLD USE ONLY
SAVE THESE INSTRUCTIONS
DO NOT touch or hold the mains plug with wet hands.
01
Ice Maker
02
Ice Maker
Fill the water tank with fresh potable water or connect
with water filtration system to prolong the service life.
IMPORTANT SAFETY
INSTRUCTIONS
IMPORTANT SAFETY
INSTRUCTIONS
DO NOT tilt the ice maker. If tipped over, set it upright
on a flat, level surface for at least 2 hours before use.
Input
Rated Power
Ice Basket Capacity
Water Tank
Daily Production
120V~ 60Hz
170W
2.5lbs./1.1kg
0.48Gal./1.8L
37lbs./17kg
MAX
04
Ice Maker
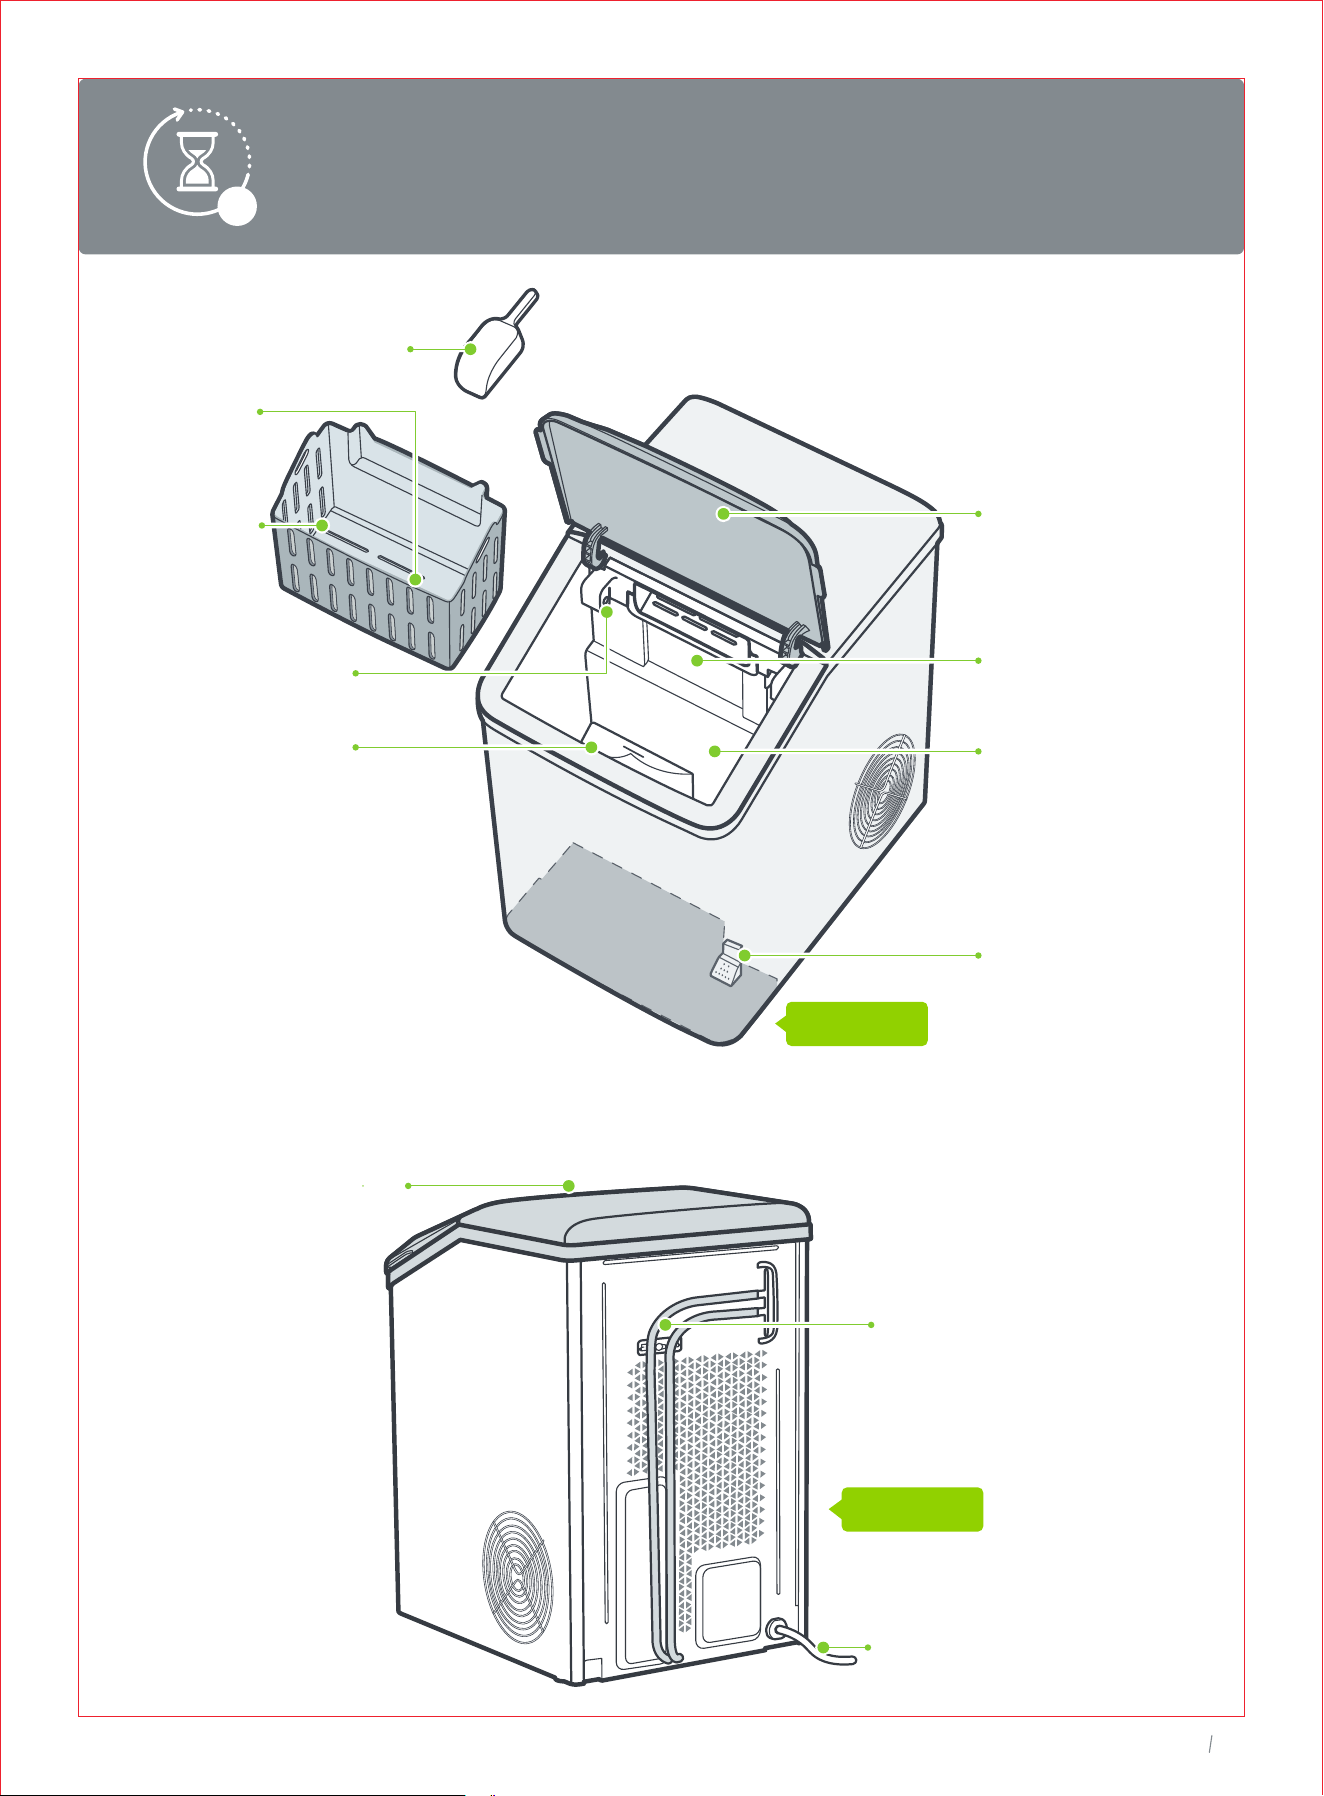
FRONT
Ice Basket
Ice Full Sensor
MAX Water Line
Water Tank
Transparent
Lid
Ice Outlet
Water Filter
Ice Scoop
02
KNOWING
YOUR
ICE MAKER
REAR
This ice maker may have been tilted or placed upside down during transportation.
Please set it upright for at least 2 hours before initial use to allow the refrigerant
fluid to settle.
2h
Ice Scoop
Holder
Control Panel
& Display
Drainpipe
Power Cord
MAX
04
Ice Maker
FRONT
Ice Basket
Ice Full Sensor
MAX Water Line
Water Tank
Transparent
Lid
Ice Outlet
Water Filter
Ice Scoop
02
KNOWING
YOUR
ICE MAKER
REAR
This ice maker may have been tilted or placed upside down during transportation.
Please set it upright for at least 2 hours before initial use to allow the refrigerant
fluid to settle.
2h
Ice Scoop
Holder
Control Panel
& Display
Drainpipe
Power Cord
03
USING YOUR
ICE MAKER
05
Ice Maker
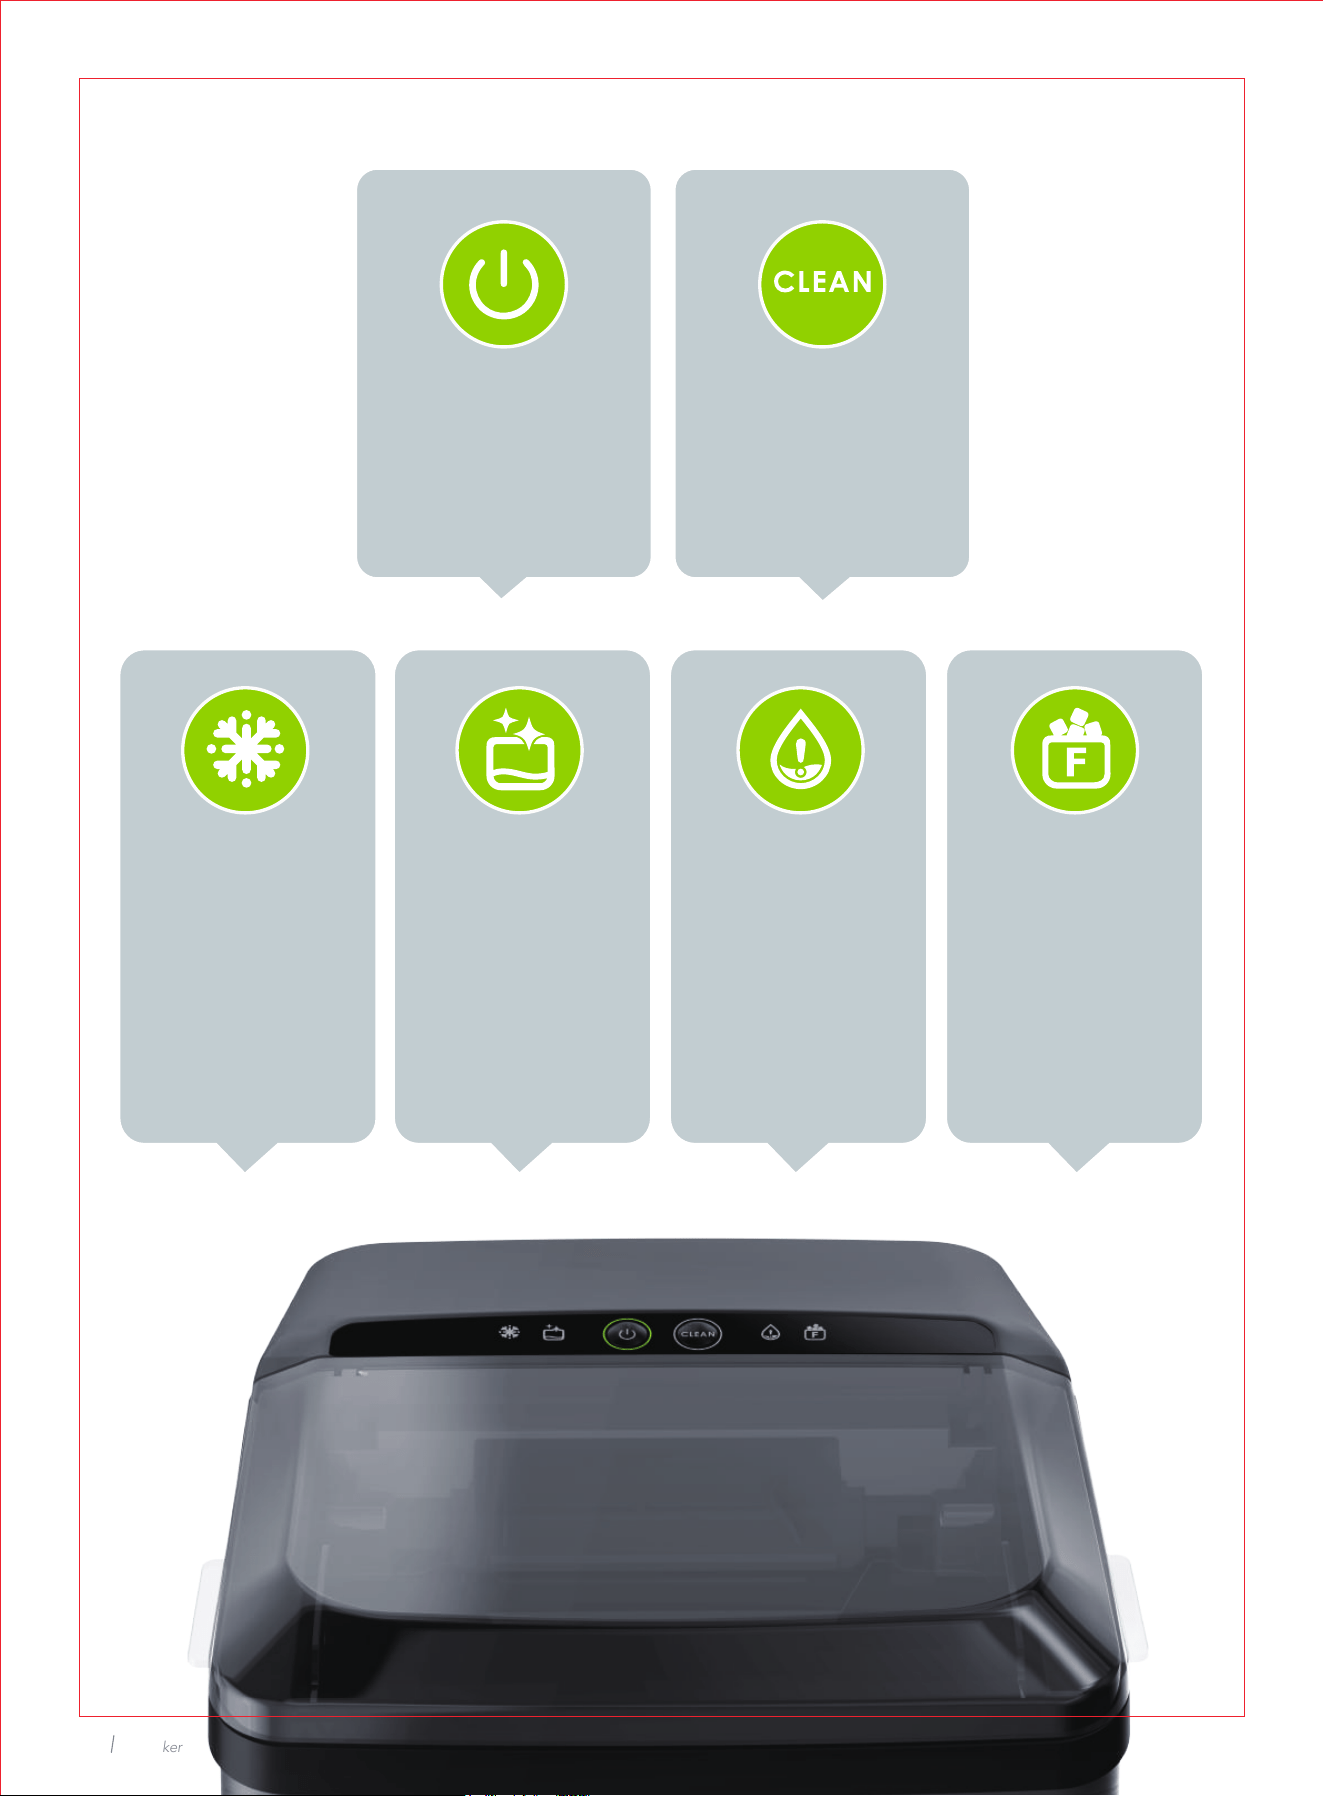
Control Panel & Display
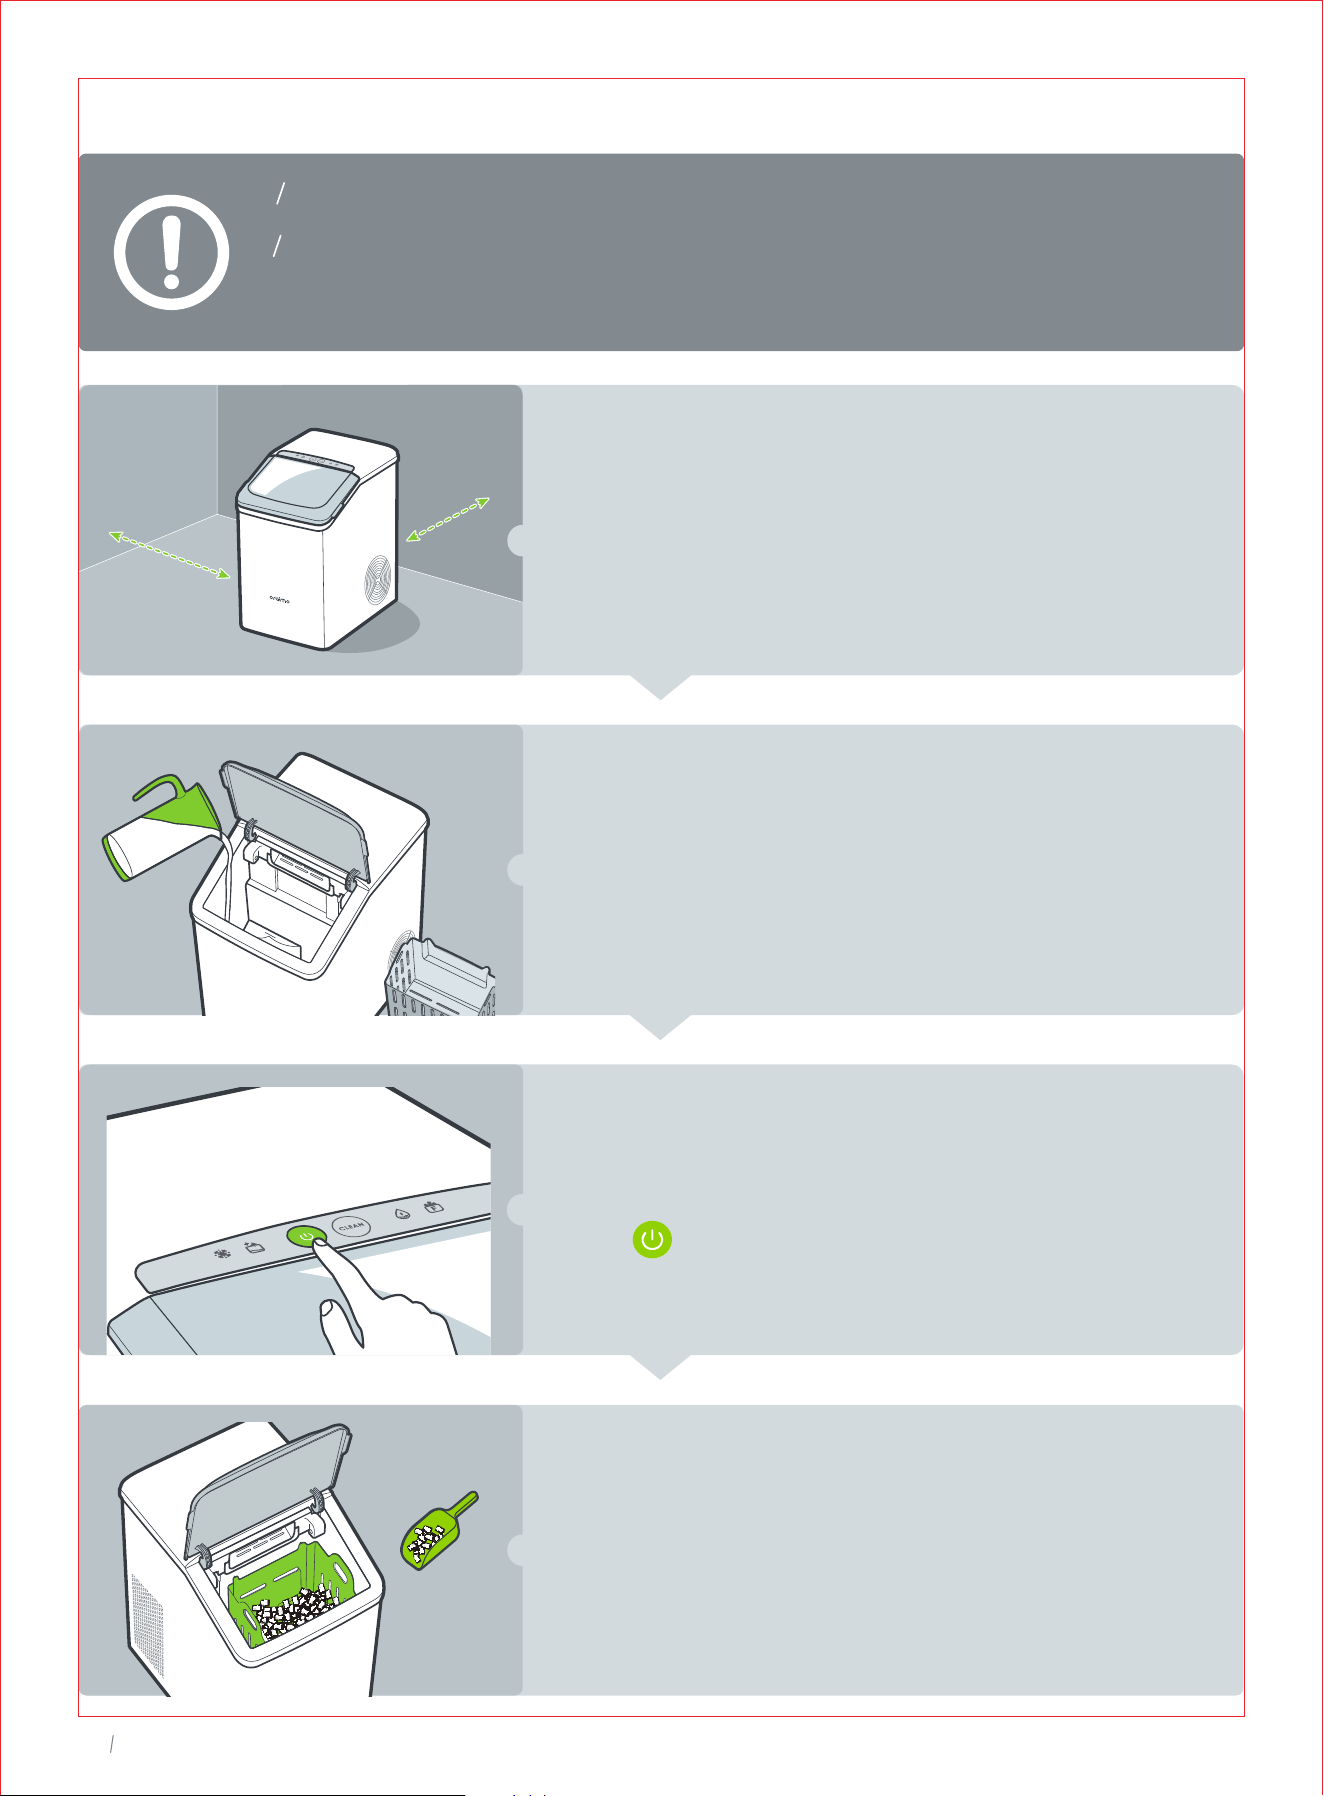
Start/Stop
Press to start or
stop making ice.
Self-cleaning
Hold for 3s to start
or stop cleaning cycle.
Ice Making
Indicator stays
solid on during
ice making cycle.
Cleaning Add Water
Indicator solid on
when lack of water.
Add water in time.
Ice Basket Full
Indicator stays
solid on when
ice full. Remove
ice in time.
Indicator stays solid
on during cleaning
cycle. After
continuous running
for100 hours, will solid
on to remind you to
clean the ice maker.
Hold for 3s to start
cleaning.

03
USING YOUR
ICE MAKER
05
Ice Maker
Control Panel & Display
Start/Stop
Press to start or
stop making ice.
Self-cleaning
Hold for 3s to start
or stop cleaning cycle.
Ice Making
Indicator stays
solid on during
ice making cycle.
Cleaning Add Water
Indicator solid on
when lack of water.
Add water in time.
Ice Basket Full
Indicator stays
solid on when
ice full. Remove
ice in time.
Indicator stays solid
on during cleaning
cycle. After
continuous running
for100 hours, will solid
on to remind you to
clean the ice maker.
Hold for 3s to start
cleaning.
03
07
Ice Maker
Scoop Ice Out
The ice maker will start to produce ice in 15 minutes.
Scoop the ice cubes out once made.
Put in use or store in freezer to avoid melting.
Start Making Ice
Plug into a properly installed grounded outlet, then
press button to start ice making cycle. It will keep
making ice until the ice basket is full.
Add Water Manually
Take the ice basket out, fill the water tank with clean
potable water below MAX line.
* Recommended water type: distilled or demineralized water at
40°F(5°C)-82°F(28°C).
Operation Instructions
Make sure the drain plug is firmly inserted before use.
The ice maker will stop making ice when the ice basket is full and resume
in 4 hours automatically. Remove the ice cubes timely, the unit will restart
making ice immediately If an adequate amount of water is detected.
Locate and Clean
Locate upright on a flat, level surface with at least
15cm/6 inches of clearance on the sides and back.
Clean the tank, ice basket and ice scoop, then settle
for at least 2 hours before first use.
6 inches
6 inches
MAX
04
CLEANING AND
MAINTENANCE
10
Ice Maker
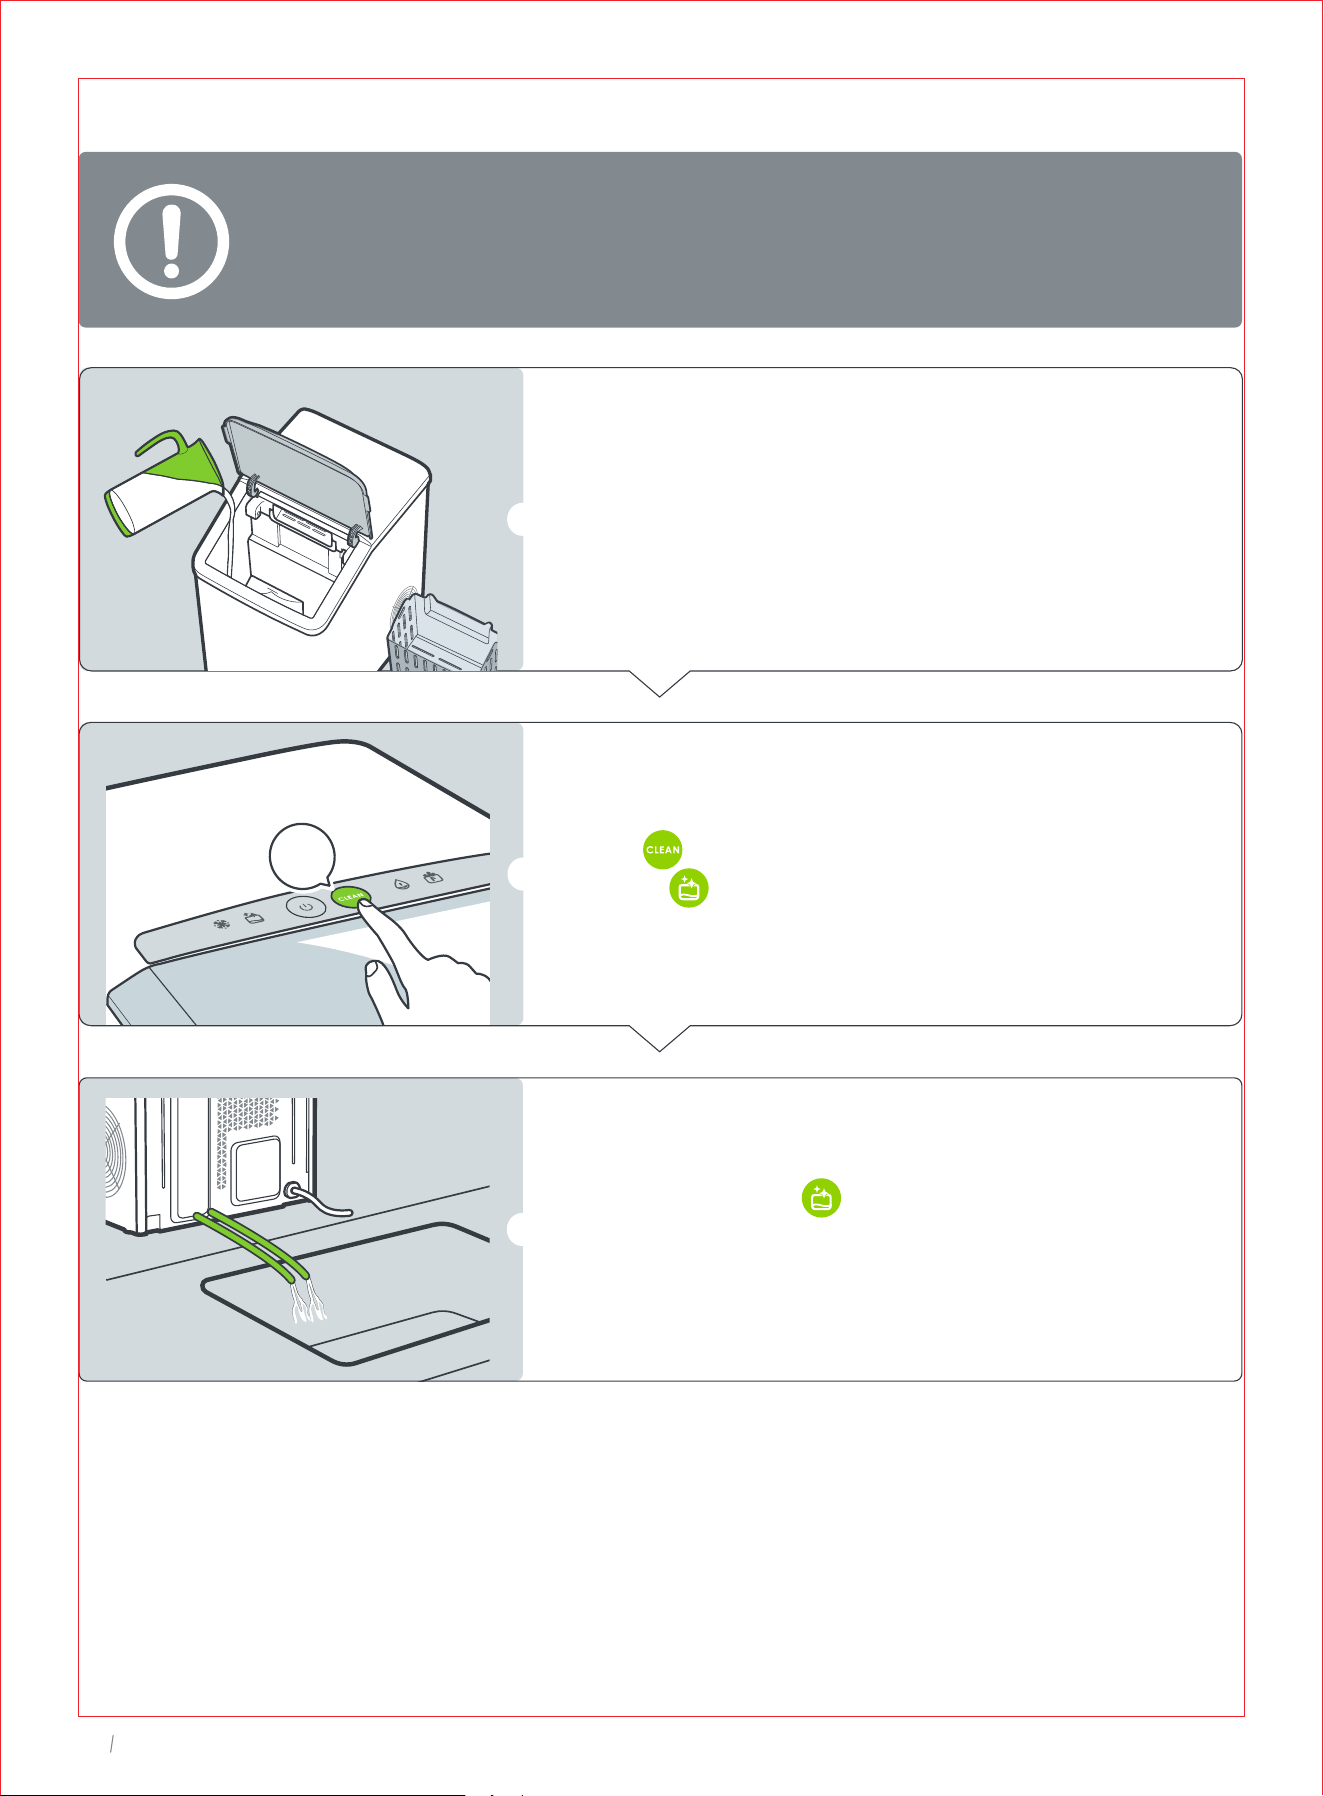
Self-Cleaning
To keep your nugget ice tasting fresh, we recommend that you carry out
self-cleaning at least once every 1 to 2 weeks.
Fill the tank with water below MAX line.
Hold for 3s to start an 5-minute self-cleaning
cycle ( stays solid on).
Once completed, will turn off.
Unhook the drainpipe and lay down
to a sink.
3s
09
Ice Maker
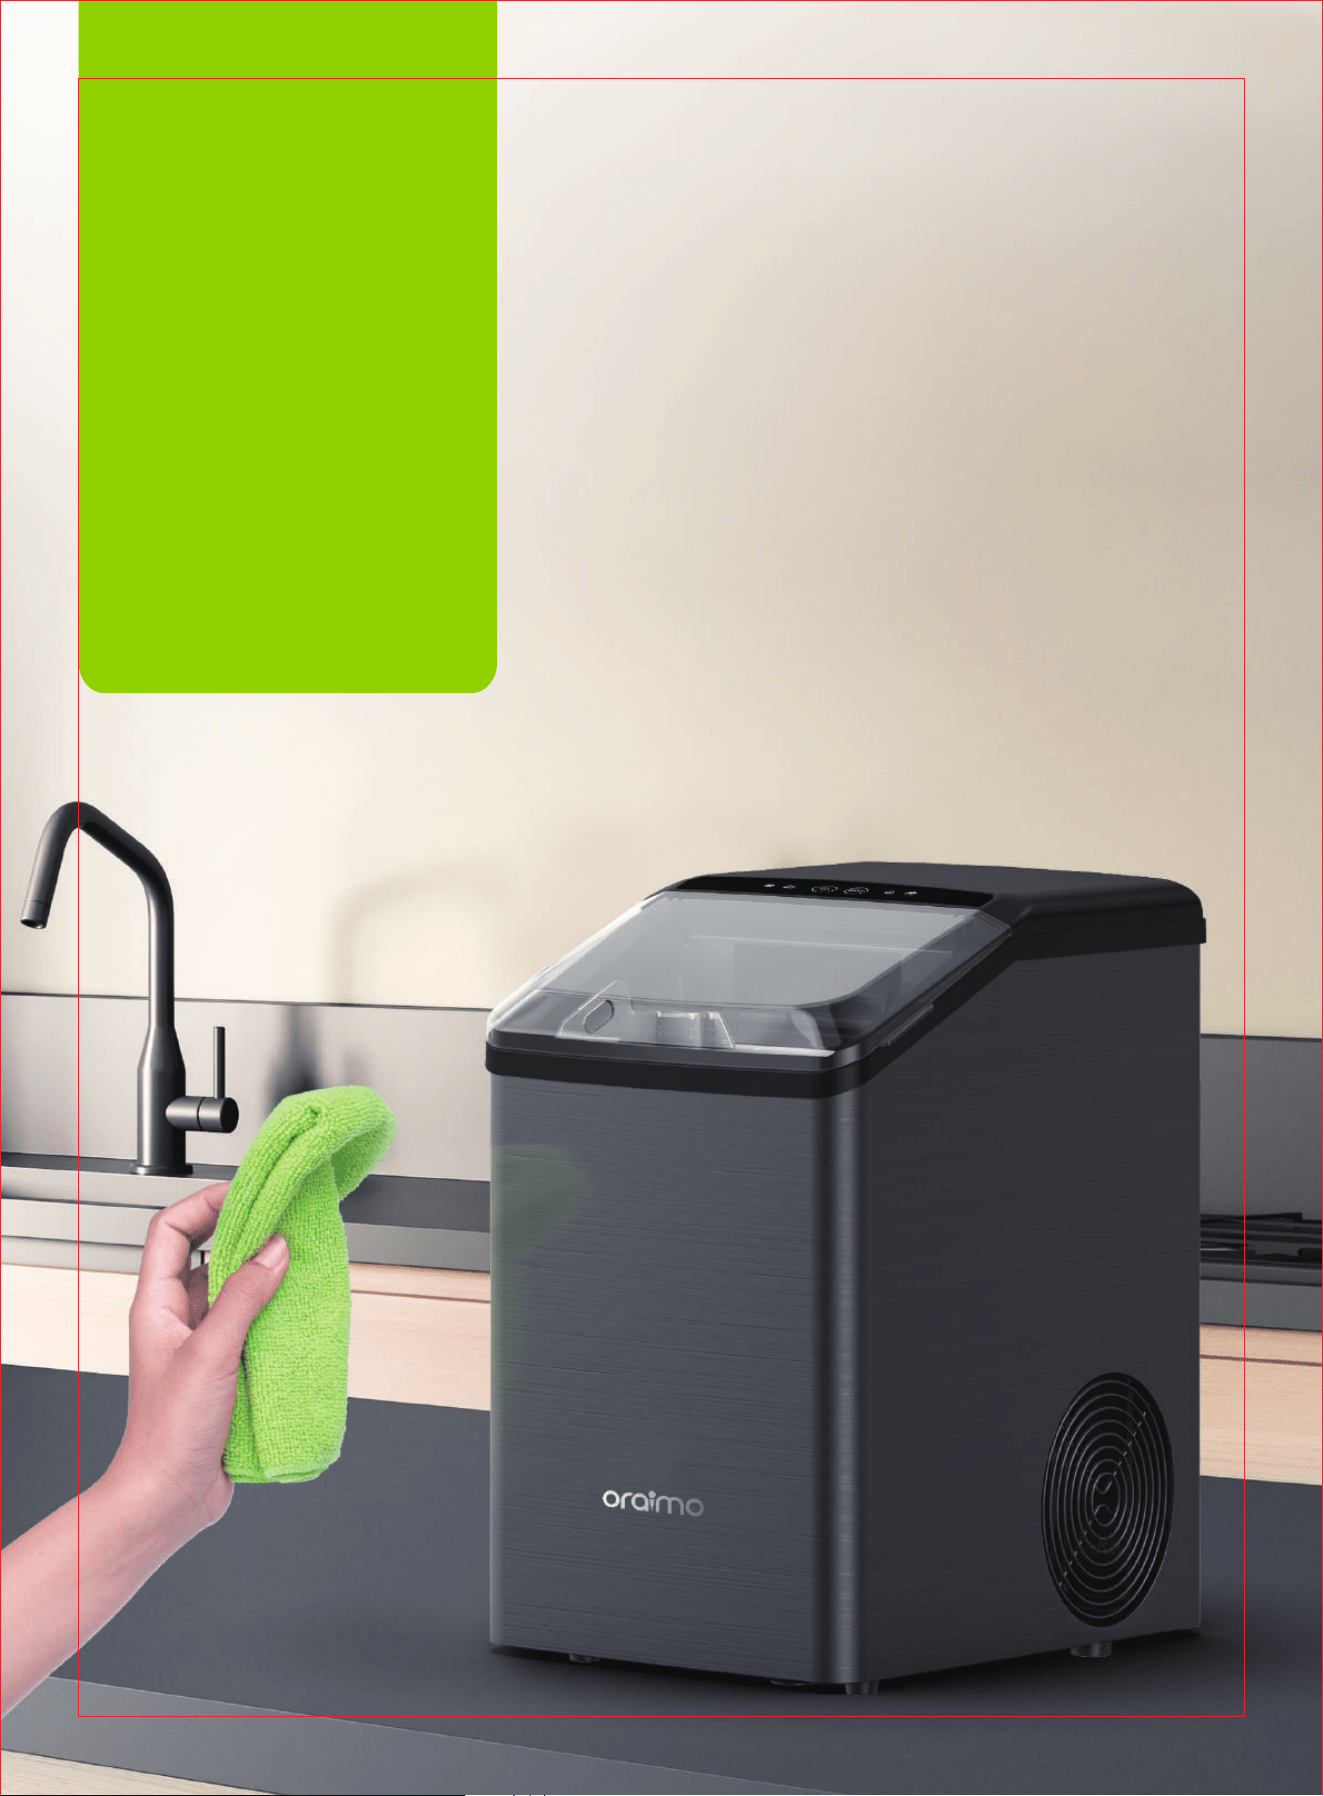
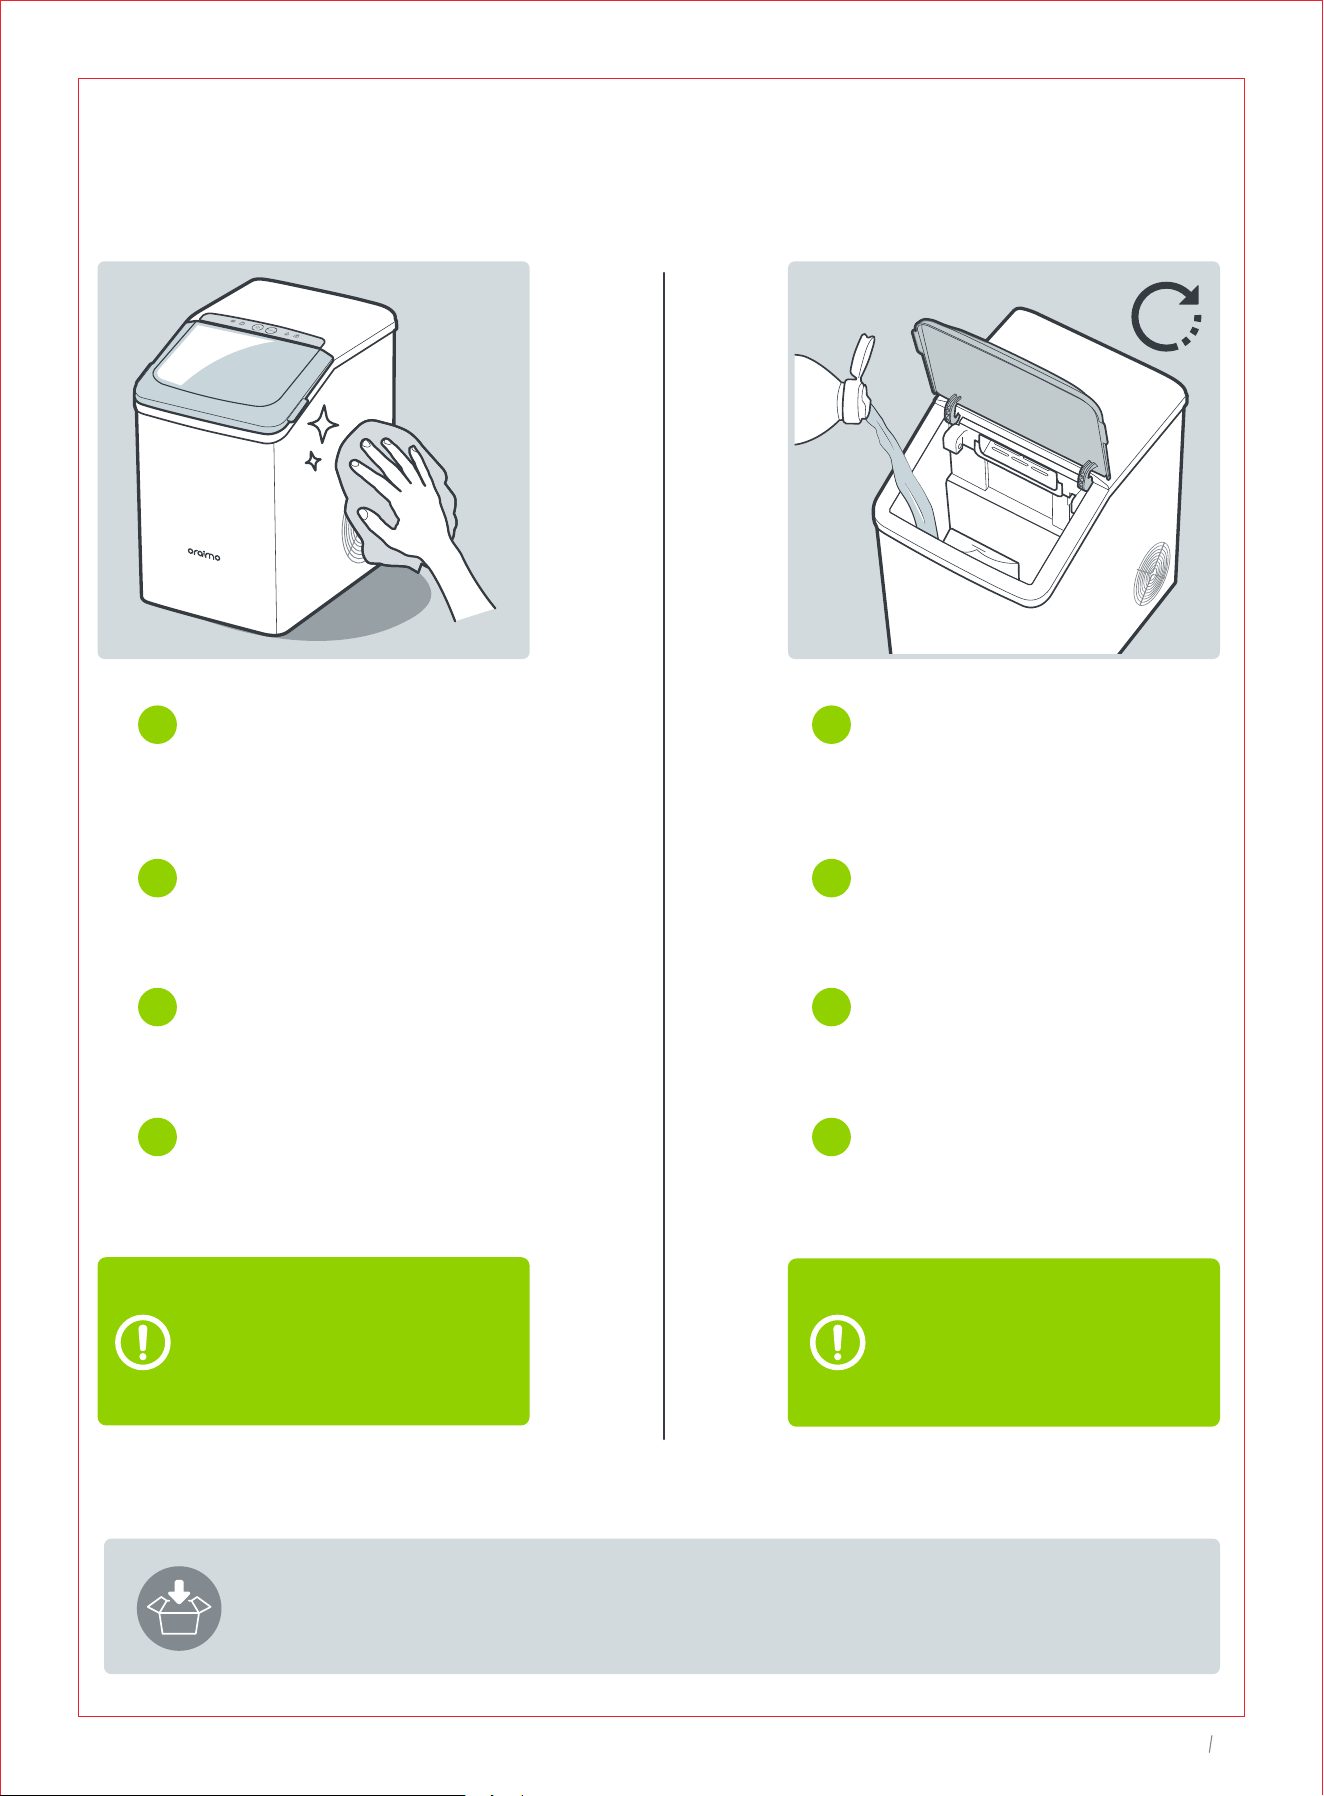
Regular Cleaning
To remove the fallen dirt or fibers,
we recommend cleaning the ice
basket and water tank once a
week. Unplug before cleaning.
Unplug and take out the ice
basket. Remove the water
filter on the right corner of
the tank.
Rinse clean the ice basket.
and water filter with diluted
detergent and water.
Clean the water tank using
a soft cloth moistened with
water.
To clean the exterior, use a
soft cloth dampened with
soapy water. Dry with a
soft cloth.
Removal of Scale
/Mineral Build-up
Fill the tank with water below
MAX line.
Add in distilled white vinegar or
citric acid descaling agent. Set
aside for 12 hours or overnight.
Hold CLEAN for 3s to start self-
cleaning cycle. Repeat up to 3
cleaning cycles.
Drain the mixture and continue
running 3 cleaning cycles with
fresh water for each rinse.
1
2
3
4
1
2
3
4
For scale or mineral build-up,
follow the directions to deep
clean periodically or when
needed. Do not clean with
solvents or chemicals.
When not in use for an extended period of time, drain the water tank and clean as
instructed. Cover and store in a cool, dry location away from direct sunlight.
MAX
12H
MAX
10
Ice Maker
Self-Cleaning
To keep your nugget ice tasting fresh, we recommend that you carry out
self-cleaning at least once every 1 to 2 weeks.
Fill the tank with water below MAX line.
Hold for 3s to start an 5-minute self-cleaning
cycle ( stays solid on).
Once completed, will turn off.
Unhook the drainpipe and lay down
to a sink.
3s
09
Ice Maker
Regular Cleaning
To remove the fallen dirt or fibers,
we recommend cleaning the ice
basket and water tank once a
week. Unplug before cleaning.
Unplug and take out the ice
basket. Remove the water
filter on the right corner of
the tank.
Rinse clean the ice basket.
and water filter with diluted
detergent and water.
Clean the water tank using
a soft cloth moistened with
water.
To clean the exterior, use a
soft cloth dampened with
soapy water. Dry with a
soft cloth.
Removal of Scale
/Mineral Build-up
Fill the tank with water below
MAX line.
Add in distilled white vinegar or
citric acid descaling agent. Set
aside for 12 hours or overnight.
Hold CLEAN for 3s to start self-
cleaning cycle. Repeat up to 3
cleaning cycles.
Drain the mixture and continue
running 3 cleaning cycles with
fresh water for each rinse.
1
2
3
4
1
2
3
4
For scale or mineral build-up,
follow the directions to deep
clean periodically or when
needed. Do not clean with
solvents or chemicals.
When not in use for an extended period of time, drain the water tank and clean as
instructed. Cover and store in a cool, dry location away from direct sunlight.
MAX
12H
MAX

11
Ice Maker
12
Ice Maker
TROUBLESHOOTING GUIDE
The troubleshooting guide addresses the most common problems. If problems persist,
feel free to contact the Customer Support at [email protected]
PROBLEM SOLUTION
solid on
• Lack of water. Fill water up to the MAX
level and press to restart.
• Disassemble the water filter. Check and
clean when necessary.
• Check if the water level detector is
blocked. Clear and restart.
• Scale blocked in internal pipes. Descale
as instructed.
solid on, flashing
flashing, flashing
The ice maker does not
work or stops making
ice suddenly
Water leakage
Contact Oraimo customer service for help.
Ice making cycle is
normal but no ice is
being formed
• Ice making capacity goes down as ambient
temperatures go up, and it will be severely
reduced at temperatures over 90°F.
• A restricted drain or standing water in the
water tank. Check the drainpipe for kinks.
Ice cubes easily melted
The ice basket is not refrigerated, and the
ice cubes will melt if not used promptly.
Please use the ice cubes immediately or
store them in the freezer once made to
prevent melting.
solid on
• Ice basket full. Remove ice and press to
restart.
• Ice full sensor damaged. Contact
Customer Support for help.
• Ice-making assembly is defrosting. Wait
30 minutes for the ice maker to return to
normal automatically.
• Or you can hold for 3s to carry out a
self-cleaning cycle, then press to
restart after cleaning is done.
• Ice-making assembly is frozen. Wait 45 to
60 minutes for the ice maker to defrost
automatically. Unplug after 45 to 60
minutes then run the cleaning program
2-3 times with fresh water.
• Contact Oraimo customer service for
help if it happens frequently.
• Keep a 15cm/6inch clearance on
all sides of the ice maker for proper ventilation.
• Use water with a temperature
between 40°F(5°C) and 82°F(28°C).
• Operate in an environment between 50°F
(10°C) and 90°F (32°C).
• Contact Oraimo customer service for help.
Noise during ice making
• Ice-making assembly is frozen.Turn off the
machine for 45 to 60 minutes for ice to
melt.Then follow the steps of “Descaling”
on page 10.
• Remove any other objects in contact
with the ice maker.
• Contact Oraimo customer service for help.

13
Ice Maker
14
Ice Maker
Thanks for choosing Oraimo Ice Maker.
This product is covered with Oraimo product and labor warranty for 12 months
from the date of its original purchase.
The warranty will not apply in cases of:
- Misuse, dismantling, or repairs performed by unauthorized personnel.
- Any appliance that has been tampered with or used for commercial purpose.
- Use of force, natural hazards, damage caused by external influences.
- Damage caused by non-observance of the User Manual, e.g. connection to an
unsuitable mains supply or non-compliance with the instructions.
- Partially or completely dismantled appliances.
- Defects caused by or resulting from damages from shipping or alteration to the
product or any of its parts that have been performed by unauthorized personnel.
We can only provide after-sales service for products that are sold by
Oraimo or Oraimo authorized retailers and distributors.
If you have purchased your appliance from a different place, please
contact your seller for return and warranty issues.
※Please have your order ID
ready before contacting
Customer Support.
WARRANTY
AND
SERVICE
Warranty Certificate
This product is covered by a guarantee from the date of purchase. The warranty is valid
only when the warranty card is properly completed. Warranty is limited to the core prod-
uct. Accessories included in the package are not covered. Please contact us if you have
a question or experience a problem with the product, we promise we will give you a
satisfied solution within 24 hours.
Order ID
Product Model
Problem Description
Customer's Name
Intertek
4008051
CM
us.oraimo.com
Scan to Visit Our Website
Made in China
1-833-502-0669
Mon-Fri: 8:30 am-5:30 pm PST/PDT

Ice Maker
OIM-512A
User Manual
us.oraimo.com
Scan to Visit Our Website
1-833-502-0669
Mon-Fri: 8:30 am-5:30 pm PST/PDT