Loading page 1...
Loading page 2...
Loading page 3...
Loading page 4...
Loading page 5...
Loading page 6...
Loading page 7...
Loading page 8...
Loading page 9...
Loading page 10...
Loading page 11...
Loading page 12...
Loading page 13...
Loading page 14...
Loading page 15...
Loading page 16...
Loading page 17...
Loading page 18...
Loading page 19...
Loading page 20...
Loading page 21...
Loading page 22...
Loading page 23...
Loading page 24...
Loading page 25...
Loading page 26...
Loading page 27...
Loading page 28...
Loading page 29...
Loading page 30...
Loading page 31...
Loading page 32...
Loading page 33...
Loading page 34...
Loading page 35...
Loading page 36...
Loading page 37...
Loading page 38...
Loading page 39...
Loading page 40...
Loading page 41...
Loading page 42...
Loading page 43...
Loading page 44...
Loading page 45...
Loading page 46...
Loading page 47...
Loading page 48...
Loading page 49...
Loading page 50...
Loading page 51...
Loading page 52...
Loading page 53...
Loading page 54...
Loading page 55...
56 English
Maintaining your appliance
Maintaining your appliance
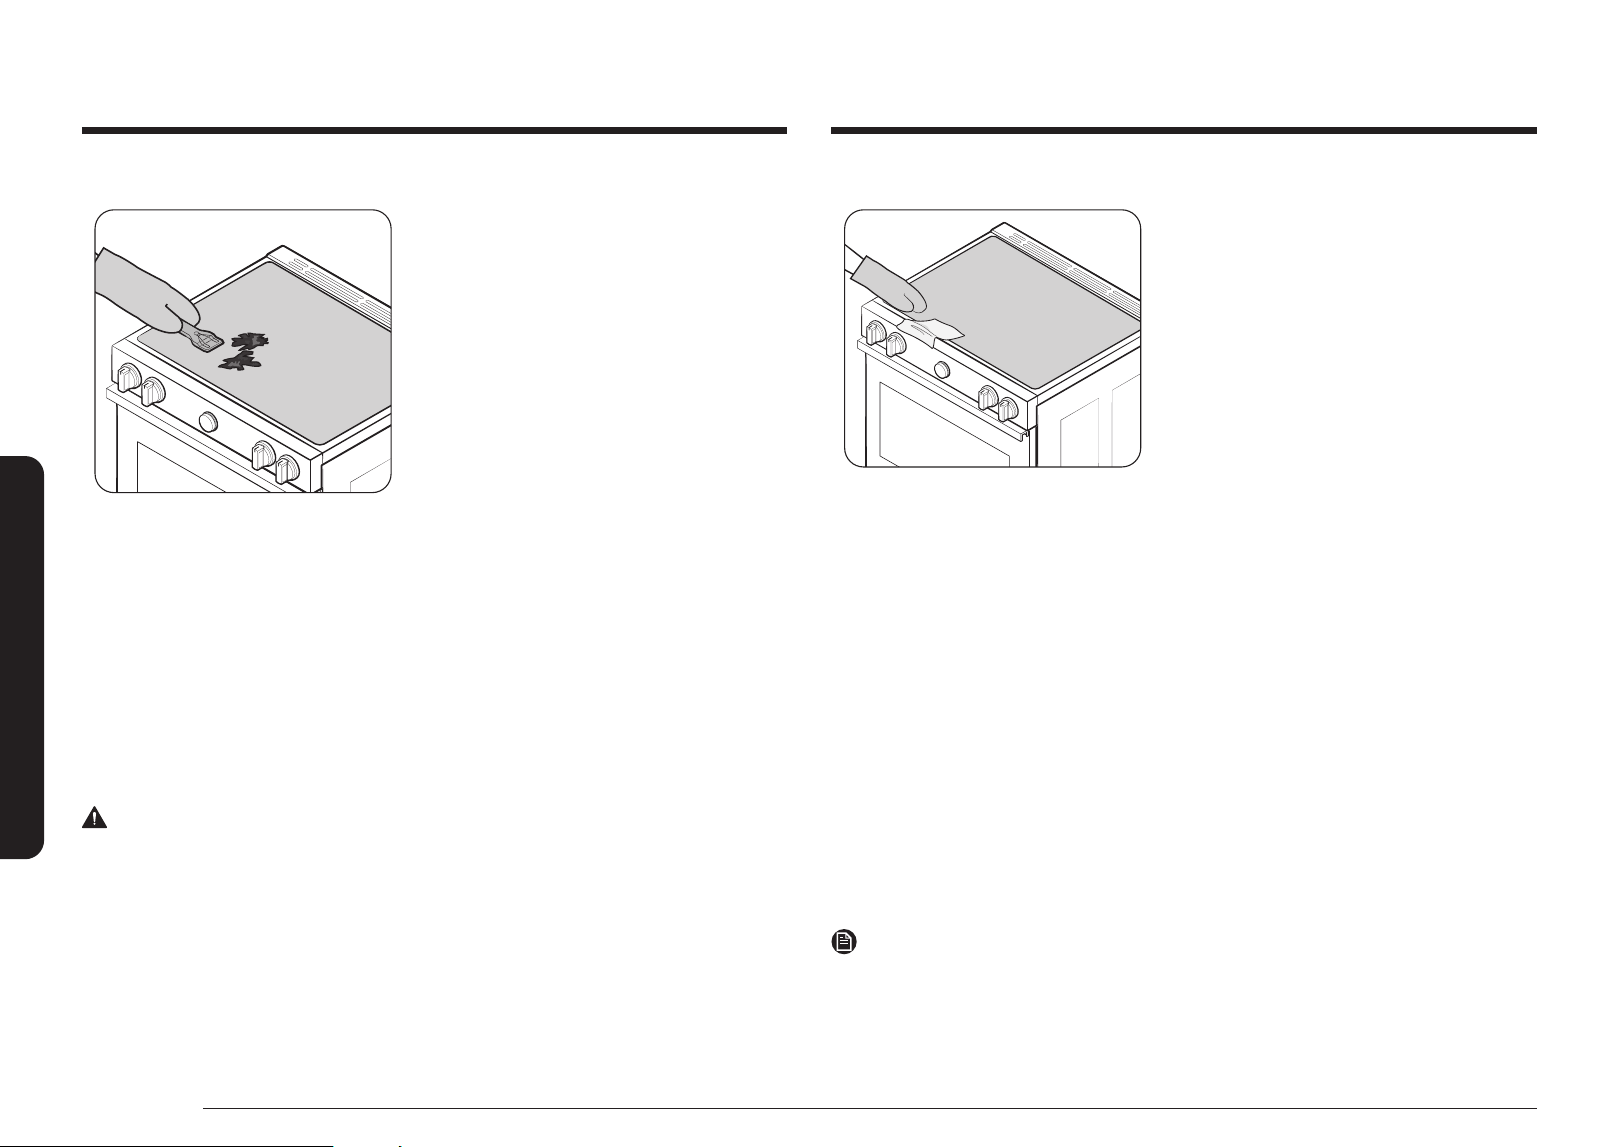
Removing heavy, burned-on residue
1. Allow the cooktop to cool.
2. Use a single-edge razor-blade scraper
at approximately a 45° angle against
the glass surface and scrape the soil. It
will be necessary to apply pressure to
remove the residue.
3. After scraping with the razor scraper, spread
a few drops of ceramic cooktop cleaner
on the entire burned residue area. Use a
cleaning pad to remove any remaining
residue. (Do not scrape the seal.)
4. For additional protection, after all residue
has been removed, polish the entire
surface by applying ceramic cooktop
cleaner with a paper towel.
Removing metal marks and scratches
1. Be careful not to slide pots and pans across your cooktop. It will leave marks on
the cooktop surface. You can remove these marks by applying ceramic cooktop
cleaner with a cleaning pad for ceramic cooktops.
2. If pots with a thin overlay of aluminum or copper are allowed to boil dry, the
overlay may leave black discoloration on the cooktop. You should remove this
discoloration immediately or it may become permanent.
WARNING
Carefully check the bottoms of pans for roughness that may scratch the cooktop.
Cleaning the cooktop seal
To clean the seal around the edges of
the glass, lay a wet cloth on it for a few
minutes, then wipe clean with a nonabrasive
cleaner.
Potential for permanent damage to the glass surface
• Sugary spillovers (such as jellies, fudge, candy, syrups) or melted plastics can
cause pitting of the surface of your cooktop. This is not covered under the
warranty. You should clean the spill while it is still hot. Take special care when
removing hot substances. Refer to the section below.
• When using a scraper, be sure it is new and the razor blade is still sharp. Do not
use a dull or nicked blade.
Cleaning sugary spills and melted plastic
1. Turn off all surface units. Remove hot pans.
2. Wearing an oven mitt, use a single-edge razor-blade scraper to move the spill
to a cool area of the cooktop. Remove the spill with paper towels.
3. Any remaining spillover should be left until the surface of the cooktop has
cooled.
4. Don’t use the surface units again until all of the residue has been completely
removed.
NOTE
If pitting or indentations in the glass surface have already occurred, the cooktop
glass will have to be replaced. In this case, service will be necessary.
Loading page 57...
Loading page 58...
English 59
Troubleshooting
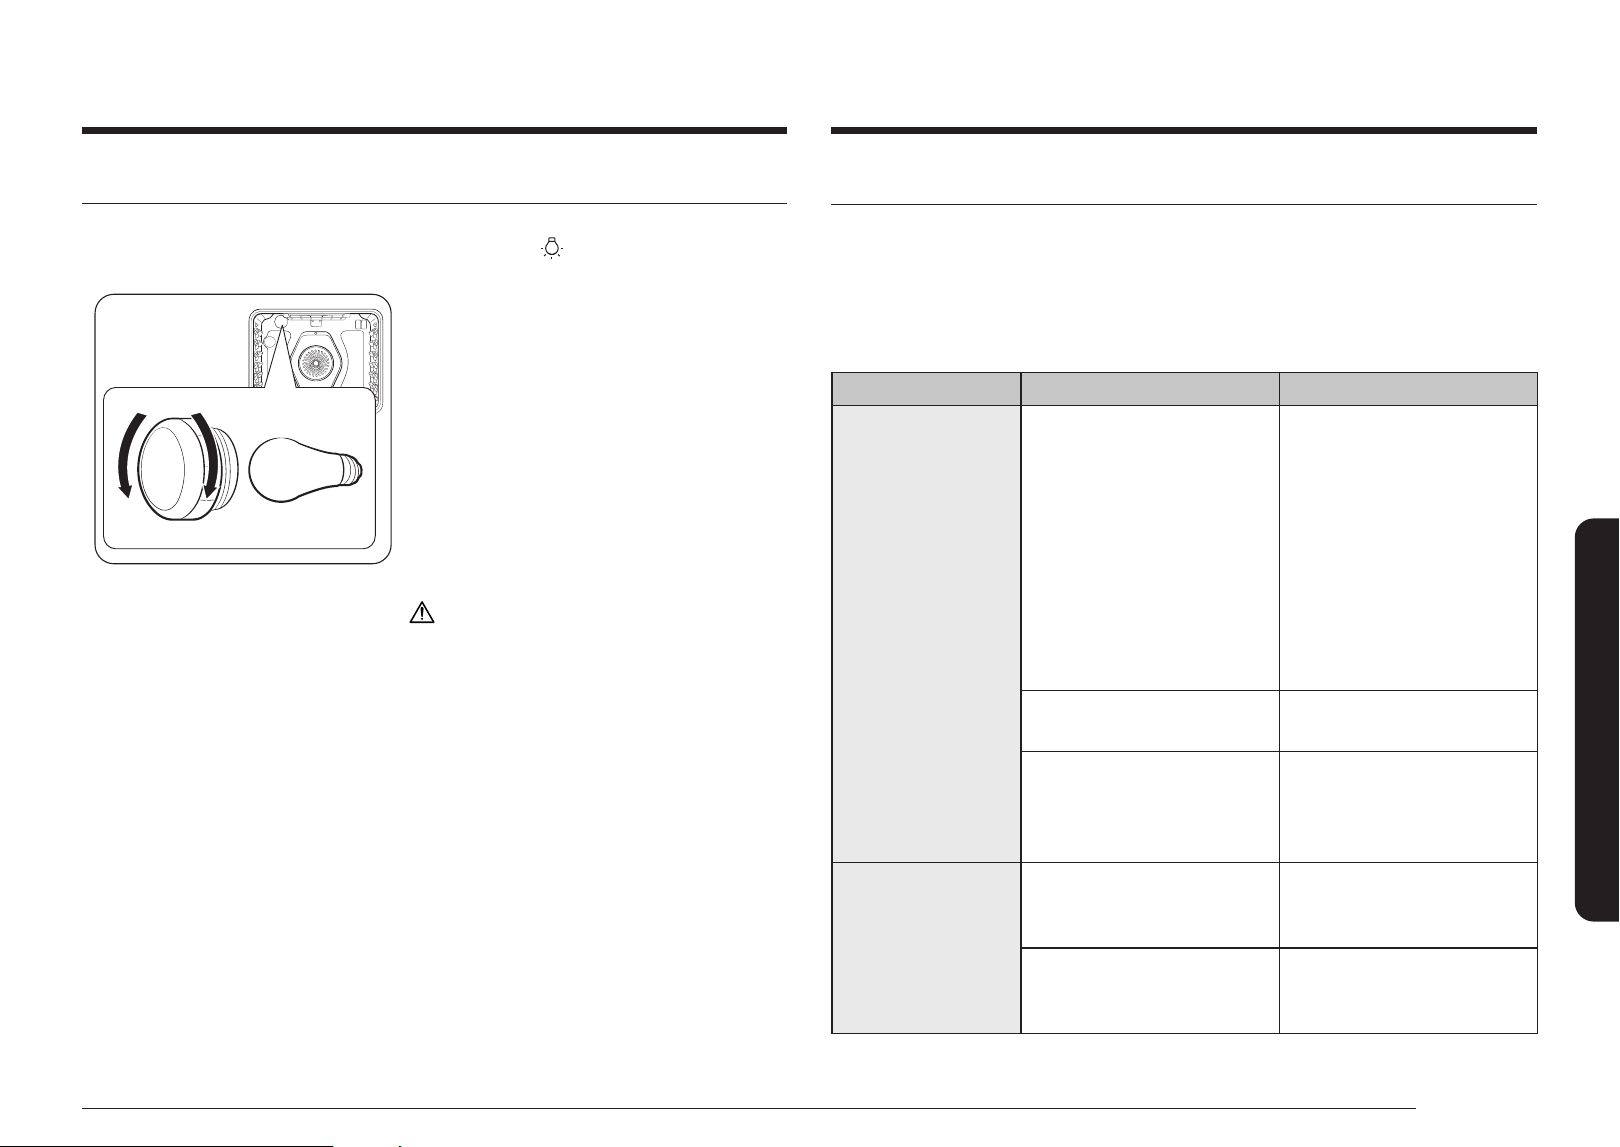
Changing the oven light
The oven light is a standard 40-watt appliance bulb. It will come on when the oven
door is open. When the oven door is closed, press the
pad to turn it on or off. It
will not work during a self-cleaning cycle.
RemoveRemove
Glass bulb coverGlass bulb cover BulbBulb
ReplaceReplace
1. Make sure the oven and the bulb are
cool.
2. Unplug the range or disconnect the
power.
3. Turn the glass bulb cover in the back of
the oven counterclockwise to remove.
4. Turn the bulb counterclockwise to
remove it from its socket.
5. Insert a new 40-watt appliance bulb, and
then turn it clockwise to tighten. Replace
the bulb cover by turning clockwise.
6. Plug in the range or reconnect the power.
CAUTION
• To prevent electric shock, make sure
the oven is turned off and cool before
replacing the oven light.
• When replacing the oven light, be
careful not to damage the product due to
excessive force.
Troubleshooting
Troubleshooting
Samsung works hard to ensure that you don’t have problems with your new
electric range. If you run into unexpected trouble, look rst for a solution in the
tables below. If you’re still having trouble after trying the suggested solution, call
Samsung at 1-800-SAMSUNG (1-800-726-7864).
Installation
Problem Possible cause Solution
The range is not
level.
The appliance has been
installed improperly.
• Place the oven rack in
the center of the oven.
Place a level on the oven
rack. Adjust the leveling
legs at the base of the
range until the oven rack
is level.
• Insure the oor is level
and strong and stable
enough to adequately
support the range.
The oor is sagging or
sloping.
Contact a carpenter to
correct the situation.
The kitchen cabinets are not
properly aligned and make
the range appear to be not
level.
Insure the cabinets are
square and provide
sufcient room for
installation.
The appliance
must be accessed
for servicing and
cannot be moved
easily.
The kitchen cabinets are not
square and too close to the
appliance.
Contact a builder or
installer to make the
appliance accessible.
Carpet is interfering with
movement of the range.
Provide sufcient space so
the range can be lifted over
the carpet.
Loading page 60...
Loading page 61...
Loading page 62...
Loading page 63...
Loading page 64...
Loading page 65...
Loading page 66...
Loading page 67...
Loading page 68...
Loading page 69...
Loading page 70...