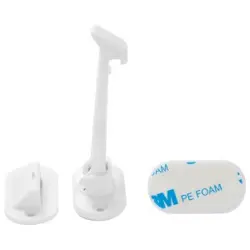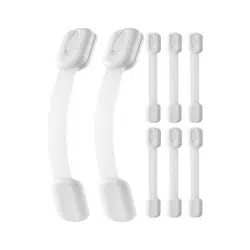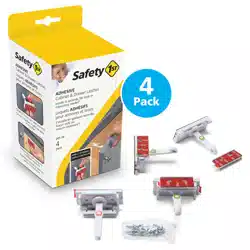
Adhesive Cabinet and Drawer Latches
HS310, HS315, HS316 User Guide
Traba con adhesivo para armario y cajón
HS310, HS315, HS316 Guía del Usuario
©2018 Dorel Juvenile Group, Inc. Safety 1st™ and the Safety 1st logo and design are trademarks of Dorel Juvenile Group, Inc. Safety 1st™ y el logotipo de Safety 1st y su diseño son marcas
comerciales de Dorel Juvenile Group, Inc. (800) 544-1108 www.safety1st.com. Styles and colors may vary. Los estilos y los colores pueden variar. Made in CHINA. Hecho en CHINA.
Distributed by (distribuido por) Dorel Juvenile Group, Inc., 2525 State St.,Columbus, IN 47201-7494. Dorel Juvenile Canada, 2855 Argentia Road, Unit 4, Mississauga, ON, L5N 8G6
Importado y Distribuido en Chile por: Comercial e Industrial Silfa S.A. - San Ignacio 0201 / Parque Industrial Portezuelo Quilicura, Santiago Chile. Fono (562) 2339 9000. En Perú por: Comexa
S.A. - Los Libertadores 455 – San Isidro, Lima – Perú. Fono (511) 4469014. En Centro América, Caribe y Ecuador por: Best Brands Group S.A. – Av. Balboa, Bay Mall Plaza, Planta Baja, local
9, Panamá. - Fono: (507) 300 2884. En Colombia por: Baby Universe S.A.S. - Vía 40 No. 77-29, Barranquilla, Colombia - Fono: (575) 353 1110 Importador: DJGM, S.A. DE C.V.
Gabriel Mancera No. 1041 Col. Del Valle Delegación Benito Juárez C.P. 03100 México, D.F. R.F.C. DJG140305GN9 Tel. (55) 67199202 04/09/18 4358-7464
Información de seguridad importante
Verifique que el adhesivo haya quedado bien adherido tirando firmemente de la puerta o el cajón (espere
24 horas después de la instalación). Si el pestillo no sujeta bien la puerta o el cajón al tirar de estos, use
los tornillos incluidos para asegurarse de que el pestillo y la traba estén seguros.
La firmeza de la unión con el adhesivo depende de la superficie a la que se adhiere; la firmeza del
adhesivo no puede garantizarse a superficies como las siguientes, entre otras: superficies aceitosas,
materiales enclenques (como aglomerado o pintura vieja) o superficies restauradas. Para lograr una
mayor firmeza, use las herramientas incluidas.
Deje de usar la traba cuando el niño sea suficientemente grande como para destrabarla. Un niño sin
supervisión puede ser capaz de inutilizar la protección que ofrece este producto. Para que este producto
funcione efectivamente durante más tiempo, evite que los niños vean como se opera. Si los niños ven
cómo usted libera una traba, un pestillo o una cubierta, podrían aprender más rápido la manera de
inutilizar cualquier tipo de dispositivo de seguridad.
El pestillo puede ser de difícil acceso si se utiliza en un cajón superior que tiene una encimera con un 1’’
que sobresale. Si el pestillo es de difícil acceso, inserte un objeto redondo para apretar el pestillo.
Important Safety Information
Check the security of your adhesive by tugging firmly on the door or drawer (wait 24 hours
after installation). If the lock does not securely hold the door or drawer when tugged, use
the screws provided to ensure that the lock and catch are secure.
Adhesive bond is only as strong as the surface it is adhered to; adhesive strength cannot be
guaranteed on surfaces including but not limited to: oily surfaces, weakly bonded materials
(such as particleboard or old paint) or refinished surfaces. For best product strength, install
using included hardware.
Discontinue use when child becomes old enough to defeat it. Your child will eventually be
able to defeat this product. To keep this product effective for as long as possible, avoid
letting children see how you operate child safety devices. Watching you disengage a lock,
latch or cover could enable them to learn sooner how to defeat it.
Latch may be difficult to access if used on a top drawer that has a counter top with a 1”
overhang. If latch is difficult to access, insert a rounded object to depress latch.
ANTES DE COMENZAR:
• Lea todas las instrucciones antes de instalar.
• Guarde estas instrucciones para su uso futuro.
• Retire todo el contenido del embalaje y deseche la caja y/o las bolsas de polietileno.
• Despliegue e identifique todas las piezas.
• No devuelva este producto al lugar donde lo compró. Si falta alguna pieza, mande
un correo electrónico a support@djgusa.zendesk.com o chatee con nosotros en
www.safety1st.com. Además, puede llamar a Atención al cliente al (800) 544-1108.
Tenga a mano el número de modelo (HS310, HS315, HS316) y el código de fecha (fecha
de fabricación), que se encuentran indicados en el paquete.
• La geometría de la puerta/cajón puede impedir el uso.
• No se recomienda el uso de herramientas eléctricas para la instalación de tornillos.
HERRAMIENTAS NECESARIAS: Taladro de mano o eléctrico, broca de 7/64 pulg. y
destornillador Phillips (no incluidos).
BEFORE YOU BEGIN:
• Read all instructions before installing.
• Keep these instructions for future use.
• Remove all contents from packaging and discard box, and/or poly bags.
• Lay out and identify all parts.
• Do not return this product to the place of purchase. If any parts are missing,
email support@djgusa.zendesk.com, or chat with us at www.safety1st.com.
You can also call Consumer Care at (800) 544-1108. Have the model number
ready (HS310, HS315, HS316) and date code (manufacture date) located on
package.
• Door/drawer geometry may prohibit use.
• Power tools are not recommended for screw installation.
TOOLS NEEDED: Hand drill or power drill, 7/64” drill bit and Phillips head
screwdriver (not provided).
WARNING:
AVISO:
• NO utilice este producto para evitar que los niños tengan accesoa
sustancias tóxicas y peligrosas u objetos punzantes y cortantes.
Tales materiales siempre deben colocarse en lugares “altos” u
otroslugares a los que los niños no puedan llegar de ninguna
manera.
• REQUIEREINSTALACIÓNPORPARTEDEUNADULTO.
MANTENGA LAS PIEZAS PEQUEÑAS FUERA DEL ALCANCE DE
LOSNIÑOSDURANTELAINSTALACIÓN.
• DO NOT use this product to guard against toxic and
dangerous substances, or sharp-edged or pointed
objects.Such materials should always be placed “high
up” orotherwise made completely inaccessible to
children.
• ADULT
INSTALLATION REQUIRED. KEEP SMALL PARTS
AWAY FROM CHILDREN DURING INSTALLATION.
CAUTION:
•
This product is only a deterrent. It is not a substitute for
proper
adult supervision. DO NOT use this product if damaged
orbroken. This product is not a toy. DO NOT allow children to
play with it. When not in use, keep out of reach of children.
•
FOR INDOOR HOME USE ONLY.
PRECAUCIÓN:
• Este producto es sólo un elemento disuasivo. El mismo no reemplaza la
supervisión adecuada por parte de un adulto. NO
use este producto si
se encuentra roto o dañado. Este producto no es un juguete. NO
permitaque los niños jueguen con él. Cuando no lo utilice, manténgalo
fuera del
alcance de los niños.
• SOLO PARA USAR EN ESPACIOS CUBIERTOS.
1
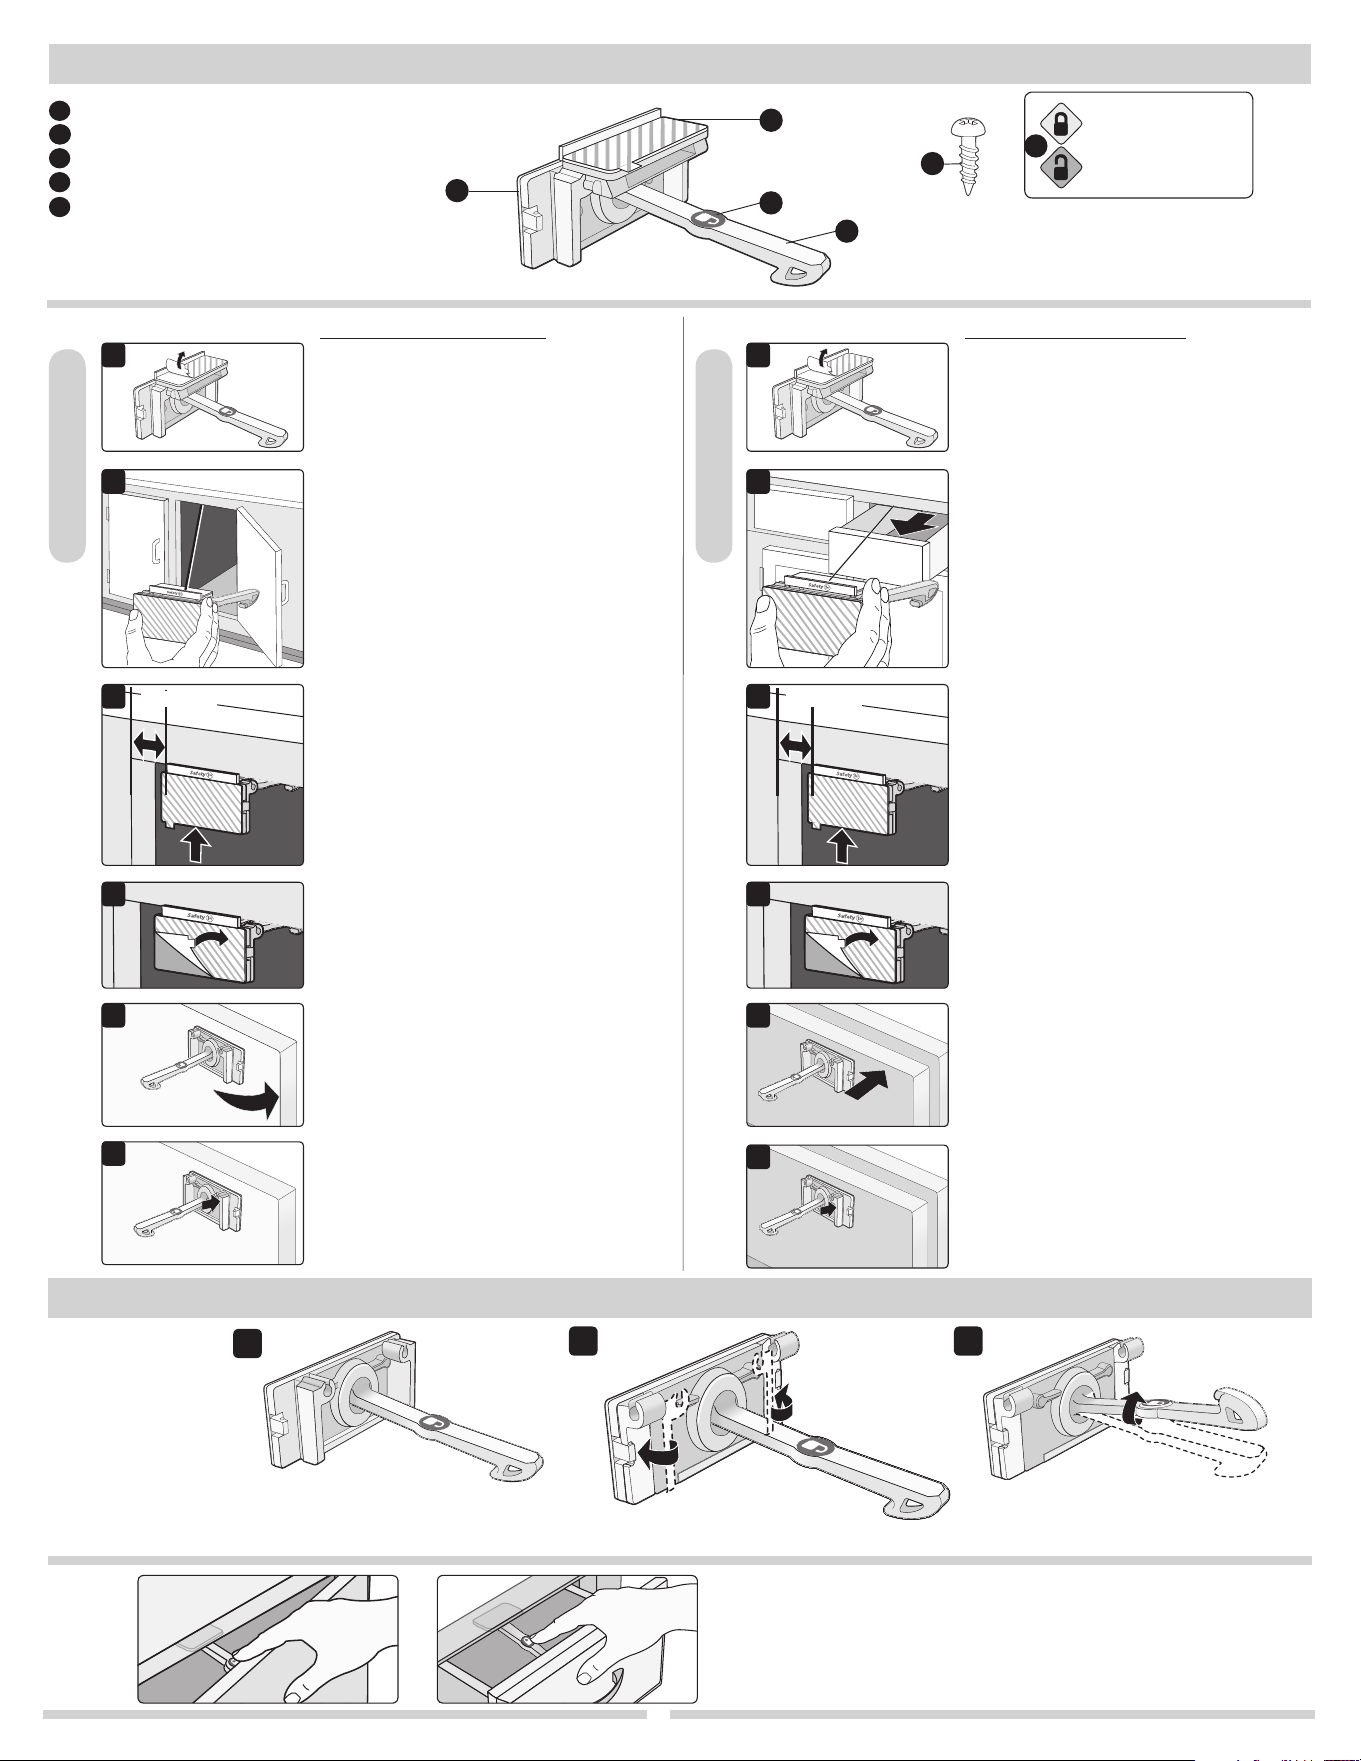
CABINET
DRAWER
To Install in a cabinet:
NOTE: Do not move or detach parts
until instructed. If the latch and catch
become separated, reassemble them
before beginning the installation.
To Install in a drawer:
NOTE:
Do not move or detach parts until
assembly is complete. If the latch and
catch become separated, reassemble
them before beginning the installation.
1
Remove the adhesive backing from
the catch. Don’t remove paper
from the latch yet.
1
Remove the adhesive backing from
the catch. Don’t remove paper from
the latch yet.
2
Open the cabinet and hold the
catch with the adhesive facing
upward as shown.
2
Open the drawer and hold the catch
with the adhesive facing upward as
shown.
3
Place the catch roughly 1 inch (2.5
cm) away from the corner of the
frame (close to door handle) and
align the lip of the catch flush with
the cabinet.
The Safety 1
st
logo should be facing
out (as seen in Figure 3).
3
Place the catch roughly 1 inch (2.5
cm) away from side of drawer and
align the lip of the catch flush with
the cabinet.
The Safety 1
st
logo should be facing
out (as seen in Figure 3).
5
Open the cabinet door. The
latch will adhere to the door and
separate from the catch.
5
Open the drawer. The latch will
adhere to the drawer and separate
from the catch.
6
Press BOTH the lock and catch to
ensure that they adhered firmly.
Allow the adhesive to cure for at
least 24 hours to reach full strength.
6
Press BOTH the lock and catch to
ensure that they adhered firmly.
Allow the adhesive to cure for at
least 24 hours to reach full strength.
4
Remove the paper from the
adhesive on the latch and firmly
close the cabinet door.
4
Remove the paper from the
adhesive on the latch and firmly
close the drawer.
1 1
2 2
3 3
5 5
6
6
4 4
1” (2.5 cm) 1” (2.5 cm)
2
A
B
B
C
D
E
Adhesive mount catch
Adhesive mount lock/latch
Latch arm
SecureTech™ locking indicator
Screws, optional (4 per lock)
Parts & Features
D
D
C
B
Lock comes ready to install.
Do not move or detach parts.
Adhesive
mount
lock/latch
Adhesive
mount catch
SecureTech™
Latch arm
Green = Locked
Red = Unlocked
A
E
1
2
After installation,
prepare lock for use
by following these
steps:
When cabinet door/drawer is opened the latch will engage the
catch. The cabinet drawer/door will remain in a locked position
until the latch is released. Press down on latch with finger to
open.
When installation is complete lock
looks like this.
Lay each side down until it snaps/
locks into place.
3
Rotate the latch arm in the upward
position for use. Rotate back down for
periods of non-use.
To Use
Cabinet Drawer
ARMARIO
CAJÓN
Para instalar en un armario:
NOTA: No mueva ni quite ninguna parte
hasta que así lo indiquen las instrucciones.
Si la traba y
pestillo se separan, vuelva a
armarios antes de comenzar la instalación.
Para instalar en un armario:
NOTA: No mueva ni quite ninguna parte
hasta que así lo indiquen las instrucciones.
Si la traba y
pestillo se separan, vuelva a
armarios antes de comenzar la instalación.
1
Quite el adhesivo de la parte
posterior del pestillo. No quite el
papel de la traba aún.
1
Quite el adhesivo de la parte
posterior del pestillo. No quite el
papel de la traba aún.
2
Abra el armario y sostenga el
pestillo con el adhesivo mirando
hacia arriba, como se muestra en la
imagen.
2
Abra el cajón y sostengael pestillo
con el adhesivo mirando hacia
arriba, como se muestra en la
imagen.
3
Coloque el pestillo a 2,5 cm de la
esquina del marco (cerca de la
manija de la puerta) y alinee el borde
del pestillo con el armario.
El logotipo de Safety 1
st
debería
apuntar hacia afuera. (como se
muestra en la Figura 3).
3
Coloque el pestillo a 2,5 cm del
costado del cajón y alinee el borde
del pestillo con el armarioy alinee el
borde del pestillo con el armario.
El logotipo de Safety 1
st
debería
apuntar hacia afuera. (como se
muestra en la Figura 3).
5
Abra la puerta del armario. La
traba quedará adherido a la puerta
y separada del pestillo.
5
Abra el cajón. La traba quedará
adherido a el cajón y separada del
pestillo.
6
Presione tanto el pestillo como
la traba para asegurarse de que
quedaron bien adheridos. Esperar
al menos 24 horas para que el
adhesivo se seque.
6
Presione tanto el pestillo como
la traba para asegurarse de que
quedaron bien adheridos. Esperar
al menos 24 horas para que el
adhesivo se seque.
4
Quite el papel del adhesivo de la
traba y cierre firmemente la puerta
del armario.
4
Quite el papel del adhesivo de la
traba y cierre firmemente el cajón.
1 1
2 2
3 3
5 5
6 6
4 4
1” (2.5 cm) 1” (2.5 cm)
A
B
B
C
D
Pestillo con adhesivo
Traba con adhesivo
Brazo de traba
Indicador de traba SecureTech™
Tornillos, opcionales (4 por traba)
Piezas y características
D
D
C
B
La traba viene lista para
instalarse. No mueva ni quite
ninguna parte.
Traba
con
adhesivo
Pestillo con
adhesivo
SecureTech™
Brazo de
traba
Verde = Trabada
Rojo = Destrabada
3
E
E
A
1
2
Después de
instalarla, prepare
la traba para usarla
siguiendo
estos pasos:
Cuando la puerta/el cajón del armario esté abierto, la
traba enganchará el pestillo. La puerta/el cajón del armario
permanecerá en la posición trabada hasta liberar la traba.
Presiones hacia abajo sobre la traba con el dedo para abrirla.
Cuando se completó la instalación,
la traba se ve así.
Recueste cada costado hasta que
se encaje en el lugar.
3
Gire el brazo de la traba en la posición
hacia arriba para usarse.
Gírelo hacia abajo cuando no la use.
Para Usar
Armario Cajón
Wipe clean. Keep lock dry.
TO CLEAN
Limpie con un paño. Mantenga la traba seca.
PARA LIMPIAR
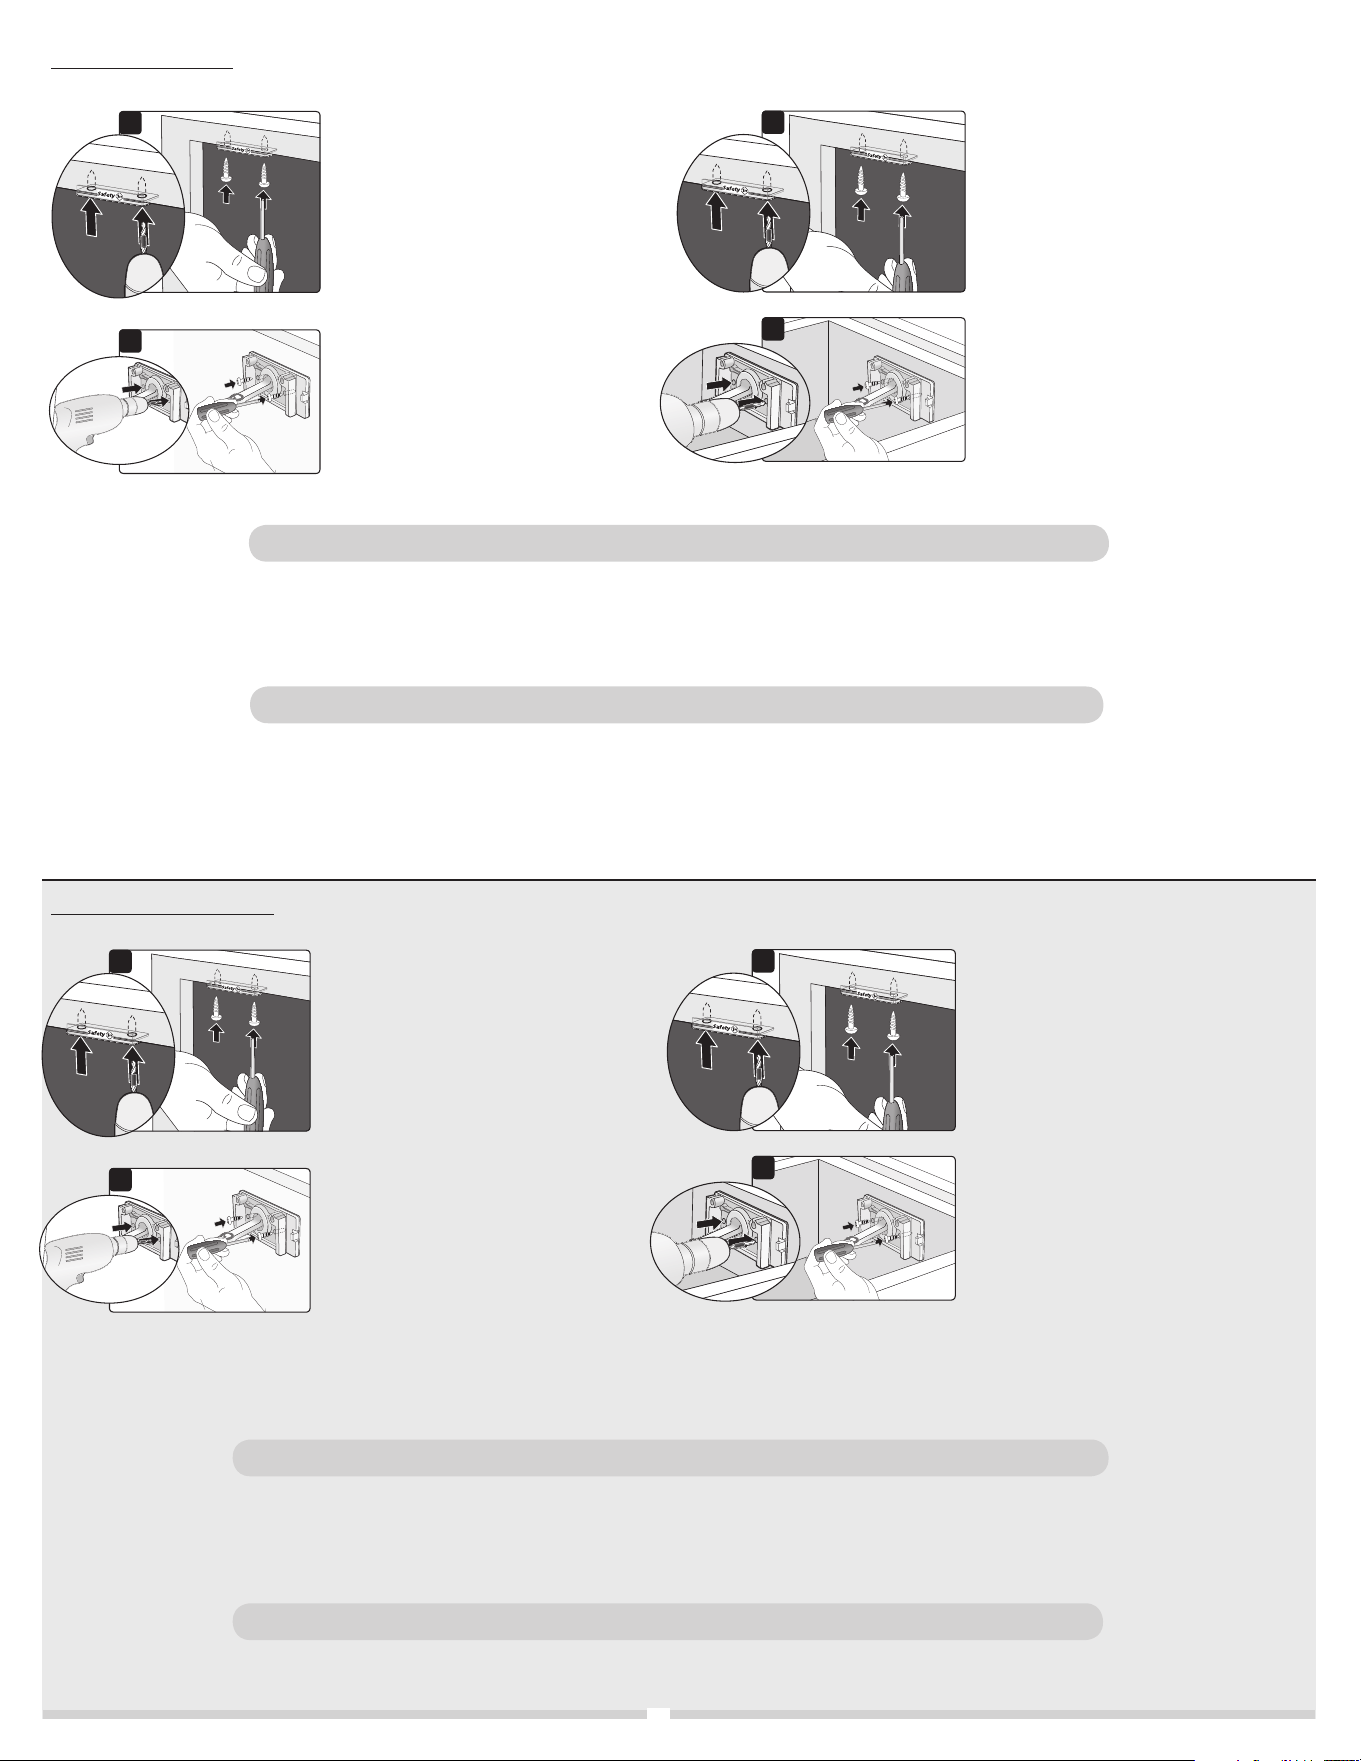
To install screws:
Para instalar tornillos:
Carefully use fishing line or dental floss in a sawing motion to cut adhesive away from lock.
Remaining adhesive residue can be rolled off the door. Note: addition of heat from a hair dryer can
help soften the adhesive and aid in removal.
TO REMOVE
Use una tanza o hilo dental con cuidado, imitando el movimiento de una sierra, para cortar el adhesivo de
la traba. Los residuos del adhesivo pueden despegarse fácilmente de la puerta. Nota: aplicar calor con un
secador de pelo puede ayudar a ablandar el adhesivo y facilitar su remoción.
PARA QUITAR
4
NOTA: Si el armario es de Si la superficie
del armario requiere una instalación de
hardware como se indicó anteriormente,
asegúrese de ajustar los 4 tornillos.
7
Haga con el taladro los agujeros
para los tornillos para el pestillo
de 0,9 cm de profundidad.
Recomendamos una broca de 7/64.
Tenga cuidado de no llegar al otro
lado de la puerta del armario.
8
Haga con el taladro los agujeros
para los tornillos para la traba de
0,9 cm de profundidad. Use un
destornillador Phillips para ajustar
los dos tornillos en el pestillo
como se muestra en la imagen.
7
7
8
8
NOTA: Si el armario es de Si la superficie
del armario requiere una instalación de
hardware como se indicó anteriormente,
asegúrese de ajustar los 4 tornillos.
7
Haga con el taladro los agujeros para
los tornillos para el pestillo de 0,9 cm
de profundidad. Recomendamos una
broca de 7/64. Tenga cuidado de no
llegar al otro lado de el cajón.
8
Haga con el taladro los agujeros
para los tornillos para la traba de
0,9 cm de profundidad. Use un
destornillador Phillips para ajustar
los dos tornillos en el pestillo como
se muestra en la imagen.
NOTE: If your cabinet requires
hardware install as outlined before,
be sure to fasten the 4 screws.
7
Pre-drill screw holes for catch
3/8 inch (0.9 cm) deep. We
recommend using a 7/64 drill bit.
Be careful not to drill through
cabinet door.
8
Pre-drill screw holes for lock
3/8 inch (0.9 cm) deep. Use
a Phillips head screwdriver to
fasten two screws through the
lock openings as shown.
7
7
8
8
NOTE: If your cabinet requires
hardware install as outlined before,
be sure to fasten the 4 screws.
7
Pre-drill screw holes for catch
3/8 inch (0.9 cm) deep. We
recommend using a 7/64 drill bit.
Be careful not to drill through
drawer.
8
Pre-drill screw holes for lock 3/8
inch (0.9 cm) deep. Use a Phillips
head screwdriver to fasten two
screws through the lock openings as
shown.