
CONTENTS
1 Panel, mounting
6 Screw, #8–18 x
1
/
2
"
6 Bumper, rubber
6 Screw, #8–32 x
3
/
8
"
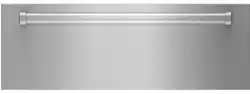
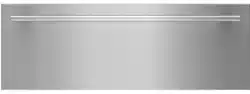
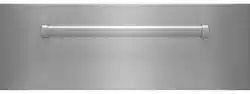
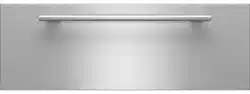
INTEGRATED FRONT PANEL INSTALLATION
1 Place the custom panel face down on a protected
work surface.
2 Place the front mounting panel on the back of the
custom panel (typically centered but varies with
cabinetry design).
3 Use the mounting panel as a template to mark the six
panel mounting locations.
4 Remove the mounting panel and use a
7
/
64
" bit to drill
six pilot holes.
5 Place the mounting panel on the back of the custom
panel and use the predrilled holes to align.
6 Trace the remaining circular holes and each set of
upper and lower oblong holes.
7 Remove the mounting panel and use a
1
/
2
" bit to
counter-bore
1
/
4
" deep holes in each circular hole.
PILOT HOLES
COUNTER BORE HOLES
8 Remove the four screws from the front of the drawer
and discard the cardboard panel.
9 Remove the protective material from the mounting
panel and insert six rubber bumpers. The round side
of the bumpers should face the protected side.
BUMPERS
10 Install the mounting panel using six
3
/
8
" screws.
11 Align the pilot holes on the custom panel with the
holes on the mounting panel and attach using
1
/
2
"
screws.
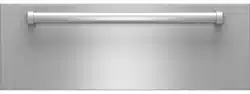
CUSTOM PANEL
Integrated Front Panel Installation
wolfappliance.com 800.222.7820
822946 REV-B 02/2021
Page 1 of 1
*822946$REVB*