
Loading ...
Loading ...
Loading ...
EN / 14
4 Installation
Please read the “Safety Instruc-
tions” section first!
Your washing machine automatic-
ally detects the amount of laundry
placed inside when selecting a pro-
gram.
While installing the product, before
the first use, calibration should be
done to ensure that the laundry
amount is detected in the most ac-
curate way.
To do this, select the Drum Clean-
ing* program and cancel the spin
function. Start the program without
laundry. Wait for the program to fin-
ish, which will take about 15
minutes.
*The program name may vary de-
pending on the model. For the ap-
propriate program selection, review
the program descriptions section.
• Preparation of the location and electrical,
tap water and waste water installations
at the place of installation is under cus-
tomer's responsibility.
• Make sure that the water inlet and dis-
charge hoses as well as the power cable
are not folded, pinched or crushed while
pushing the product into its place after
installation or cleaning procedures.
• Prior to installation, visually check if the
product has any defects on it. Do not
have the product installed if it is dam-
aged. Damaged products cause risks for
your safety.
4.1 Appropriate Installation Location
• Place the product on a hard and level
floor. Do not place it onto a carpet with
high pile or other similar surfaces. Pla-
cing on an improper floor shall cause
noise and vibration problems.
• Do not place the product on the power
cable.
• Do not install the product at places where
temperature may fall below 0 ºC. Freez-
ing might damage your product.
• Leave a minimum space of 1 cm
between the product and the furniture.
• If you will install the product on a surface
with steps, never place it close to the
edge.
• Do not place the product on any platform.
• There shall not be any locked, sliding or
hinged doors that may prevent the load-
ing door from opening completely in the
installation location of this product.
• Do not place heat sources such as
cooker, irons, ovens, heater etc. on the
appliance and do not use them on the
product.
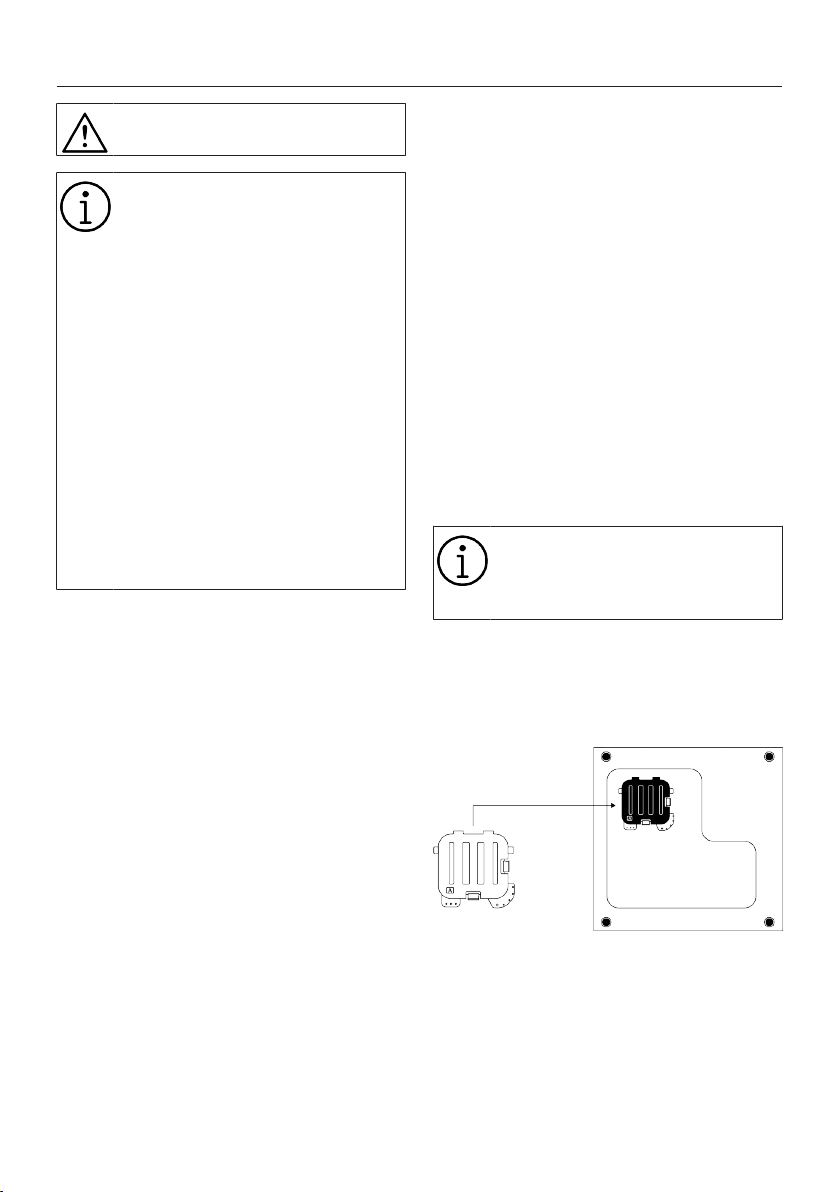
4.2 Assembly of Bottom Panel Covers
With some models, the base parts
of the products are completely
closed. These products do not have
plugs and covers.
• In order to increase the sound comfort of
the product, attach cover A after remov-
ing the package foam.
Cover A
Tilt the machine back slightly. Rest the tabs
of Cover A against the lower panel. Com-
plete the assembly by rotating the cover.
• Cover B and the Cap are optional. If avail-
able, attach cover B and the Cap.
Loading ...
Loading ...
Loading ...