Loading ...
Loading ...
Loading ...
Your pressure washer requires some assembly and is ready
for use only after it has been properly serviced with the
recommended oil and fuel.
If you have any problemswith the assembly of your
pressurewasher, please call the pressurewasher helpline
at 1-800-222-3136.
NOTICE Any attempt to run the engine before it has been
serviced with the recommended oil will result in an engine
failure.
Unpackthe PressureWasher
1. Remove everything from carton except pressurewasher.
2. Opencarton completely by cutting each corner from top
to bottom.
3. Remove pressure washer from carton.
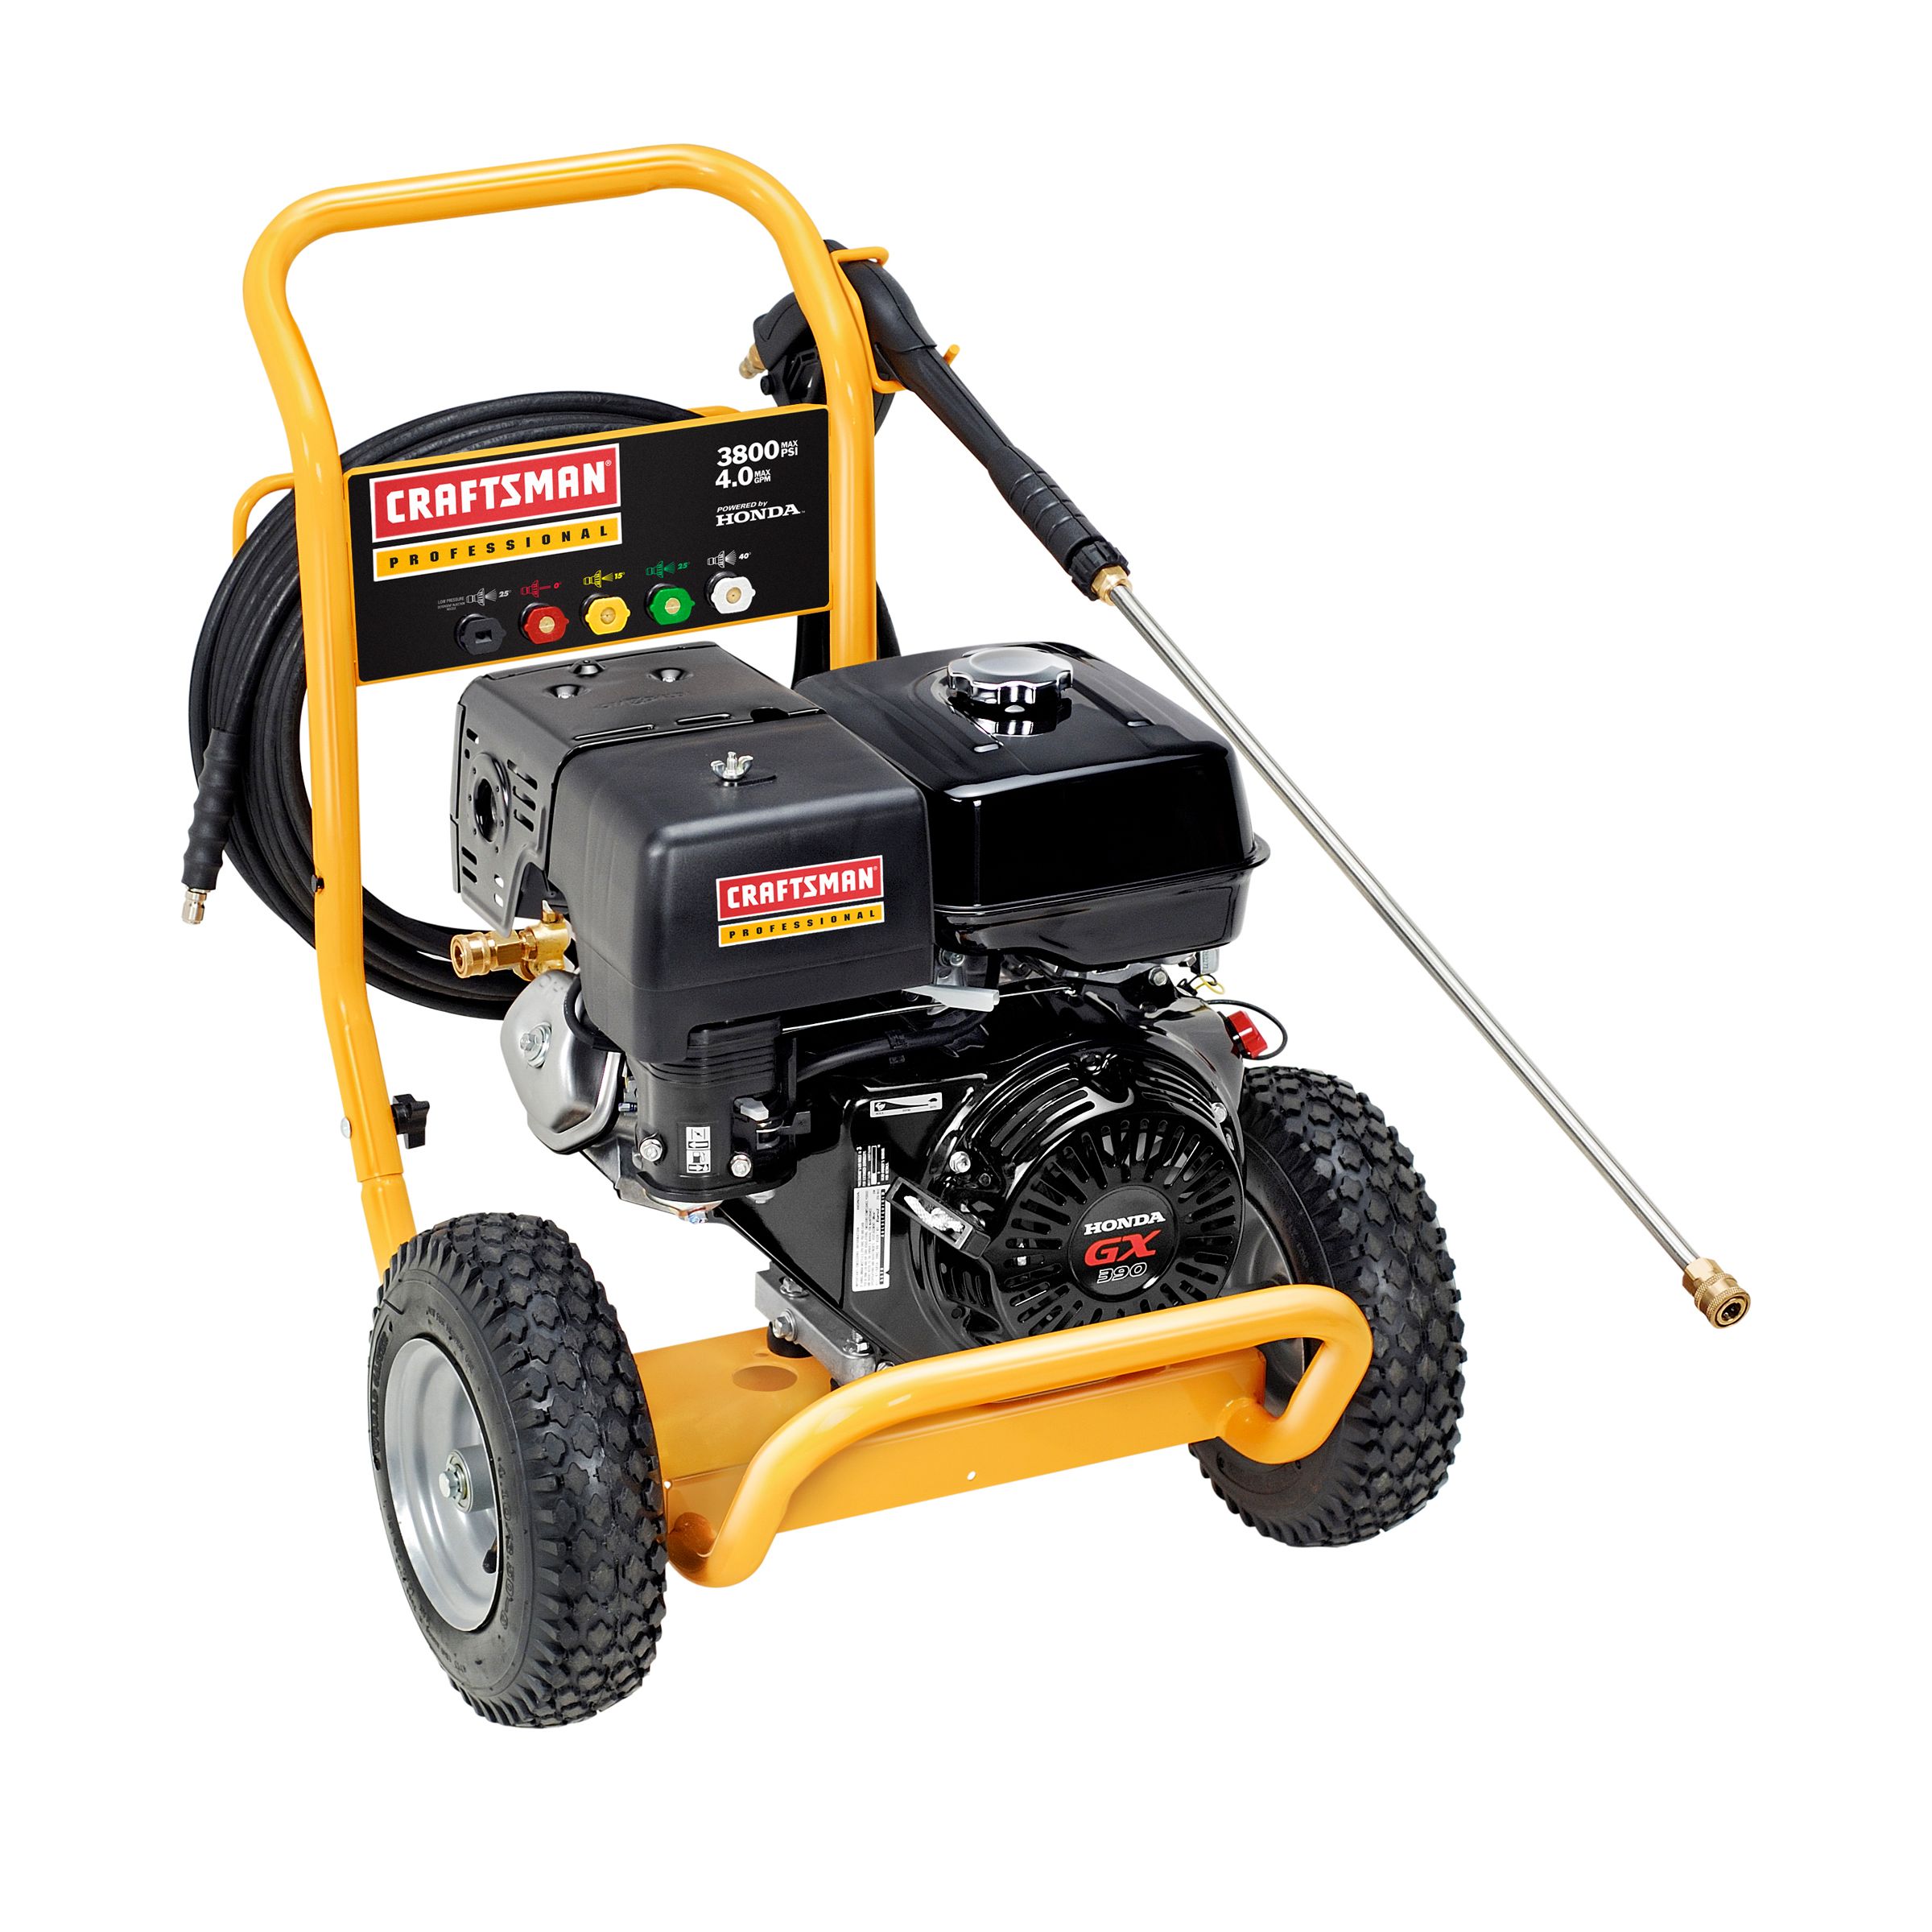
CartonContents
Checkall contents. If any parts are missing or damaged,call
the pressurewasherhelplineat 1-80(I-222-3136.
•The main unit
•Handle
•Spray gun
•High pressure hose
•Nozzleextension with quick connect fitting
•Engine oil
•Parts bag (which includes items listed below)
•Owner's manual
•Registration card
•Bag containing 5 multi-colored quick connect spray
tips
•HandleFasteningHardwareKit (which includes):
•Carriage Bolt (2)
•Plastic Knobs (2)
Becomefamiliar with each piece before assembling the
pressure washer. Checkall contents against the illustration
on page6. If any parts are missing or damaged, call the
pressure washer helpline at 1-808-222-3136.
AssemblingYourPressurePusher
Your Craftsman pressure washer will needassembly before
operation:
1. Fill out and send in registration card.
2. Attach handle.
3. Add oil to engine crankcase.
4. Add fuel to fuel tank.
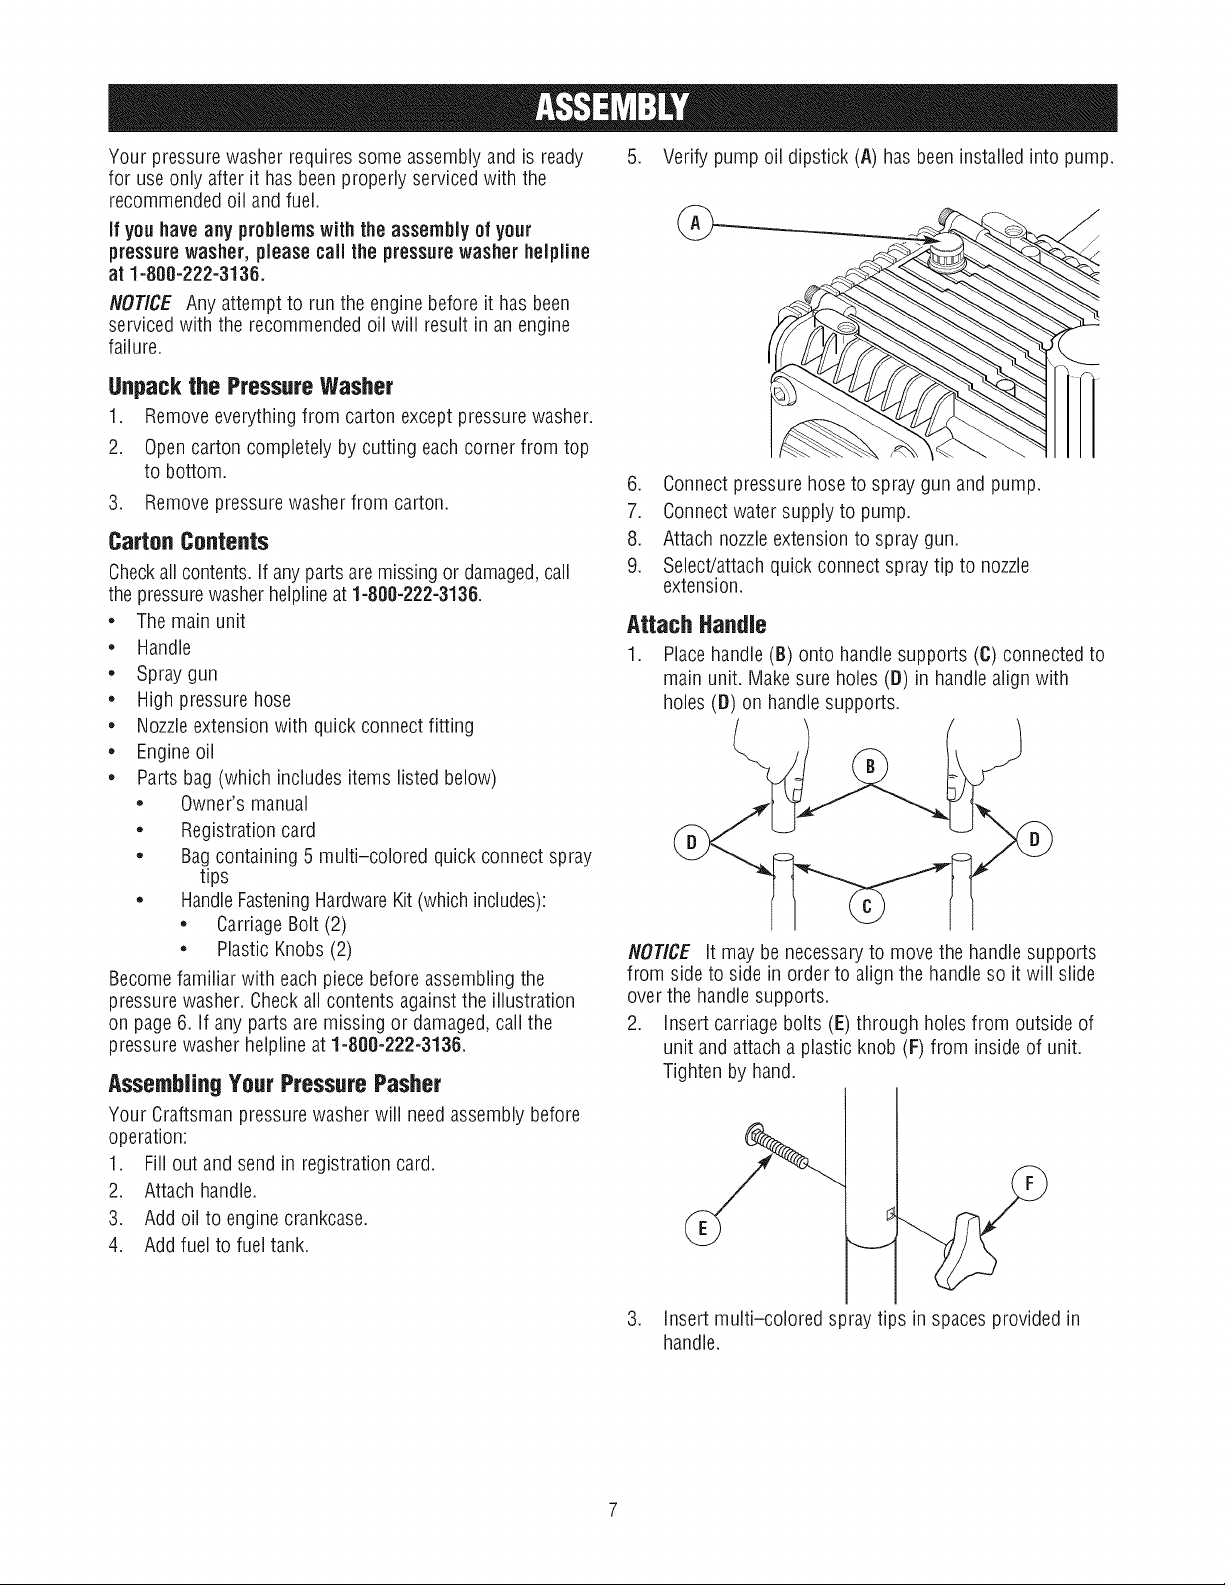
5. Verify pump oil dipstick (A) has been installed into pump.
6. Connect pressure hose to spray gun and pump.
7. Connect water suppiyto pump.
8. Attach nozzleextension to spray gun.
9. Select/attach quick connect spray tip to nozzle
extension.
Attach Handle
1. Placehandle (B) onto handle supports (C) connected to
main unit. Makesure holes (B) in handle align with
holes (B) on handlesupports.
NOTICE It may be necessary to move the handle supports
from side to side in order to align the handle so it will slide
over the handle supports.
2. insert carriage bolts (E)through holes from outside of
unit and attach a plastic knob (F) from inside of unit.
Tighten by hand.
3. insert multi-colored spray tips in spaces provided in
handle.
Loading ...
Loading ...
Loading ...