Loading ...
Loading ...
Loading ...
12
After Sales Support
(AU) 1300 886 649 (NZ) 0800 836 761 | tempo.org/support
Assembly (Cont.)
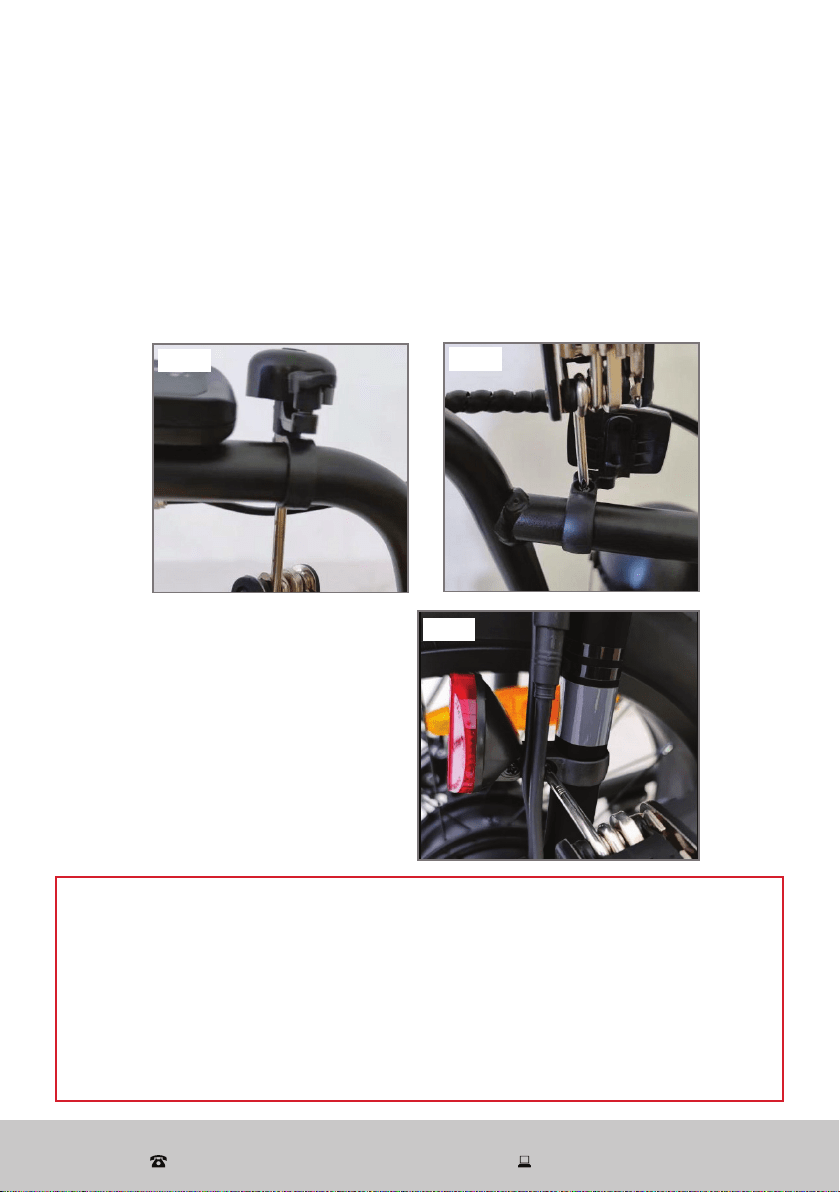
Step 3: Installing the Reflectors and Bell
1. Remove the clamp screw from the reflector (or bell) bracket.
2. Push open the bracket “loop” and slide it onto the handlebar. (If there is a sizing
insert included with the bracket, please be sure it is inside the clamp loop before
mounting.)
3. Position the bell bracket (Fig. 7) or the reflector bracket (Fig. 8) at a certain
position on the handlebar and tighten the clamp screws securely.
CAUTION!
• Be sure the reflector is in the same longitudinal plane as the bicycle
(horizontal to the ground). If the reflector is aimed up or down, oncoming
headlights may not reflect properly in the reflector. If the reflector is not
horizontal to the ground, loosen the clamp screw and readjust the angle.
• It is important to check and adjust the position of the reflectors as you
assemble your bike. The reflectors must always be vertical (perpendicular to
the ground) and pointed toward the front and rear of the bike.
Rear reflector (red)
1. Now mount the rear reflector
to the bike. Loosen the screws
on the reflector so the reflector
bracket can be fitted over the
frame tube .
2. Ensure the reflector aims toward
the rear of the bike, and is
vertically orientated. Tighten the
screw to lock it in place (Fig. 9).
Fig. 7
Fig. 8
Fig. 9
Loading ...
Loading ...
Loading ...