Get Started!

2
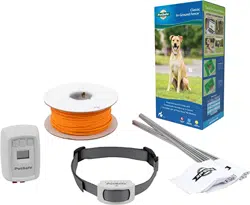
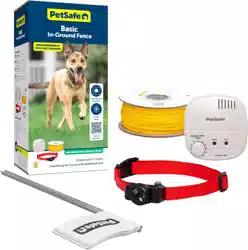
Classic In-Ground Fence
™
Rechargeable Receiver Collar
With your new Classic In-Ground Fence
™
Rechargeable Receiver Collar, you can
provide the freedom and security of your Classic In-Ground Fence
™
system to another
pet. Any number of fuzzy friends can use the fence system — just get a separate receiver
collar for each and complete the full fence training program with each pet.
The receiver collar has 7 levels of static correction plus a tone and vibration setting,
allowing you to easily adjust the correction level to your pet’s temperament. To protect
your pet from being over-corrected, static correction duration is limited to a maximum of
15 seconds.
The only pets we do not recommend the receiver collar for are pets with a history of
aggressive behavior, younger than 6 months of age, or under 5 pounds.
Did you know? The Classic In-Ground Fence
™
Rechargeable
Receiver Collar is compatible with all PetSafe
®
Pawz Away
®
Pet
Barriers — a great way to keep your pet away from trouble spots
indoors and outdoors. Scan the QR code to learn more.
3
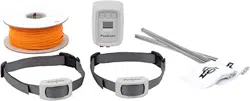
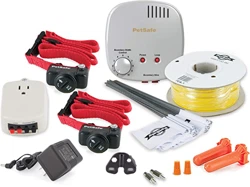
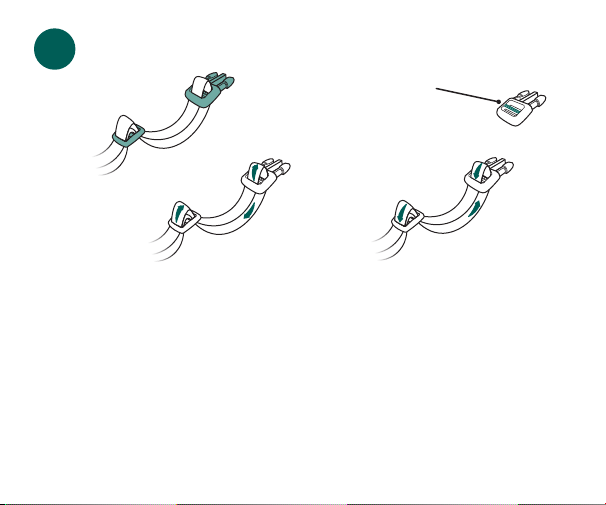
Let’s invite another pup to playtime.
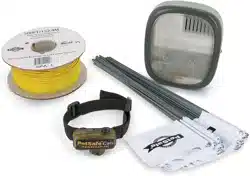
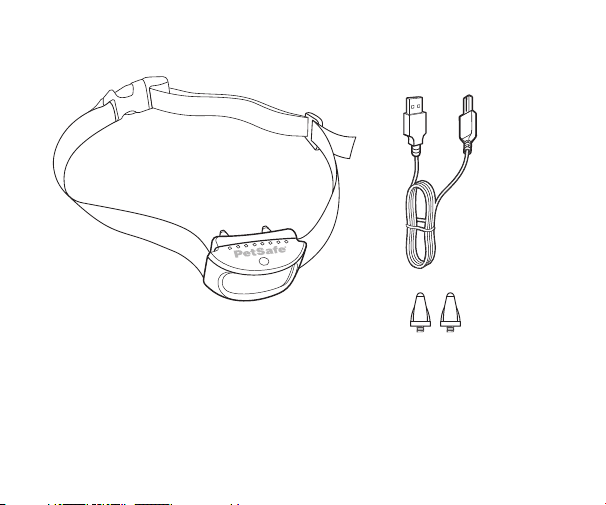
What you have:
Long contact points
Charging cable
Receiver collar with short contact points
4
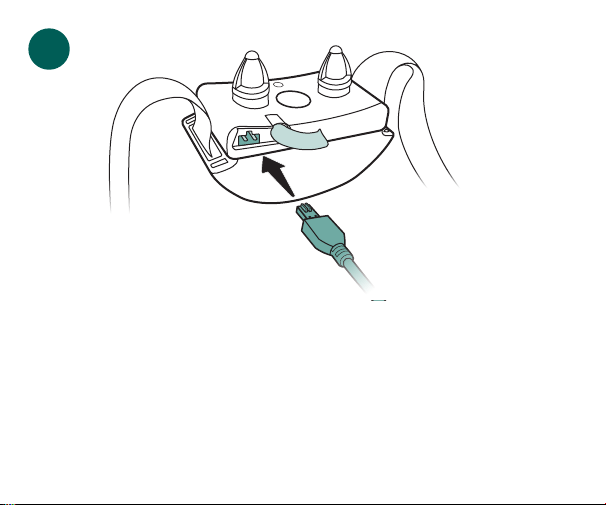
1
Locate the charging jack on the bottom of the receiver collar, covered by a rubber plug.
Lift the plug and insert the small end of the charging cable into the charging jack.
Connect the other end of the charging cable to a USB charging port. The status light
will blink green when the receiver collar is charging and will glow solid green when
charging is complete (within 2-3 hours).
When the receiver collar is fully charged, unplug the charging cable and replace the
rubber plug. Each charge can last up to 3 weeks, depending on frequency of use.

5
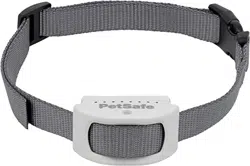
2
Turn the receiver collar on by pressing and
holding the mode button for 1 second. The
receiver collar will beep low to high and
the status light will flash green.
While the receiver collar is on, the status
light will flash every 5 seconds. The color
of the status light indicates the current
battery charge.
Status
light color
Meaning
Green Battery is sufficiently charged.
Yellow Battery charge is below 40%.
Red Battery charge is below 20%;
charge immediately.
Mode button
6
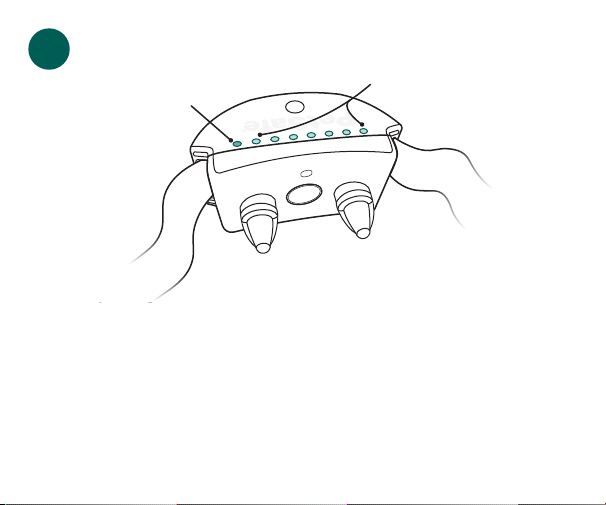
To determine the current correction level, press the mode button once and observe the
row of correction level lights on the top of the receiver collar:
• If the yellow light illuminates, the receiver collar is set to tone and vibration.
• If one or more white lights illuminate, the receiver collar is set to static correction.
The number of white lights illuminated indicates the current static correction level
(one white light = level 1 static correction, two white lights = level 2 static correction,
and so on).
White lights = static correction
level 1–7
Yellow light = tone and
vibration only
3

7
To change the correction level, press the mode button once to view the current
correction level, then press it again within 8 seconds. Each time you press the mode
button within 8 seconds of the previous press, the correction level increases by one.
The levels increase up through level 7 static correction and then start over at tone and
vibration. The collar retains the current correction level each time you turn it off and
back on.
Tone and vibration Level 1 static correction Level 2 static correction
4
8
Turn the receiver collar off by pressing and holding the mode button for 5 seconds. The
receiver collar will beep high to low and the status light will turn off.
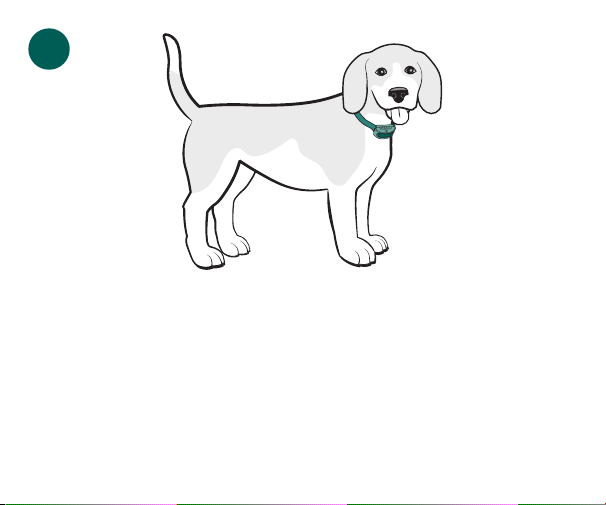
With your pet standing comfortably, place the receiver collar around your dog’s neck.
The PetSafe
®
logo should be right side up, and the contact points should be centered
directly under your dog’s chin, touching his skin. If your dog has long hair, it may be
necessary to switch to the long contact points provided or trim (not shave) the hair
around the contact points.
Check the tightness of the receiver collar by inserting one finger between the end of a
contact point and your dog’s skin. The fit should be snug but not constricting.
5
9
Adjust the fit of the receiver collar as needed. Make sure the ridges on the fasten buckle
are facing up and the strap is threaded through the slide buckle to prevent it from
becoming loose around your pet’s neck.
Once you are satisfied with the fit of the receiver collar, remove it from your pet and trim
it (allow room for growth or a thicker winter coat). Seal the edge of the cut collar by
applying a flame along the frayed edge.
Remember to recheck the fit of the receiver collar frequently as your dog becomes
comfortable wearing it.
Fasten buckle
To loosen To tighten
Ridges
Slide buckle
6

10
Replace the boundary flags at the edge of your pet area and begin training your pup
to understand and respect the boundary. The fence training guide provided with your
Classic In-Ground Fence
™
system will lead you through our recommended training
program step-by-step. (You can also find this information on support.petsafe.net or
request it from our Customer Care team.)
Every pet is unique, so training time will vary. Carefully watch over your pet in the
boundary area until you have completed the full training program and are confident
your dog consistently respects the boundary regardless of distractions or temptations.
7

11
Freedom for your pet,
peace of mind for you.
Now that’s a win-win.

1-Year Warranty | ©2021 Radio Systems Corporation | Models: PIG00-17441 | YU400-2534
For important safety instructions, please see the customer care guide.
For a list of patents protecting this product, please visit radiosystemscorporation.com/patents
For questions or additional tips:
+1 (800) 732-2677
petsafe.com
Let us help!