
Technical Support and E-Warranty Certificate www.vevor.com/support
SOLAR WALL LANTERN
USER'S MANUAL
MODEL:AX-EJD
We continue to be committed to provide you tools with competitive price.
"Save Half", "Half Price" or any other similar expressions used by us only represents an
estimate of savings you might benefit from buying certain tools with us compared to the major
top brands and doses not necessarily mean to cover all categories of tools offered by us. You
are kindly reminded to verify carefully when you are placing an order with us if you are
actually saving half in comparison with the top major brands.
- 1 -
MODEL:AX-EJD
Have product questions? Need technical support? Please feel free to
contact us:
CustomerService@vevor.com
NEED HELP? CONTACT US!
This is the original instruction, please read all manual instructions
carefully before operating. VEVOR reserves a clear interpretation of our
user manual. The appearance of the product shall be subject to the
product you received. Please forgive us that we won't inform you again if
there are any technology or software updates on our product.
SOLAR WALL LANTERN
- 2 -
Warning-To reduce the risk of injury, user must read
instructions manual carefully.
This device complies with Part 15 of the FCC Rules. Operation is
subject to the following two conditions:(1)This device may not
cause harmful interference, and (2)this device must accept any
interference received, including interference that may cause
undesired operation.
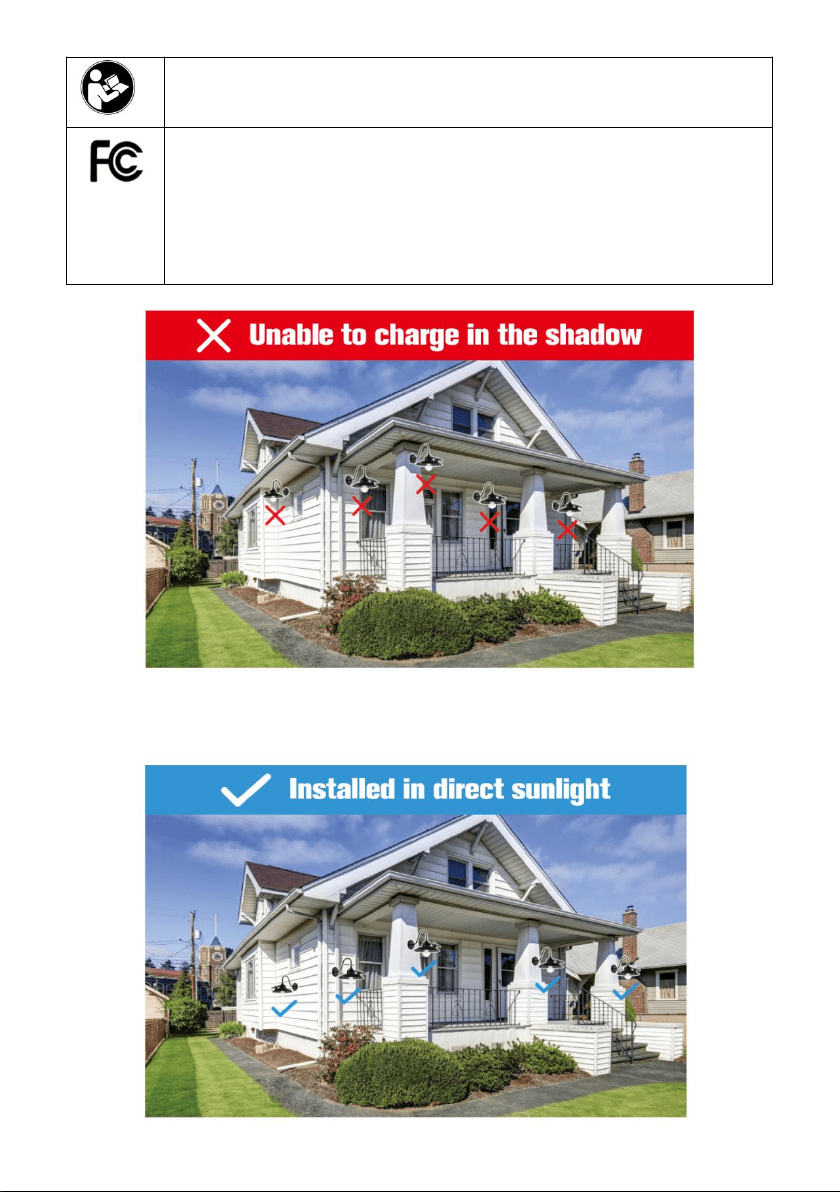
Do not install in a location without direct sunlight, if the photovoltaic panel
cannot receive sunlight,the solar lamp will not work properly at night.
- 3 -
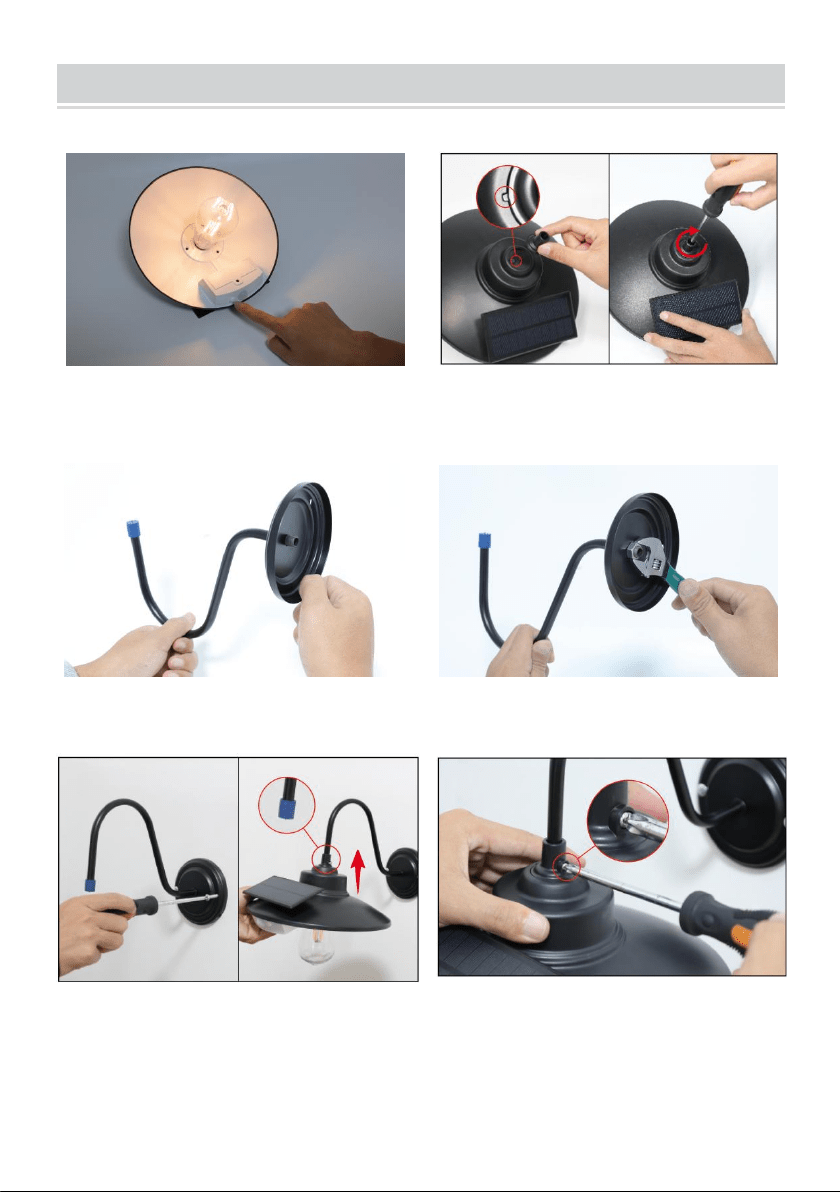
HOW TO INSTALL?
1.Cover the solar panel or place the light
in a dark environment,turn on the switch
to check if the light work normally.
2.As shown in the figure,justify groove
part to fix the connector.
3.Thread the bracket through the
mounting base.
4.Fix the bracket and base together
with nuts.
5.Use long screws to fix the base at the
position you need to install, unplug the
blue cover, and connect the light head
with the bracket.
6. Fix the light head and the bracket
firmly with screws.
- 4 -
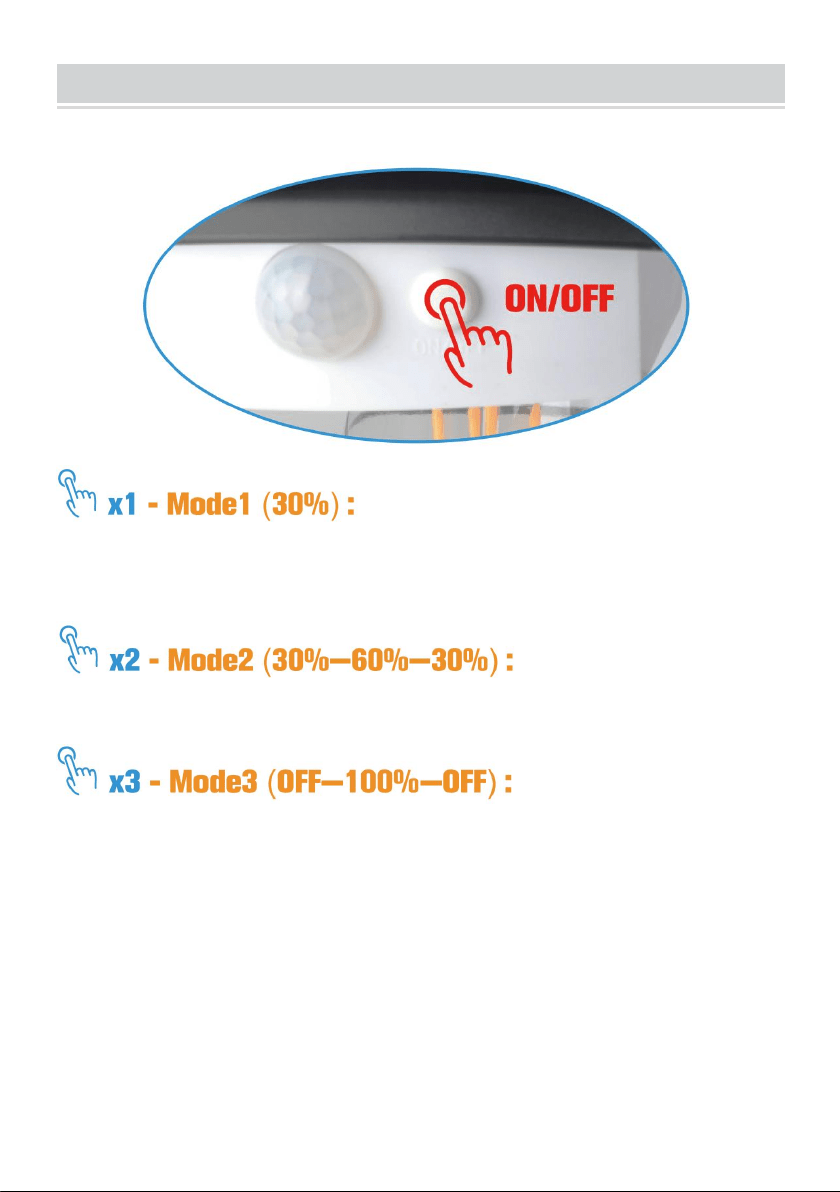
3 LIGHTING MODES
Select mode by pressing the white button.
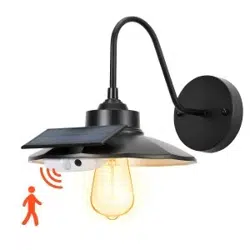
Press white button to turn on the switch, and the first mode is auto dusk to
dawn, the light will keep dim light all night, regardless of whether motion is
detected by the sensing range of the light.
When motion is detected nearby, the light will display 60% brightness, if no
motion is detected within 20s, it will display 30% brightness.
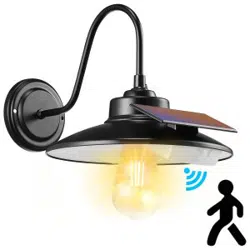
At night the lamp will remain OFF until the sensor detects nearby movement
then turn to 100% brightness, light will turn OFF after no motion is detected
within 20 seconds.
NOTE: When using it for the first time, if the wall lantern does not light up,
please place the wall lantern in direct sunlight to charge it for 8 hours.
- 5 -
FREQUENTLY ASKED QUESTIONS
Why does my light not come on at night?
(1) Make sure the switch is ON (White button). Light can only be charged
when the switch is turned on.
(2) Make sure that the location you install does not have shade or eaves to
block the sun.
(3) Make sure that there are no other light sources above the solar panel at
night,such as street lights.
Does the solar panel require the direct sun to charge?
The solar panel must be installed in a location where it can receive full
direct sunshine (when available) and usually set the solar panel facing
South at an appropriate angle. The solar panel must not be installed in a
shaded or part-shaded location.
What type of battery does my solar hanging light require to operate?
The solar barn light requires one Lithium-ion 3.7V 1500 mAh battery,
battery model: 18650.
Can I use any regular bulb for the solar barn light?
Only bulbs purchased through Aulanto can be used for this product.
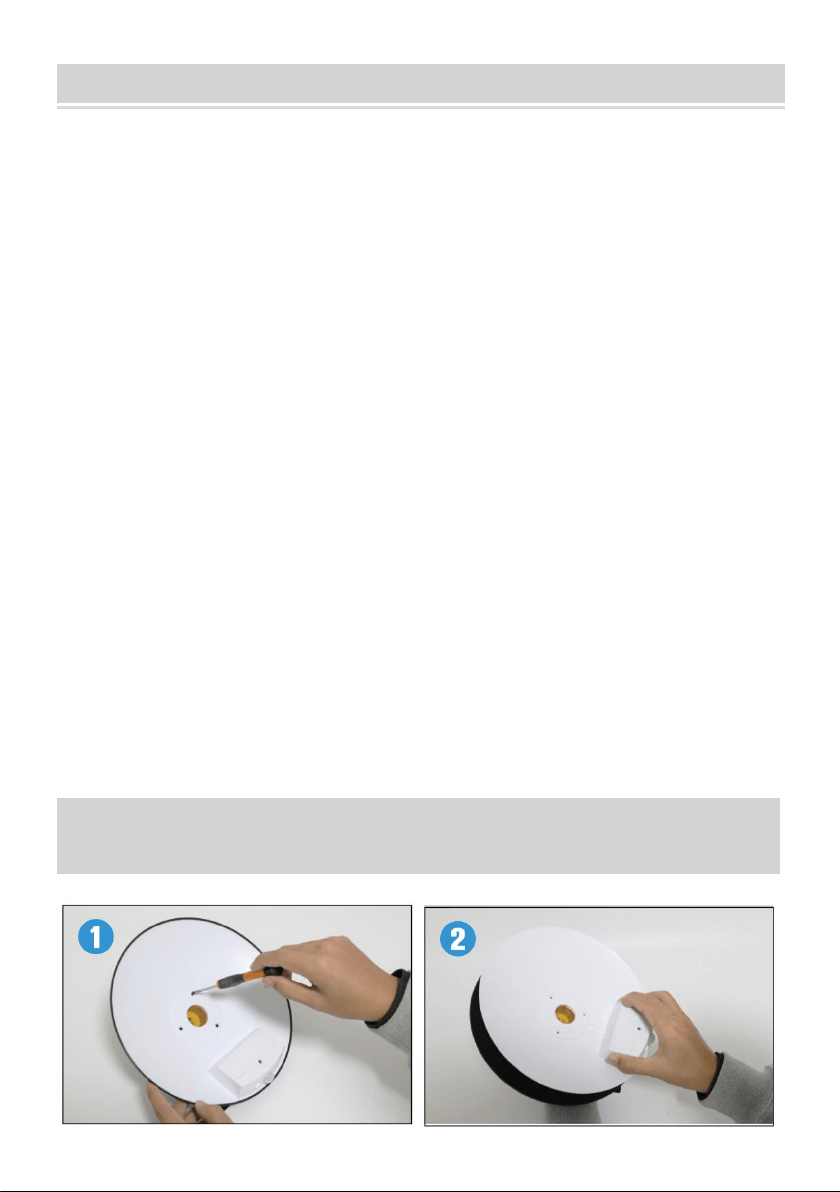
IF THE LIGHT DOES NOT TURN ON AT DUSK AFTER 6-8 HOURS OF
CHARGING:
- 6 -
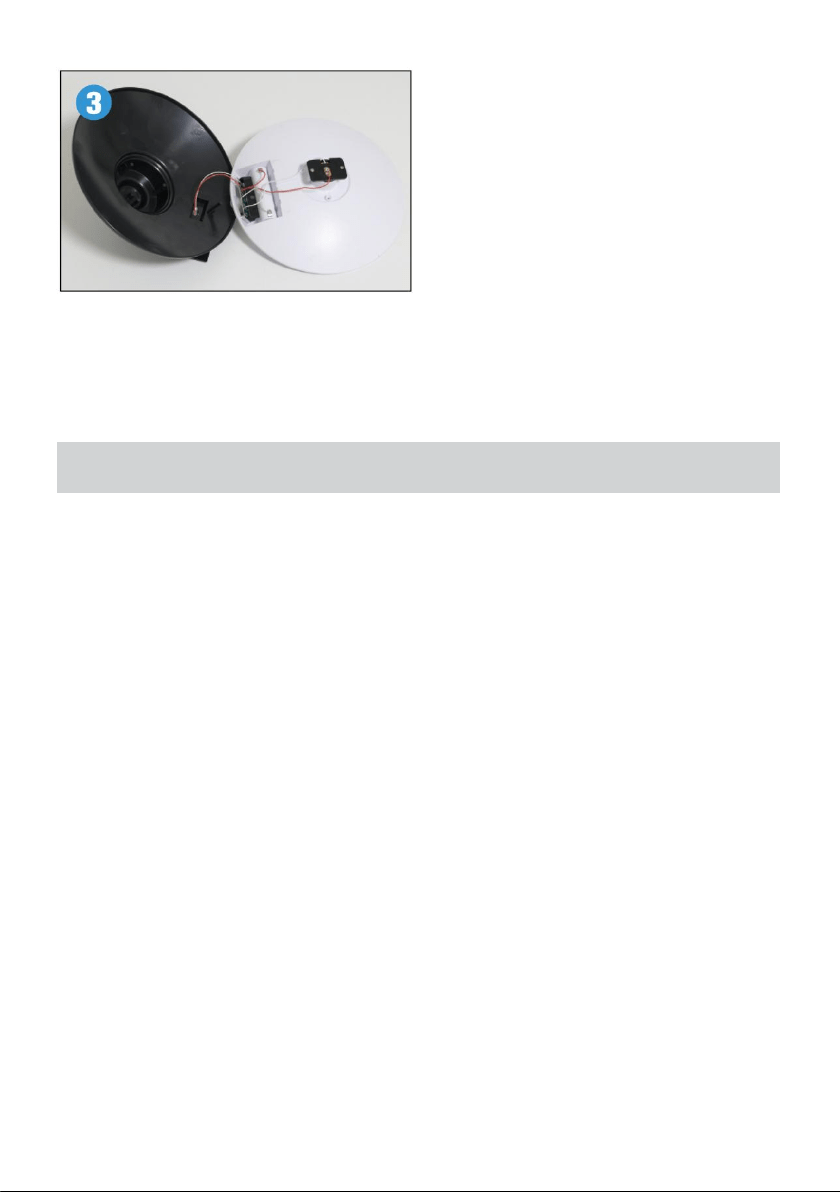
1: Unscrew the three fixing screws as shown in the picture.
2: Uncover the lampshade gently upward.
3: Check whether the internal circuit is off, loose, etc.
LIST OF ACCESSORIES
1. Products*1
2. Instructions*1
3. Plastic Expansion(4.5mm*35mm)*2
4. Galvanized Screws(4.5mm*30mm)*2
5. Irons*1
6. Install the Round Iron Disc *1
7. Ironed Fixing Nut *1
8. The Lamp Body Fixes the Plastic Parts *1
9. The Lamp Body Fixing Rubber Part Screw(4*12mm) *1
10.Dense Bags *1
Made In China