Loading ...
Loading ...
Loading ...
10
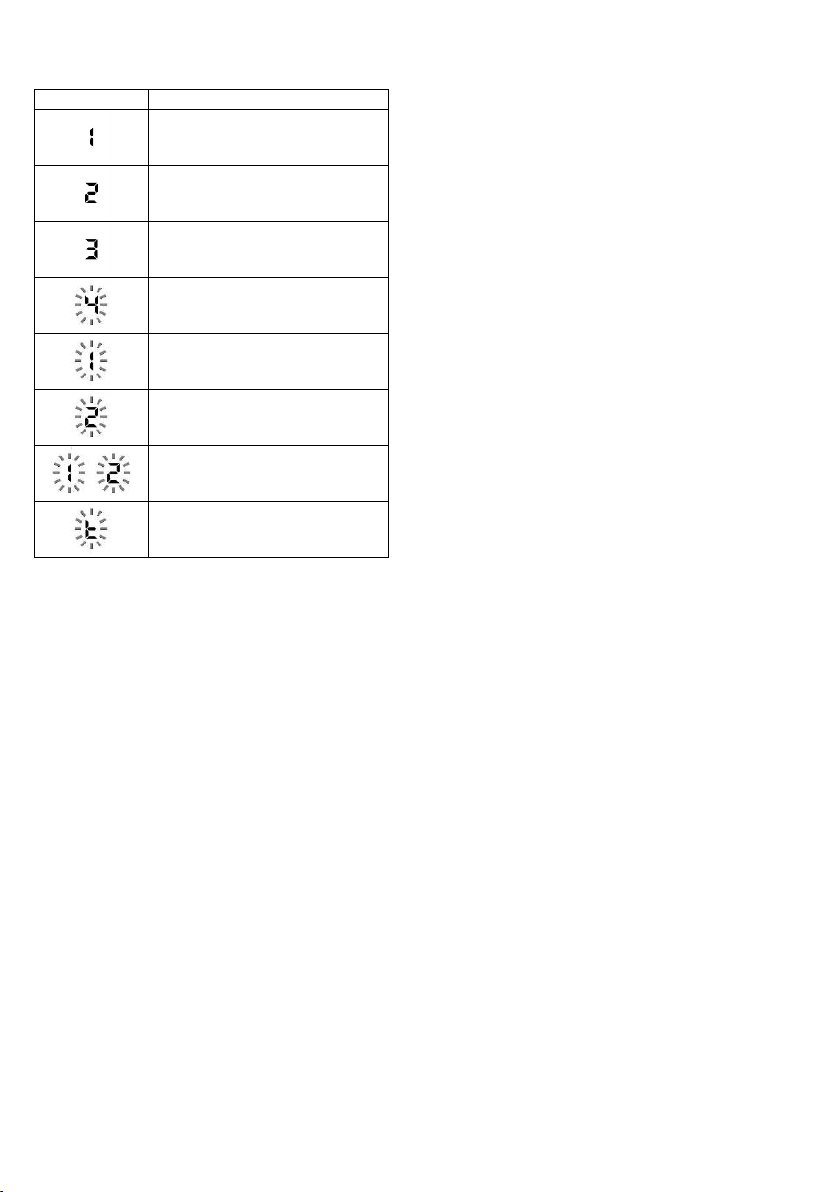
Display Symbols
Symbol
State
Speed 1
Speed 2
Speed 3
Speed 4 (intense)
Grease filter maintenance
Carbon filter maintenance
Grease filter and carbon filter
maintenance
Temperature Alarm
Maintenance
Clean using ONLY a cloth dampened with neutral liquid
detergent. DO NOT CLEAN WITH TOOLS OR
INSTRUMENTS. Do not use abrasive products. DO NOT USE
ALCOHOL!
Grease filter
Fig. 9-26
Traps cooking grease particles.
This must be cleaned once a month (or when the filter
saturation indication system – if envisaged on the model in
possession – indicates this necessity) using non aggressive
detergents, either by hand or in the dishwasher, which must
be set to a low temperature and a short cycle.
When washed in a dishwasher, the grease filter may discolor
slightly, but this does not affect its filtering capacity.
To remove the grease filter, pull the spring release handle.
Charcoal filter (filter version only)
Fig. 18
The saturation of the charcoal filter occurs after more or less
prolonged use, depending on the type of cooking and the
regularity of cleaning of the grease filter.
In any case it is necessary to replace the cartridge at least
every four months.
The charcoal filter may NOT be washed or regenerated.
Replacing lamps
The hood is equipped with a lighting system based on LED
technology.
The LEDs guarantee an optimum lighting, a duration up to 10
times longer than the traditional lamps and allow to save 90%
electrical energy.
The lighting system cannot be replaced by the user, contact
Customer Service in case of malfunction.
On some models ONLY:
A Non Return Backdraft Damper is included in the supply, as
optional accessory to be installed under certain installation
conditions (i.e. if there is no protection against accidental
backdraft of air from the outside). The damper must be
installed inside the dedicated housing, inside of the Air Outlet
Fitting, before installing the flue.
Fig. 15
Loading ...
Loading ...
Loading ...