Loading ...
Loading ...
Loading ...
18
Gas Conversion and Specifications
Conversion Procedure
NOTE:
These conversions should only be carried out by qualified persons. All connections must
be checked for leaks before re-commissioning the appliance.
Adjustment of components that have adjustments / settings sealed (e.g. paint sealed) can
only be adjusted in accordance with the following instructions and shall be re-sealed
before re-commissioning this appliance.
For all relevant gas specifications refer to ‘Gas Specification Tables’ at rear of this section.
Remove the following:-
Control knob from the target top control panel.
Centre casting.
Two half plate castings.
Two front fire bricks.
R/H main fire brick.
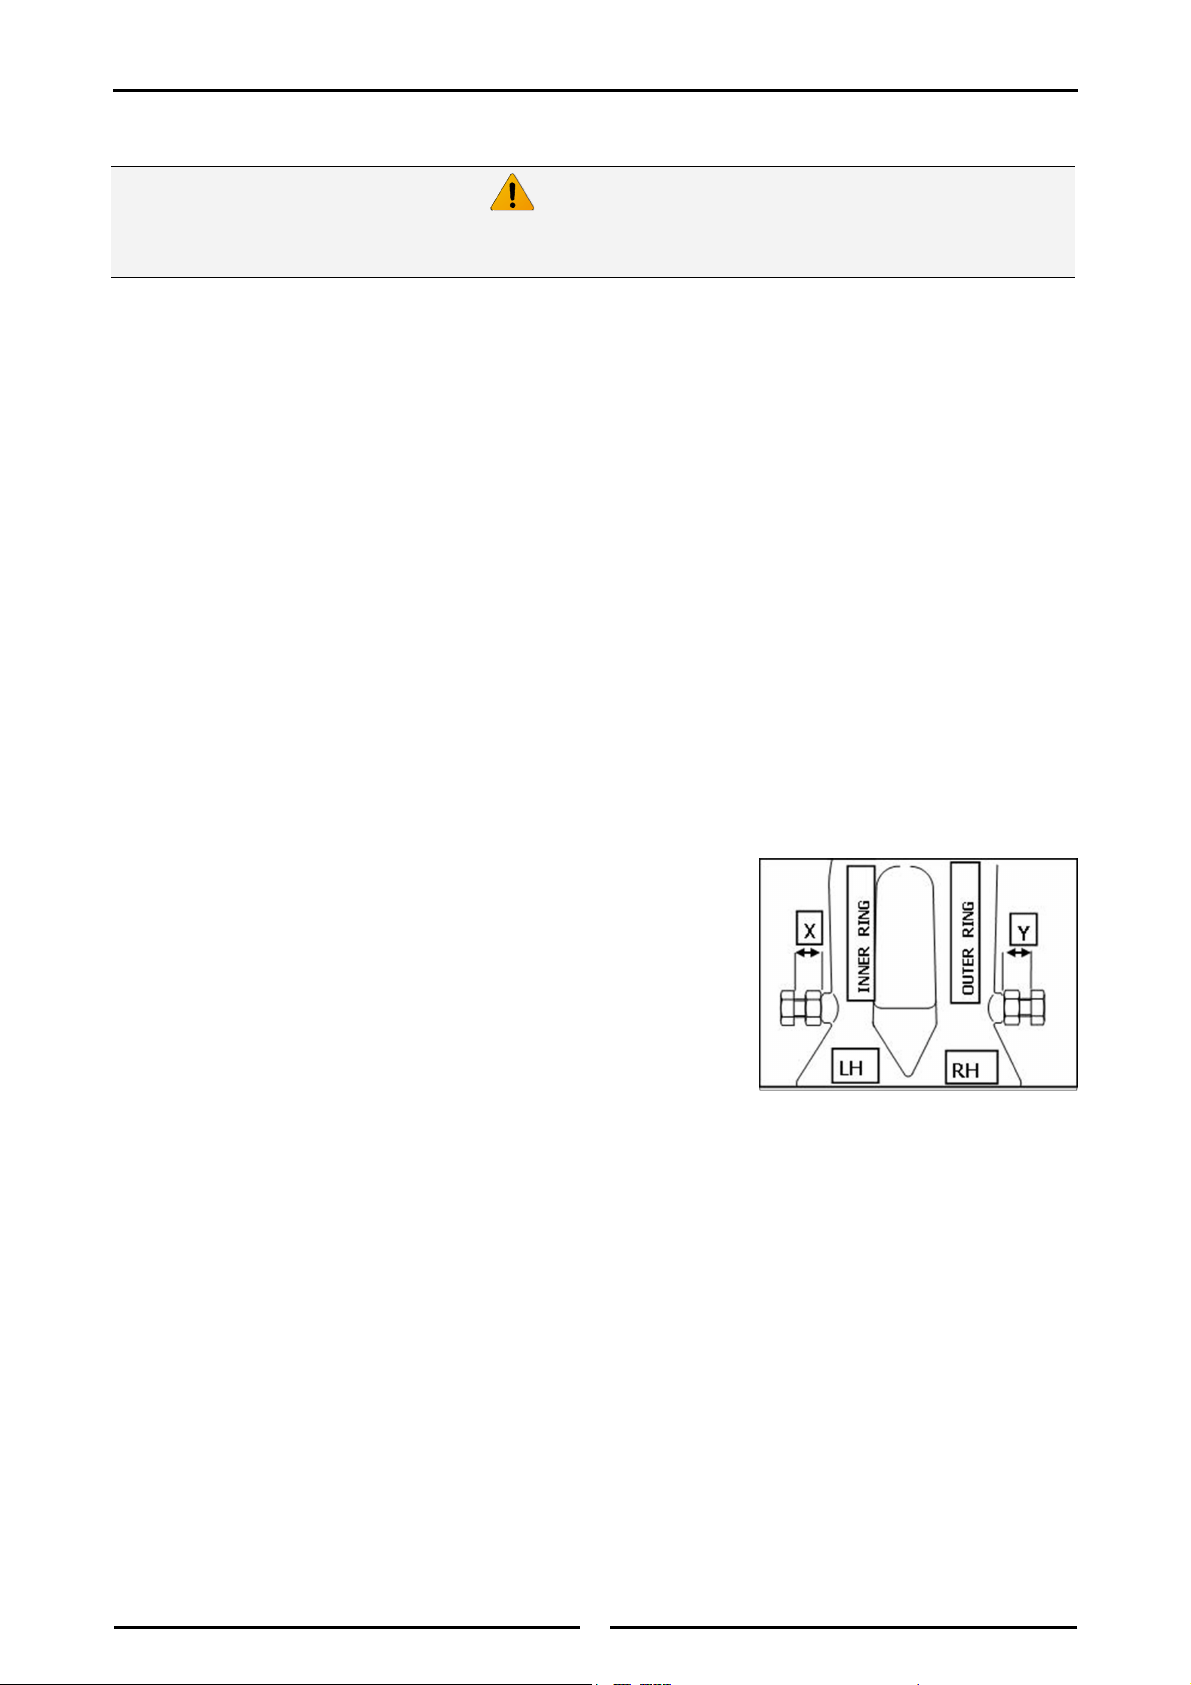
Main Burner Injectors
1. Remove main burner to reveal inner and outer ring injectors.
2. Remove injectors and replace with correct size injectors as
shown in ‘Gas Specifications Tables’ at rear of this section.
3. Refit main burner to target top.
NOTE: Ensure main burner is pulled fully towards front of unit
before tightening 2 main burner securing screws.
4. Set burner aeration screws ‘X’ and ‘Y’ for correct gas type
aeration, as shown in 'Gas Specifications Tables’ at rear of this
section.
Ensure Appliance is isolated from gas and electrical supplies before
commencing servicing.
Caution
Loading ...
Loading ...
Loading ...