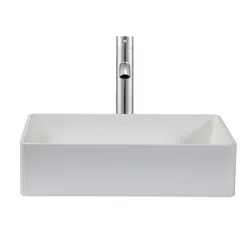
Bathroom Sink
User Manual
&
Installation Instructions
IMPORTANT SAFETY INSTRUCTIONS
Carefully read the important information
regarding installation, safety and maintenance.
Keep these instructions for future reference.
MAAN3351-01
2020-04-17
— 2 —
Before You Begin
Required Tools
Tape measure
Pencil (NOT ink)
Putty knife
Scissors
Adjustable wrenches
Sealant drill and 1/2 inch (or larger) drill bits
Plumber's putty or Caulk
Caulking Gun
Silicone adhesive sealant
Rags
Denatured alcohol
Ear protection
Eye protection
Gloves
Hacksaw/jigsaw
Wood braces
Framing square
Shims
General Recommendations:
Product failure due to the disregard of the manufacturer’s instructions or guidelines, is not covered under the Warranty.
Read installation and maintenance instructions, thoroughly before installation.
Inspect your sink for any noticeable damage before installation.
Be sure to use proper tools and always wear personal safety accessories for your protection.
Check all local applicable plumbing and building codes.
WARNING:
Risk of personal injury or product damage. Handle with care. Material can break or chip if the product is handled
carelessly. Metal edges may be sharp. Use gloves when handling.
Be sure to use proper tools and always wear personal safety devices for your protection.
Package Contents
IMPORTANT:
1. Installation must be done by a qualified, licensed plumber. The contractor must perform a dry fit prior to
drilling holes in the countertop for the sink.
2. DrillholesizeincountertopforthelavatoryisΦ13/4inch(4.4cm).
3. All vessel bowls are hand made. You may expect variations in color, texture and bowl symmetry. If you notice any
obvious variation or defects, you should contact your retailer immediately.
4. Though resistant to breakage, vessel sinks can break or chip when a heavy object falls in or on them.
Lavatory
Removing Your Old Lavatory
— 3 —
STEP 1
Preparation
STEP 2
Determine Layout
Please inspect your working surface, making sure it is level and clean.
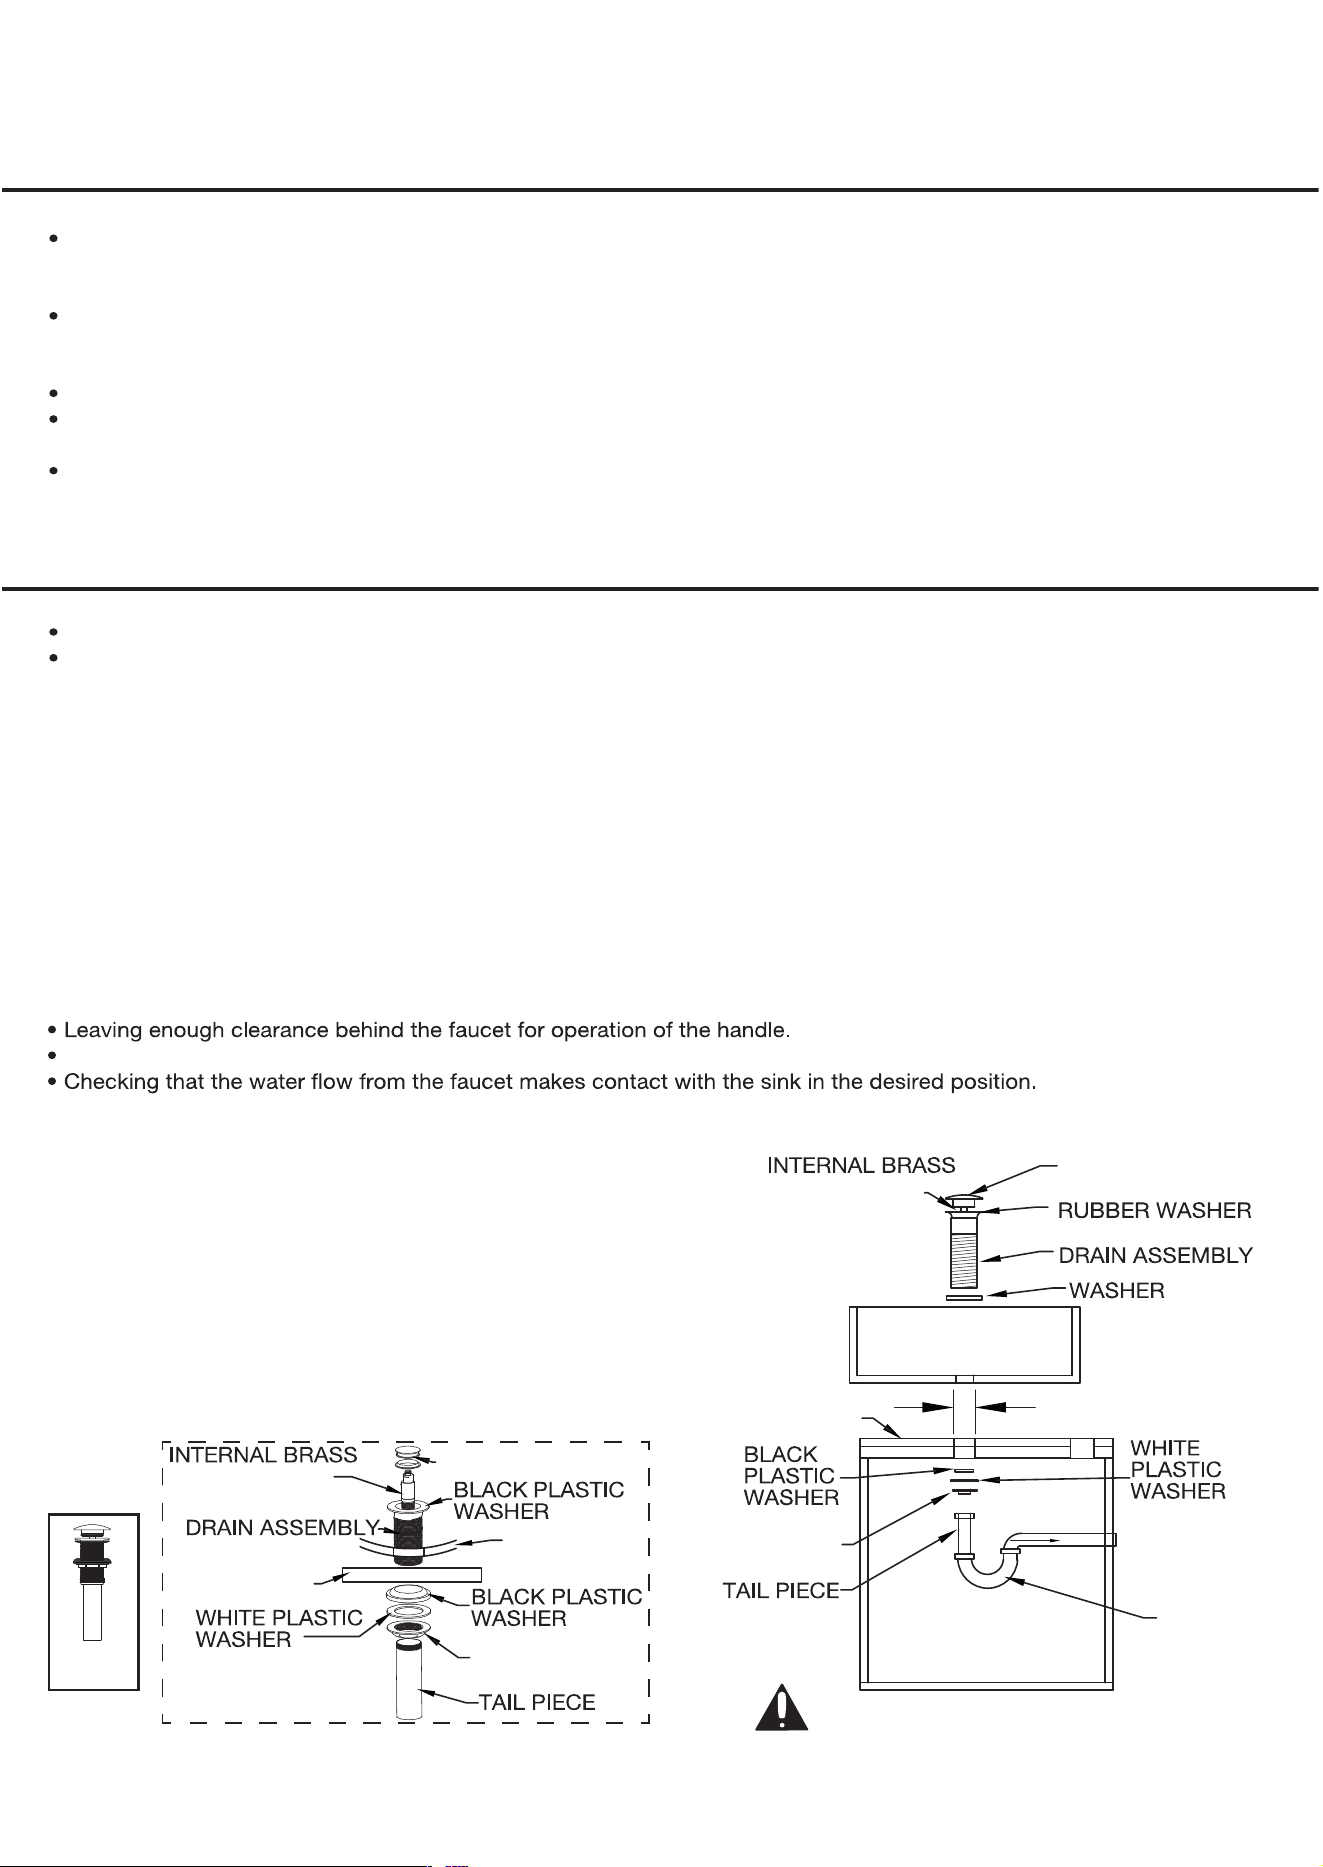
Determine the layout for the sink you desire. It is important to fully "dry" the position of the sink on the countertop. Aspects to note,
but are not limited to:
Positioning the faucet so it does not interfere with the sink.
STEP 3
Set Position
MarkanddrillΦ13/4inch(4.4cm)holeoncountertopfordrainplacement.
STEP 4
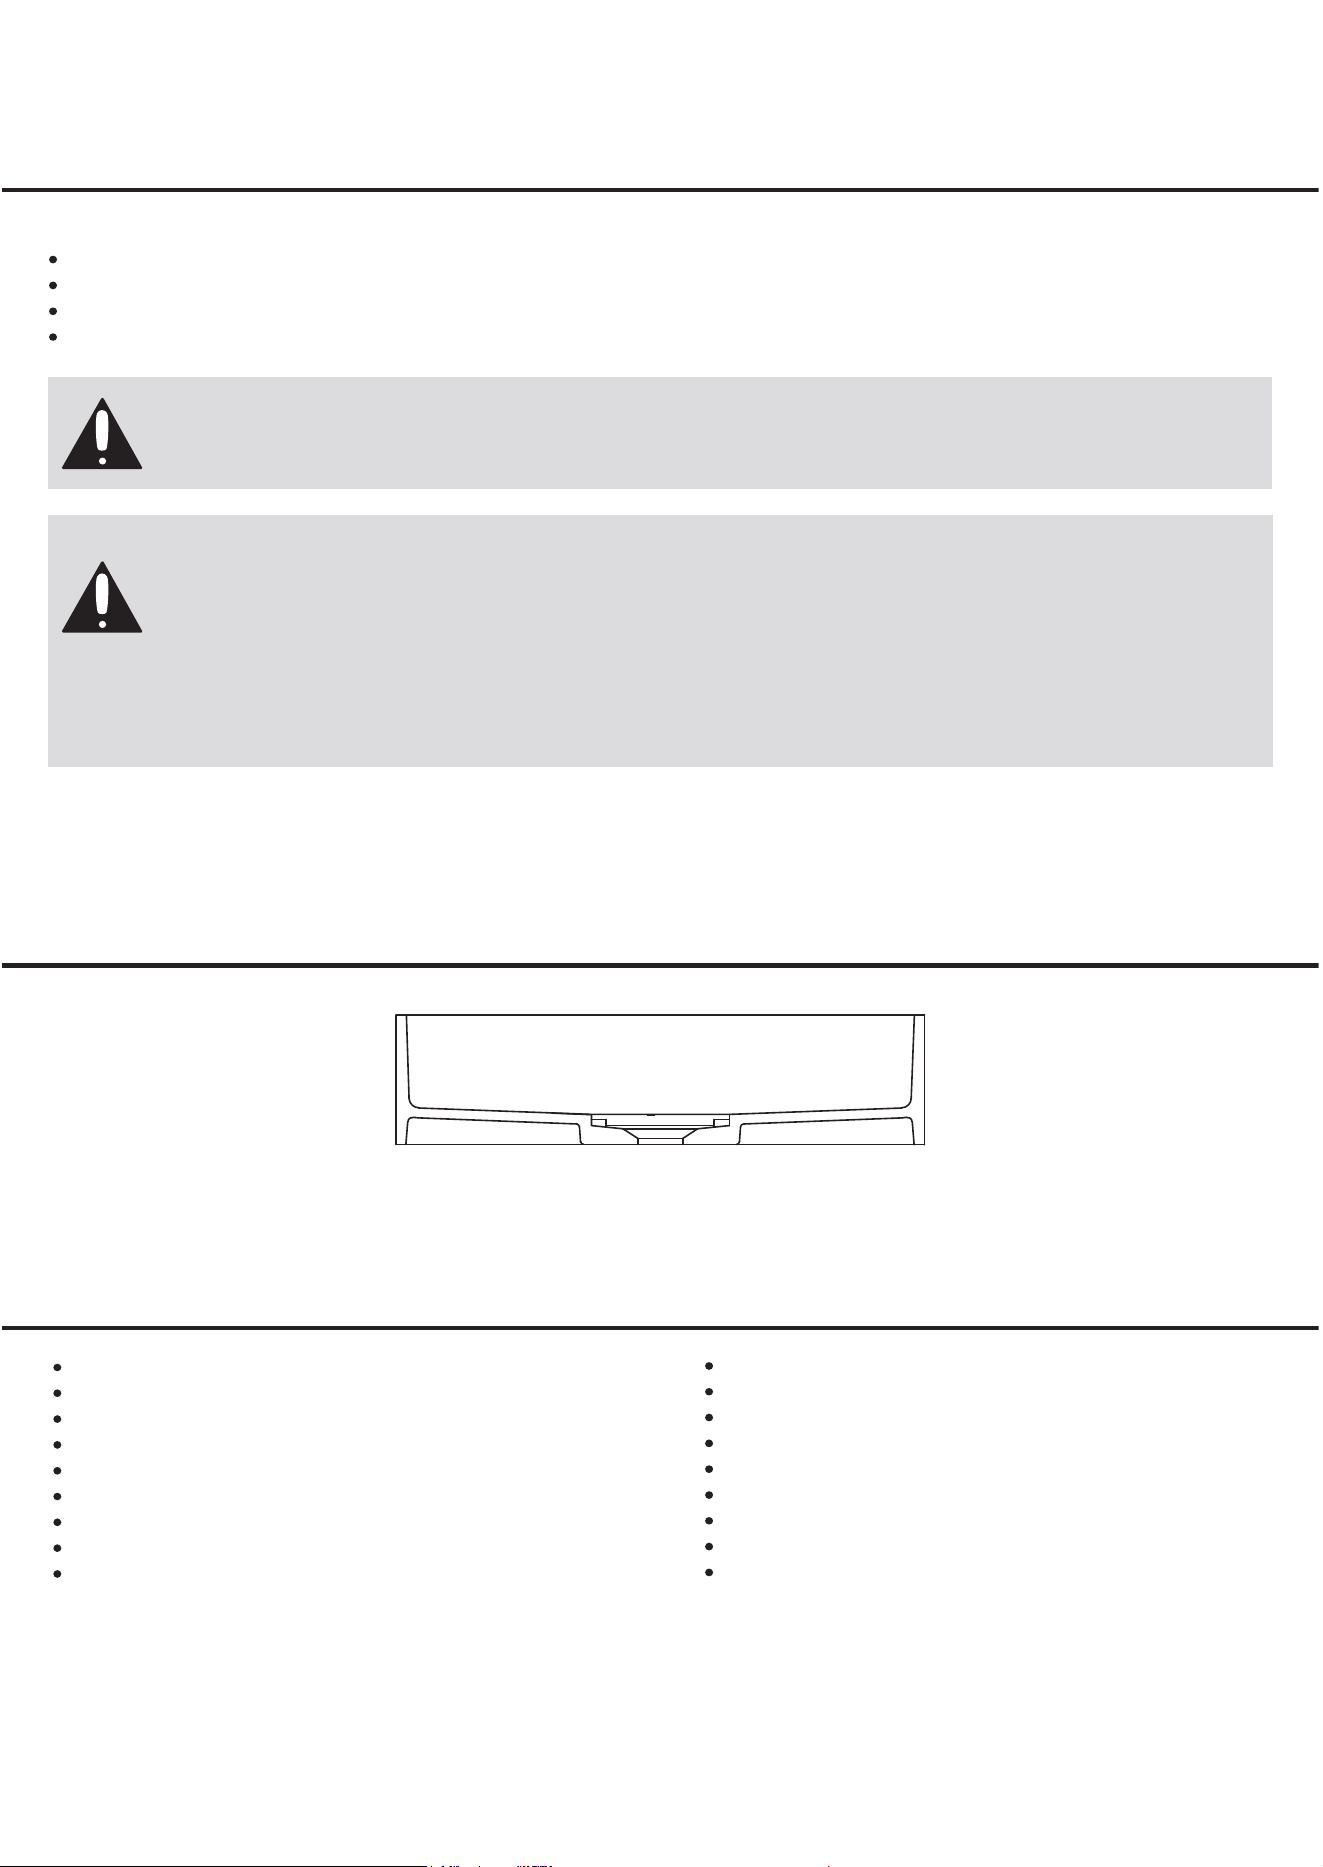
Install the Sink
Make sure to use the intended style drain/pop-up. The vessel style
bowl does not have an overflow. Therefore, the drain/pop-up needs
to correspond appropriately.
Installation
Turn off the water supply. This is done by closing the two shut-off valves located under the lavatory. If there are no shut-off
valves leading to the lavatory, you must turn off the water at the main valve. This is usually located in the basement, garage
or near the foundation on the outside of the house. It may also be near the water meter.
Check to make sure the water is off, by turning on the faucet where you are working until the water stops flowing. If you have
shut off the main valve in a two-story house or greater you should open the kitchen faucet and another faucet on the same
level. Water will then drain from the entire line. This will help avoid spills.
Be sure to close the faucets before you turn on the main valve again.
Disconnect the drain pipes. Take off as many sections as possible between the lavatory and the wall or floor to facilitate
removal.
Place a basin under the work area to catch any water that may still be in the drain.
Installation must be done by a qualified licensed plumber.
Prior to installation please read the instructions thoroughly, confirm that all parts are included and visually inspect
the unit for any defects.
POP UP TOP
PIECE (POP UP
MECHANISM)
POP UP DRAIN TOP
PIECE (POP UP
MECHANISM)
COUNTERTOP
DRAIN NUT
COUNTERTOP
DRAIN NUT
TO DRAIN
NOT
PROVIDED
Φ13/4inch(4.4 cm)
DO NOT OVERTIGHTEN THE DRAIN
POP UP
DRAIN
SINK

— 4 —
Care and Maintenance Instructions
To ensure that your installation project goes smoothly, please review these instructions.
Your new lavatory is designed for years of trouble-free performance.
Keep it looking new by cleaning it periodically with a soft cloth.
Avoid abrasive cleaners, steel wool and harsh chemicals.
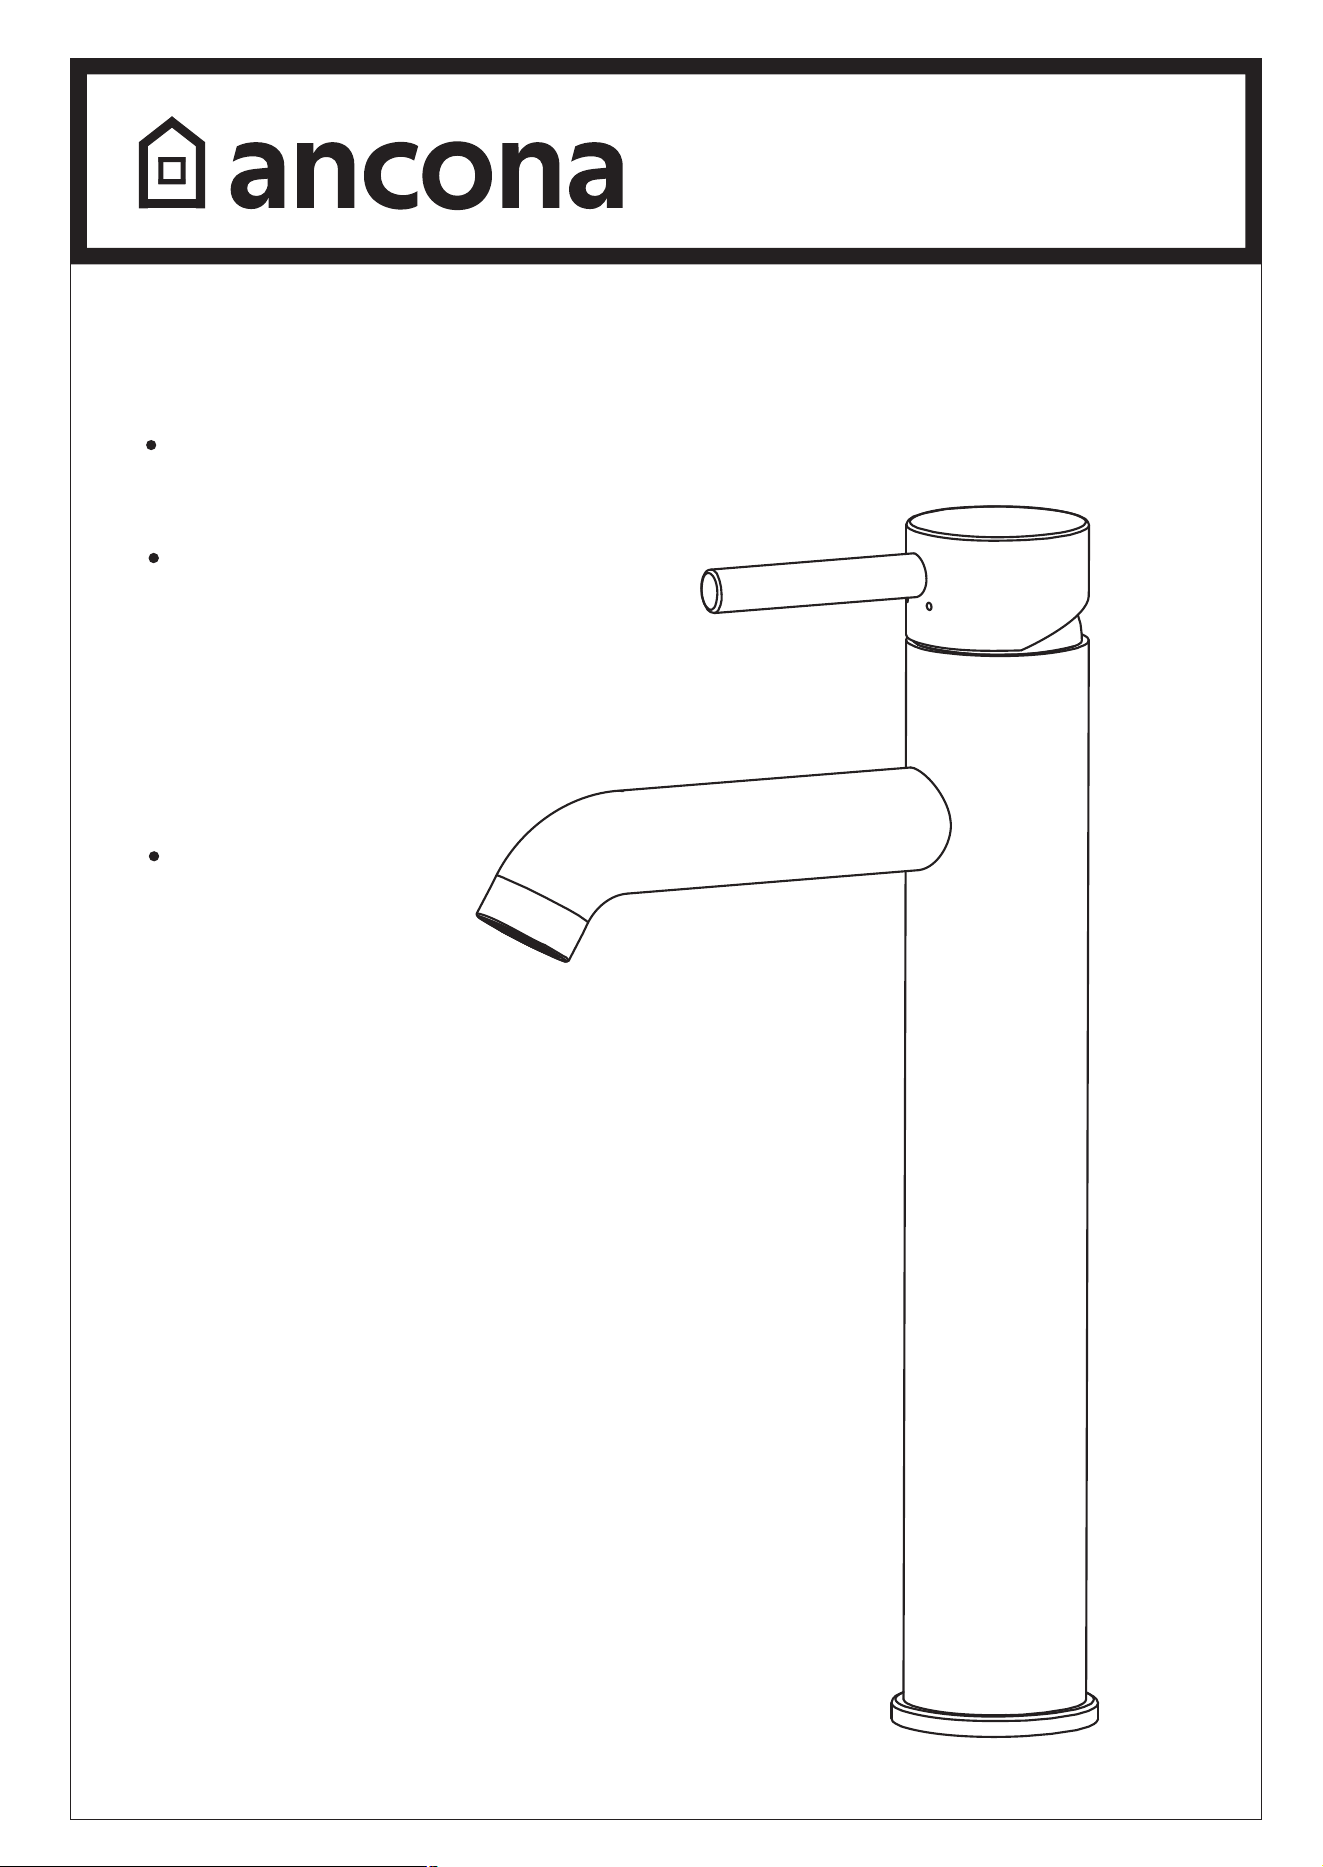
Argenta Vessel
2021-02-03
MAAN4312-06
Bathroom Faucet
STANDARDS
ASME A112.18.1-2012
CSA B125.1-12
NSF 61-9
LISTED IAPMO/cUPC
1.2 gpm/4.5 L/min
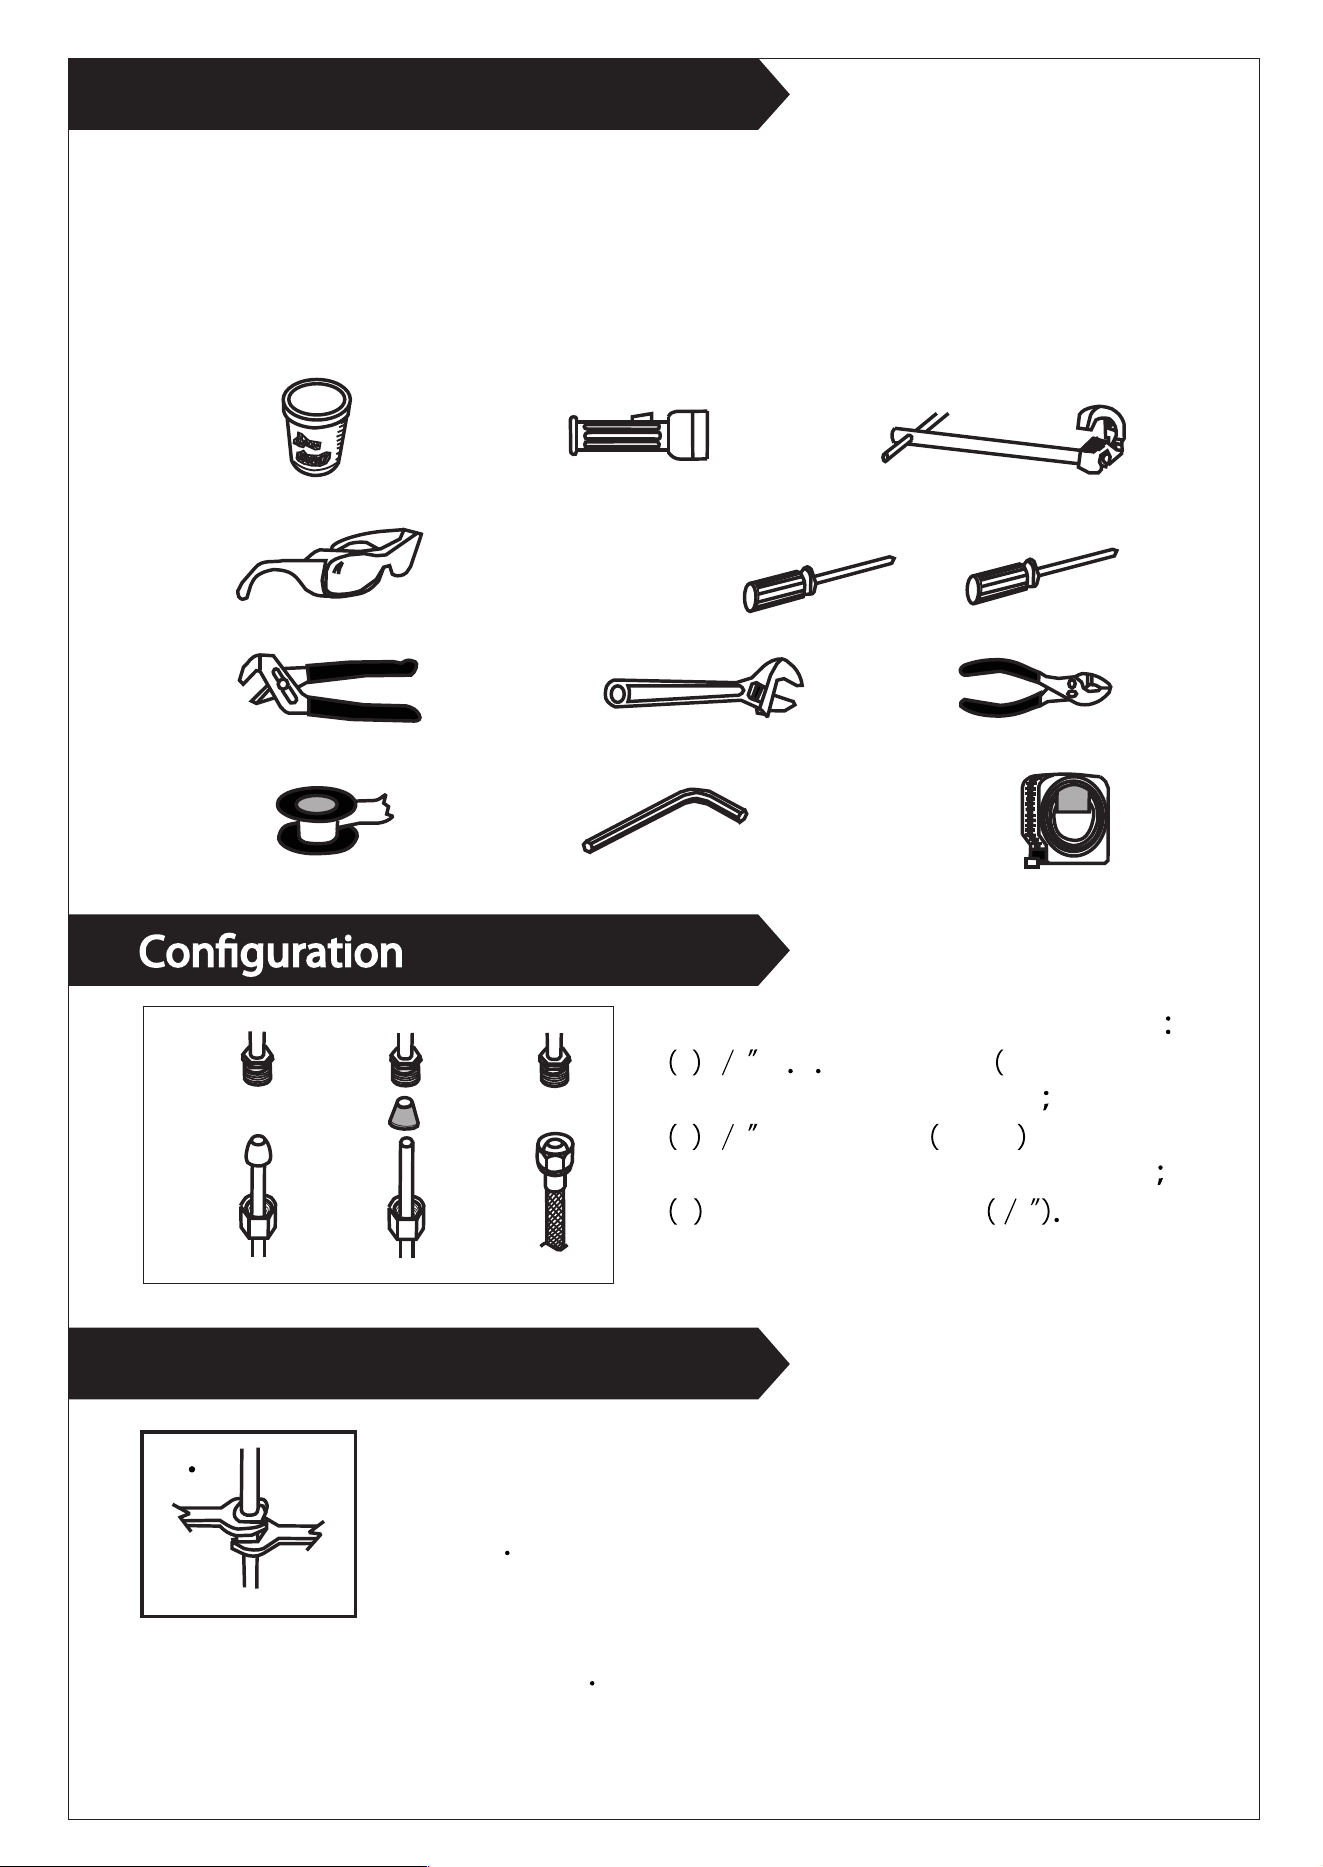
Gather the necessary tools as shown below to complete the installation of this
faucet. Some may not be needed depending on the model of faucet you are
installing. Check with your local hardware store on the requirements of your
installation situation.
Tools:
PLUMBERS
PUTTY FLASHLIGHT BASIN
WRENCH
SAFETY
GLASSES SCREW DRIVER
PLIERSCHANNELLOCKS ADJUSTABLE
WRENCH
SEALED-TUBE
HEX-KEY TAPE
Connect to water supply lines with either
A 3 8 O D copper tubing ball nose
risers with the coupling nuts or
B 3 8 copper tubing no ball with
supplied tube head interior connector or
C IPS faucet connectors 1 2
Tighten connection
with two wrench to
prevent damage to
tube body
Be careful not to
bend the stem as
this will void the
product warranty
C
A . B .
C .
Helpful Information
Important
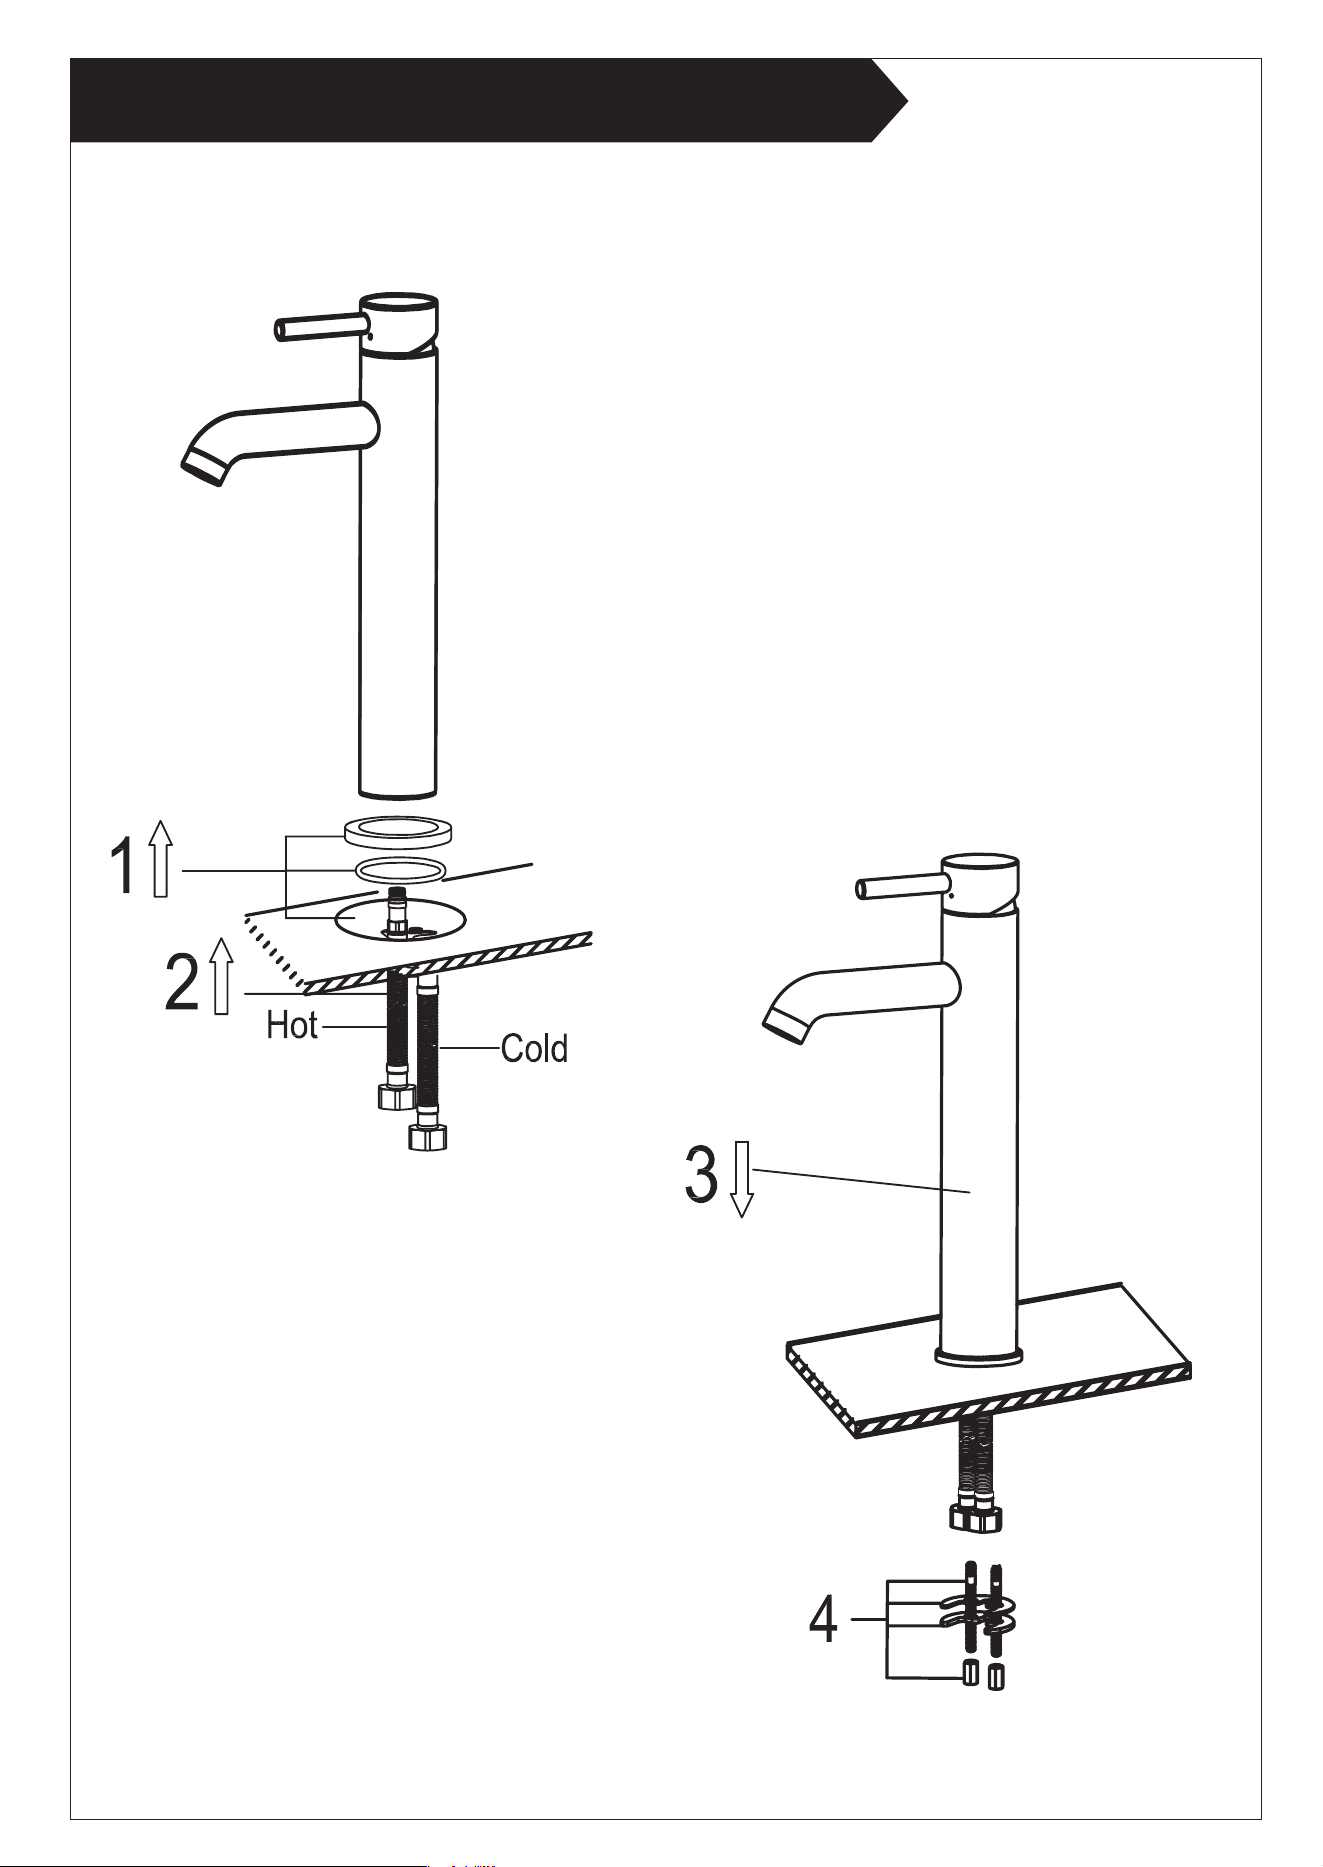
Single Hole Installation
A. Move handle into "OFF" position.
B. Turn on water supplies. Check connections for leaks.
C. Remove and let both hot and cold water run for
one minute. This will help clean any debris that might
otherwise clog the system. Replace aerator.
D. Operate handle up and down, in cold and hot positions,
to flush water lines thoroughly.
aerator
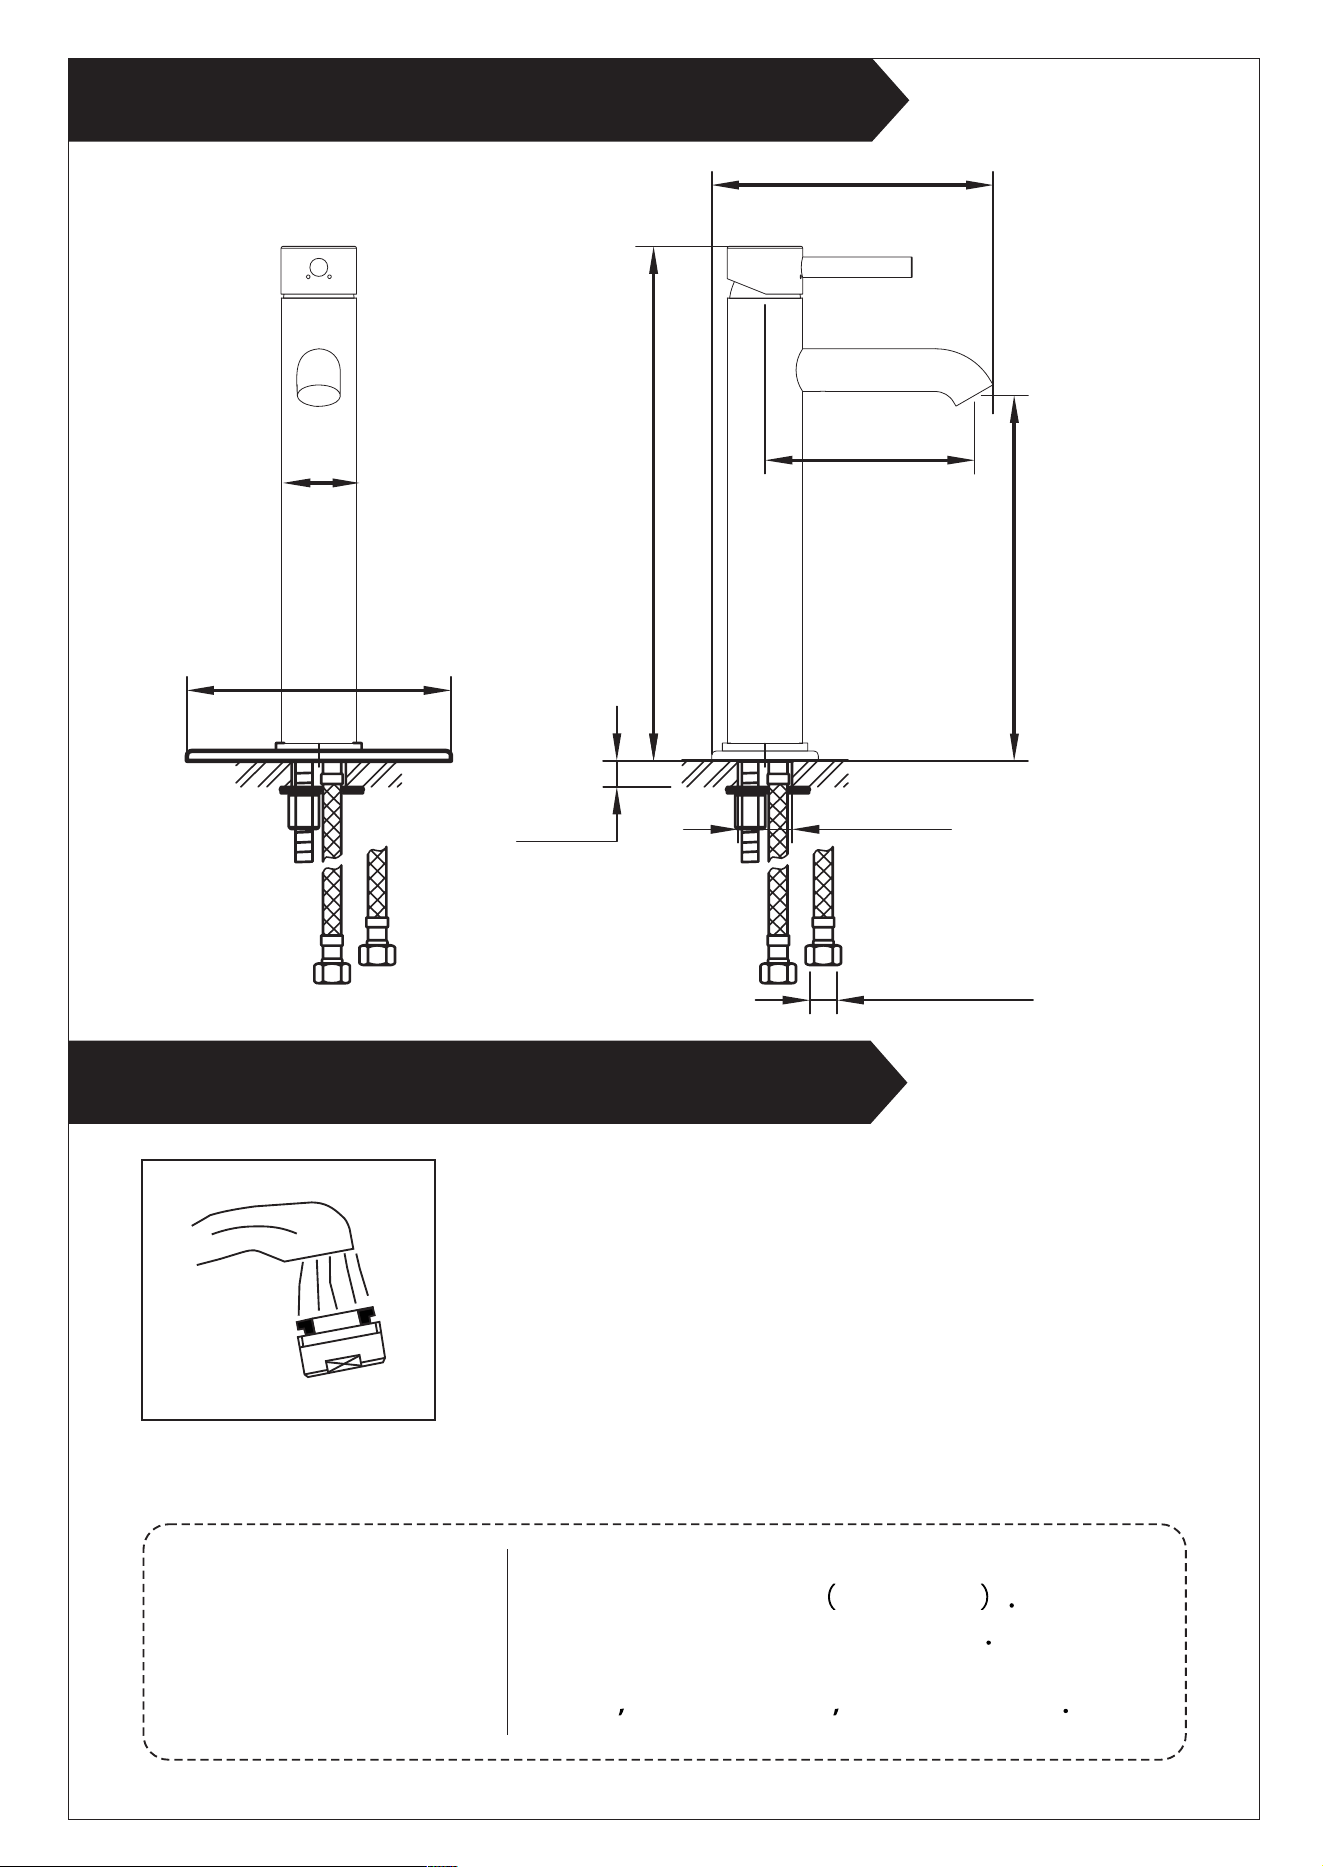
Installation Size Map
Test Faucet Installation
Simply rinse the surface with clear water or
mild liquid detergents if necessary Dry the
faucet with a clean soft cotton cloth Do not
use any cleaning agents containing
acids polish abrasives or harsh cleaners
Maintenance:
1.8”
(4.6 cm)
6.75” (17.1 cm)
12.3”
(31.3 cm)
8.7”
(22.2 cm)
5” (12.8 cm)
6.3” (16.1 cm)
1.75”
(4.5 cm)
Ø 1.3”
(3.5 cm)
Ø 9/16” UNEF