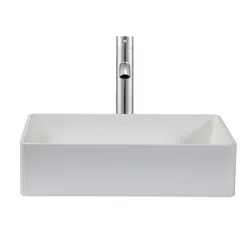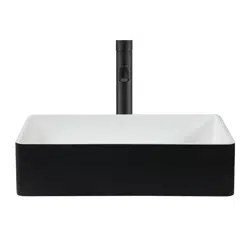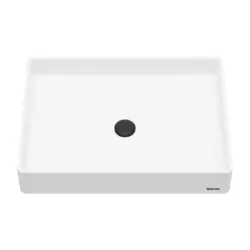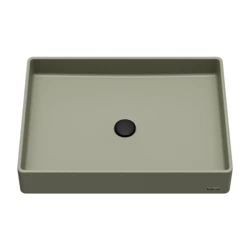

Bathroom Sink
User Manual
&
Installation Instructions
IMPORTANT SAFETY INSTRUCTIONS
Carefully read the important information
regarding installation, safety and maintenance.
Keep these instructions for future reference.
MAAN3351-02
2021-12-12
— 2 —
Before You Begin
Required Tools
Tape measure
Pencil (NOT ink)
Putty knife
Scissors
Adjustable wrenches
Sealant drill and 1/2 inch (or larger) drill bits
Plumber's putty or Caulk
Caulking Gun
Silicone adhesive sealant
Rags
Denatured alcohol
Ear protection
Eye protection
Gloves
Hacksaw/jigsaw
Wood braces
Framing square
Shims
General Recommendations:
Product failure due to the disregard of the manufacturer’s instructions or guidelines, is not covered under the Warranty.
Read installation and maintenance instructions, thoroughly before installation.
Inspect your sink for any noticeable damage before installation.
Be sure to use proper tools and always wear personal safety accessories for your protection.
Check all local applicable plumbing and building codes.
WARNING:
Risk of personal injury or product damage. Handle with care. Material can break or chip if the product is handled
carelessly. Metal edges may be sharp. Use gloves when handling.
Be sure to use proper tools and always wear personal safety devices for your protection.
Package Contents
IMPORTANT:
1. Installation must be done by a qualified, licensed plumber. The contractor must perform a dry fit prior to
drilling holes in the countertop for the sink.
2. DrillholesizeincountertopforthelavatoryisΦ13/4inch(4.4cm).
3. All vessel bowls are hand made. You may expect variations in color, texture and bowl symmetry. If you notice any
obvious variation or defects, you should contact your retailer immediately.
4. Though resistant to breakage, vessel sinks can break or chip when a heavy object falls in or on them.
Lavatory
Removing Your Old Lavatory
— 3 —
STEP 1
Preparation
STEP 2
Determine Layout
Please inspect your working surface, making sure it is level and clean.
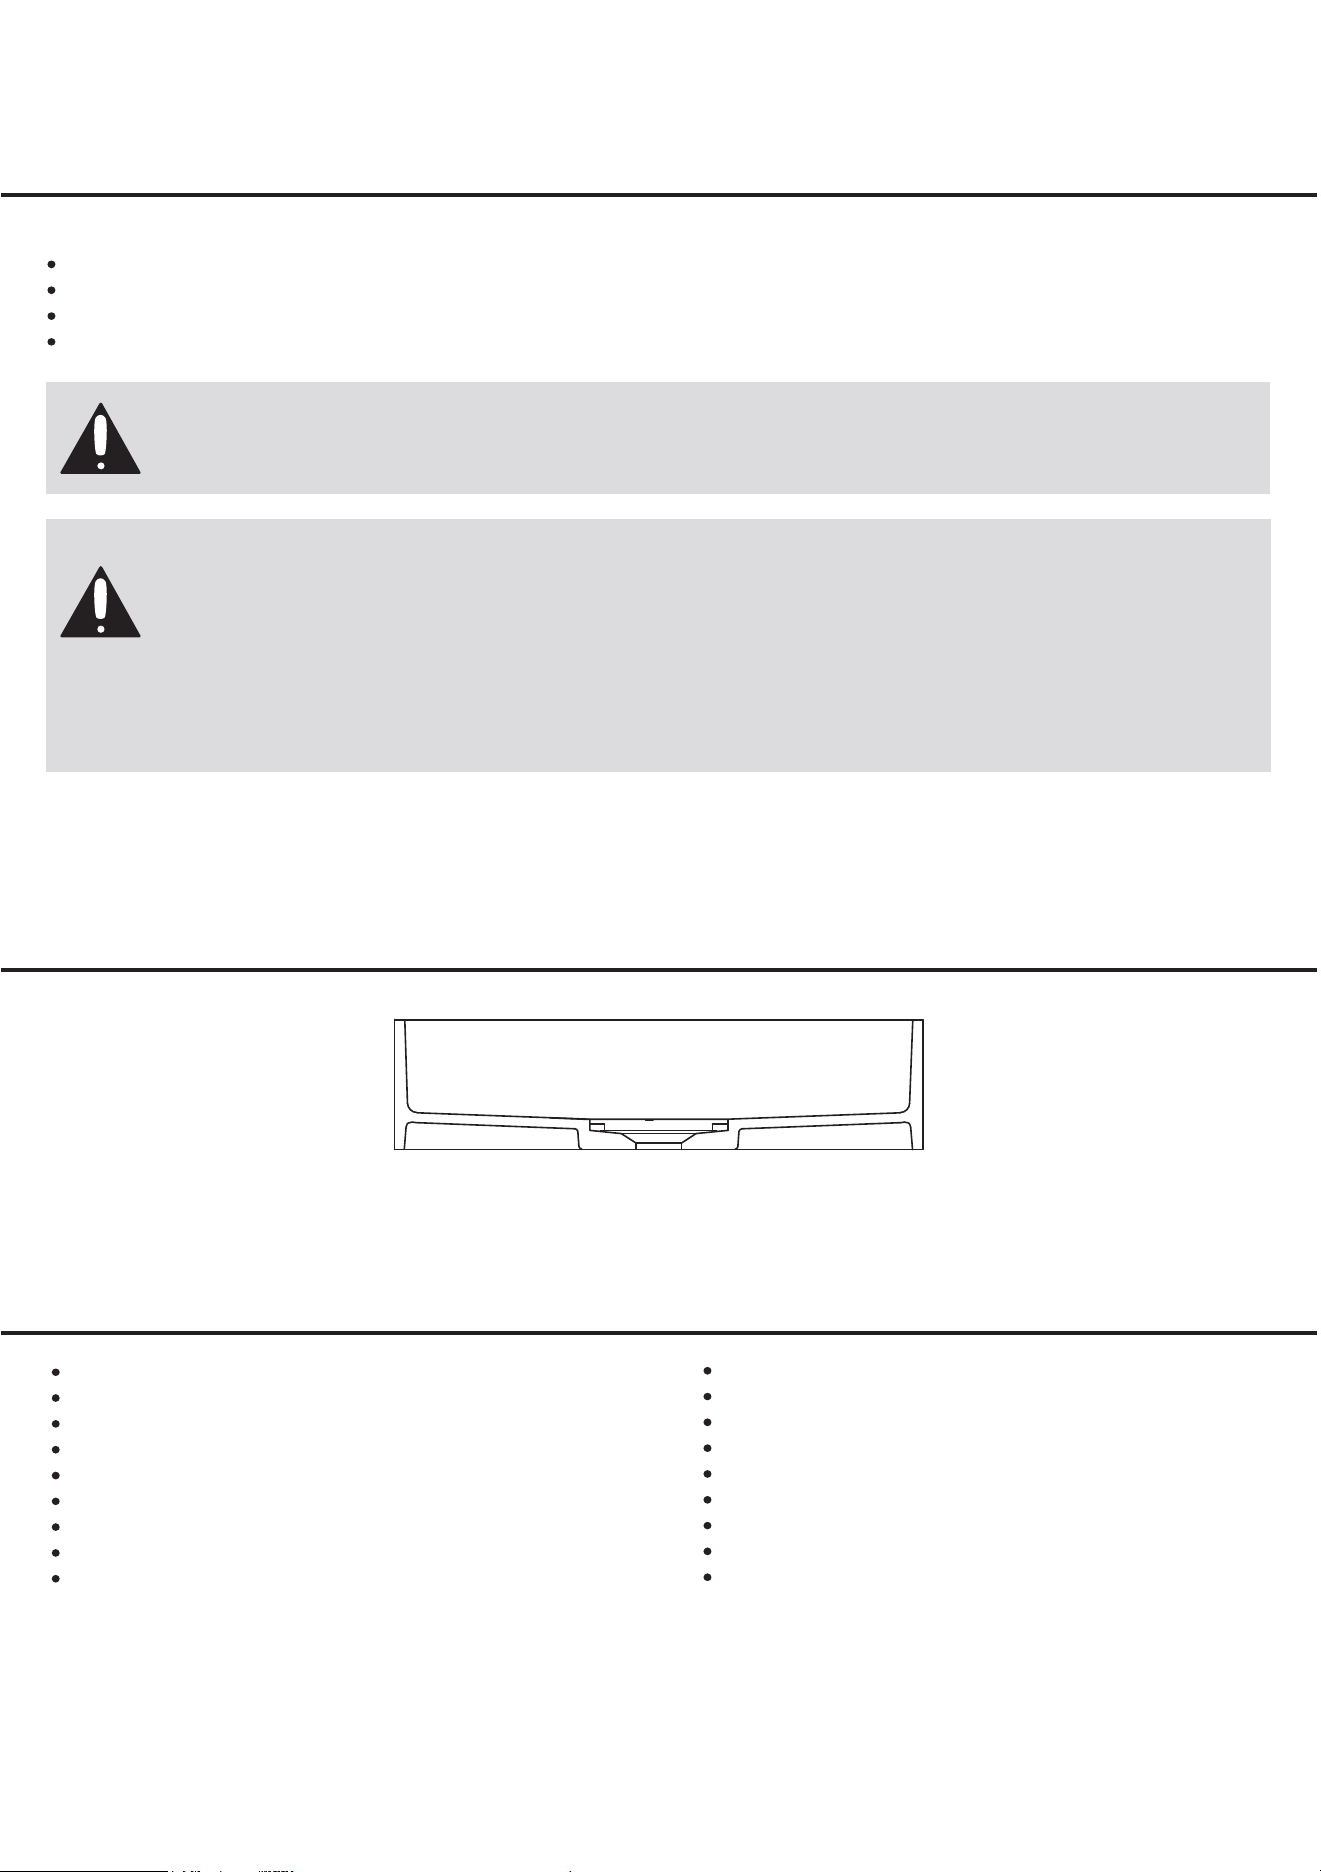
Determine the layout for the sink you desire. It is important to fully "dry" the position of the sink on the countertop. Aspects to note,
but are not limited to:
Positioning the faucet so it does not interfere with the sink.
STEP 3
Set Position
MarkanddrillΦ13/4inch(4.4cm)holeoncountertopfordrainplacement.
STEP 4
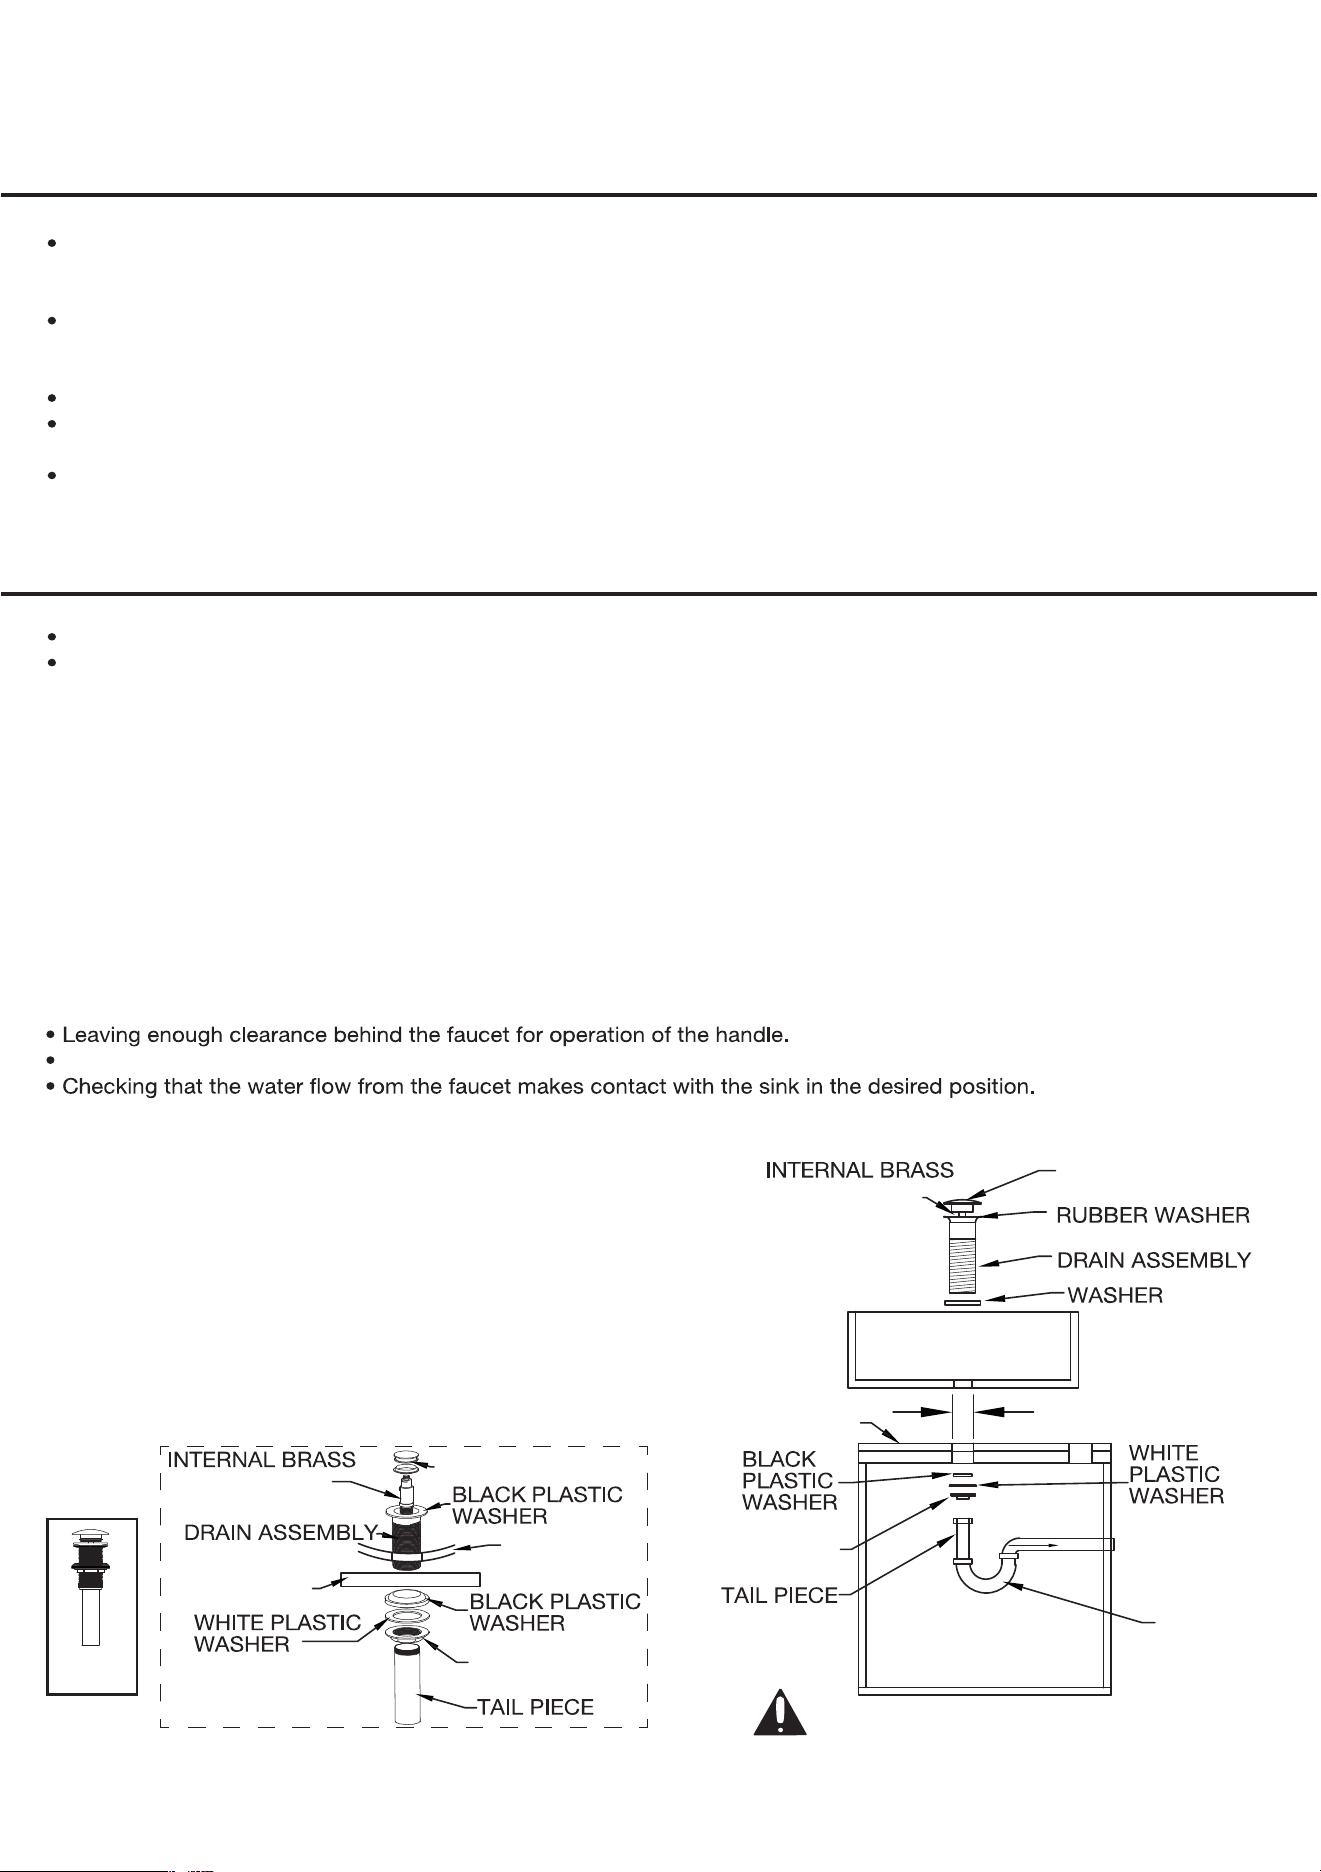
Install the Sink
Make sure to use the intended style drain/pop-up. The vessel style
bowl does not have an overflow. Therefore, the drain/pop-up needs
to correspond appropriately.
Installation
Turn off the water supply. This is done by closing the two shut-off valves located under the lavatory. If there are no shut-off
valves leading to the lavatory, you must turn off the water at the main valve. This is usually located in the basement, garage
or near the foundation on the outside of the house. It may also be near the water meter.
Check to make sure the water is off, by turning on the faucet where you are working until the water stops flowing. If you have
shut off the main valve in a two-story house or greater you should open the kitchen faucet and another faucet on the same
level. Water will then drain from the entire line. This will help avoid spills.
Be sure to close the faucets before you turn on the main valve again.
Disconnect the drain pipes. Take off as many sections as possible between the lavatory and the wall or floor to facilitate
removal.
Place a basin under the work area to catch any water that may still be in the drain.
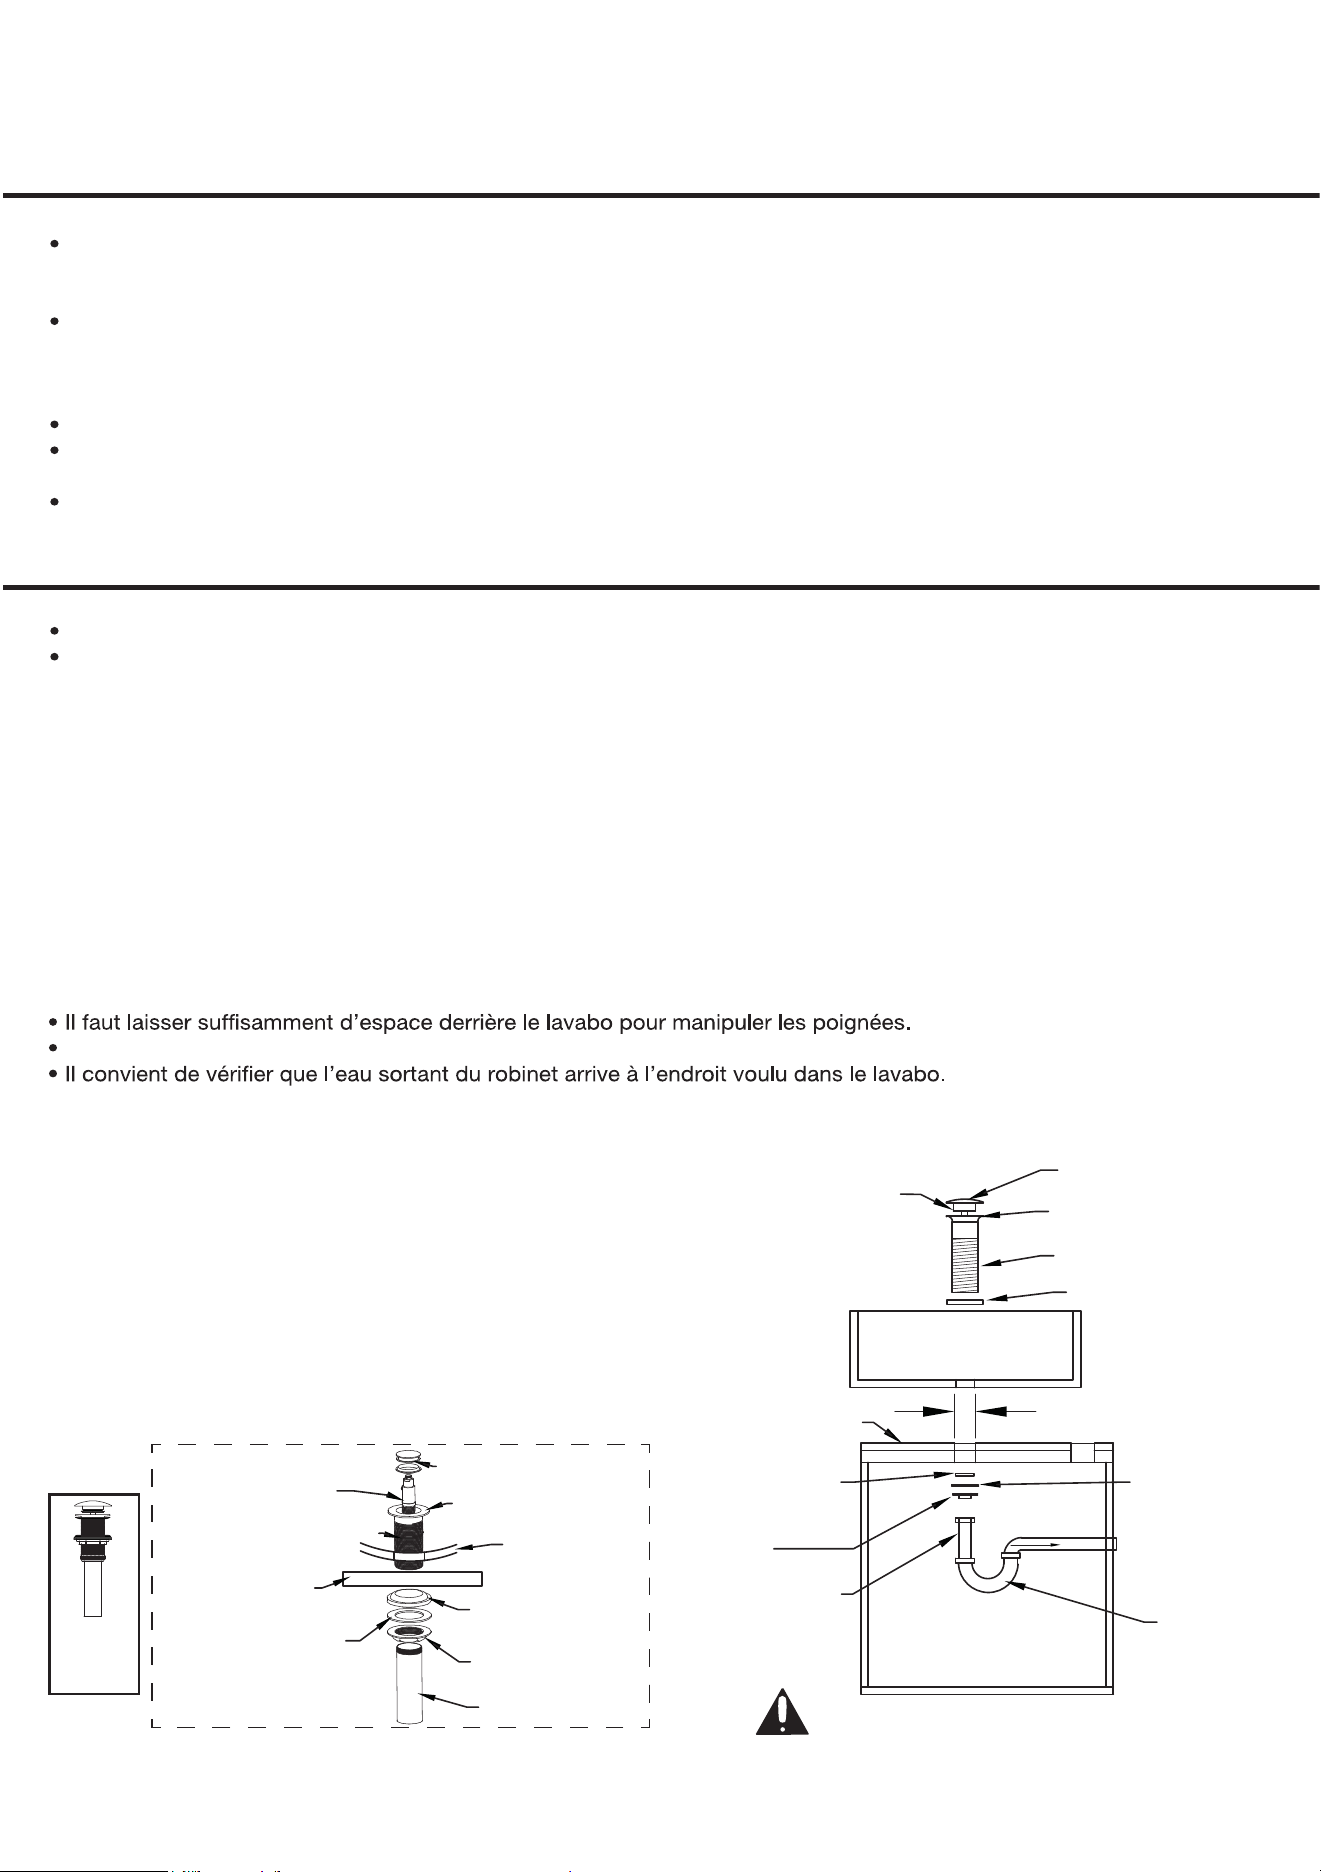
Installation must be done by a qualified licensed plumber.
Prior to installation please read the instructions thoroughly, confirm that all parts are included and visually inspect
the unit for any defects.
POP UP TOP
PIECE (POP UP
MECHANISM)
POP UP DRAIN TOP
PIECE (POP UP
MECHANISM)
COUNTERTOP
DRAIN NUT
COUNTERTOP
DRAIN NUT
TO DRAIN
NOT
PROVIDED
Φ13/4inch(4.4 cm)
DO NOT OVERTIGHTEN THE DRAIN
POP UP
DRAIN
SINK

— 4 —
Care and Maintenance Instructions
To ensure that your installation project goes smoothly, please review these instructions.
Your new lavatory is designed for years of trouble-free performance.
Keep it looking new by cleaning it periodically with a soft cloth.
Avoid abrasive cleaners, steel wool and harsh chemicals.

— 4 —
Instructions de soins et d’entretien
Veuillez consulter ces instructions pour vous assurer que l’installation se passe bien.
Votre nouveau lavabo est conçu pour offrir un fonctionnement sans soucis pendant des années.
Pour maintenir sa superbe allure, il suffit de le nettoyer de temps en temps à l’aide d’un chiffon doux.
Évitez les nettoyants abrasifs, les laines d’acier et les produits chimiques puissants.
Retirer votre ancien lavabo
— 3 —
ÉTAPE 1
Préparation
ÉTAPE 2
Établir la disposition
Veuillez examiner votre surface de travail et vous assurer qu’elle est propre et nivelée.
Établissez la disposition désirée pour votre lavabo. Il importe d’effectuer une vérification à sec de la position du lavabo sur le
comptoir. Voici d’autres aspects importants à respecter :
Il faut positionner le robinet de manière à ce qu’il ne soit pas gêné par le lavabo.
ÉTAPE 3
Fixer la position
Marquez l’emplacement du drain sur le comptoir et percez un trou
de 4,4 cm (1 3/4 po) de diamètre.
ÉTAPE 4
Installer le lavabo
Assurez-vous d’utiliser une bonde / un clapet approprié. Les
vasques n’ont pas de trop-plein. Il importe donc d’utiliser le modèle
de bonde / clapet approprié.
Installation
Coupez l’alimentation en eau. Pour ce faire, fermez les deux soupapes d’arrêt sous le lavabo. S’il n’y a aucune soupape
d’arrêt menant au lavabo, vous devez couper l’arrivée d’eau principale. Celle-ci se trouve habituellement au sous-sol, dans
le garage ou près de la fondation à l'extérieur de l’immeuble. Elle pourrait aussi se trouver près du compteur d'eau.
Vérifiez que l’alimentation en eau est bien coupée en ouvrant le robinet où vous travaillez et en laissant couler l’eau jusqu’à
ce qu’elle cesse de couler. Si vous coupez l’arrivée d’eau principale et qu’il s’agit d’un immeuble de deux étages ou plus,
vous devriez ouvrir le robinet dans la cuisine et un autre robinet au même étage. L’eau se videra alors de l’ensemble du
système. Cela permettra d’éviter les dégâts.
Assurez-vous de fermer les robinets avant de rouvrir l’arrivée d'eau principale.
Débranchez les tuyaux d’évacuation. Retirez le plus de sections possible entre le lavabo et le mur ou le plancher pour
faciliter le retrait.
Placez une cuvette sous l’espace de travail pour récupérer l’eau qui pourrait s’échapper des tuyaux
L’installation doit être effectuée par un plombier certifié.
Avant de procéder à l’installation, veuillez bien lire l’ensemble des instructions, vérifier que toutes les pièces se
trouvent dans l’emballage et inspecter le lavabo pour déceler tout défaut.
CLAPET
PIÈCE INTÉRIEURE
EN LAITON
(DISPOSITIF DE
CLAPET)
RONDELLE EN
CAOUTCHOUC
BONDE
RONDELLE
CLAPET
RONDELLE EN
PLASTIC NOIR
BONDE
PIÈCE INTÉRIEURE EN
LAITON (DISPOSITIF
DE CLAPET)
COMPTOIR
RONDELLE EN
PLASTIC NOIR
ÉCROU
D’ÉCOULEMENT
RONDELLE EN
PLASTIC BLANC
ABOUT
COMPTOIR
RONDELLE
EN PLASTIC
NOIR
ÉCROU
D’ÉCOULEMENT
ABOUT
RONDELLE
EN PLASTIC
BLANC
VOIE
D’ÉCOULEMENT
NON
INCLUS
Φ4,4cm(13/4po)
NE SERREZ PAS TROP LA BONDE
BONDE
À
CLAPET
LAVABO

— 2 —
Avant de commencer
La garantie ne couvre pas les défauts occasionnés par le non-respect des instructions ou des directives du fabricant.
AVERTISSEMENT :
Risque de blessures ou de dommages matériels. Manipulez avec précaution. Des bris ou des écaillements
peuvent se produire si le produit n’est pas manipulé avec soin. Les bords métalliques de l'évier pourraient être
coupants. Portez des gants de protection pour manipuler l'évier.
Contenu
REMARQUE IMPORTANTE :
1. L’installation doit être effectuée par un plombier certifié. L’entrepreneur doit réaliser une vérification à sec
avant de percer les trous dans le comptoir pour le lavabo.
2. Le trou percé dans le comptoir pour le lavabo doit être de 4,4 cm (1 3/4 po) de diamètre.
3. Toutes les vasques sont fabriquées à la main. Il pourrait y avoir des variations quant à la couleur, la texture et la
symétrie des vasques. Veuillez communiquer immédiatement avec votre détaillant si vous remarquez des écarts ou
des défauts notables.
4. Bien que les vasques soient résistantes aux bris, des bris ou des écaillements peuvent se produire lorsqu’un
objet lourd tombe sur ou à l’intérieur de celles-ci.
Lavabo
Recommandations générales :
Veuillez lire l'ensemble des instructions d'installation et d'entretien avant d'effectuer l'installation.
Inspectez votre évier pour déceler tout dommage avant de procéder à l’installation.
Veillez à utiliser les outils adéquats et à toujours porter de l'équipement de protection individuelle pour assurer votre sécurité.
Consultez tous les codes de plomberie et du bâtiment locaux applicables.
Outils nécessaires
Ruban à mesurer
Crayon à mine (PAS un stylo)
Couteau à mastic
Ciseaux
Clé à molette
Perceuse et forets de 1/2 po (ou plus)
Mastic de plomberie
Pistolet à calfeutrer
Enduit adhésif en silicone
Chiffons pour enduit adhésif en silicone
Alcool dénaturé
Protection des oreilles
Protection des yeux
Gants
Scie à métaux / scie sauteuse
Étais de bois
Équerre de charpente
Cales
Veillez à utiliser les outils adéquats et à toujours porter de l'équipement de protection individuelle pour assurer votre
sécurité.

Lavabo de salle de bain
MAAN3351-02
Manuel de l'utilisateur
et
instructions d'installation
INSTRUCTIONS IMPORTANTES DE SÉCURITÉ
Lire attentivement l’importante information concernant
la sécurité, l’installation et l’entretien.
Conserver ces instructions pour référence future.
2021-12-12
Argenta Vessel
2021-02-03
MAAN4312-06
Bathroom Faucet
STANDARDS
ASME A112.18.1-2012
CSA B125.1-12
NSF 61-9
LISTED IAPMO/cUPC
1.2 gpm/4.5 L/min
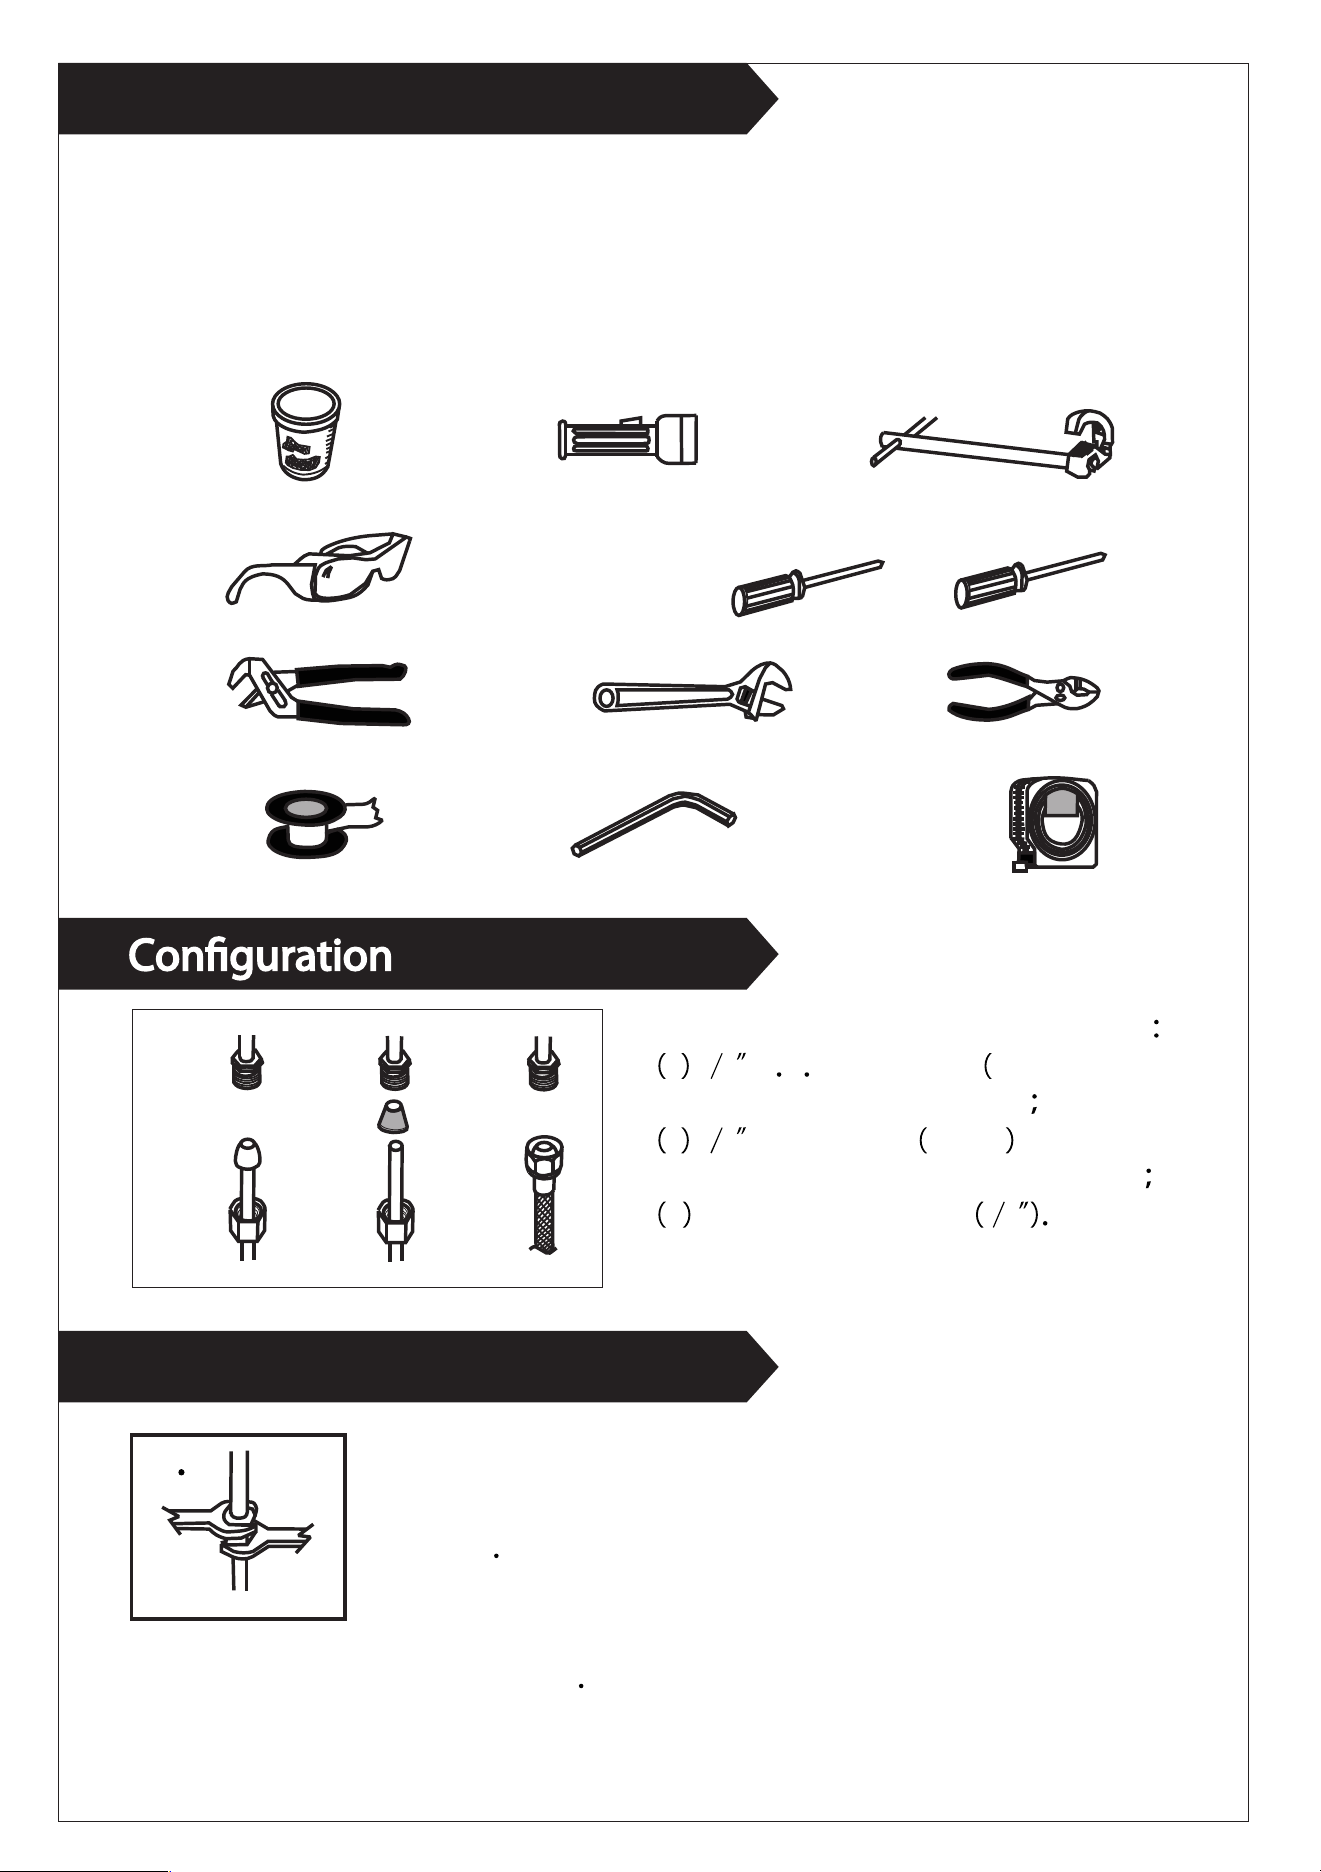
Gather the necessary tools as shown below to complete the installation of this
faucet. Some may not be needed depending on the model of faucet you are
installing. Check with your local hardware store on the requirements of your
installation situation.
Tools:
PLUMBERS
PUTTY FLASHLIGHT BASIN
WRENCH
SAFETY
GLASSES SCREW DRIVER
PLIERSCHANNELLOCKS ADJUSTABLE
WRENCH
SEALED-TUBE
HEX-KEY TAPE
Connect to water supply lines with either
A 3 8 O D copper tubing ball nose
risers with the coupling nuts or
B 3 8 copper tubing no ball with
supplied tube head interior connector or
C IPS faucet connectors 1 2
Tighten connection
with two wrench to
prevent damage to
tube body
Be careful not to
bend the stem as
this will void the
product warranty
C
A . B .
C .
Helpful Information
Important
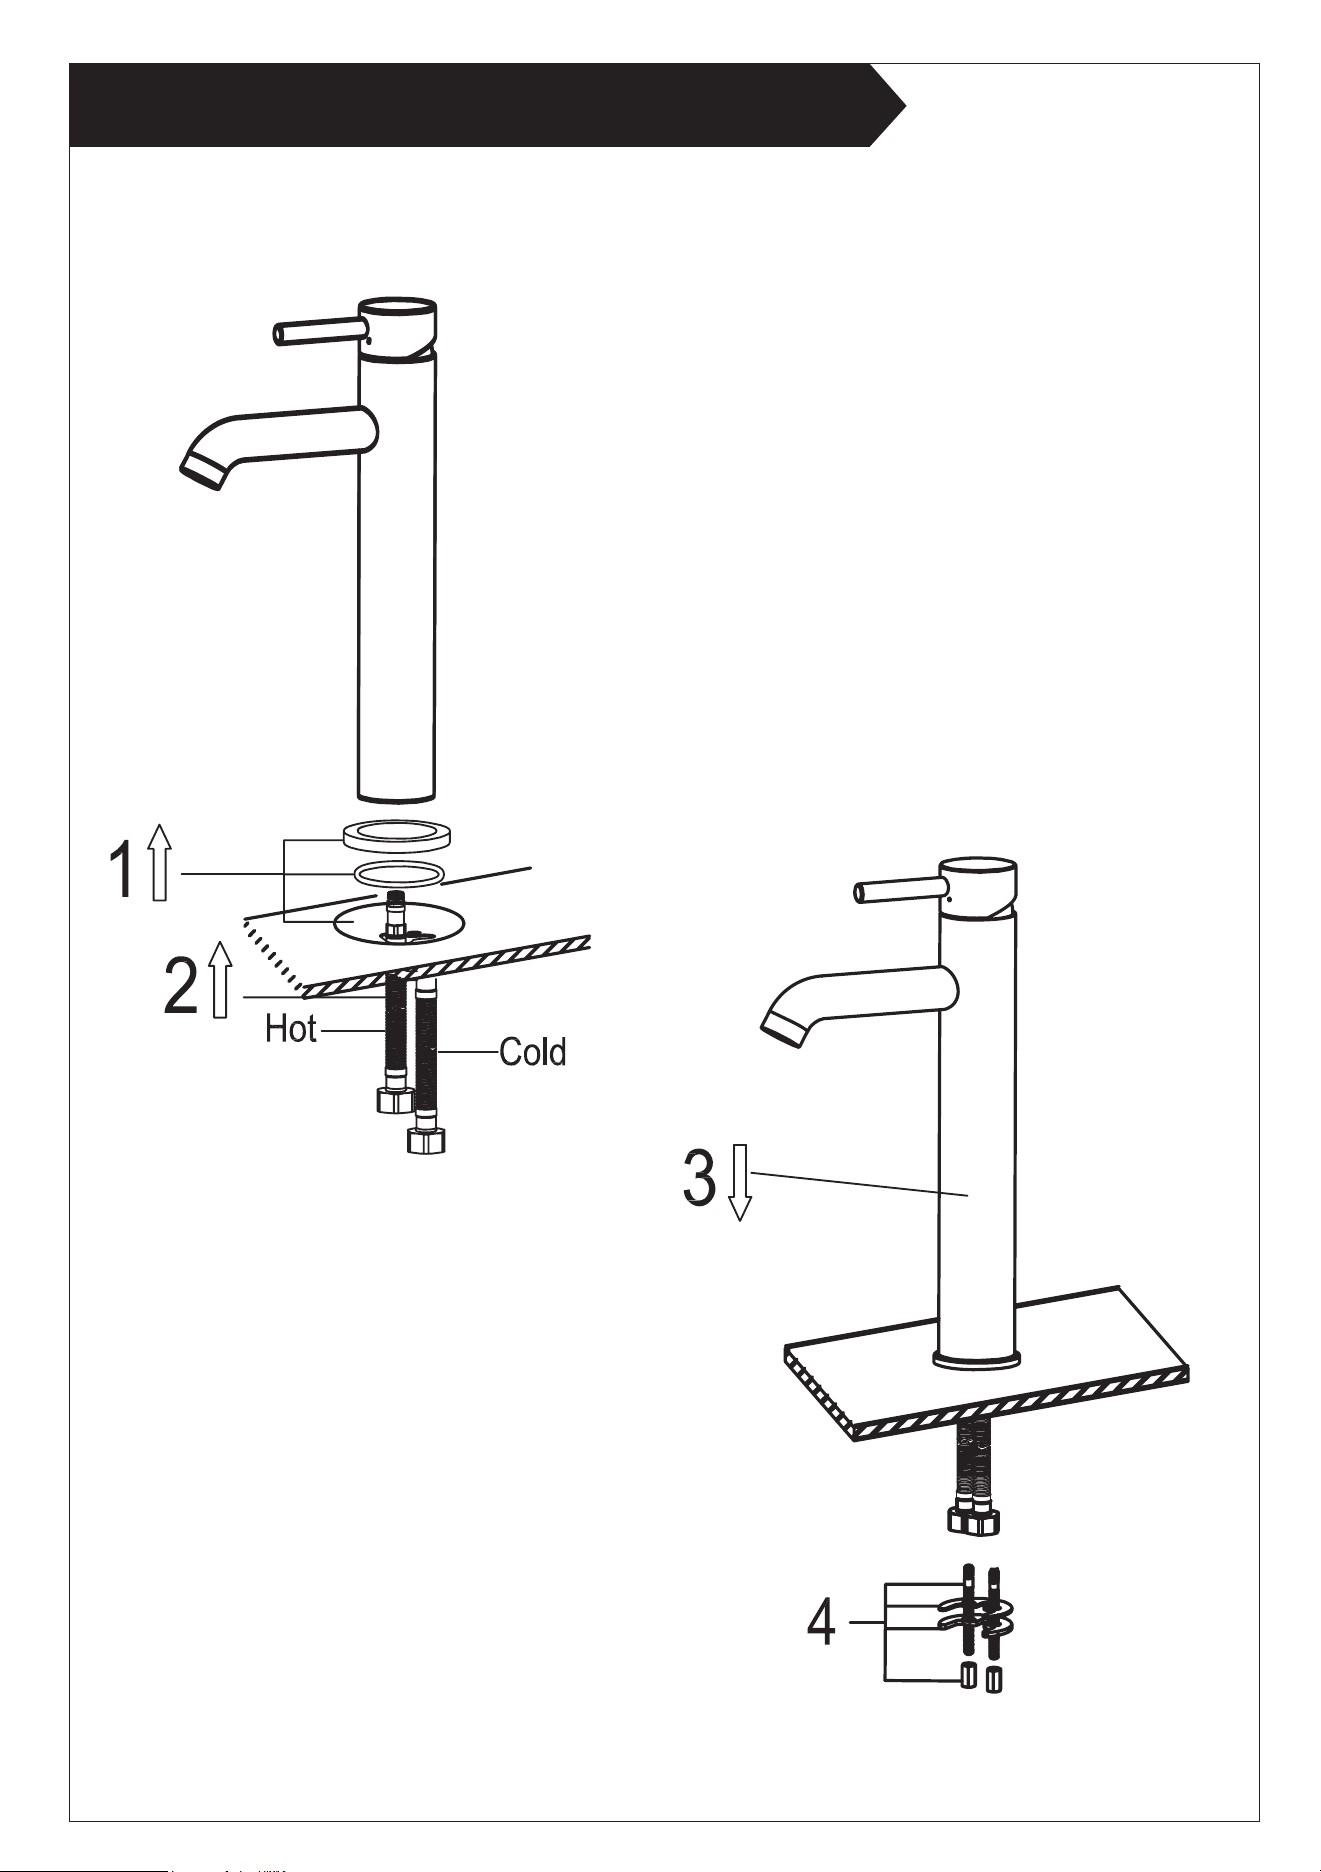
Single Hole Installation
A. Move handle into "OFF" position.
B. Turn on water supplies. Check connections for leaks.
C. Remove and let both hot and cold water run for
one minute. This will help clean any debris that might
otherwise clog the system. Replace aerator.
D. Operate handle up and down, in cold and hot positions,
to flush water lines thoroughly.
aerator
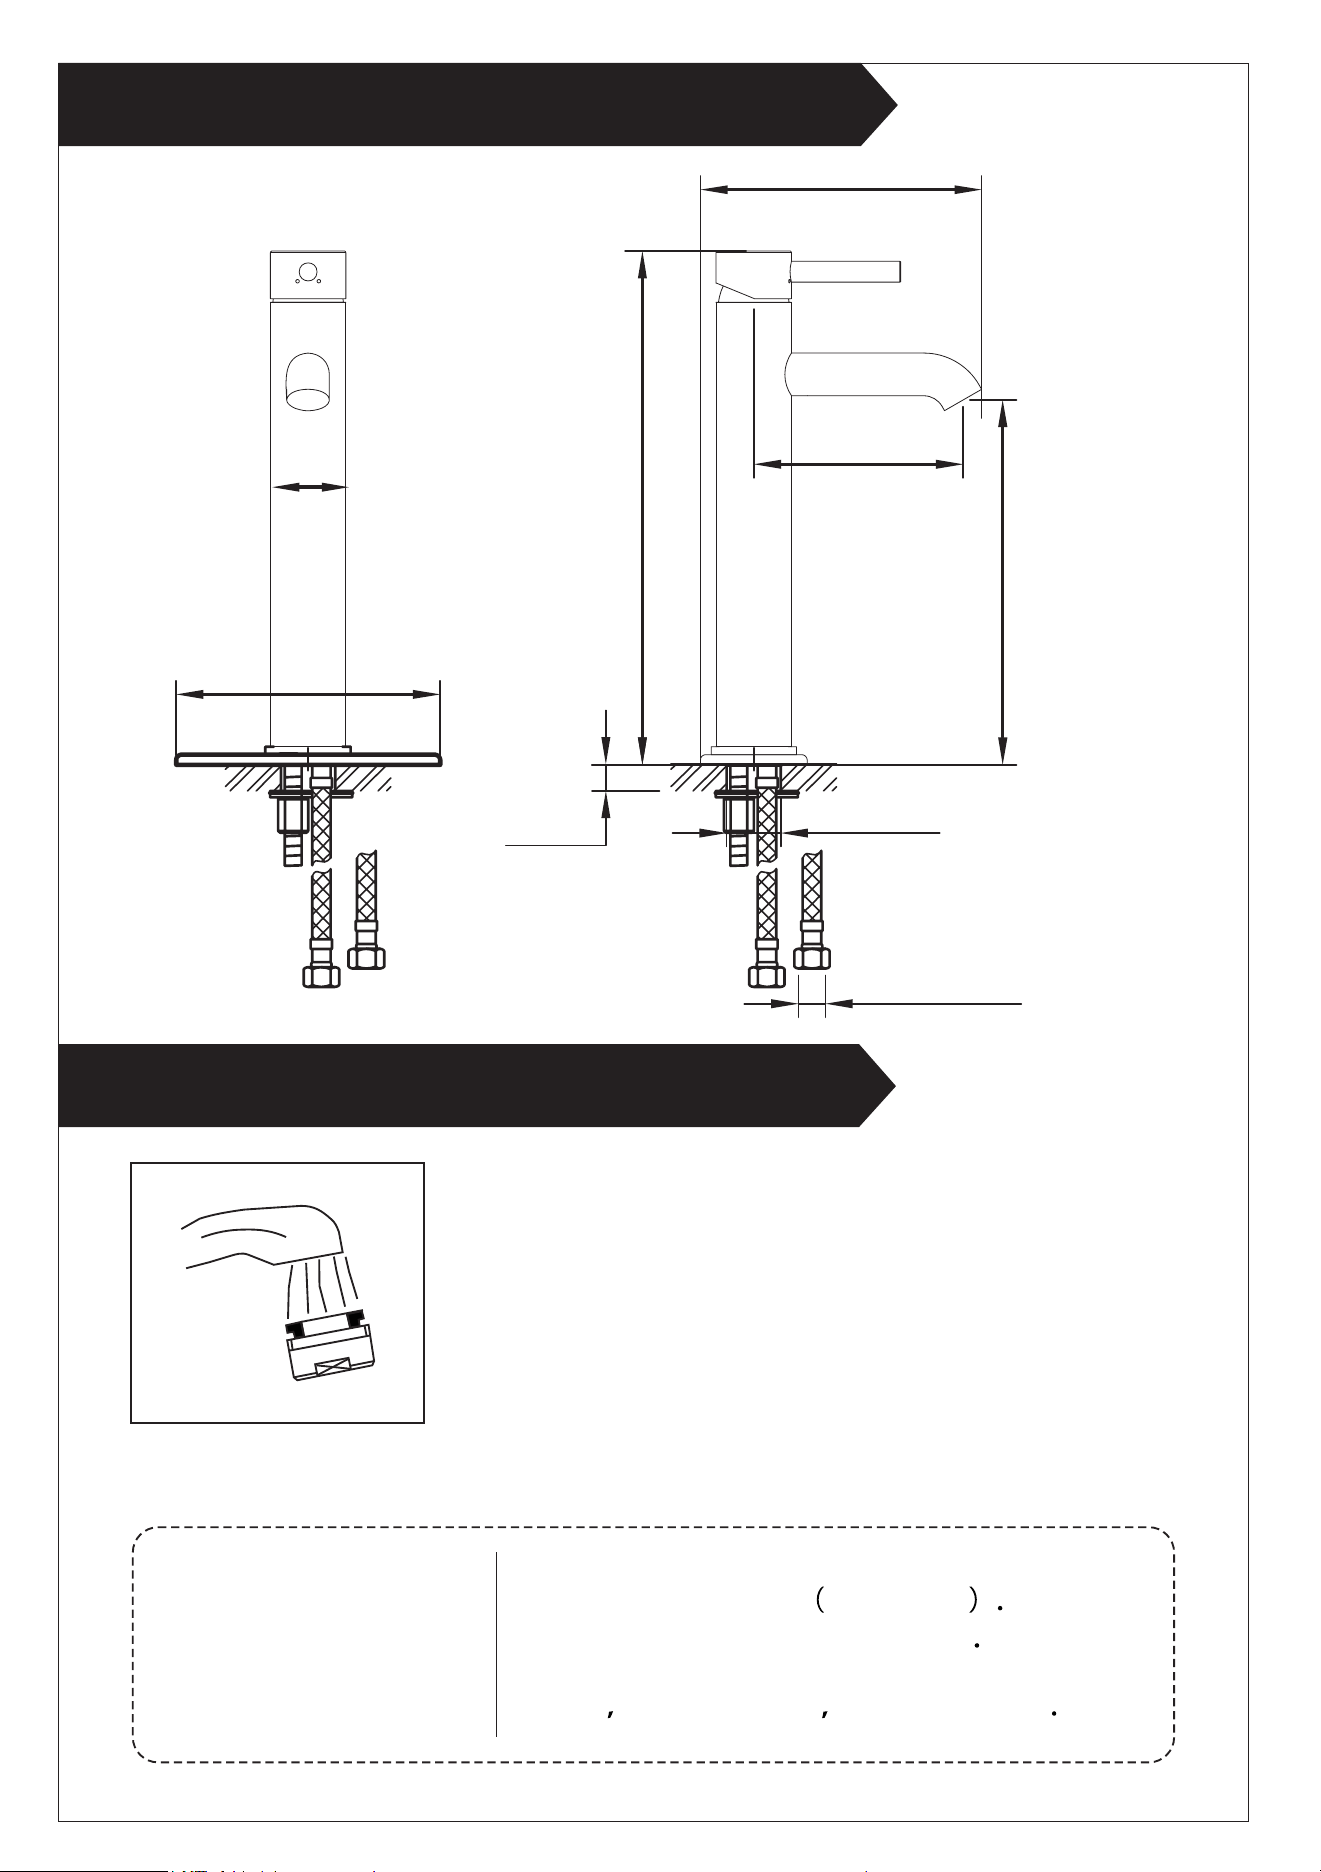
Installation Size Map
Test Faucet Installation
Simply rinse the surface with clear water or
mild liquid detergents if necessary Dry the
faucet with a clean soft cotton cloth Do not
use any cleaning agents containing
acids polish abrasives or harsh cleaners
Maintenance:
1.8”
(4.6 cm)
6.75” (17.1 cm)
12.3”
(31.3 cm)
8.7”
(22.2 cm)
5” (12.8 cm)
6.3” (16.1 cm)
1.75”
(4.5 cm)
Ø 1.3”
(3.5 cm)
Ø 9/16” UNEF