Loading ...
Loading ...
Loading ...
4
9. Once the cooking time has been reached,
the timer will shut o automatically, bell
will sound and Power Indicator Light will
turn off.
10. After use, turn the Temperature Dial to
the MIN position and unplug your
All-in-One Oven.
11. Wait until the oven is completely cool
beore any cleaning or maintainence.
Note: I the timer is not expired, it is normal
for it to keep ticking - even when unplugged.
Simply turn the timer dial counter clockwise
to OFF position to avoid this.
TIPS & HINTS
• For better cooking results, it is
recommended to pre-heat the oven
or approximately 10 minutes.
• For best results and to preserve the
nonstick coating longer, use nylon, plastic,
wooden or rubber utensils.
• Never cut ood on the baking pan
or crumb tray.
• Remove stubborn stains with a melamine
sponge and mild dish washing liquid;
DO NOT USE STEEL WOOL or any other
abrasive cleaner, as it will damage the
nonstick surace o the baking pan and
crumb tray.
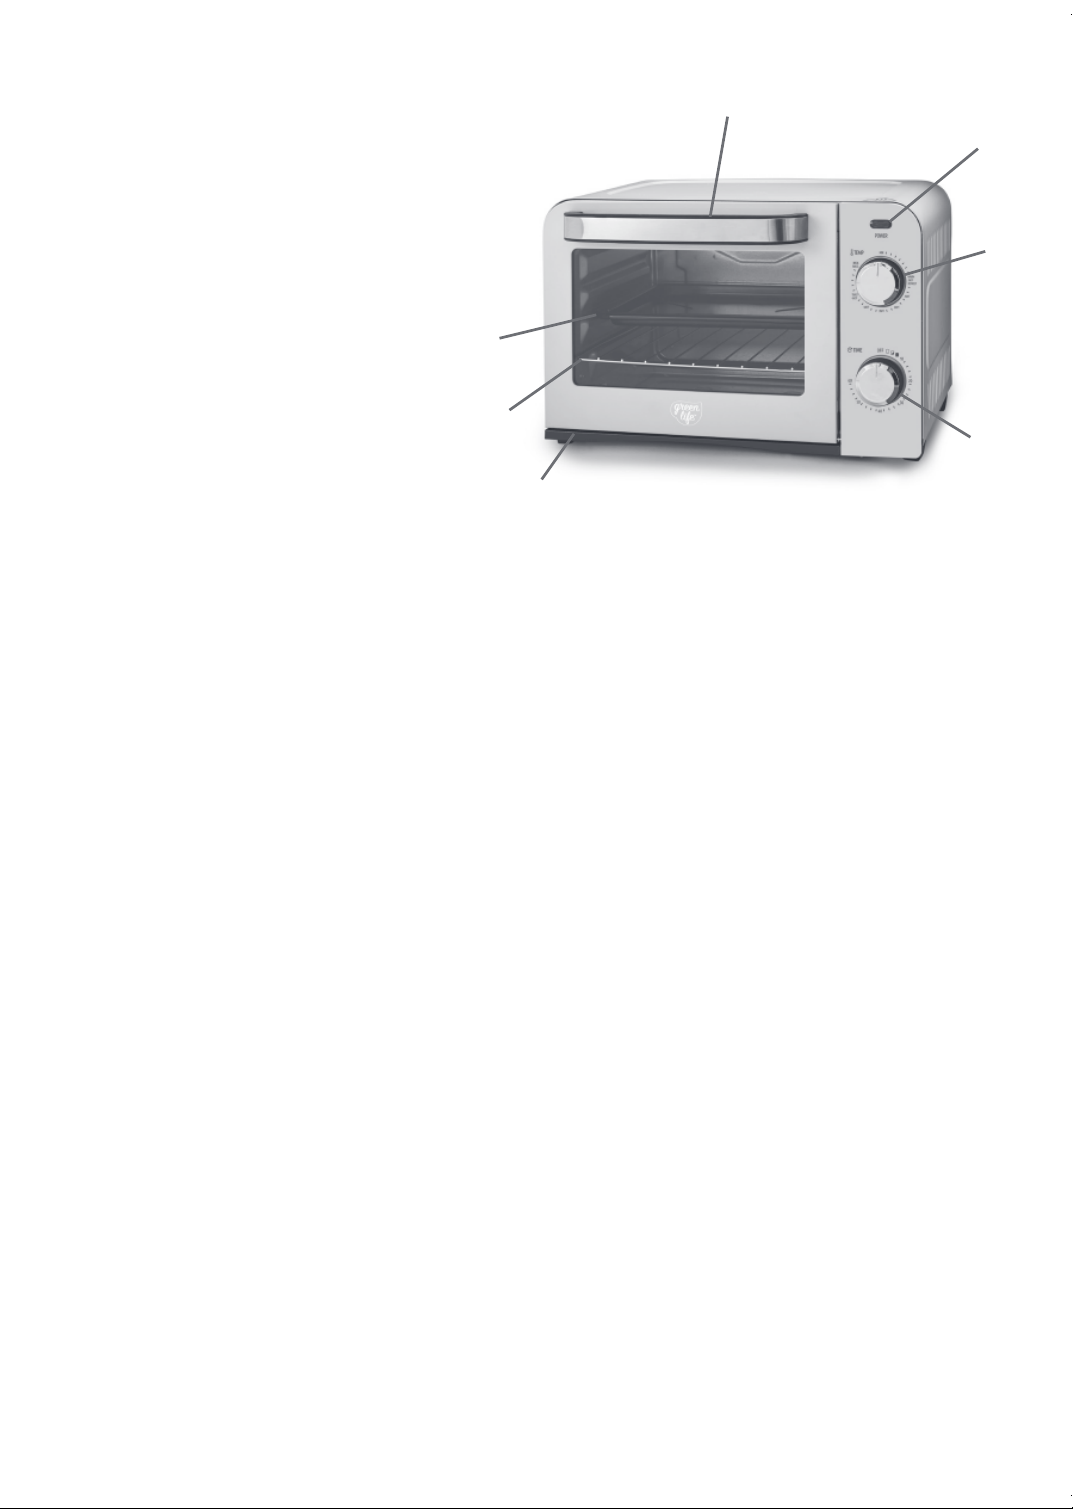
PARTS
A. Indicator Light
Illuminates once the timer is
set. The All-in-One Oven will
automatically turn-o, bell will
sound, and Power Indicator Light
will turn o when time has been
reached.
B. Temperature Dial
Adjustable Temperature
control 200-450˚F.
C. Timer Dial
Up to 60-minute timer
with Auto Shut-Off.
D. Stainless Steel Wire Rack
Can be used or baking, broiling,
and toasting. Accommodates up
to a 9” pizza and 4 slices of toast.
E. Healthy Ceramic Nonstick
Baking Pan
Place food in this pan to cook.
F. Removable Crumb Tray
Collects crumbs and grease.
G. Oven Door with Comfort
Grip Handle
Constructed with tempered
glass for safety.
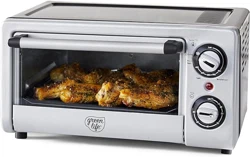
OPERATION
1. Place your GreenLife All-in-One Oven
on a clean, dry surface.
2. Make sure the Temperature Dial is
in the OFF position.
3. Plug cord into an electrical outlet.
4. Pre-heat Oven and then place food into
All-in-One Oven on wire rack or baking
pan.
6. Turn the Temperature Dial clockwise to
desired setting, up to 450°F.
7. Turn the Timer Dial clockwise to the
desired cooking time, up to 60 minutes.
8. The Power Light will light up once the
Timer Dial is turned.
E.
D.
F.
G.
B.
A.
C.
Loading ...
Loading ...
Loading ...