Loading ...
Loading ...
Loading ...

— 8 —
Installation
STEP 1
Read the Safety Instructions
• It is very important to read the safety instructions on pages 4 and 5.
IMPORTANT: It is the installer’s responsibility to comply with installation clearances.
STEP 2
Unpack Range Hood and Prepare Tools
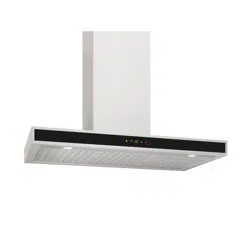
• Carefully unpack the range hood and parts. Make sure all parts are included as shown on page 6.
• DO NOT remove the protective lm covering the appliance until the installation is fully completed.
• Consult a qualied and trained installer or check local codes for makeup air requirement, if any.
STEP 3
Plan Desired Location
• Plan a desirable location that ts all requirements in the Safety and Installation sections of this manual. Plan where
and how the ductwork will be installed.
• A straight or short duct run will allow the unit to perform most efciently. Long duct runs, elbows and transitions
willreducetheperformanceoftheunit.Eachelbowisequivalentto5to10feetofstraightrun.Propersizeduct
work should be 6” (152 mm) in diameter.
• To reach a 9 foot ceiling make sure hood is installed 30 inches from cooking surface. If you have a ceiling
greater than 9ft, please visit anconahome.com to order a chimney extension.
• If ductwork is already installed: ensure ductwork is free from debris and measures 6”
(152 mm).
STEP 4
Test Unit Functions
• Plug the unit in and test all of the functions before installing.
WARNINGS:
• PleasemakesuretoreadALLsafetyinstuctionsonpages4and5.
• Usetwoormorepeopletomoveandinstallrangehood.
• Failuretofollowtheseinstructionscanresultinseriousinjury.
Loading ...
Loading ...
Loading ...