Loading ...
Loading ...
Loading ...
Installation
Constructing and aligning the appliance.
Components inside the appliance may have sharp edges. Wear protective gloves
1. Partially remove the protective film from the back of the appliance.
2. Hook the appliance on to the hood fixing bracket (ensure the hood is fully
hooked onto the hood fixing bracket, as the hooks on the bracket are stepped)
and check that it is level with a spirit level.
3. Remove the appliance from the hood fixing bracket and following installation,
remove the film completely.
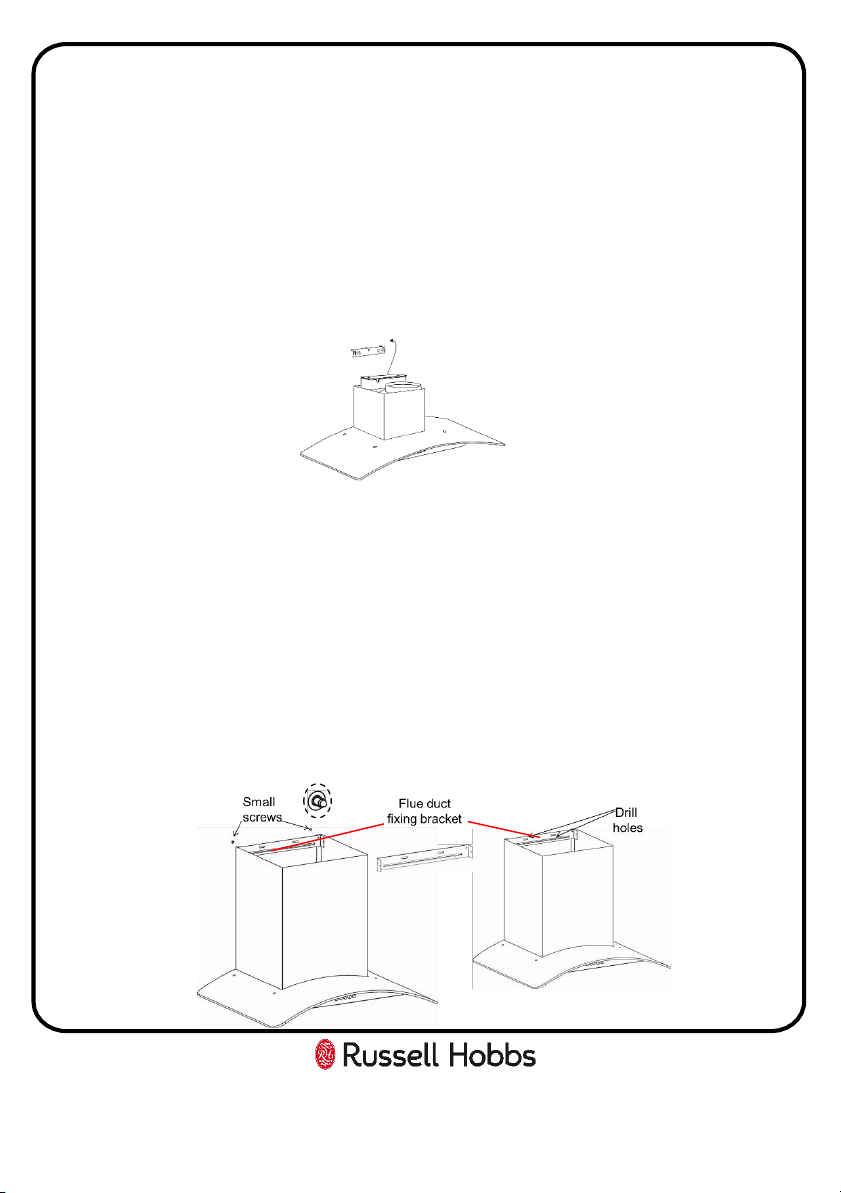
4. Attach the lower (bigger) flue duct to the appliance (it should slot in between the
glass canopy and the main body of the hood) and secure it at the rear of the
appliance (at the bottom) with 2 small screws.
5. At the top of the lower (bigger) flue duct secure the flue ducting bracket to the
duct with 2 small screws at the rear.
6. Hook the appliance back onto the hood fixing bracket and mark on the wall the
drill hole locations for the flue ducting bracket.
7. Remove the appliance from the hood fixing bracket and drill 2 x 8mm Ø holes to a
depth of 50mm for the flue duct fixing bracket and press the wall plugs flush with
the wall.
11
Loading ...
Loading ...
Loading ...