Loading ...
Loading ...
Loading ...
Installation
Preparation
Ensure that there are no electric wires, gas or water pipes in the area where holes
are to be made.
1. Ensure that there is an electrical plug socket within adequate distance of the
hood after it has been installed.
2. Mark a vertical centre line on the wall from the ceiling to the lower edge of the
extractor hood.
3. Mark the positions for the screws and the contour of the attachment area.
4. Drill 3 x 8mm Ø holes to a depth of 50mm for the hood fixing bracket and press
the wall plugs flush with the wall.
5. Drill 2 x 8mm Ø holes to a depth of 50mm for the wall mounted flue duct fixing
bracket and press the wall plugs flush with the wall (at the appropriate height and
will depend on the height of the ceiling).
6. Screw on the hood and wall mounted flue duct fixing brackets with the large
screws. The flue duct fixing bracket is not installed at this stage (see page 12).
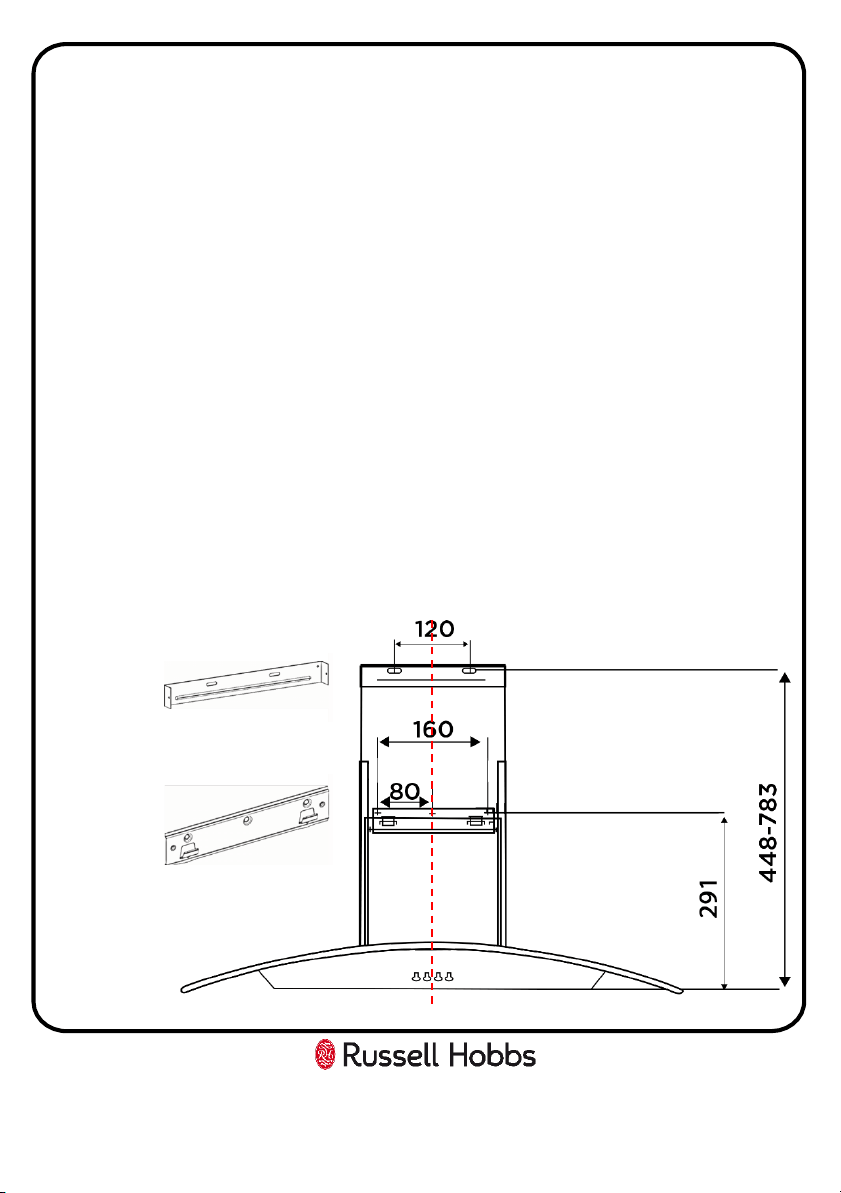
All measurements in the below diagram are in millimetres (mm)
10
Wall mounted
flue duct
fixing bracket
Hood fixing
bracket
Ceiling
Loading ...
Loading ...
Loading ...