Loading ...
Loading ...
Loading ...
Before using for the first time en
15
Note: The accessories may deform as they heat up.
When they cool down again, they regain their original
shape. This has no effect on their performance.
Hold the baking tray securely at the sides with both
hands and slide it into the shelf supports, keeping it
parallel.Do not move the baking tray from side to side
as you slide it in,otherwise it will not go in easily and the
surfaces at the sides of the cooking compartment may
be damaged.
:Warning – Risk of fire!
Under no circumstances should a roasting tin, baking
tray, frying pan or any other form of cookware be
placed directly on the oven floor. This causes the floor
of the appliance to overheat and can seriously damage
the appliance.
KBefore using for the first
time
Be f o r e us i ng for the first ti me
In this section, you can find out what you must do
before using your oven or hob to prepare food for the
first time. Read the following section beforehand.
~ "Important safety information" on page 5
Remove the appliance packaging and dispose of it
appropriately.
Baking out the oven
Precleaning the oven
1. Remove accessories and hook-in racks from the
cooking compartment.
2. Fully remove any remaining packaging, such as
small pieces of polystyrene, from the cooking
compartment.
3. Some parts are covered with a protective film.
Remove the protective film.
4. Clean the outside of the appliance with a soft, damp
cloth.
5. Clean the cooking compartment with hot soapy
water.
Heating up the oven
To remove the new cooker smell, heat up the oven
when it is empty and closed.
1. Turn the temperature selector to the maximum
temperature.
2. Switch off the oven after 45 minutes.
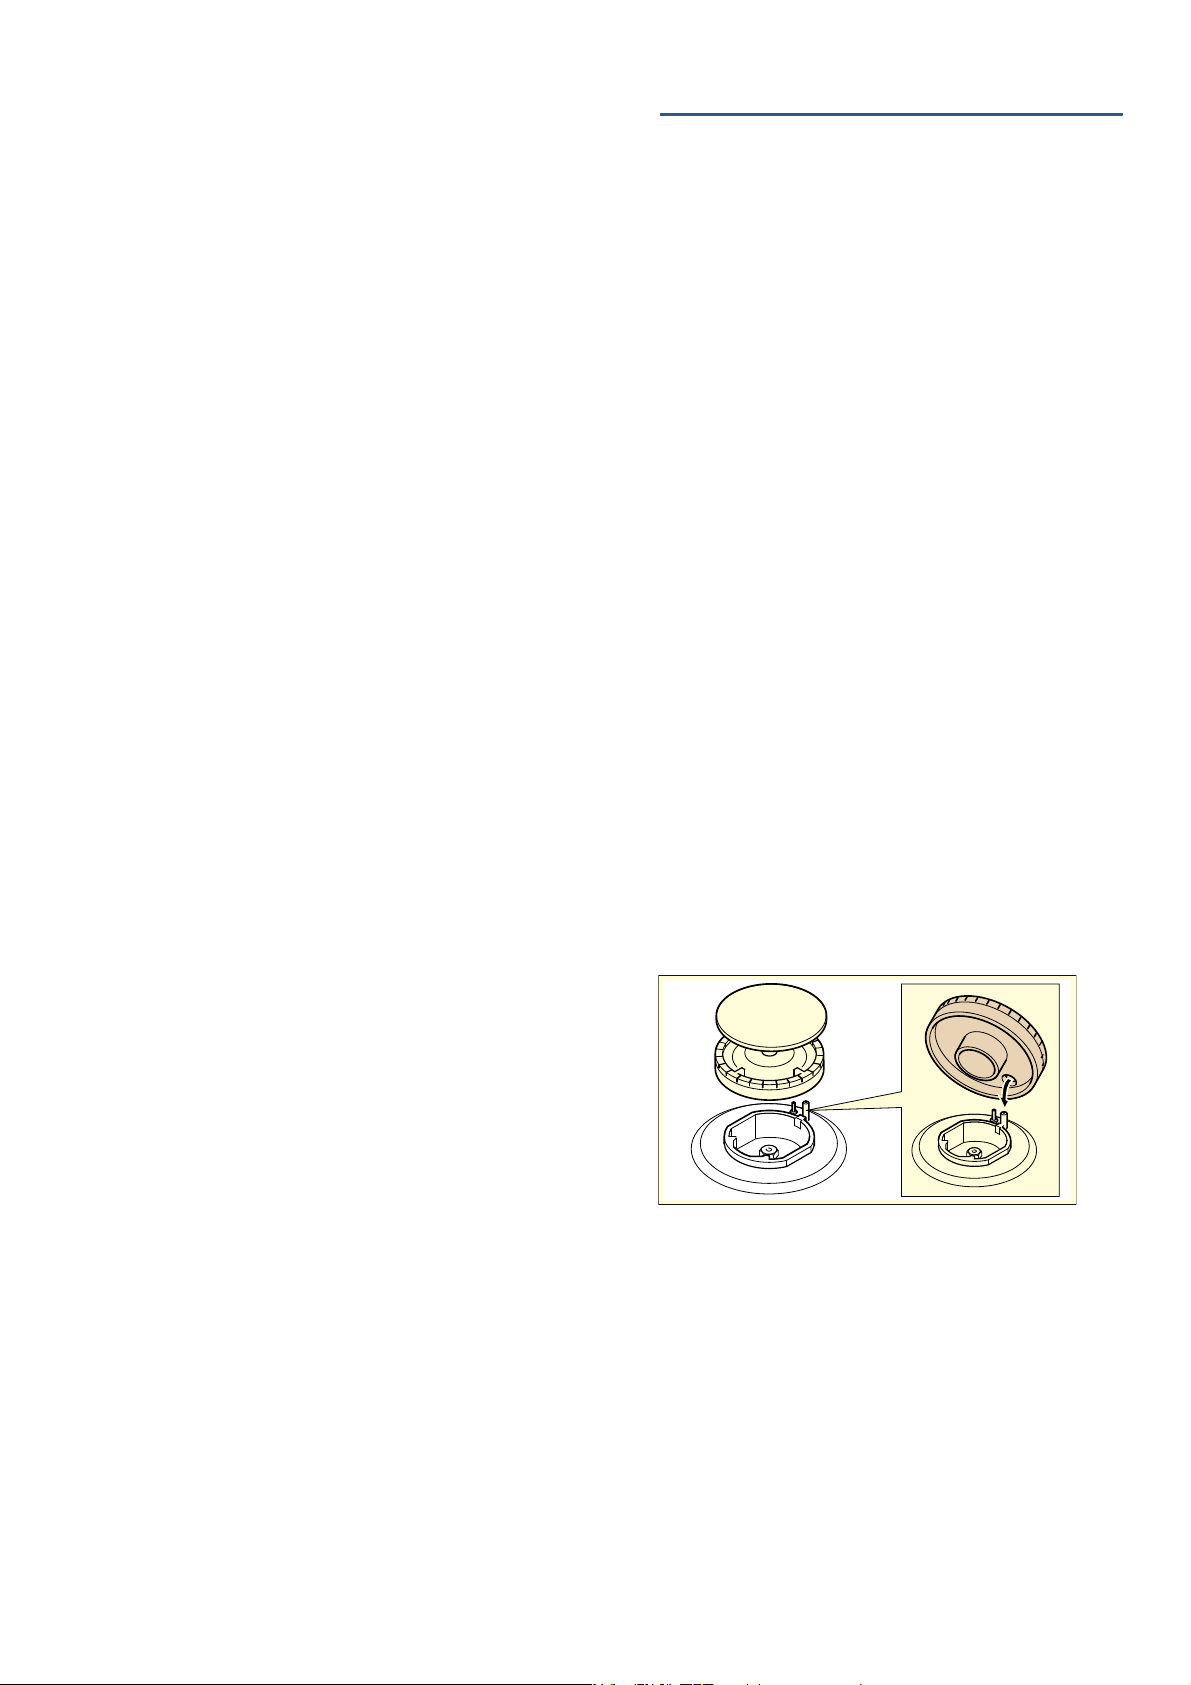
Cleaning the burner caps and cups
1. Clean the burner caps (A) and cups (B) with water
and washing-up liquid.
2. Dry the parts well.
3. Place the burner cup (B) onto the burner (C).
4. Position the burner cap (A) exactly on the burner
cup (B).
Cleaning the accessories
Before using the accessories, clean them thoroughly
using a cloth and warm soapy water.
$
%
&
Loading ...
Loading ...
Loading ...