Loading ...
Loading ...
Loading ...
9
Enclosure Configuration
Adjusting Mounting Rails and Cable Management Rails
WARNING: Do not attempt to adjust rails without assistance. Do not attempt to adjust rails while equipment is installed in the
enclosure. Do not attempt to use rails without screws installed (6 per rail).
The 4 mounting rails are pre-installed to accommodate equipment with a mounting depth of 30 inches (762 mm). Do not adjust the mounting rails
unless your equipment requires a different mounting depth. The front and rear sets of rails can be adjusted independently in ¼-inch (6 mm)
increments for mounting depths between 4 inches (101.6 mm) and 42 inches (1066.8 mm).
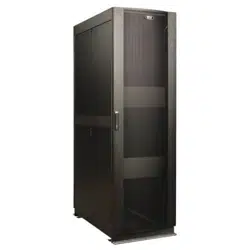
3
Lift the panel away from the brace that supports it.
To Reinstall Side Panel, Reverse Steps 1-3.
1
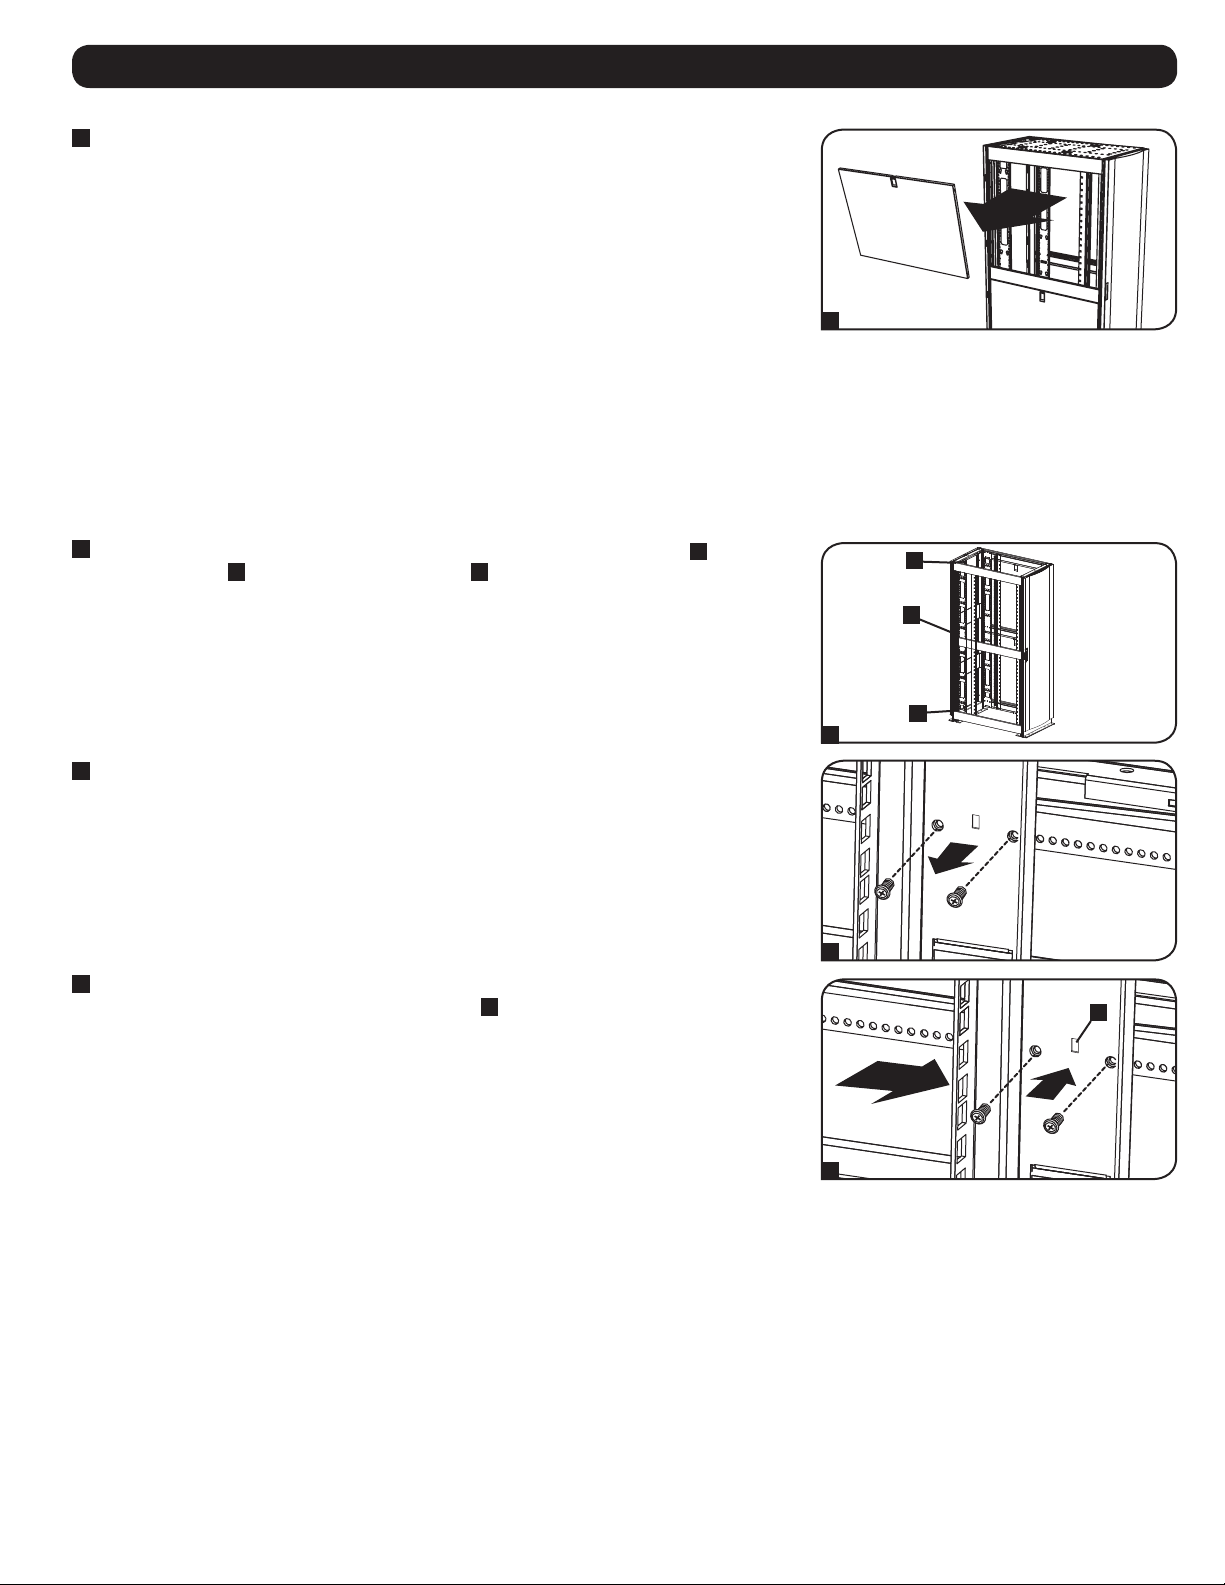
Each rail is connected to the enclosure with 6 screws: 1 pair at the upper beam
A
, 1 pair at
the middle beam
B
and 1 pair at the lower beam
C
.
2
Remove the screws fastening each of the rear mounting rails to the enclosure. (If adjustment of
the front rails is required, you can also remove the screws from the front rails.)
3
Slide the mounting rails to the desired depth and reattach them using the screws you removed
in Step 2. The rail attachment points are numbered
A
to help you align each pair of rails at the
same depth.
The depth of the 2 cable management rails can be adjusted using the
same method.
4 5 6 3 4 5 6 7 8 9 0 1 2
3
8
6 7 8 9 0 1 2 3 4
5 6 0 1 2 3
5
3
1
2
3
A
A
B
C
Loading ...
Loading ...
Loading ...