Loading ...
Loading ...
Loading ...
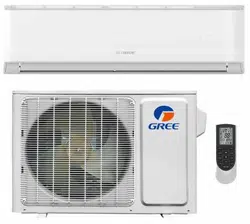
LIVO OWNERS MANUAL - INDOOR UNIT | 12
OPERATION OF WIRELESS REMOTE CONTROLLER (Continued)
• Press “ “ or “ “ button to increase or decrease the
set temperature 1 °C(2°F). Hold “ “ or “ “ button for 2
Sec, set temperature on remote controller will change
quickly. Temperature indicator on indoor unit will
change accordingly.
• When setting TIMER ON and TIMER OFF or CLOCK,
press “ “ or “ “ button to adjust time. (Refer to CLOCK,
TIMER ON, TIMER OFF buttons)
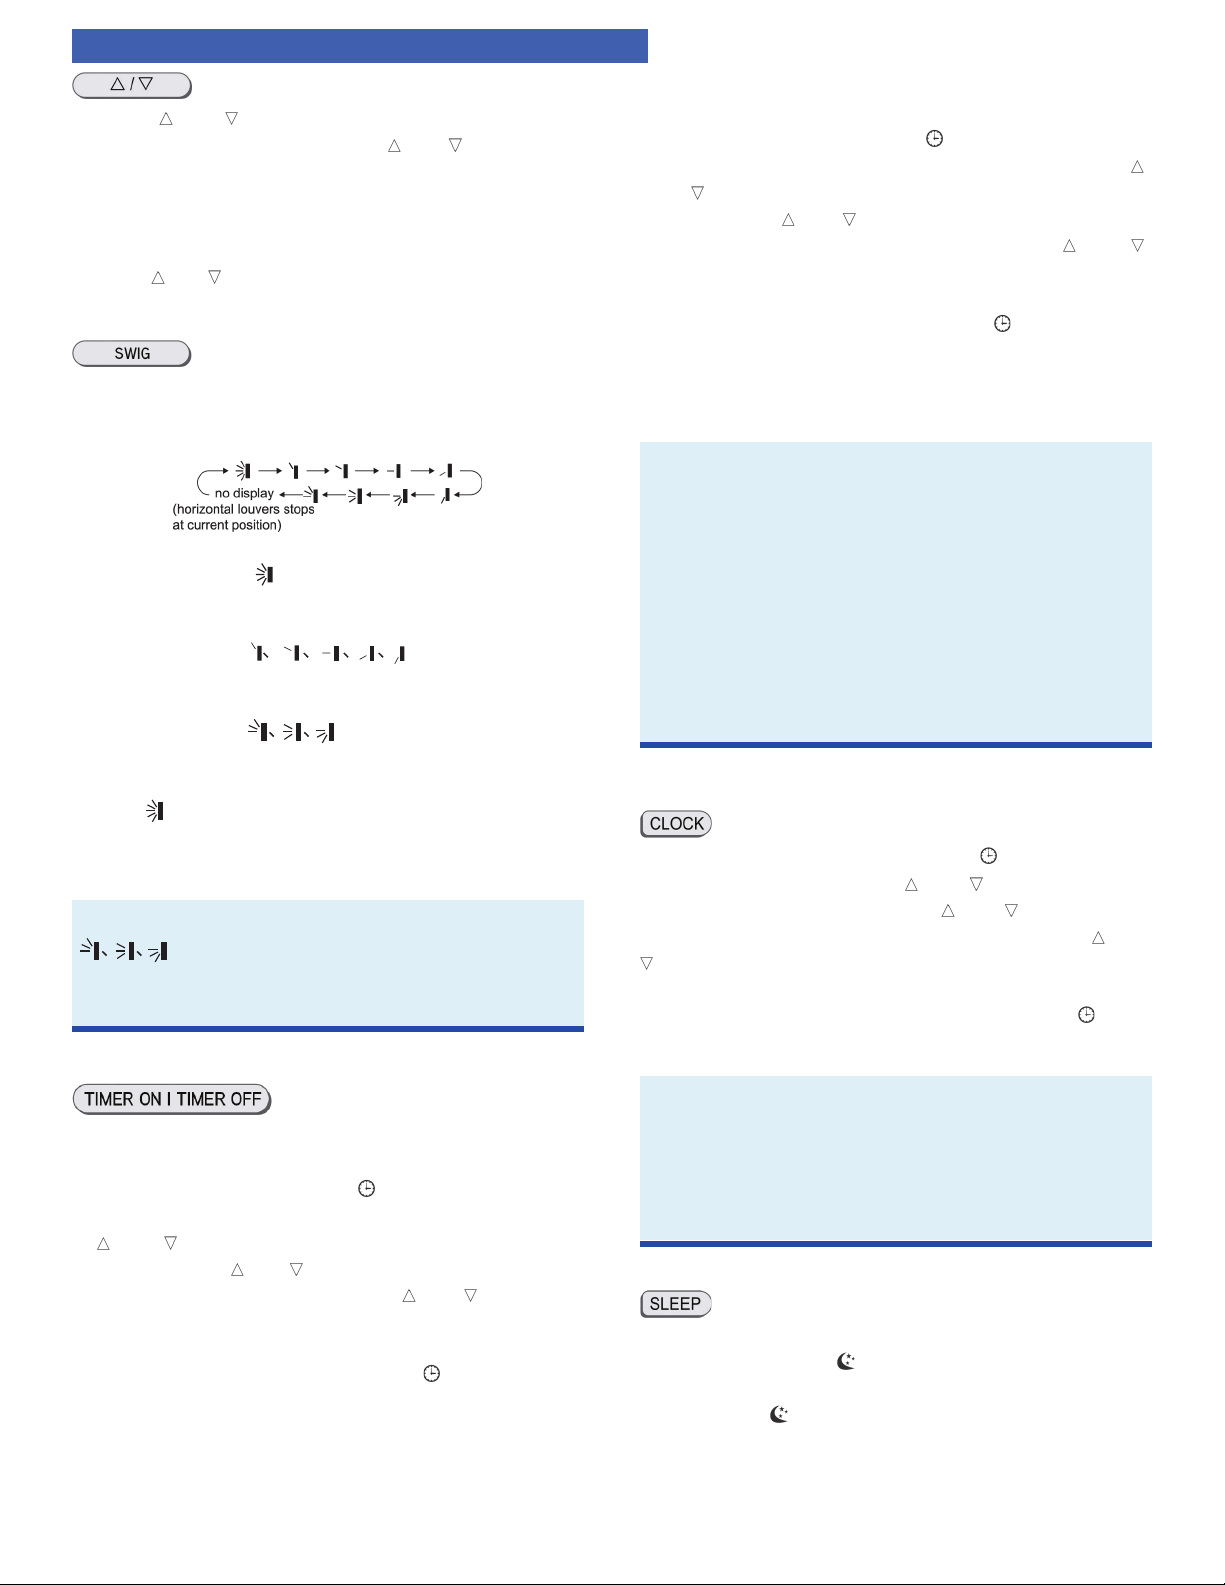
Press this button can select up&down swing angle. Fan
blow angle can be selected circularly as below:
• When selecting “ ”, air conditioner is blowing fan
automatically. Horizontal lover will automatically
swing up & down at maximum angle.
• When selecting “ ” air conditioner is
blowing fan at fixed position. Horizontal louver will
stop at the fixed position.
• When selecting, “ ” air conditioner is blowing
fan at fixed angle. Horizontal lover will send air at the
fixed angle.
• Hold “ ” button above 2s to set your required swing
angle. When reaching your required angle, release the
button.
NOTE
“
”may not be available. When air conditioner
receives this signal, the air conditioner will blow fan
automatically.
• TIMER ON button
“TIMER ON” button will set the time for timer on.
After pressing this button, “ “ icon disappears and
the word “ON” on remote controller blinks. Press
“ “ or “ “ button to adjust TIMER ON setting. After
each pressing “ “ or “ “ button, TIMER ON setting will
increase or decrease 1min. Hold “
“ or “ “ button, 2s
longer and the time will change quickly until reaching
your desired time. Press “TIMER ON” to confirm.
The word “ON” will stop blinking. “
“ icon resumes
displaying. Cancel TIMER ON: If TIMER ON is initiated,
press “TIMER ON” button to cancel it.
• TIMER OFF button
“TIMER OFF” button will set the time for timer off.
After pressing this button, “
“ icon disappears and
the word “OFF” on remote controller blinks. Press “ “
or “ “ button to adjust TIMER OFF setting. After each
press of the “
“ or “ “ button, TIMER OFF setting will
increase or decrease 1 min. Holding the “ “ or “ “
button for more than 2s the time will change quickly
until reaching your desired time. Press “TIMER
OFF” and “OFF” will stop blinking. “
“ icon resumes
displaying. To cancel TIMER OFF when it’s on, “TIMER
OFF” button to cancel it.
NOTE
• Under status, you can set TIMER OFF or TIMER ON
simultaneously.
• Before setting TIMER ON or TIMER OFF, please set
the clock.
• After starting TIMER ON or TIMER OFF, set to
“circulating” mode.
• Your unit will be turned on or turned off according
to setting. ON/OFF button has no effect on setting.
If you don’ t need this function, please use remote
controller to cancel it.
Press this button to set clock time. “ “ icon on remote
controller will blink. Press “ “ or “ “ button within 5s
to set clock time. Pressing the “ “ or “ “ button, clock
time will increase or decrease 1 min. If you hold “ “ or “
“ button for longer than 2s the time will change rapidly.
Release this button when reaching your required time.
Press “CLOCK” button to confirm the time. “ “ icon
stops blinking.
NOTE
• This is a 24 hour clock.
• A delay of more than 5s in setting the ON and OFF
times will cancel the set-up and you will have to
start over. Operation for TIMER ON/TIMER OFF is
the same.
Under COOL or HEAT mode, press this button to start
up sleep function. “ “ icon is displayed on remote
controller. Press this button again to cancel sleep
function and “
“ icon will disappear.
Loading ...
Loading ...
Loading ...