Loading ...
Loading ...
Loading ...
Leveling the Range -
Level the range and set cooktop height before
installation in the cut-out opening,
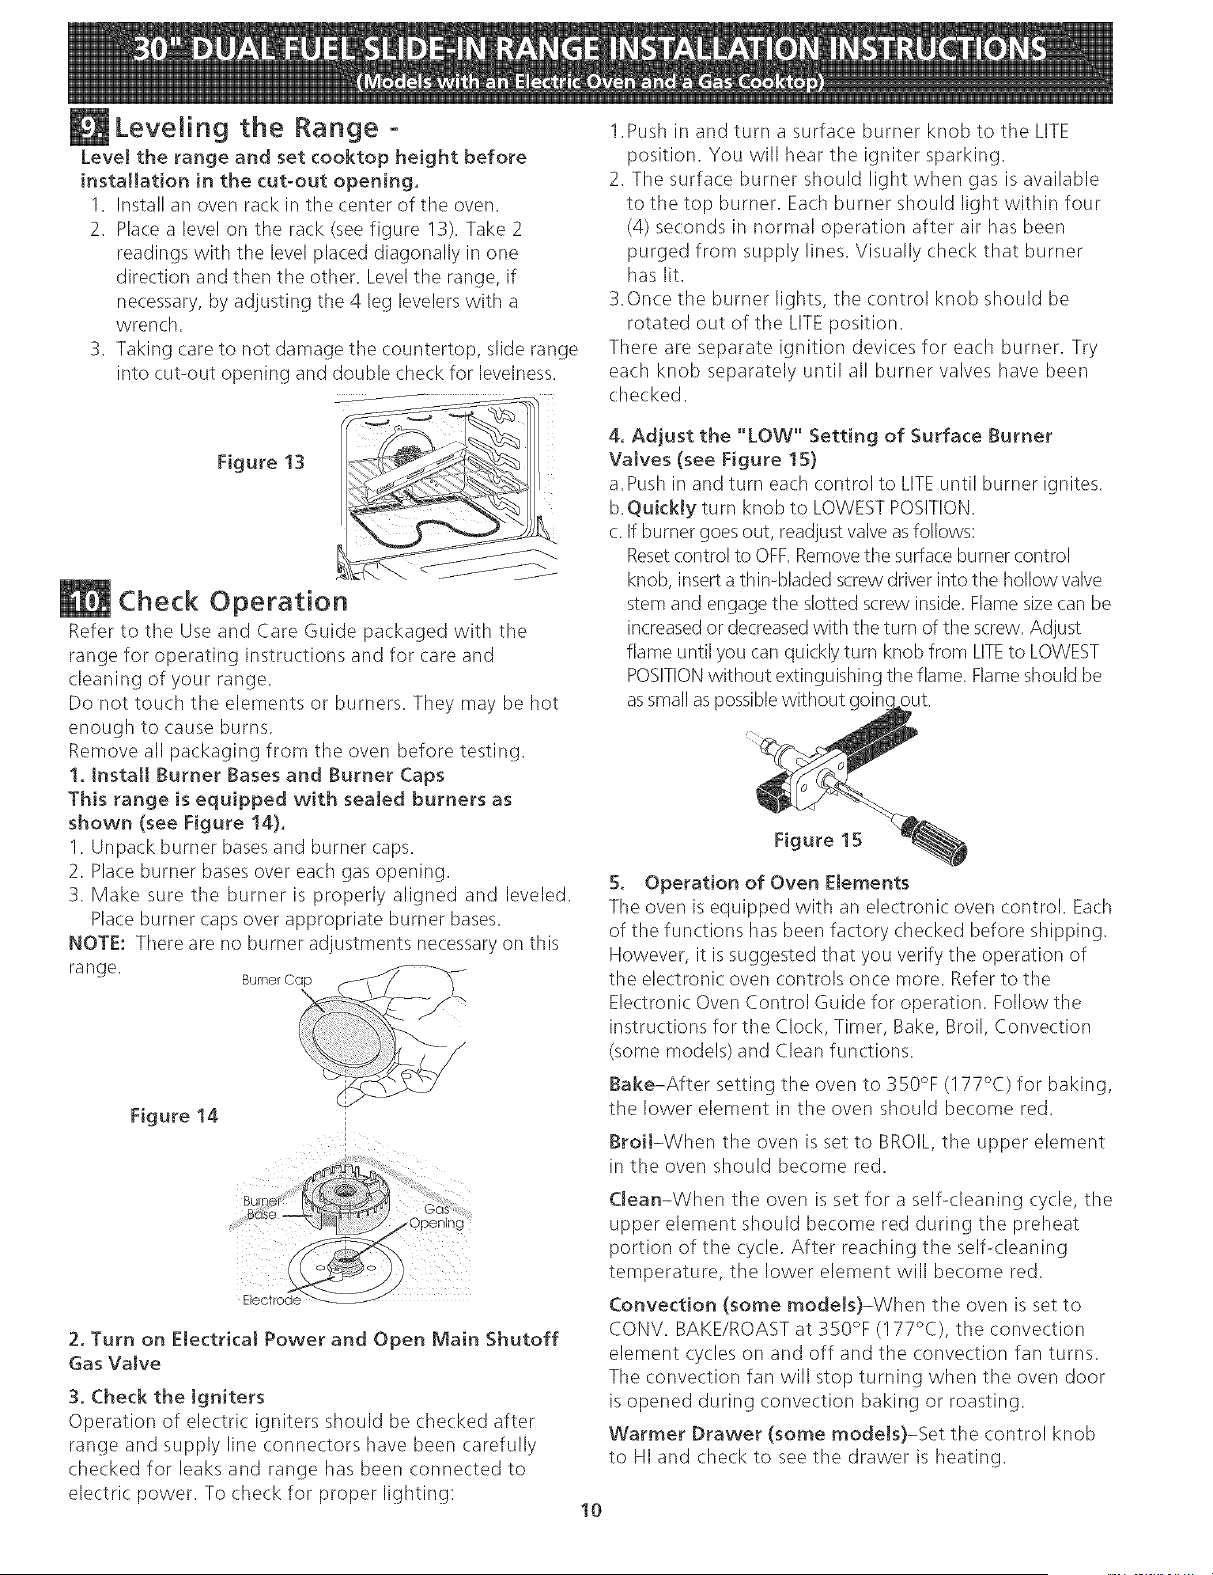
1. Install an oven rack in the center of tile oven.
2. Place a level on the rack (see figure 13). Take 2
readings with the level placed diagonally in one
direction and then the other. Level the range, if
necessary, by adjusting tile 4 leg levelers with a
wrench.
3. Taking care to not damage the countertop, slide range
into cut-out opening and double check for levelness.
1.Push in and turn a surface burner knob to the LITE
position. You will hear the igniter sparking.
2. The surface burner should light when gas is available
to the top burner. Each burner should light within four
(4) seconds in normal operation after air has been
purged from supply lines. Visually check that burner
has lit.
3.Once the burner lights, the control knob should be
rotated out of the LITE position.
There are separate ignition devices for each burner. Try
each knob separately until all burner valves have been
checked.
Figure 13
/
Check Operation
Refer to the Use and Care Guide packaged with the
range for operating instructions and for care and
(.leaning of your range.
Do not touch the elements or burners. They may be hot
enough to cause burns.
Remove all packaging from tile oven before testing.
1. install Burner Bases and Burner Caps
This range is equipped with sealed burners as
shown (see Figure !@.
1. Unpack burner basesand burner caps.
2. Place burner bases over each gas opening.
3. Make sure the burner is properly aligned and leveled.
Place burner caps over appropriate burner bases.
NOTE: There are no burner adjustments necessary on this
range.
Burner Cap (
Figure 14
4. Adjust the "LOW" Setting of Surface Burner
Valves (see Figure ! S)
a.Push in and turn each control to LITEuntil burner ignites.
b.QukkJy turn knob to LOWESTPOSITION.
c. If burner goes out, readjust valve asfollows:
Resetcontrol to OFF.Removetile surface burner control
knob, inserta thin-bladed screw driver into tile hollow valve
stem and engage the slotted screw inside. Flame size can be
increasedor decreasedwith the turn of the screw. Adjust
flame until you can quickly turn knob from LITEto LOWEST
POSITIONwithout extinguishing tile flame. Flameshould be
as smallas possiblewithout goin_
Figure 15
5. Operation of Oven Elements
Tile oven is equipped with an electronic: oven control. Each
of the functions has been factory checked before shipping.
However, it is suggested that you verify the operation of
the electronic oven controls once more. Refer to tile
Electronic Oven Control Guide for operation. Follow the
instructions for the Clock, Timer, Bake, Broil, Convection
(some models) and Clean functions.
Bake-After setting the oven to 350% (I 77°C) for baking,
tile lower element in the oven should become red.
Broil-When the oven is set to BROIL, the upper element
in tile oven should become red.
Opening
Electrode
2. Turn on Electrical Power and Open Main Shutoff
Gas Va[ve
3. Check the Igniters
Operation of electric igniters should be checked after
range and supply line connectors have been carefully
checked for leaks and range has been connected to
electric power. To check for proper lighting:
Clean-When the oven is set for a self-cleaning cycle, tile
upper element should become red during the preheat
portion of the cycle. After reaching tile self-cleaning
temperature, tile lower element will become red.
Convection (some models)-When the oven is set to
CONV. BAKE/ROAST at 350% (I 77°C), the convection
element cycles on and off and the convection fan turns.
The convection fan will stop turning when the oven door
is opened during convection baking or roasting.
Warmer Drawer (some mode[s}-Set the control knob
to HI and check to see the drawer is heating.
10
Loading ...
Loading ...
Loading ...