Loading ...
Loading ...
Loading ...
7 8
ninjakitchen.co.uk
ninjakitchen.co.uk
TOP HEAT
1
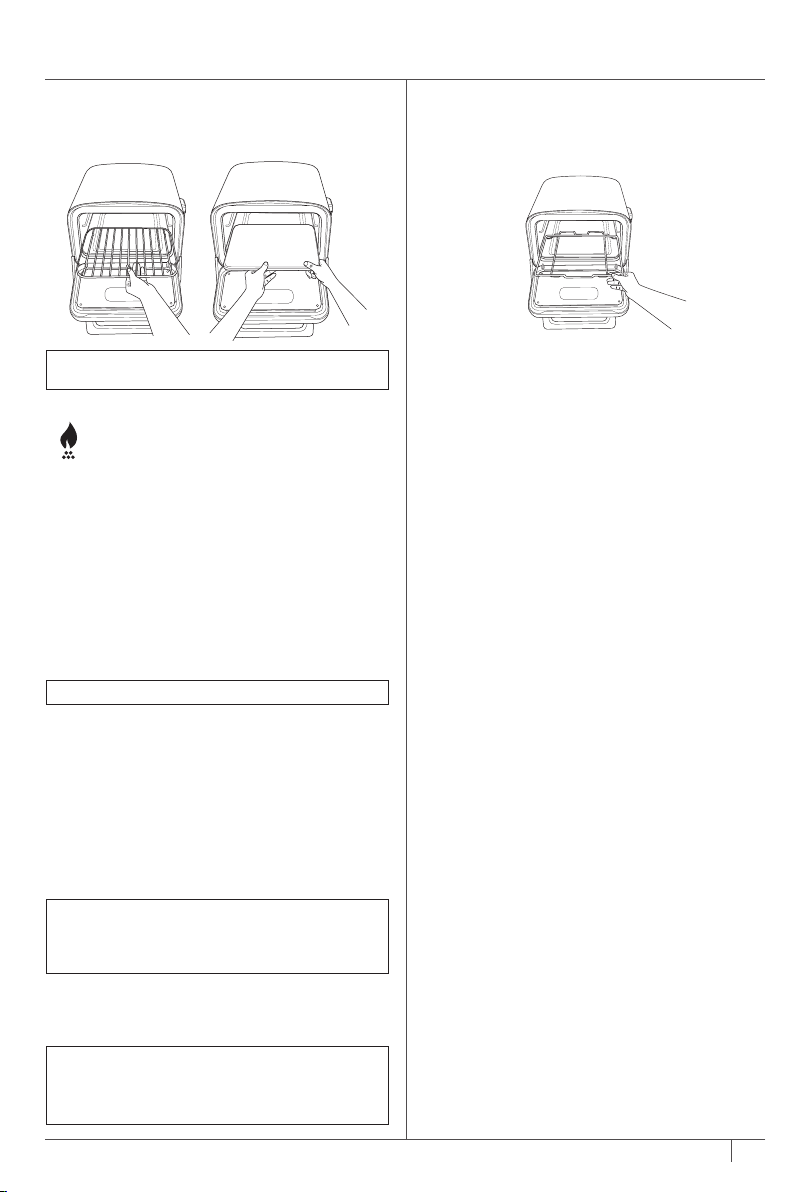
Install the Accessory Frame in top level of the
oven, then place the Pro-Heat Tray on top of it.
Place the Roast Rack in the pan (optional).
2
Turn the left-hand dial to select TOP HEAT.
3 Press the TEMP button, then use the right-
hand dial to set the temp. Press the TIME
button, then use the right-hand dial to set
the time.
4
Place ingredients on the Roast Rack or
Pro -Heat Tray.
5
Press START/STOP to begin cooking. There is
no preheat time. The oven will begin cooking
and the timer will begin counting down.
6
When cook time is complete, the oven will
beep and DONE will display.
7
Use oven gloves to remove food from the
oven. Let it rest, then serve.
USING THE COOKING FUNCTIONS – CONT’D
PIZZA
1
Install the Accessory Frame in the bottom of
the oven, then place the Pizza Stone on top.
2
Turn the left-hand dial to select PIZZA.
3
If you plan to use the WOODFIRE FLAVOUR,
pull the smoke box open and use the pellet
scoop to fill the smoke box to the top with
Ninja Woodfire Pellets DO NOT overflow
the smoke box. Press the WOODFIRE
FLAVOUR button.
4
Use the right-hand dial to select the
desired
preset pizza type (Artisan, Thin, Pan, New
York Style, Frozen, or Custom).
5
Press START/STOP to begin preheating.
Estimated preheat time is 10–25 minutes
depending on set temperature. If using
Woodfire Flavour, the pellets will go through
an ignition cycle (IGN), then the oven will
begin preheating (PRE).
6
Use the right-hand dial to set TIME. Setting
TIME is dierent for PIZZA. This sets the pizza
cook timer (similar to an oven timer). When
time has ended, the oven will stay on for up to
one hour for cooking back-to-back pizzas.
7
Once the oven has reached temperature, ADD
FOOD PRS STRT will display. Place pizza
directly on the stone.
8
Press START/STOP again and the timer will
begin counting down.
9
When cook time is complete, the oven will beep
and GET FOOD will appear on the display. Use
pizza peel to remove pizza from oven.
NOTE:
If cooking Deep Pan Pizza, you will need
to prepare in a deep-dish pan (not included).
NOTE:
Temp can only be set using MANUAL.
NOTE:
We recommend using the Ninja Pizza
Peel, sold separately. If you do not have a pizza
peel, use the cutting board or underside of a
bake pan with flour to place pizza on stone.
NOTE: COOKING BACK-TO-BACK PIZZAS –
For best results, wait until READY appears on
the display. This indicates the stone is back
up to temperature. Then add the next pizza.
MAX ROAST
1 Install the Accessory Frame in the bottom of the
oven, then place the Pro-Heat Tray on top of it.
2
Turn the left-hand dial to select MAX ROAST.
3
If you plan to use the WOODFIRE FLAVOUR,
pull the smoke box open and use the pellet
scoop to fill the smoke box to the top with
Ninja Woodfire Pellets. DO NOT overflow
the smoke box. Then press the WOODFIRE
FLAVOUR button.
4 Press the TEMP button, then use the right-
hand dial to set the temp. Press the TIME
button, then use the right-hand dial to set
the time.
5 Press START/STOP to begin preheating.
6 While oven is preheating. Start prepping
ingredients. Estimated preheat time is
15-20 minutes depending on set temperature.
7 When the oven is preheated, ADD FOOD
PRS START will appear on the display.
8 Use oven gloves to pull out the frame and
place ingredients on the pan.
9 Press START/STOP to begin cooking. The
timer will begin counting down.
10 When cook time is complete, the oven will
beep and DONE will display.
11
Use oven gloves to remove food from the
oven. Let it rest, then serve.
GOURMET ROAST
1 Install the Accessory Frame in the bottom of
the oven.
2
Turn the left-hand dial to select GOURMET
ROAST.
3
If you plan to use the WOODFIRE
FLAVOUR, pull the smoke box open and
use the pellet scoop to fill the smoke box to
the top with Ninja Woodfire Pellets. DO
NOT overflow the smoke box. Press the
WOODFIRE FLAVOUR button.
4
Stage 1 LED will illuminate; this is the high
temperature setting.
5 Press the TEMP button, then use the right-
hand dial to set the temp. Press the TIME
button, then use the right-hand dial to set
the time.
6 Push the right-hand dial and Stage 2 LED will
turn on. Repeat the previous step to program
Stage 2.
7 Press START/STOP to begin preheating.
Estimated preheat time is 15-20 minutes
depending on set temperature. If using
Woodfire Flavour, the pellets will go through
an ignition cycle (IGN), then the oven will
begin preheating (PRE).
8 When the oven is preheated, ADD FOOD
PRS START will appear on the display.
9 Pull the Accessory Frame forward and place
pan with ingredients onto frame. Close the
door.
10 Press START/STOP to start timer. Stage 1
temp and time will display and timer will begin
counting down. The oven will automatically
switch to Stage 2 settings when Stage 1 is
complete.
11 When cook time is complete, the oven will
beep and DONE will display on the oven.
12
Use oven gloves to remove food from the
oven. Let it rest, then serve.
IMPORTANT: Pro-Heat Tray should be installed
as it needs to preheat with the oven.
NOTE:
The unit will beep and display FLIP
for 30 seconds. Flipping is optional, but
recommended.
Loading ...
Loading ...
Loading ...