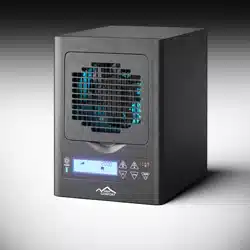
CA3500 New Comfort
6 Stage AIR PURIFIER
INSTRUCTION MANUAL
CAUTION:
Read manual carefully for proper installation and operation.
2
Specifications ..................................................................................................... 2
Features ............................................................................................................. 3
Introduction ........................................................................................................ 4
Applications ....................................................................................................... 5
Installation .......................................................................................................... 6
Back Cover & Filter Removal ............................................................................. 7
Placing the Unit .................................................................................................. 8
Settings and Adjustments .................................................................................. 9
Maintenance .................................................................................................... 11
Replacing the Fuse .......................................................................................... 12
Troubleshooting ............................................................................................... 13
Warranty Information ....................................................................................... 15
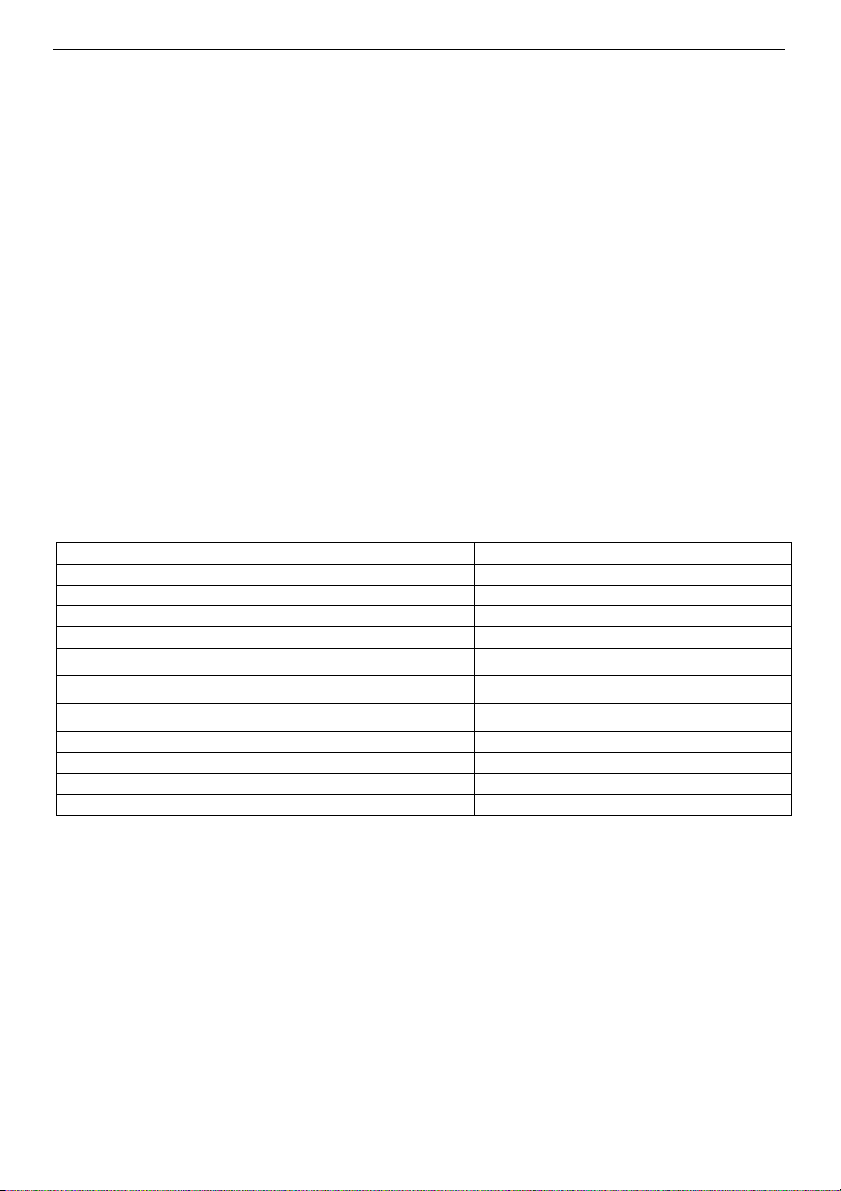
SPECIFICATIONS
Model:
CA3000
Rated Voltage:
USA-AC 120v/60hz
Power Consumption:
40w
Fan Speed (non-grade):
1500-3000 RPM
Ion Output
≥5 x 106cm3 (or≥2.5 x 10⁶/cm3)
Air Volume:
Max 106 CFM (3 m
3
/min)
UV Spectrum:
≥20ìw/cm
2
(at 10cm-distance)
Sound Level (DV):
Silent20 Low35 Med45 High50
Particle Purifying Rate:
up to 99.97% HEPA
Product Size in inches:
W 9 in x D 11 in x H 12 in
Gross Weight:
14.5 Pounds
Ozone Plates
2
• Negative Ion Generation Technology
• Adjustable Ozone Generation
• Activated Carbon Deodorization
• UVC Bulb & Photo-Catalytic Filter
• Washable HEPA Filter (to eliminate small particles and dust)
• Adjustable Fan Speed Control
• Washable Permanent Pre-Filter
• Adjustable Ozone Control and Plate Configuration
• Adjustable Ion Control
3
Ion Output:
• 20 KV negative ion generator.
Filtration Type:
• Washable HEPA, Carbon and TI02 Filters.
Warranty:
• 3-Year Factory Warranty.
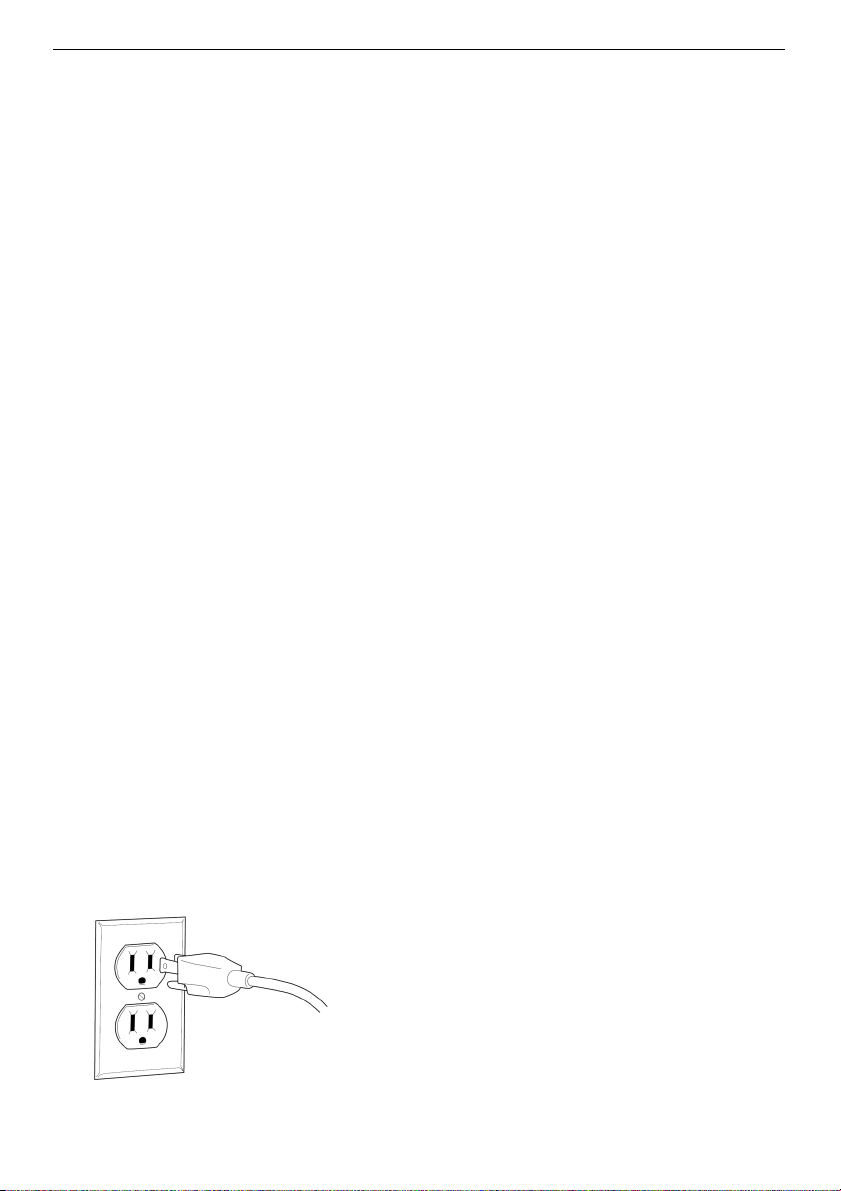
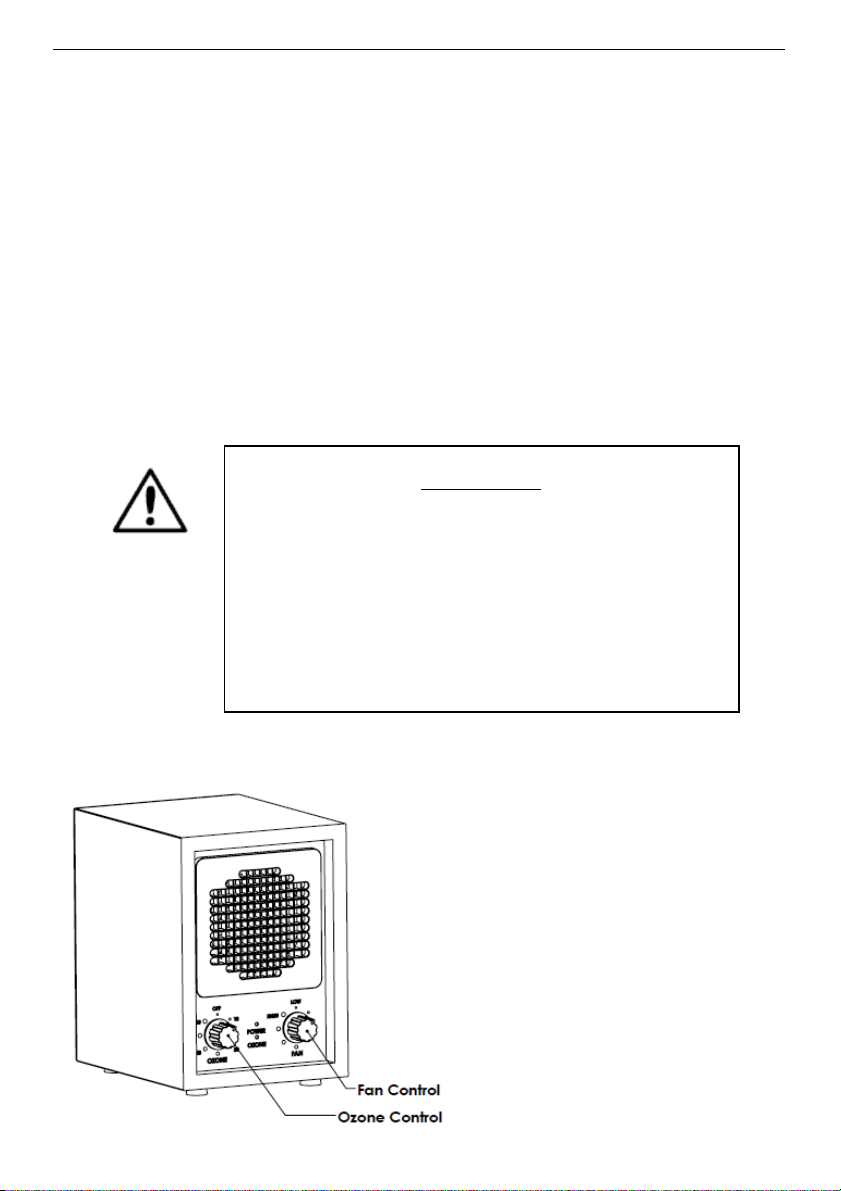
To reduce the risk of electric shock, this equipment has a grounding
type plug that has a third (grounding) pin. This plug will only fit into a
grounding type power outlet. If the plug does not fit into the outlet,
contact qualified personnel to install the proper outlet. Do not alter
the plug in any way.
WARNING! - Do not operate without proper installation. Doing so
may void the warranty. NEVER plug unit into a power strip. Plug
into standard wall outlet ONLY
CAUTION! – Cut off the power when performing maintenance, or
the fuse has blown and needs to be changed. Fusing current no
more than 1.0 Amp.
INTRODUCTION
The CA3500 reproduces the natural environment of outdoors, indoors. It’s not
designed to create an
artificial fresh environment,
but rather make the indoor
air purified as natural
clean air through
circulated purification
CA3500
Keeps your air clean
and fresh with 6 stages of filtration.
4
• Compact
• Portable
• No Duct Work Required
• No Chemicals
• Low Maintenance
• Low Electrical Usage
• Complete User Control
• No Residual Contamination
APPLICATIONS
• Home, Office, Restaurant, Hotel
• Smoking Areas
• Production Areas
• Basements
• Casinos & Large Meeting Halls
• Veterinary Hospital
• Barns, Kennels & Stables
• Photo Labs & Salons
• Day Care Centers
• Chemical Odors
• Bowling Alleys & Parlors
INSTALLATION
1. Remove unit from shipping carton.
2. Remove all protective materials.
3. Read Owner’s Manual thoroughly prior to installation.
4. Fully insert cord into the power cord receptacle on the back of the unit.
5. Install Ozone and Filters as shown in the steps below.
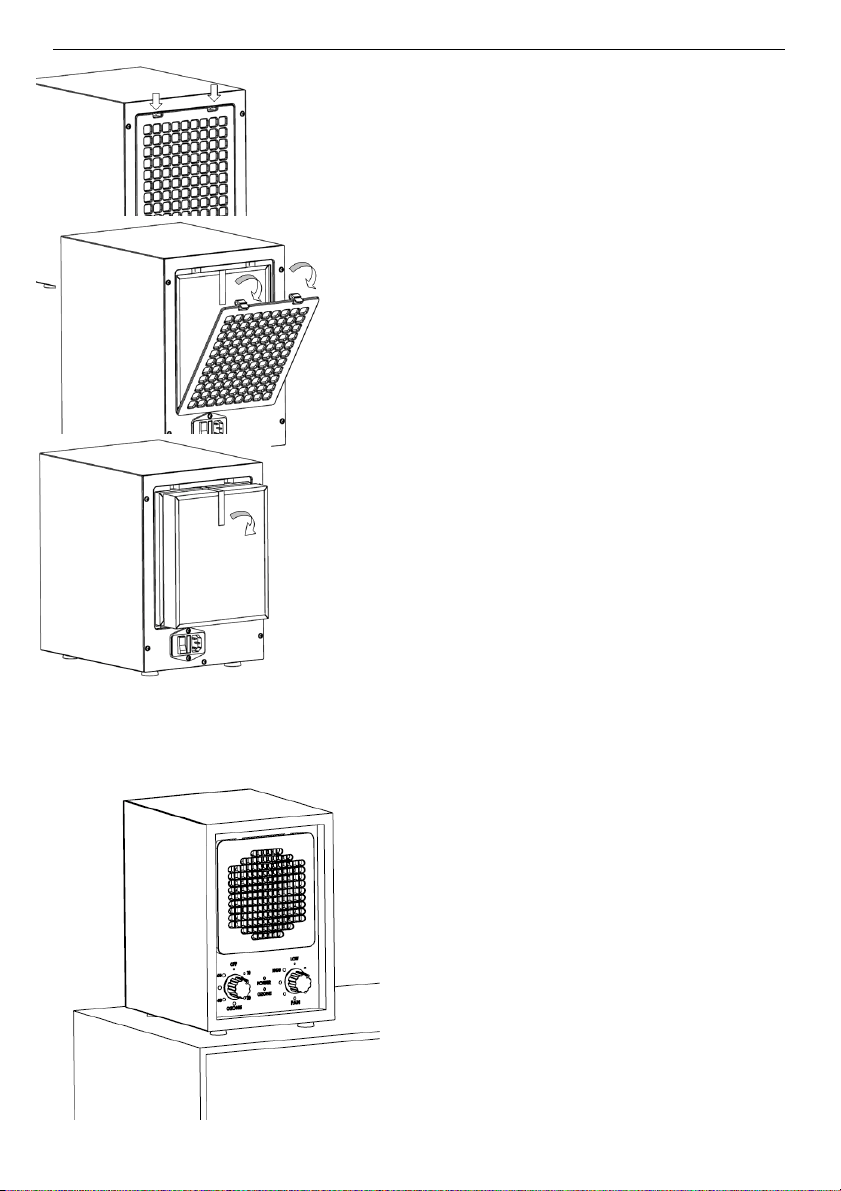
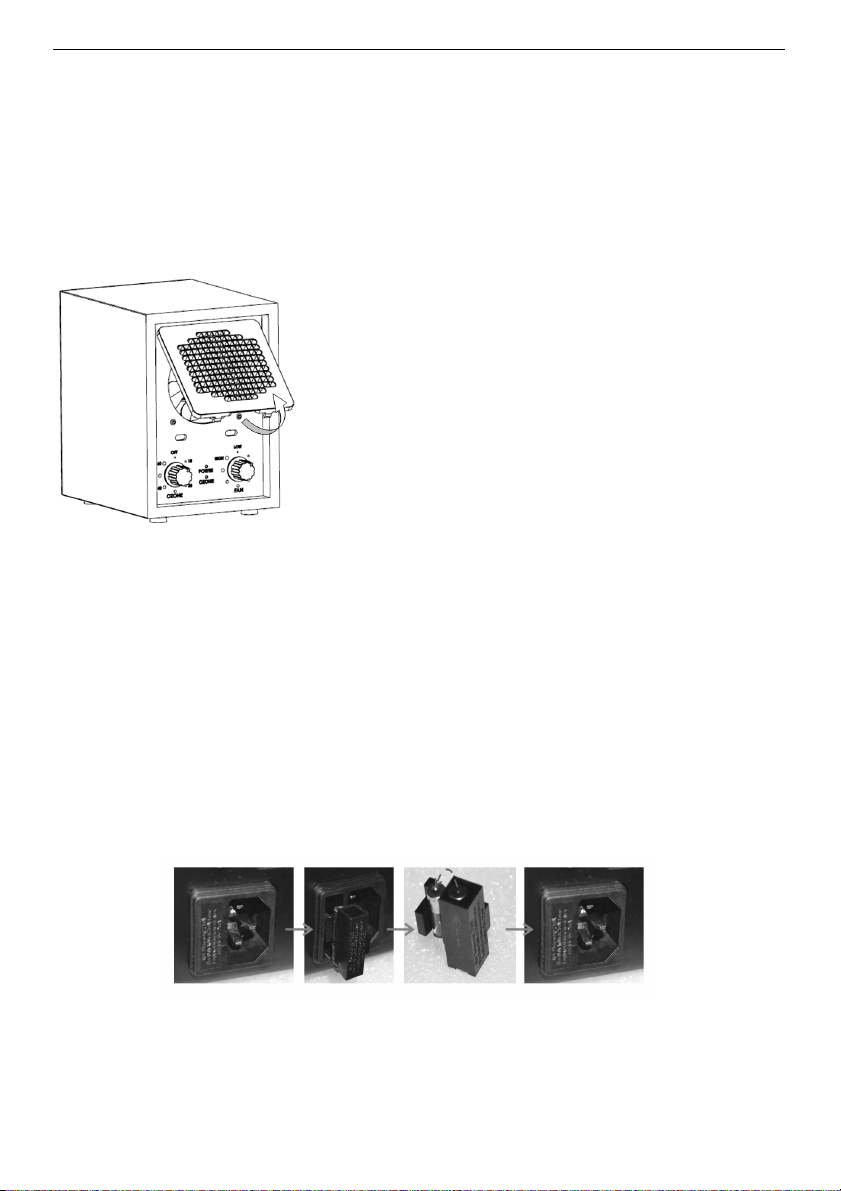
Installing Ozone Plates and Filters:
Step 1: Make sure the unit is unplugged
before installing or removing any filters or
maintaining the unit in any way to prevent
electric shock.
5
Step 2: Push two latches down on back
cover.
Step 3: Remove HEPA filter and all other
filters by pulling out the white ribbon on the top.
Step 4: Insert the 2 Ozone plates found in the
small brown box. For maximum performance,
Ozone plates may need to be washed in warm
water. Always allow them to properly dry
before installing.
Step 5: Reinstall all filters in the same order
they were removed and reattach back cover.
Determine placement location and plug unit into
120-volt outlet.
PLACEMENT
In order to maximize the purification
function, the unit should be placed as high
as possible. Alternately, placing something
under the unit bottom, ensuring the front
grill is tilted upward will better oxidize and
purify floating pollutants. A ceiling fan can
also aid the unit with air purification.
Suggested locations, listed in
order of preference:
6
• Nearest to the source of the worst pollutant.
• Near cold-air return in an air circulation system.
• In the area most frequently used location to achieve maximum benefit.
Notes:
• For maximum control, the unit should be placed where easy access to the
control panel is possible.
• The rear of the unit should always have at least six inches of open area to
allow unrestricted airflow.
• Be sure power cord is not accessible to small children to prevent injury.
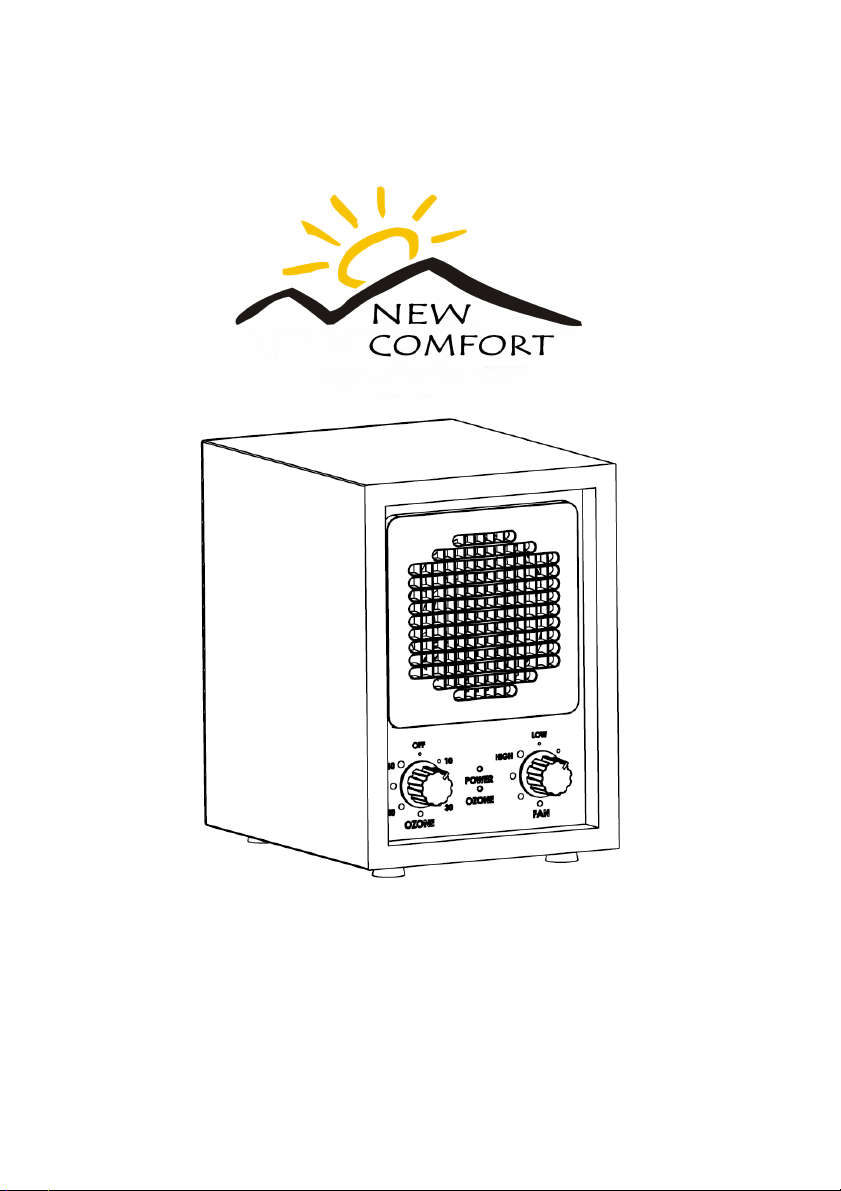
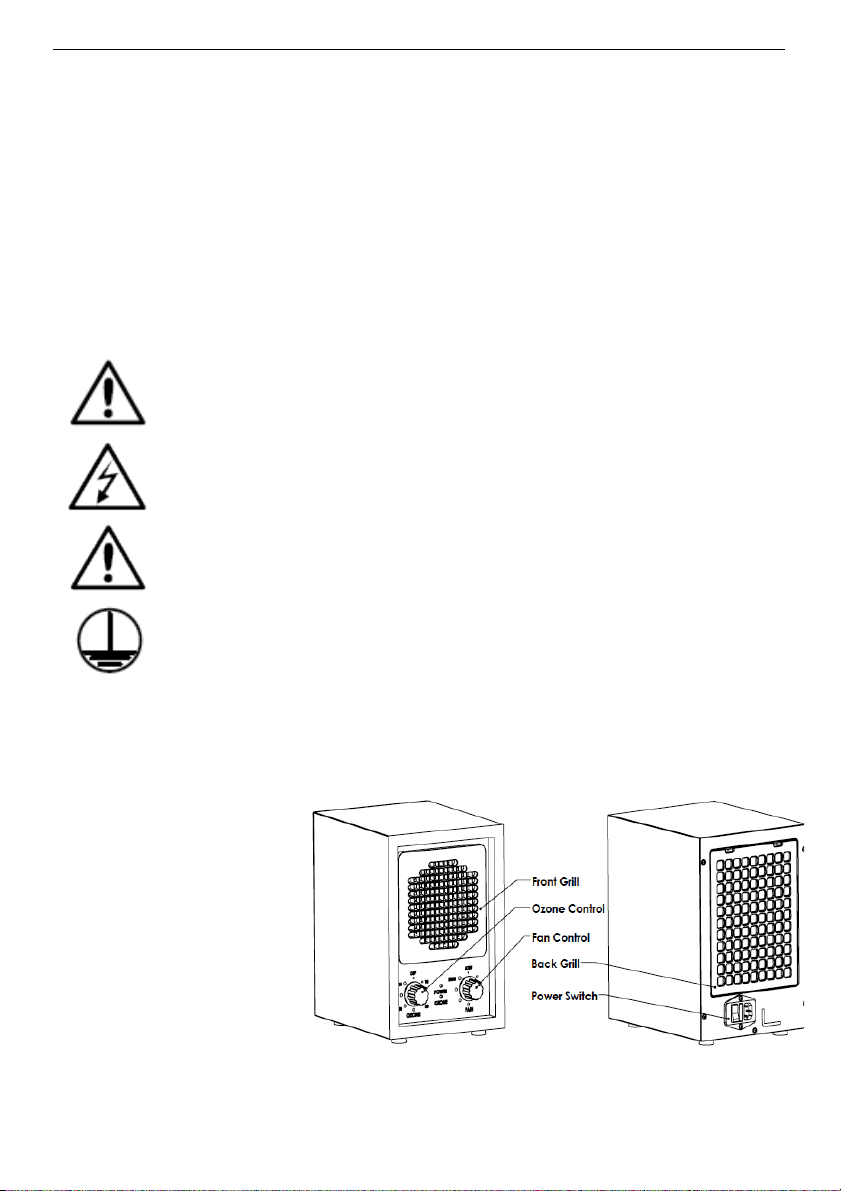
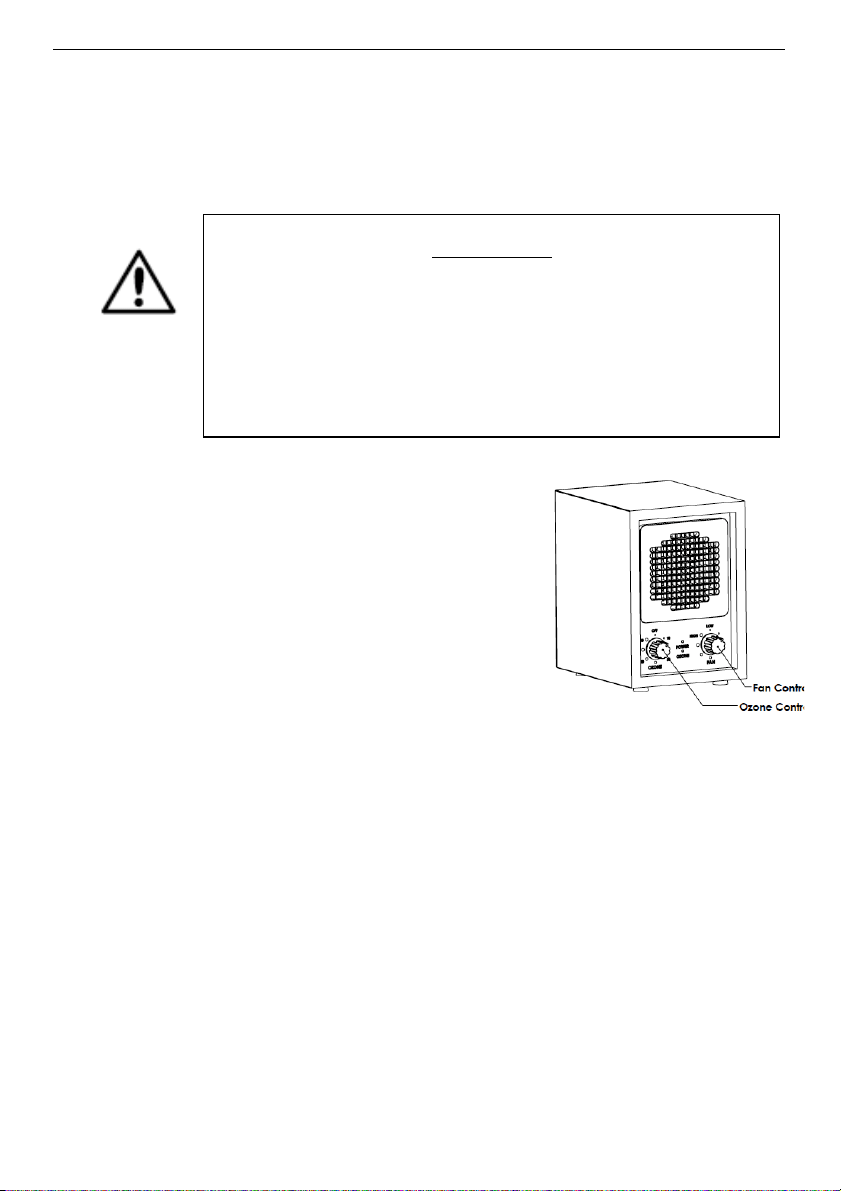
SETTINGS AND ADJUSTMENTS
1. Control of the Unit
When looking at the front of the
unit, the controls for UV,
Ionization and Fan Speed are
located on the right. The left
knob controls the Ozone. This
allows using the CA3500 as a
standard air purifier (no Ozone
but pulling air through the 5
stages of filtration) or to use all
CAUTION!
During Ozone cleaning mode this unit should never be
placed where it can blow directly into the face of any
person or pet.
7
6 stages (Ozone included).
2. Ozone Control
• The Ozone control can turn on, off or adjust ozone function without
degrees.
• To reduce the level of Ozone, user may also remove one of the Ozone
plates.
• The POWER light turns to GREEN when the “Fan” switch is turned on.
The OZONE light turns to RED when the “Ozone” switch is turned on.
Only run the Ozone feature in unoccupied spaces. After the Ozone
feature is turned off, allow one hour before reoccupying the room.
• Do not look at front panel in close proximity or stare at the UV light.
MAINTENANCE
Periodic maintenance is required to ensure that the CA3500 operates properly. A
severely polluted environment can foul an air purifier plate in as little as four weeks
or as long as a year. Shown here are basic maintenance procedures that should
be carried out to keep your unit running at top performance.
Pre-Filter/HEPA Filter Cleaning:
(Turn to page 7 for removal instructions.)
You have two options to clean filters:
• When filter is visibly dirty, simply remove the pre-filter or HEPA filter and
clean the heavy particulate from the screen with a hand-held vacuum. This
method will extend the life of the screen/filter.
CAUTION!
Always ensure the room or area is UNOCCUPIED before
performing the above-described Ozone control.
8
• When filter is visibly dirty, remove the filter from the unit and wash it in cool
water, brush it gently with a toothbrush to remove particulate. Dry
completely prior to re-installing.
All filters are washable except for the charcoal filter.
Fan Blade and Front Grill Cleaning:
(Take off front/reinstall grill method.)
To remove for cleaning:
1. As detail on the left shows, hold bottom of
front grill and pull out.
2. When latch releases from front panel, lift
front grill approximately 30 degrees.
3. Pull front grill away from unit in a parallel
motion.
To reinstall after cleaning:
Place top latch of grill in front panel opening.
Push bottom latch of grill into bottom slot.
Cleaning Information:
Wipe off fan blade and front grill with damp washcloth. The fan requires no
maintenance. If the fan squeaks, a drop of lightweight machine oil may be needed
on the fan shaft.
REPLACING THE FUSE
A fuse holder is located on the back of the unit next to the power cord.
To replace or check the fuse:
• Remove the fuse holder by pressing on the clip and pulling straight out.
9
If the fuse is blown:
• Replace with the standard replacement fuse. Insert the new fuse into the
fuse holder. Press the assembly straight in until it latches.
120-volt models: Fusing current no more than 1.0 Amp.
TROUBLESHOOTING GUIDE
Indicators of Operation:
(Operation of the Ozone & Power Indicator lamp.)
• Ozone setting to be operated ONLY when the room is unoccupied. Open
the door and window when you return to the room if Ozone operated for
several hours.
• Turn the unit on and check that the small red/orange lamp is illuminated.
The lamp is located on the front panel; one is silkscreen ‘power’ and the
other is silkscreen ‘ozone’.
Troubleshooting – What to look for first:
1. I have plugged in the unit, turned the power switch to "On" and nothing is
happening. What's wrong?
• Make sure the electrical outlet is capable of providing power to the
unit.
• Check the back filter cover located at the back of the unit to make
sure it is fully installed and snapped into place. If the filter cover is not
CAUTION!
If the fuse holder cap is not installed correctly,
the unit will not operate.

10
fully installed, a safety switch will cause the unit to not power on.
• Check to see if the proper fuse is installed and is serviceable.
• Ensure that the fuse cap is completely seated and secured in its
receptacle.
• Be sure the cord is fully plugged into unit.
2. The fan is operating but the unit won't produce any ozone. What's wrong?
• Check the air purifier plate(s) for serviceability. If they are cracked or
broken, the plate(s) will require replacement.
• Ensure maintenance procedures required for the CH3500 air purifier
plate have been performed (i.e. washing the Ozone plates).
• Aside from steps above, do not attempt to disassemble the unit due
to the Limited Warranty of the product.
3. The unit has a burning smell, and/or appears to be arcing or sparking.
• Remove and clean the ozone plates and reinstall. If problems persist
replace ozone plates.
• Warning - Failure to properly clean (every 6 months) inspect, maintain,
and/or replace defective ozone plates or, may result in a fire hazard.
4. What are the most typical application problems?
Problem: Lack of air movement, improper placement of the unit.
Warning Sign: Strong odors still remain in the environment after
placement.
Problem: Lack of ozone, improper placement of the unit.
Warning Sign: A strong odor of ozone is in the environment.
Problem: Too much ozone accumulation in the environment, as a
result of improper purifier control setting and/or lack of air
movement.
5. Unit does not operate:
• Is the unit plugged in?
• Is the power cord fully inserted into the back of the unit?
• Are you sure the outlet is functioning normally?
• Is the unit turned on?
• Is the back grill installed properly to depress the safety switch

11
forward?
6. Air flow is restricted or reduced:
• Is the unit properly placed away from objects that may obstruct
airflow?
• Are the filters clean?
Warranty Information:
If your unit fails to operate properly after performing trouble-shooting, contact your
authorized New Comfort dealer you purchased the unit from for further assistance.
The CA3500 comes with a 3-year Factory Warranty that covers the entire unit
(except for filters and ozone plates which may need replacing as they get dirty).
For warranty assistance contact the company you bought the air purifier from for
authorized warranty service. For warranty service, the user is required to pay all
shipping costs and the authorized New Comfort Warranty center shall be
responsible for all parts and labor.
Customer Name ________________________________________________________
Purchase Date _________________________________________________________
Company the unit was purchased from ____________________________________
Serial Number of Air Purifier ______________________________________________