
Loading ...
Loading ...
Loading ...
112
FlexFit Pro
ENGLISHSECTION E
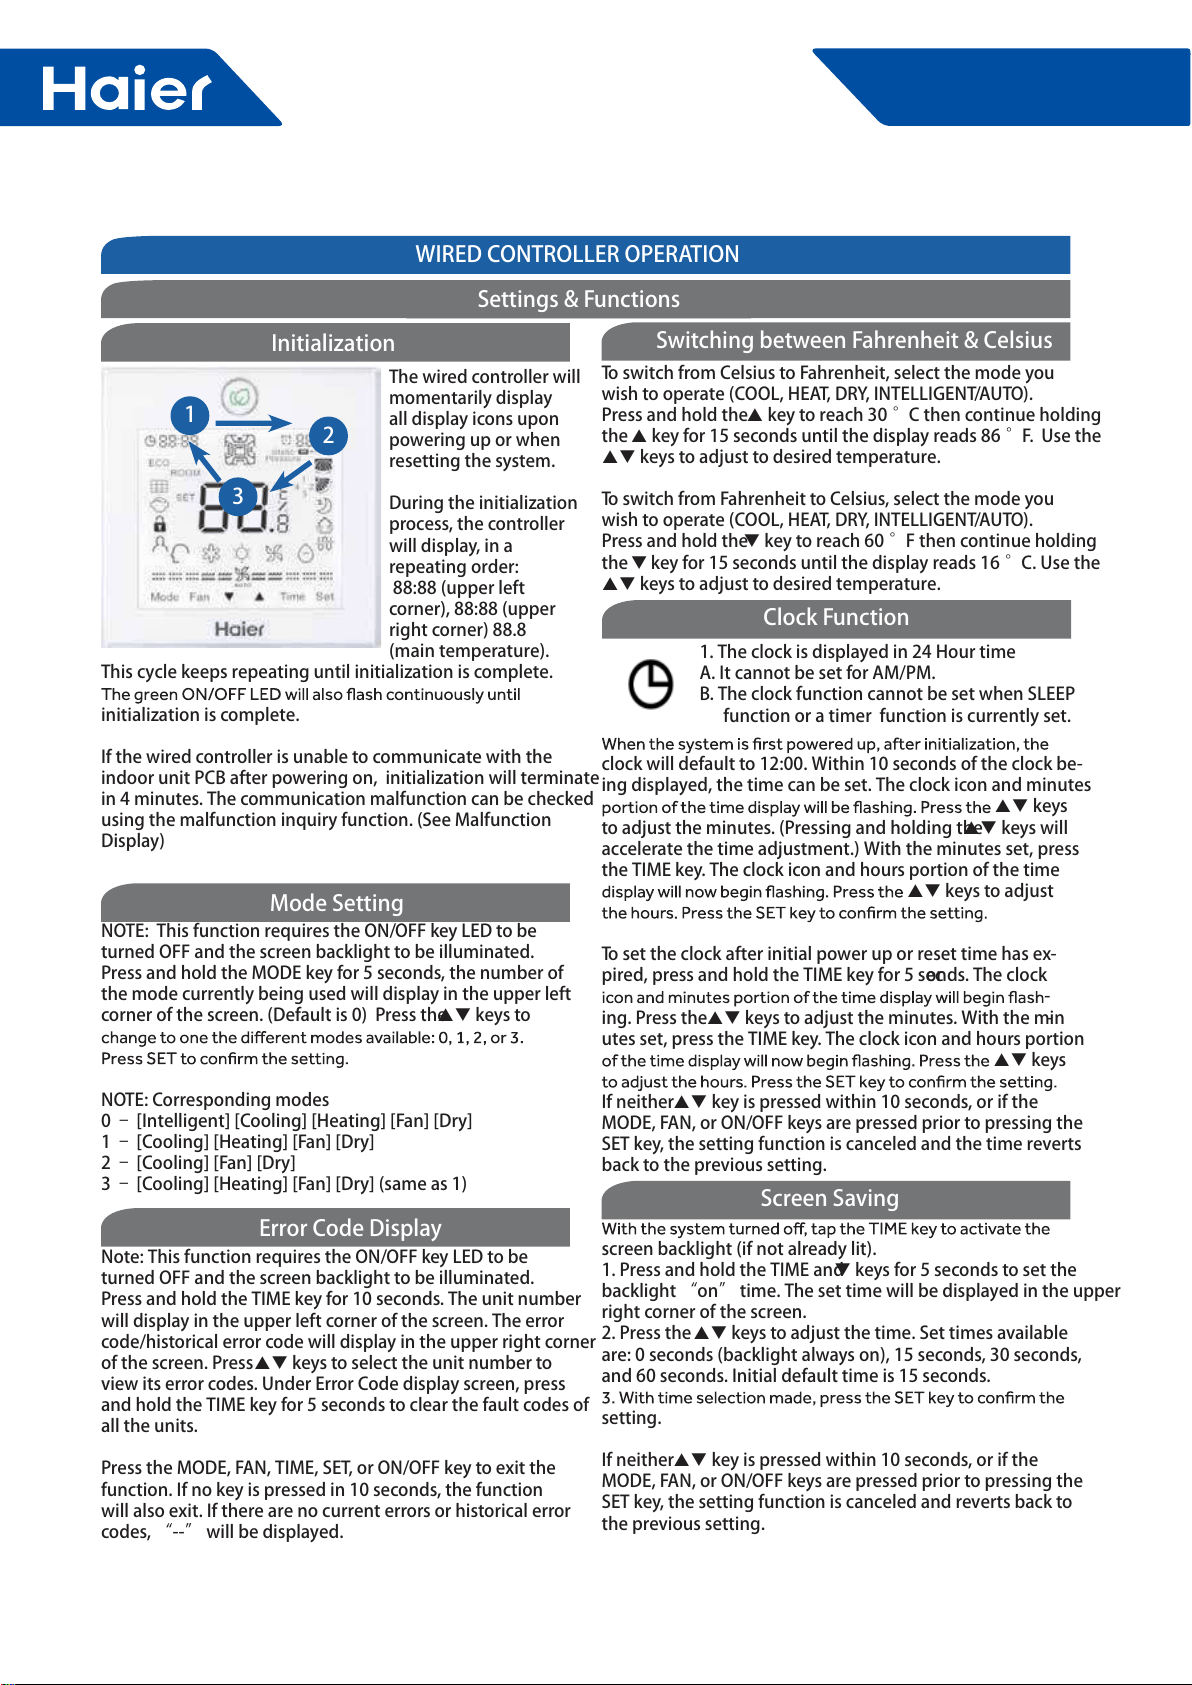
WIRED CONTROLLER OPERATION123NOTE: This function requires the ON/OFF key LED to be turned OFF and the screen backlight to be illuminated. Press and hold the MODE key for 5 seconds, the number of the mode currently being used will display in the upper left corner of the screen. (Default is 0) Press the keys to NOTE: Corresponding modes0 – [Intelligent] [Cooling] [Heating] [Fan] [Dry]1 – [Cooling] [Heating] [Fan] [Dry]2 – [Cooling] [Fan] [Dry]3 – [Cooling] [Heating] [Fan] [Dry] (same as 1) Note: This function requires the ON/OFF key LED to be turned OFF and the screen backlight to be illuminated. Press and hold the TIME key for 10 seconds. The unit number will display in the upper left corner of the screen. The error code/historical error code will display in the upper right corner of the screen. Press keys to select the unit number to view its error codes. Under Error Code display screen, press and hold the TIME key for 5 seconds to clear the fault codes of all the units.Press the MODE, FAN, TIME, SET, or ON/OFF key to exit the function. If no key is pressed in 10 seconds, the function will also exit. If there are no current errors or historical error codes, “--” will be displayed. The wired controller will momentarily display all display icons upon powering up or when resetting the system. During the initialization process, the controller will display, in a repeating order: 88:88 (upper left corner), 88:88 (upper right corner) 88.8 (main temperature). This cycle keeps repeating until initialization is complete. initialization is complete. If the wired controller is unable to communicate with the indoor unit PCB after powering on, initialization will terminate in 4 minutes. The communication malfunction can be checked using the malfunction inquiry function. (See Malfunction Display)InitializationMode SettingError Code DisplaySettings & Functions1. The clock is displayed in 24 Hour timeA. It cannot be set for AM/PM. B. The clock function cannot be set when SLEEP function or a timer function is currently set.clock will default to 12:00. Within 10 seconds of the clock be-ing displayed, the time can be set. The clock icon and minutes keys to adjust the minutes. (Pressing and holding the keys will accelerate the time adjustment.) With the minutes set, press the TIME key. The clock icon and hours portion of the time keys to adjust To set the clock after initial power up or reset time has ex-pired, press and hold the TIME key for 5 seconds. The clock -ing. Press the keys to adjust the minutes. With the min-utes set, press the TIME key. The clock icon and hours portion keys If neither key is pressed within 10 seconds, or if the MODE, FAN, or ON/OFF keys are pressed prior to pressing the SET key, the setting function is canceled and the time reverts back to the previous setting. screen backlight (if not already lit). 1. Press and hold the TIME and keys for 5 seconds to set the backlight “on” time. The set time will be displayed in the upper right corner of the screen. 2. Press the keys to adjust the time. Set times available are: 0 seconds (backlight always on), 15 seconds, 30 seconds, and 60 seconds. Initial default time is 15 seconds. setting.If neither key is pressed within 10 seconds, or if the MODE, FAN, or ON/OFF keys are pressed prior to pressing the SET key, the setting function is canceled and reverts back to the previous setting.To switch from Celsius to Fahrenheit, select the mode you wish to operate (COOL, HEAT, DRY, INTELLIGENT/AUTO). Press and hold the key to reach 30 °C then continue holding the key for 15 seconds until the display reads 86 °F. Use the keys to adjust to desired temperature.To switch from Fahrenheit to Celsius, select the mode you wish to operate (COOL, HEAT, DRY, INTELLIGENT/AUTO). Press and hold the key to reach 60 °F then continue holding the key for 15 seconds until the display reads 16 °C. Use the keys to adjust to desired temperature. Switching between Fahrenheit & CelsiusClock FunctionScreen Saving
Loading ...
Loading ...
Loading ...