Loading ...
Loading ...
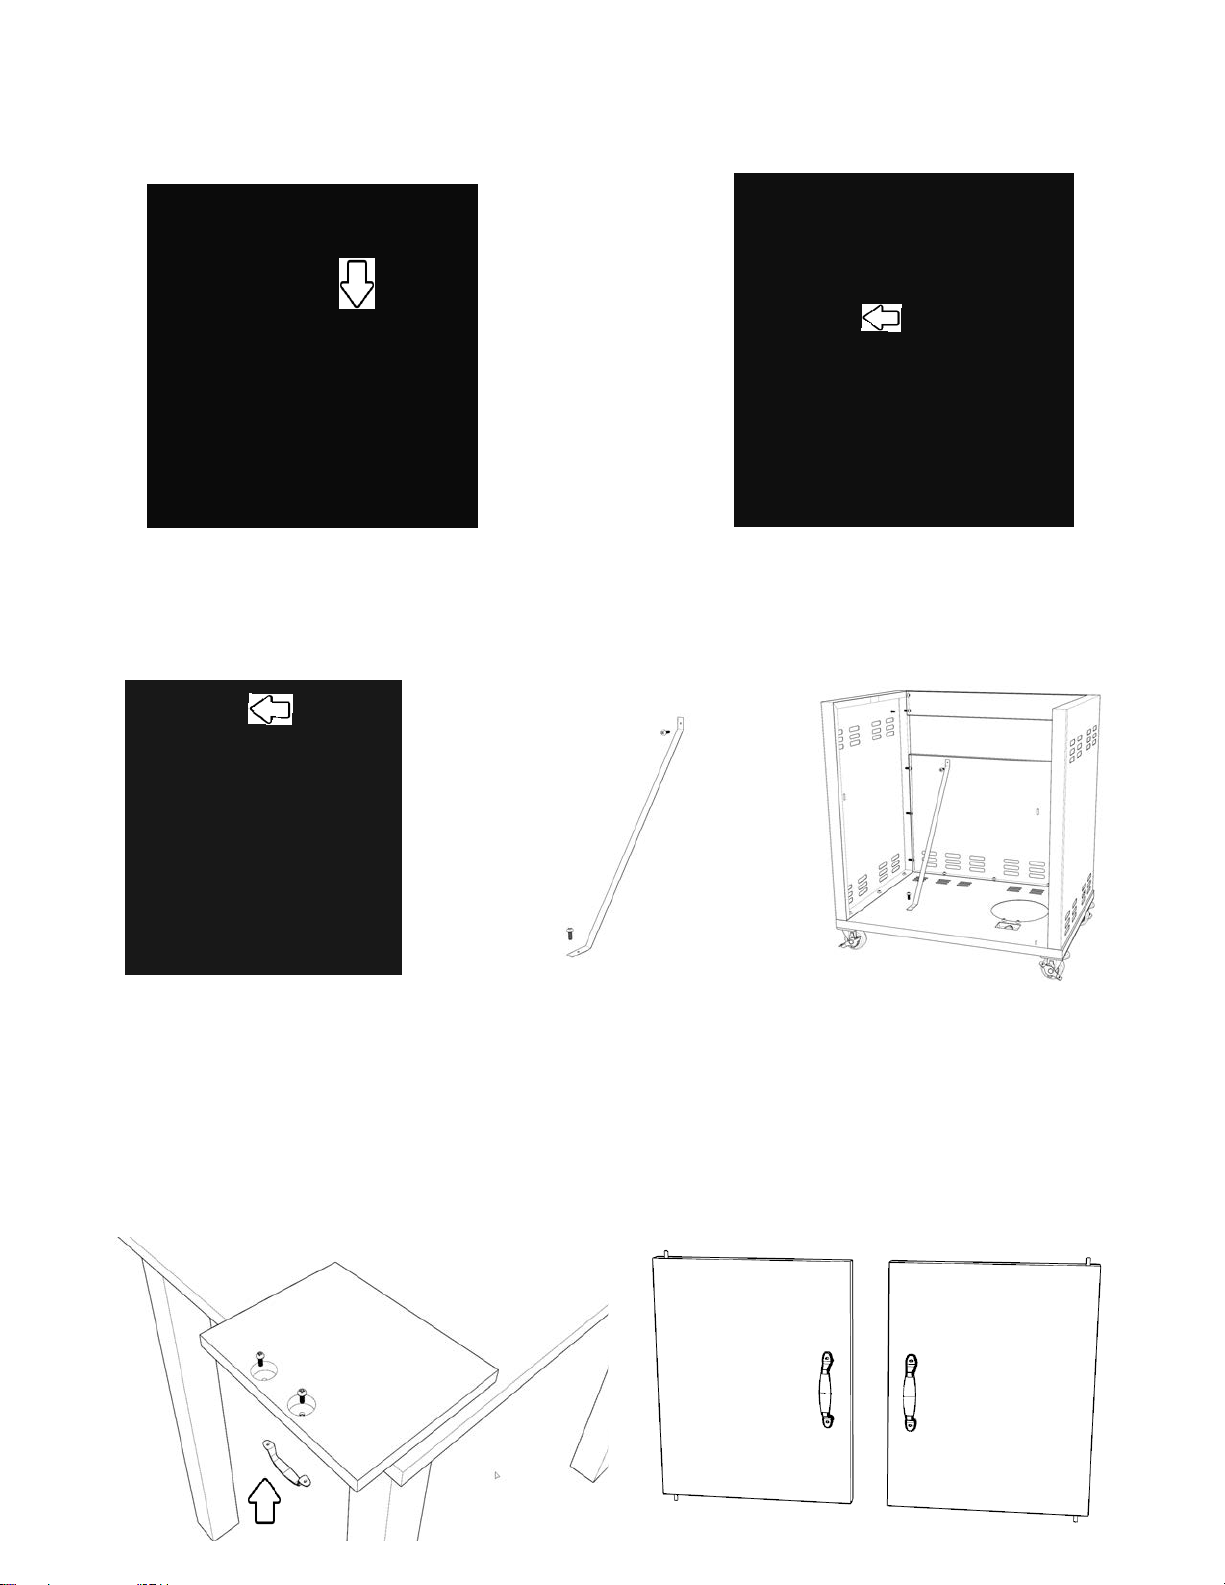
6. Attach Upper Back Panel - This panel gets attached to the left and right panel with 2 screws per side. Attach but do not
tighten. Attach the Tank Interference Bracket - (Not included for a 3 burner cart model). This pieces are to intended interfere with a
second LP tank being stored inside the grill cart which is not permitted. Using 4 screws, attach and tighten the Tank Interference bracket
to the 4 nutserts adjacent to the large circular cutout for the LP tank (see figure D)
5. Attach Bottom Back Panel - The bottom back panel first gets secured to the Bottom Cart Panel with
screws (The bottom of the panel has openings for screws to go through, see diagram). The amount of screws
used vary by the size of the grill cart you are assembling. Attach but to not tighten. Next secure the Bottom
Back Panel to the right and left side panels. Three screws get used per side. Attach but do not tighten.
7. Attach Door Handles to the Doors - The door handles and hardware come packaged separately from
the rest of the hardware. Two screws (M6x8) hold each handle to the door. Take care as to not scratch the
doors by laying them on a soft surface. Hint: While on a soft surface on a work area like a table, hang the
door off the edge just to the point where the holes are exposed for door handle. Place the screw in your
screw driver then guide the screw into the hole on the door. Once in place, move the handle to the screw and
get it started a small amount. This gives flexibility when attaching the second screw. Once both screws are in
place, tighten completely.
Loading ...
Loading ...
Loading ...