Loading ...
Loading ...
Loading ...
9
www.bromicheating.com
INSTALLATION INSTRUCTIONS CONTINUED...
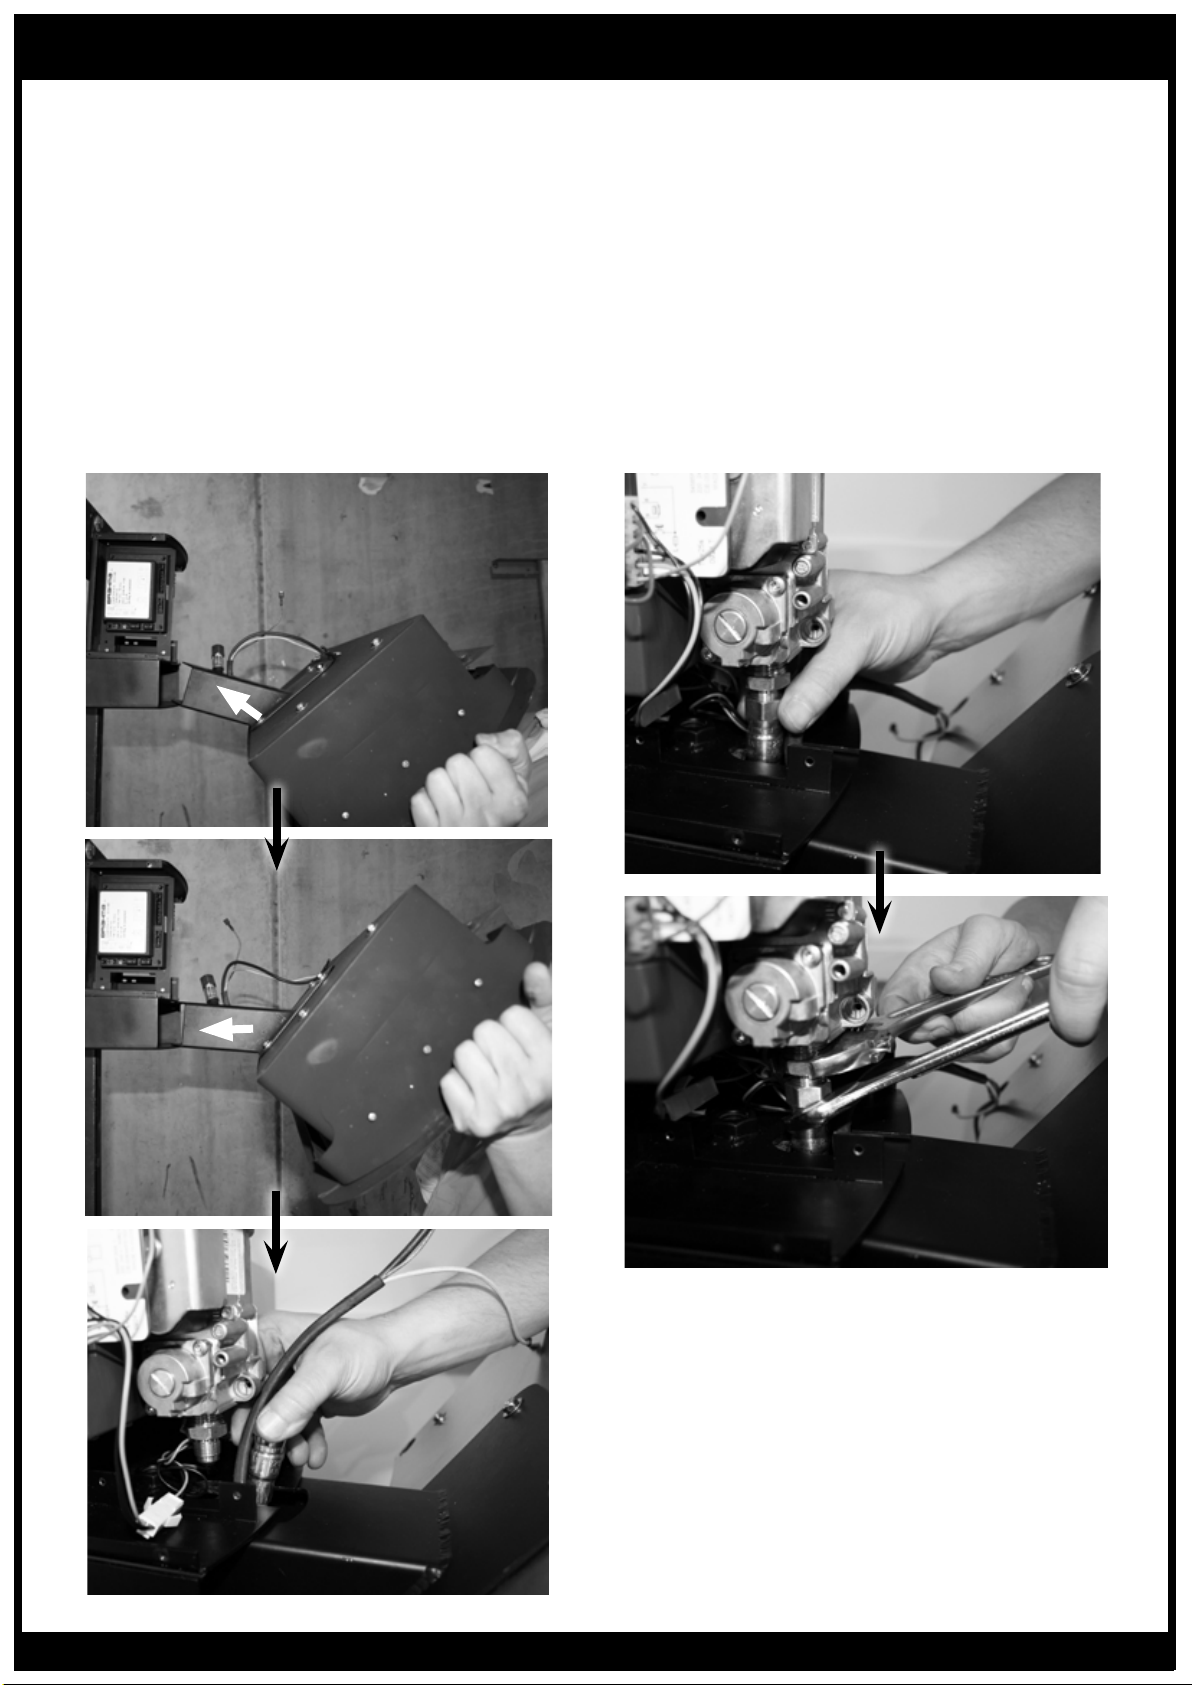
4. Attach Heater to Wall Bracket/Control Housing
• Remove Front Cover from Control Housing
• Attach Heater to Wall Bracket/Control Housing by
inserting Mounting Arm into lower channel of Wall
Bracket. Ensure that the Gas Hose and Wiring Harness
slide through the groove on top side of the control
Housings lower channel and remain undamaged by
the metals edges during assembly.
• It may be necessary to manipulate the gas Hose so
that the arm can slide into place.
TIP: Do not install the mounting pin at this point.
• Spray soapy water on the arm to ease the sliding.
5. Connect the AGA approved flexible connector to the
Gas Valve Outlet Fitting
• Position heater and hose so that the gas hose and
fitting are in alignment
• NOTE: ensure that the hose nut and valve fitting are
parallel to one another and threads are engaged
correctly before tightening! Incorrect installation can
cause gas leaks and damage components.
TIP: Sliding the mounting arm inside the control housing’s
channel can help accurately Position the Gas hose in
place under the gas valve’s fitting.
• Spanner Tighten using 2 wrenches, and leak test
using soapy water (see section “leakage test”)
Loading ...
Loading ...
Loading ...