Loading ...
Loading ...
Loading ...
INITIAL INSTALLATION
7
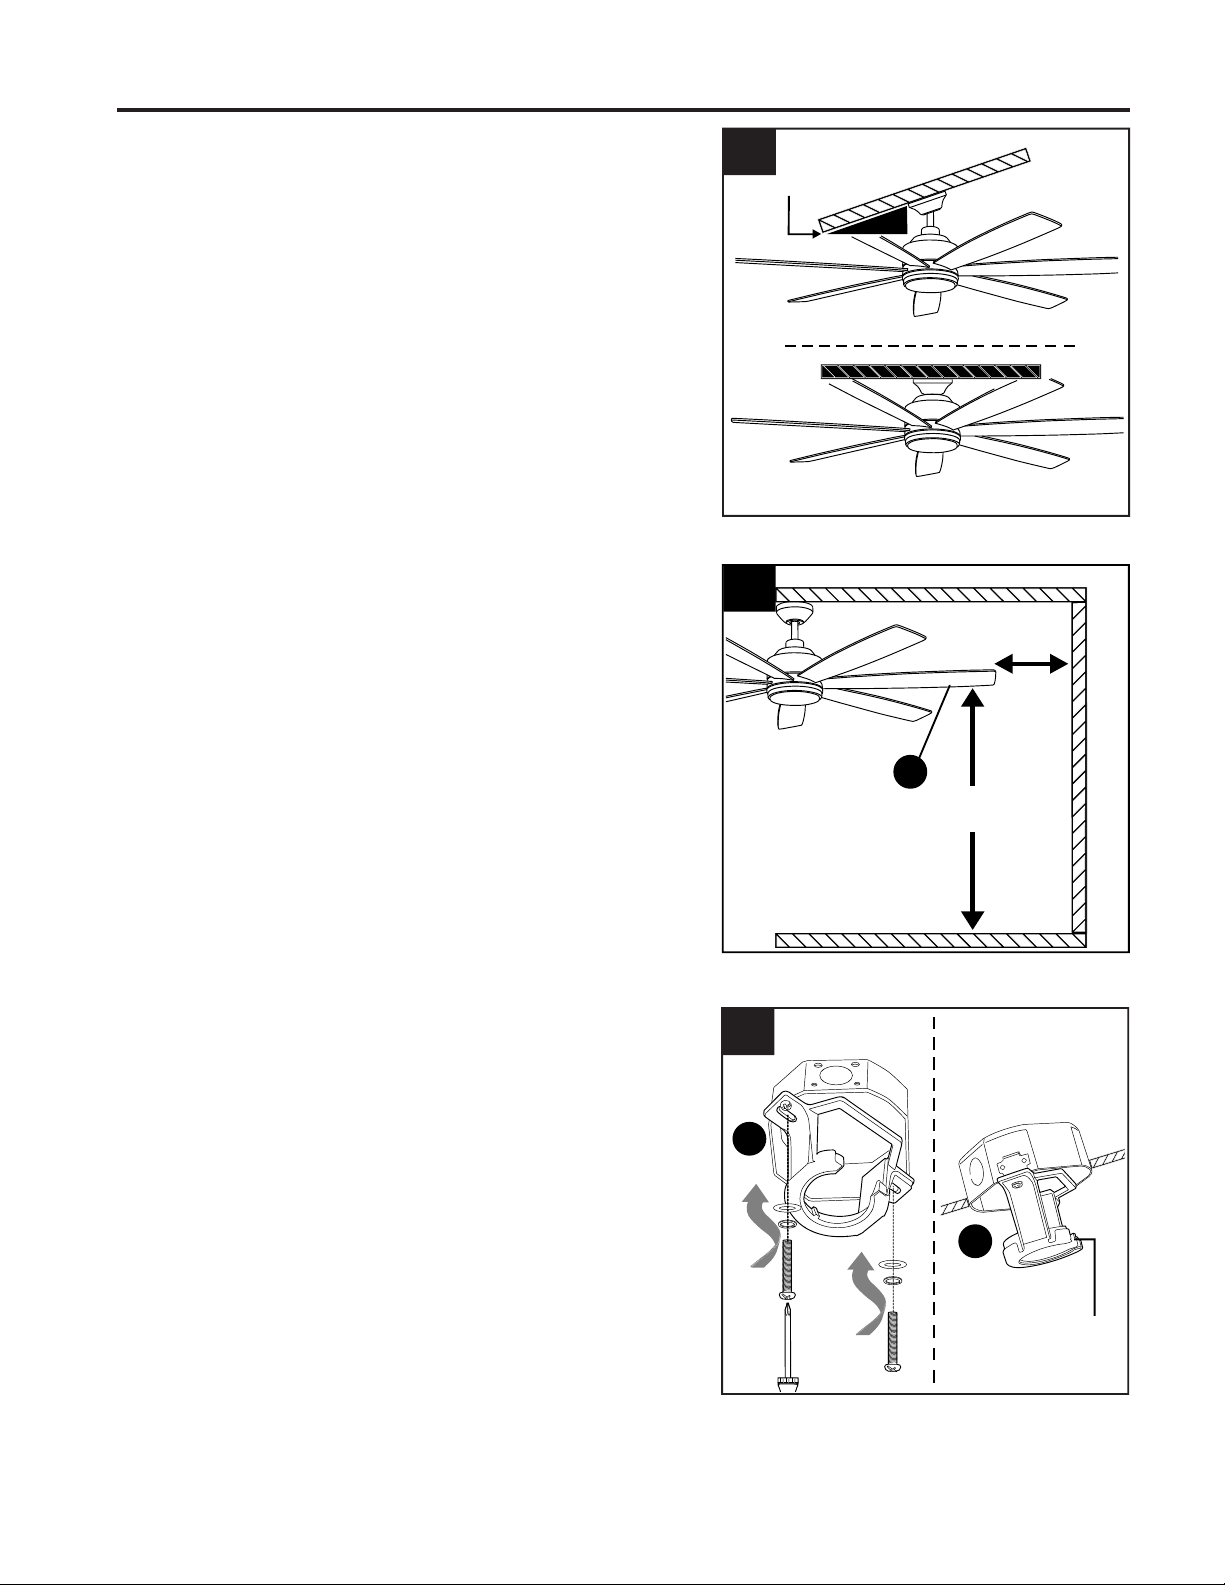
Check to make sure blades (O) will be at least
30 inches from any obstruction at least 7 ft. above
the floor.
3.
7 ft.
min.
30 in.
min.
3
O
2.
Determine mounting method to use.
A. Downrod mount (standard or angled ceiling)
B. Closemount (standard ceiling only)
IMPORTANT: If using the angle mount, ensure the
ceiling angle is not steeper than 15°.
*Helpful Hint: Downrod-style mounting is best
suited for ceilings 8 ft. or higher. For taller ceilings
you may want to use a longer downrod (not
included). Angle-style mounting is best suited for
angled or vaulted ceilings. A longer downrod is
sometimes necessary to ensure proper blade
clearance.
A
B
2
15° max.
4.
Secure mounting bracket (A) to outlet box (not
included) using screws, spring washers and flat
washers provided with the outlet box.
*NOTE: It is very important you use the proper
hardware when installing the mounting bracket (A)
as this will support the fan.
IMPORTANT: If using the angle mount, make sure
open end of mounting bracket (A) is installed facing
the higher point of the ceiling, and ensure the ceiling
angle is not steeper than 19°.
For DOWNROD-STYLE FAN MOUNTING, proceed
to the following page.
For CLOSEMOUNT-STYLE FAN MOUNTING, skip
to page 10.
Open End
4
A
ANGLE MOUNTSTANDARD
MOUNT
4
A
Loading ...
Loading ...
Loading ...