Loading ...
Loading ...
Loading ...
4
THE FOCUS MICROMETER
Your Inspire telescope tubes come with a focus micrometer that allows you to repeatedly dial in focus for objects at different distances
quickly and easily before you even move the scope to the target. The window on the side of the focuser allows you to see a numbered
scale displaying a number from 0 to 10. The 0 on the scale represents the closest point at which you can achieve focus using the
standard eyepieces and diagonal. The 10 represents infi nity focus. While astronomical objects will generally be at infi nity focus, you may
wish to use the telescope to view terrestrial objects, such as bird nests or other targets at fi xed distances. Once you have focused in a
terrestrial target, make a note of the number shown on the scale. The next time you observe that same target from the same observing
location, you can quickly dial the focuser to that same number and the image should be in focus when you view through the eyepiece.
MOVING THE TELESCOPE
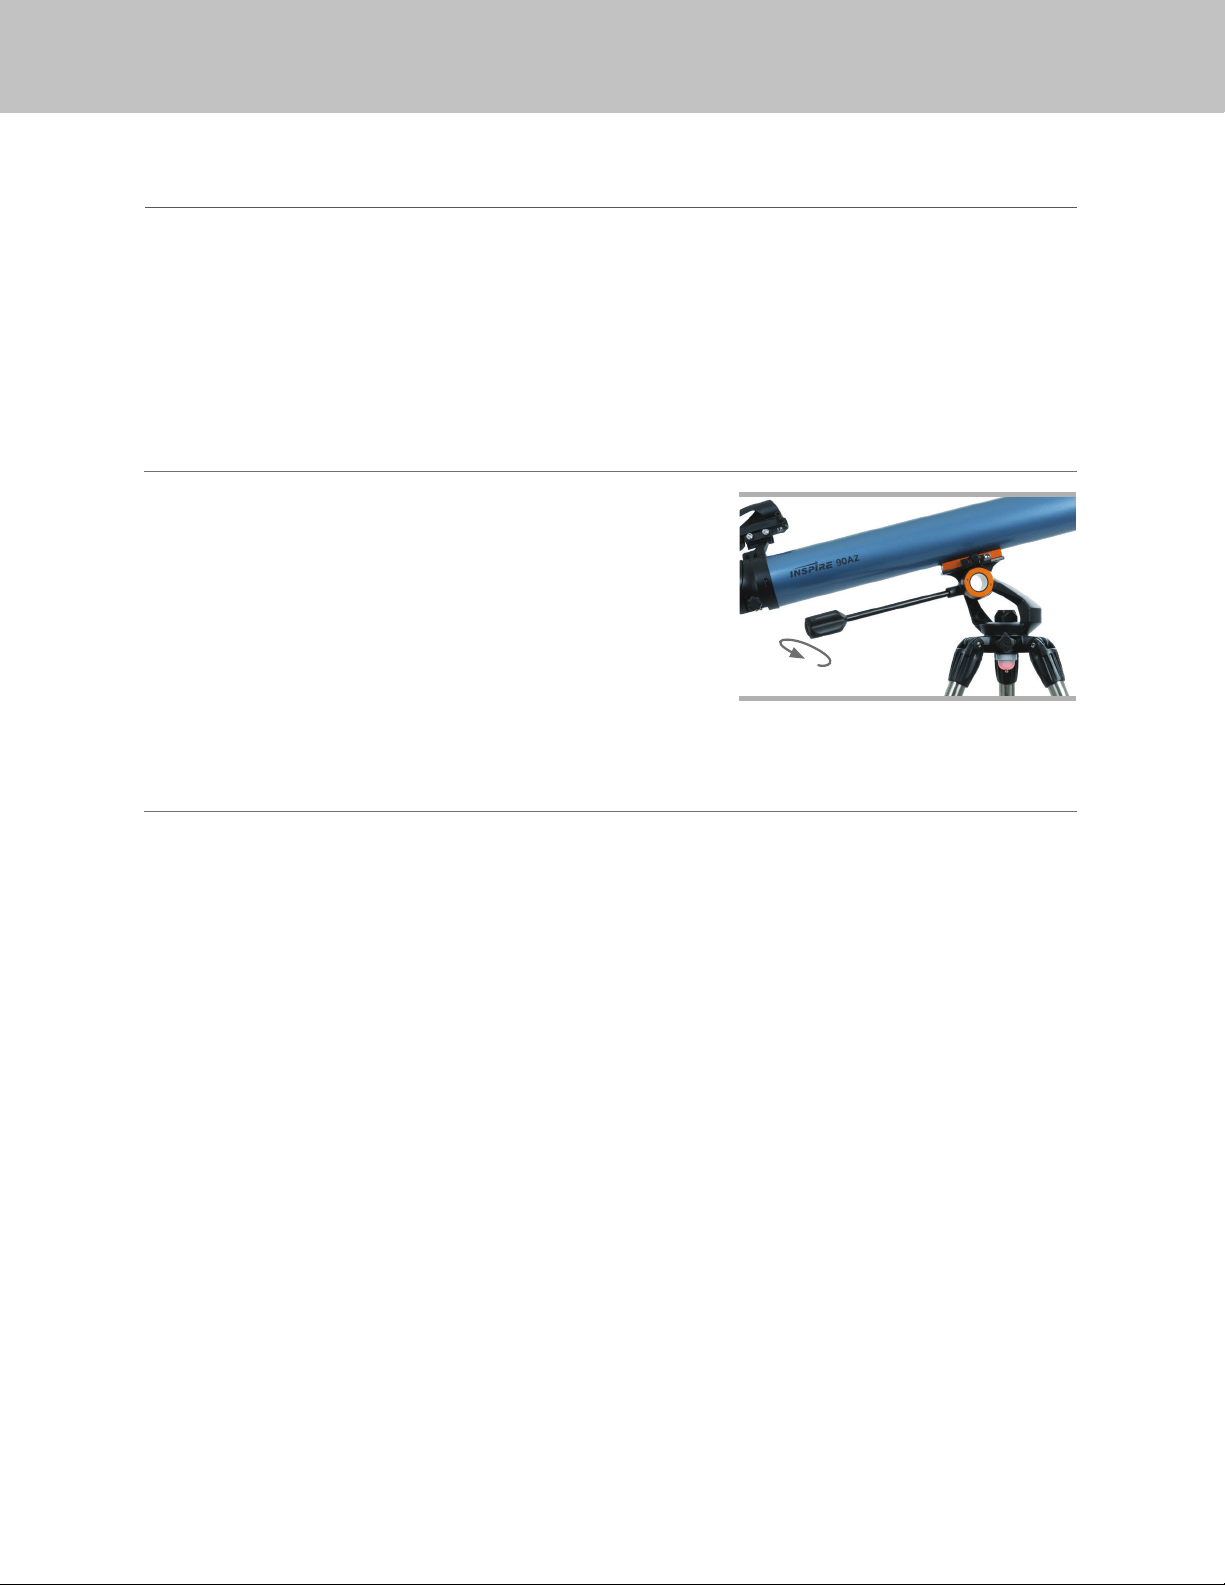
The Inspire altazimuth mount is simple to use. To move the scope
left and right, loosen the azimuth tension knob at the base of the
mount between two of the tripod legs. Grab the knob at the end
of the panning handle and move the scope to the desired location.
You can adjust the tension of the left and right motion by adjusting
the azimuth tension knob.
To move the scope up and down, loosen the altitude clutch by turning
the knob at the end of the panning handle counter-clockwise. Move the
handle up or down as required and turn the knob clockwise to lock
the scope on target.
ALIGNING THE STARPOINTER PRO FINDERSCOPE
The StarPointer Pro fi nderscope helps you aim your telescope by looking through its round glass window and covering your target with the
red reticle projected in the window. The fi rst time you assemble your telescope, you will need to align the fi nderscope with the main optics
of the telescope. Although this step can be done at night, it is signifi cantly easier during the day. Once you have completed the fi nderscope
alignment, you should not have to repeat this step unless the fi nderscope is bumped or the telescope is dropped.
1. Take the telescope outside during the day. Using your naked eye, fi nd an easily recognizable object, such as a streetlight, car license plate,
or tall tree. The object should be as far away as possible, but at least a quarter mile away.
2. Remove the main dust cover from the telescope and make sure your 20 mm eyepiece is installed.
3. Move the telescope left and right or up and down so that it is roughly pointing toward the object you chose in step 1.
4. Look through the telescope’s eyepiece and manually move the telescope until the object you chose lies in the center of the view. If the
image is blurry, gently turn the focus knobs until it comes into sharp focus.
5. Once the object is centered in your 20 mm eyepiece, turn on the fi nderscope by turning the on/off/brightness switch knob on the bottom
of the unit as far as it will go.
6. With your head positioned about a foot behind the fi nder, look through the round window and locate the red reticle. It will probably be
close to, but not on top of, the object you see when you are looking through the 20 mm eyepiece.
7. Without moving the telescope, use the two adjustment knobs on the side and underneath the fi nderscope. One controls the left-right
motion of the reticle, while the other controls the up-down motion. Adjust both until the reticle appears over the same object you are
observing in the 20 mm eyepiece.
Now choose some other distant targets to practice aiming your telescope. Look through the StarPointer Pro fi nderscope window and place
the red reticle over the target you are trying to view and verify that it appears in the eyepiece of the scope.
With your fi nderscope aligned, your telescope is fully assembled and you are ready to observe!
NOTE: Be sure to turn off the StarPointer Pro fi nderscope when not in use to conserve battery power.
Loading ...
Loading ...
Loading ...