Loading ...
Loading ...
Loading ...
BEFORE FIRST USE 9
Preparing your appliance for the first time
• Please remove all internal boxes and bags from the
oven before operation.
• Please wipe out the oven interior prior to operation
with warm soapy water and polish dry with a soft
clean cloth. Do not close the oven door until the oven
is completely dry.
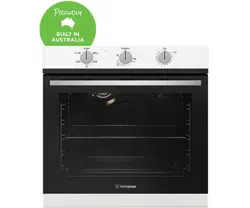
• If your appliance is fitted with a mechanical “Auto
Off” timer, make sure it is set to “Off” marker for
manual operation.
CAUTION
• Do not line the oven with foil as it will damage
the enamel.
• New appliances can have an odour during first use. It
is recommended to ‘run in’ the oven before cooking
for the first time. Operate the oven(s), empty, at a
temperature of 180°C for approximately 30 minutes.
BEFORE FIRST USE
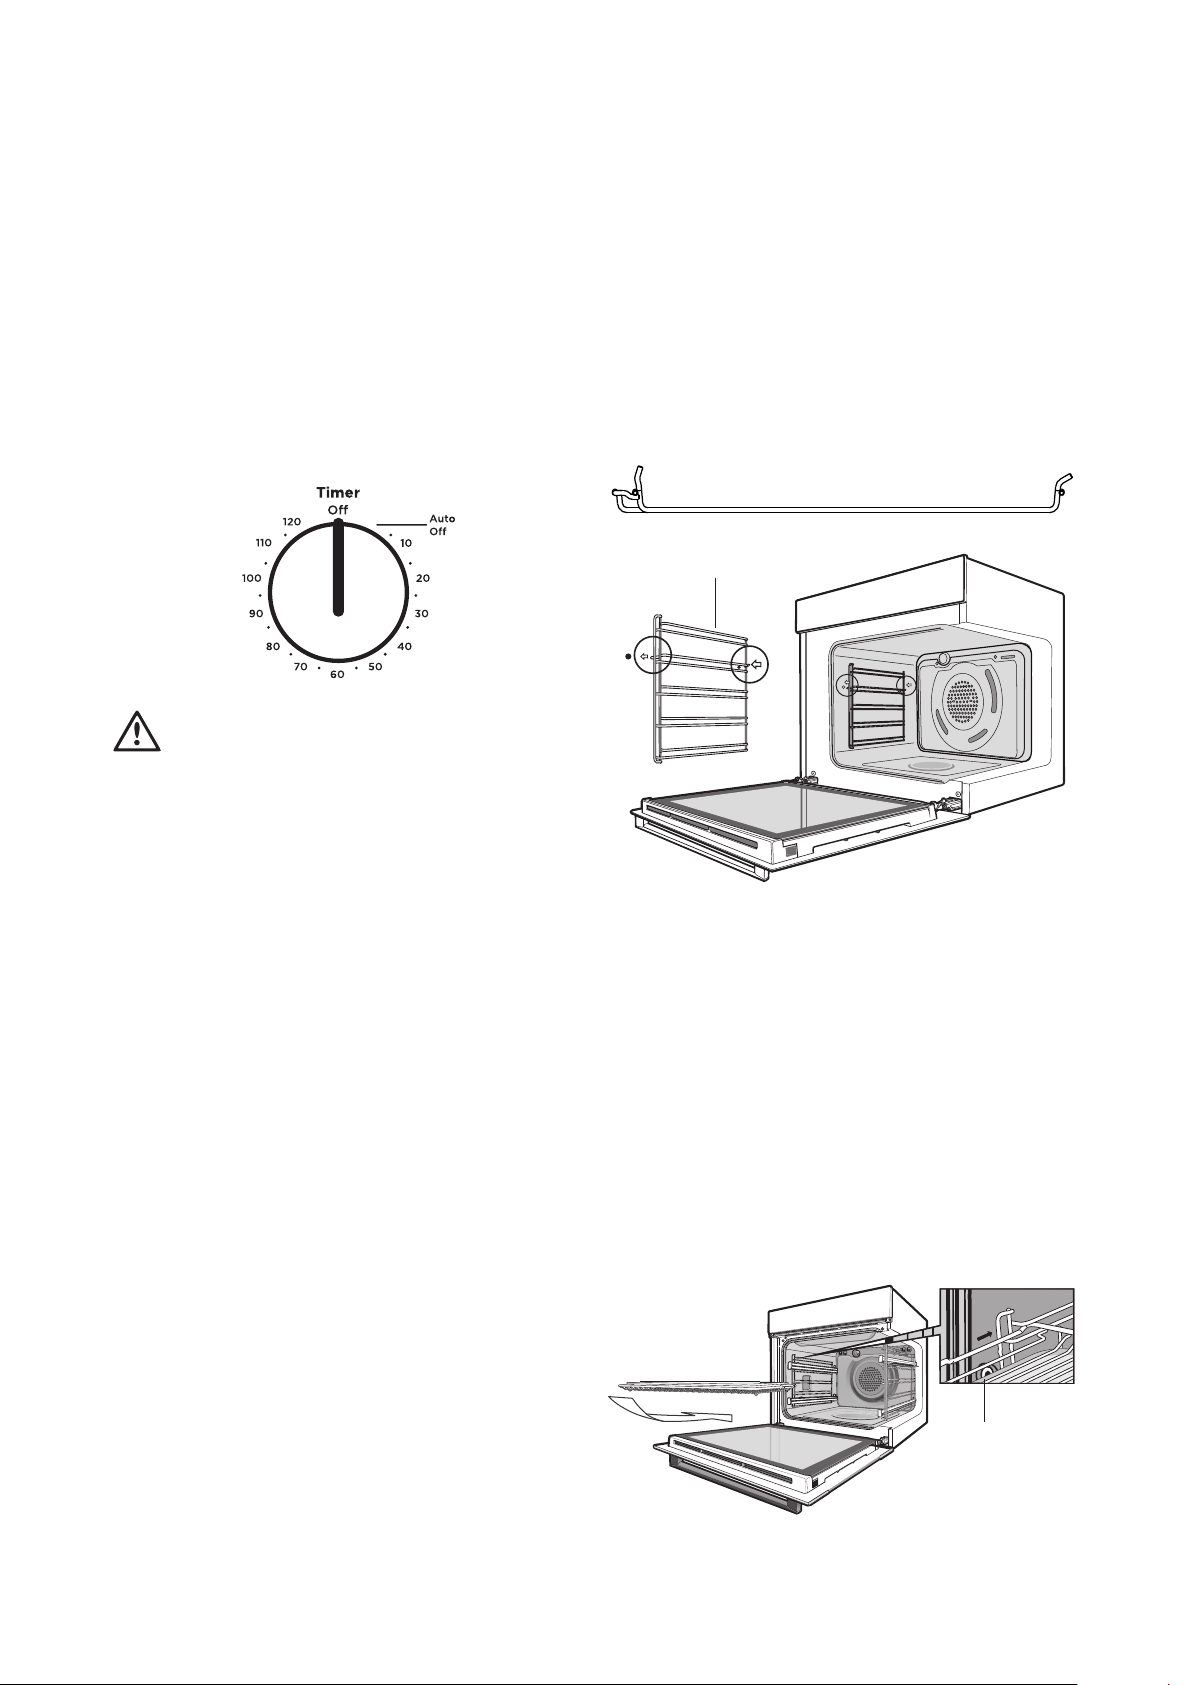
Side racks
• The side racks attach to each side of your oven.
There is a left hand and right hand version (see image
below for details).
• Insert the rear peg into the rear access hole provided,
ensuring that the peg is fully inserted.
• Then locate the front peg into the front access hole
and push in firmly.
Front Peg Rear Peg
Left hand side rack
Shelves and trays
The shelves are designed so that they have maximum
extension but cannot be accidentally pulled right out.
To fit a shelf to side racks:
NOTE: To Locate the rear edge of the shelves, the detents
on the side wires should be towards the oven back wall.
See image.
1. Rest the rear edge of the shelf on the lower guide rail
of the side rack - see diagram. Ensure the same rail
positions on both sides of the oven are being engaged.
2. With the front edge raised, begin to slide the shelf in
between the guide rails of the side rack.
3. Once the detents have passed the front edge of the
side rack, the shelf can be pushed fully in.
Detent
4. When fully inserted the shelf should not interfere with
the closed oven door.
INSTALLING YOUR OVEN
ACCESSORIES
Loading ...
Loading ...
Loading ...