Loading ...
Loading ...
Loading ...
1
2
www.PyleUSA.com
7
7. Channel input socket (stereo): 8CH mixer with two group of input socket, 4CH and 6CH mixers with one
group of input socket. If connected only to L (MONO) socket, the mixer will send out the same mono
signal to L and R sockets.
8. [SEND & RETURN] Socket: When using the [SEND] output socket separately, can be connected with
power amplier, act as the monitoring signal. When using the [RETURN] input socket separately, can be
connected with the audio source. When using two sockets together, can connect with the external audio
processor.
9. [PHONES] Socket: Connect an earphone, the socket is supporting stereo phone plug.
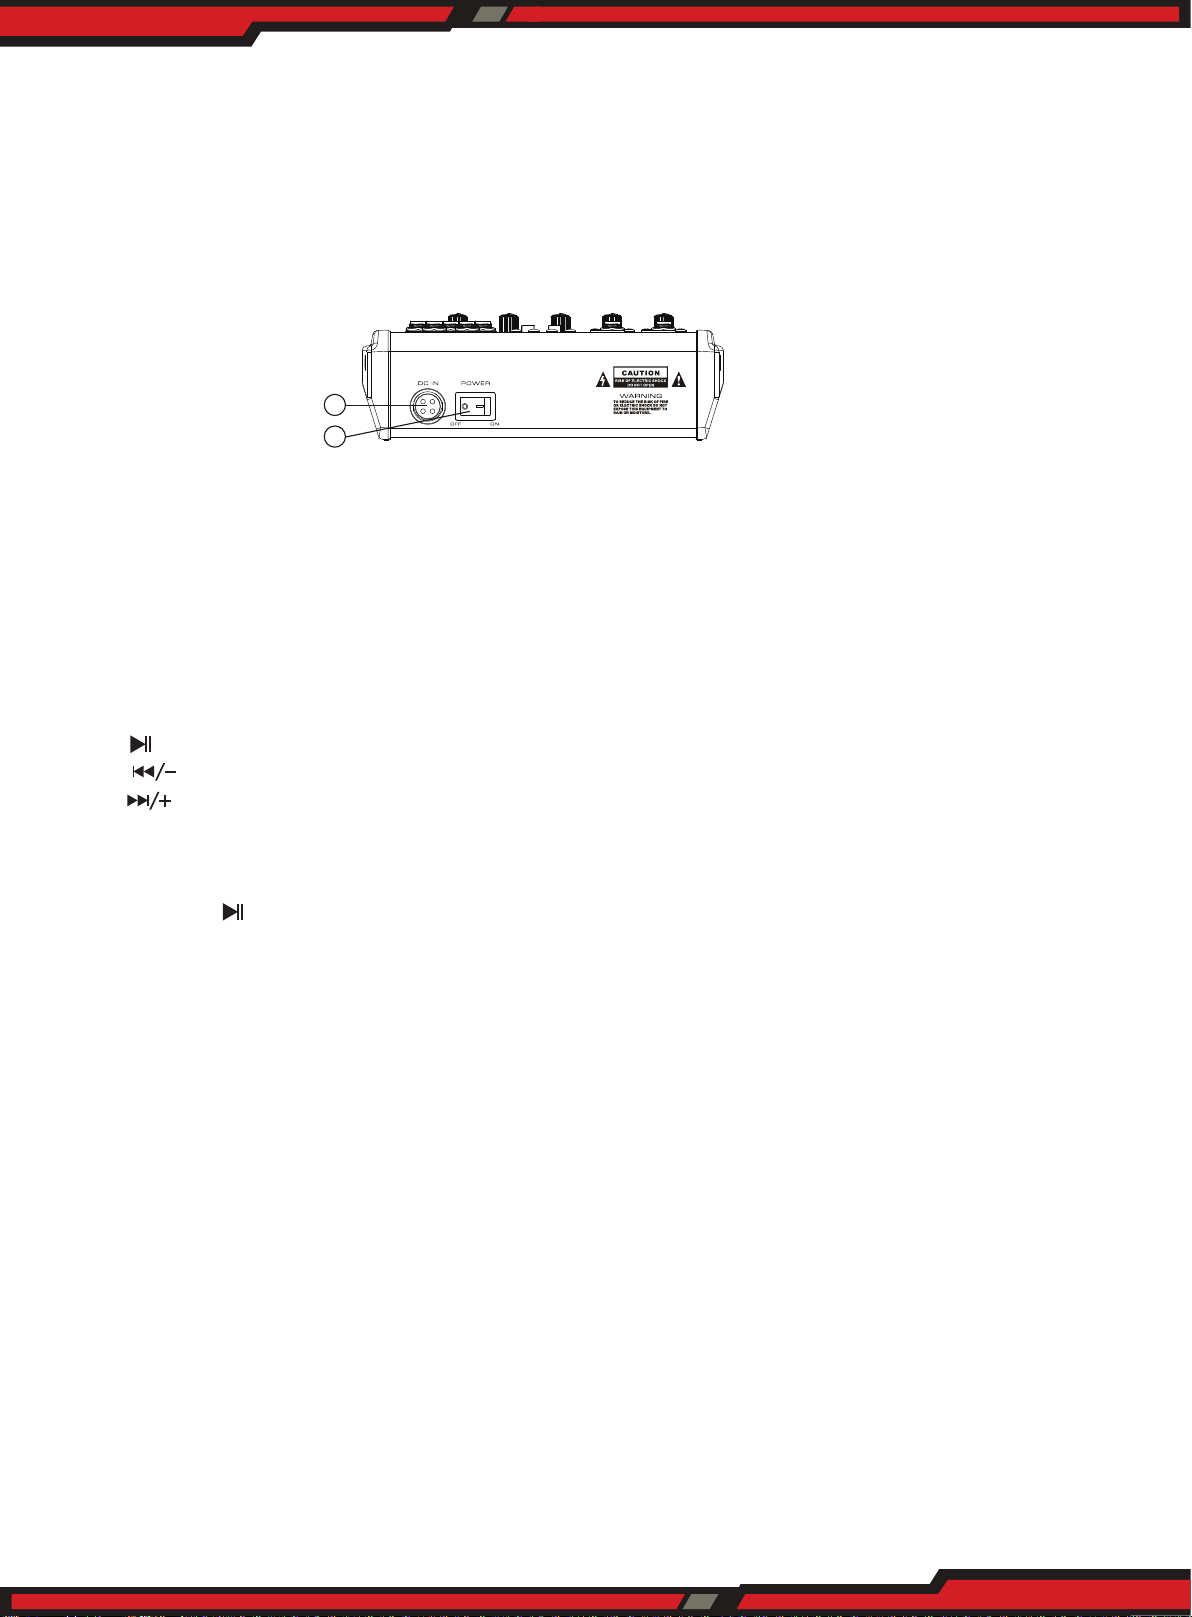
1. The external power input socket, receiving external power supply, DC +15V, -15V, +48V, ground wire
2. Power Switch
1. BLUETOOTH CONNECTION
a. Press the "MODE" button in order to select the Bluetooth mode, then the Bluetooth icon on display will
ash and displays BT.
b. Open the Bluetooth, select "KT-08UP" for pairing, after the success of the pairing, there will be a sound
prompt.
2. BUTTON FUNCTION
a. " " button: Short press to pause the playing song, press again to continue playing.
b. " " button: Short press to play the previous song, long press to reduce the input volume.
c. " " button: Short press to play the next song, long press to increase the input volume.
d. [MODE] Selecting button: Switching the functional model, select USB, REC, BT in order;
3. RECORDING OPERATION
a. Press the "MODE" key to select the REC state.
b. Press the " " button to start recording, the LED screen shows the recording time, press the " "
button again to pause the recording.
c. Press the "MODE" key to back out the recording.
4. Computer sound card: Connect the computer data cable to a PC and it will enter the PC playing state
automatically. (The computer will install the driver automatically at the rst connection, need to wait
until the installation nish to play or record)
3. INSTALLATION
3.1 Mains connection
AC POWER IN
Connect the power supply to the 3-pin mains connector on the rear of the console. Use the AC adapter
supplied to connect the console to the mains. The adapter complies with all applicable safety standards.
• Please use only the power supply unit provided with the console.
• Never connect the Studio Mixer to the power supply unit while the latter is connected to the mains!
First connect the console to the power supply unit, then connect the power supply unit to the mains.
• Please note that both the power supply unit and the mixing console heat up considerably during
operation. This is completely normal.
Loading ...
Loading ...
Loading ...