Loading ...
Loading ...
Loading ...
SERVICING - WARNING
Disconnect from electricity and gas before servicing. Check appliance is safe when you have nished.
13
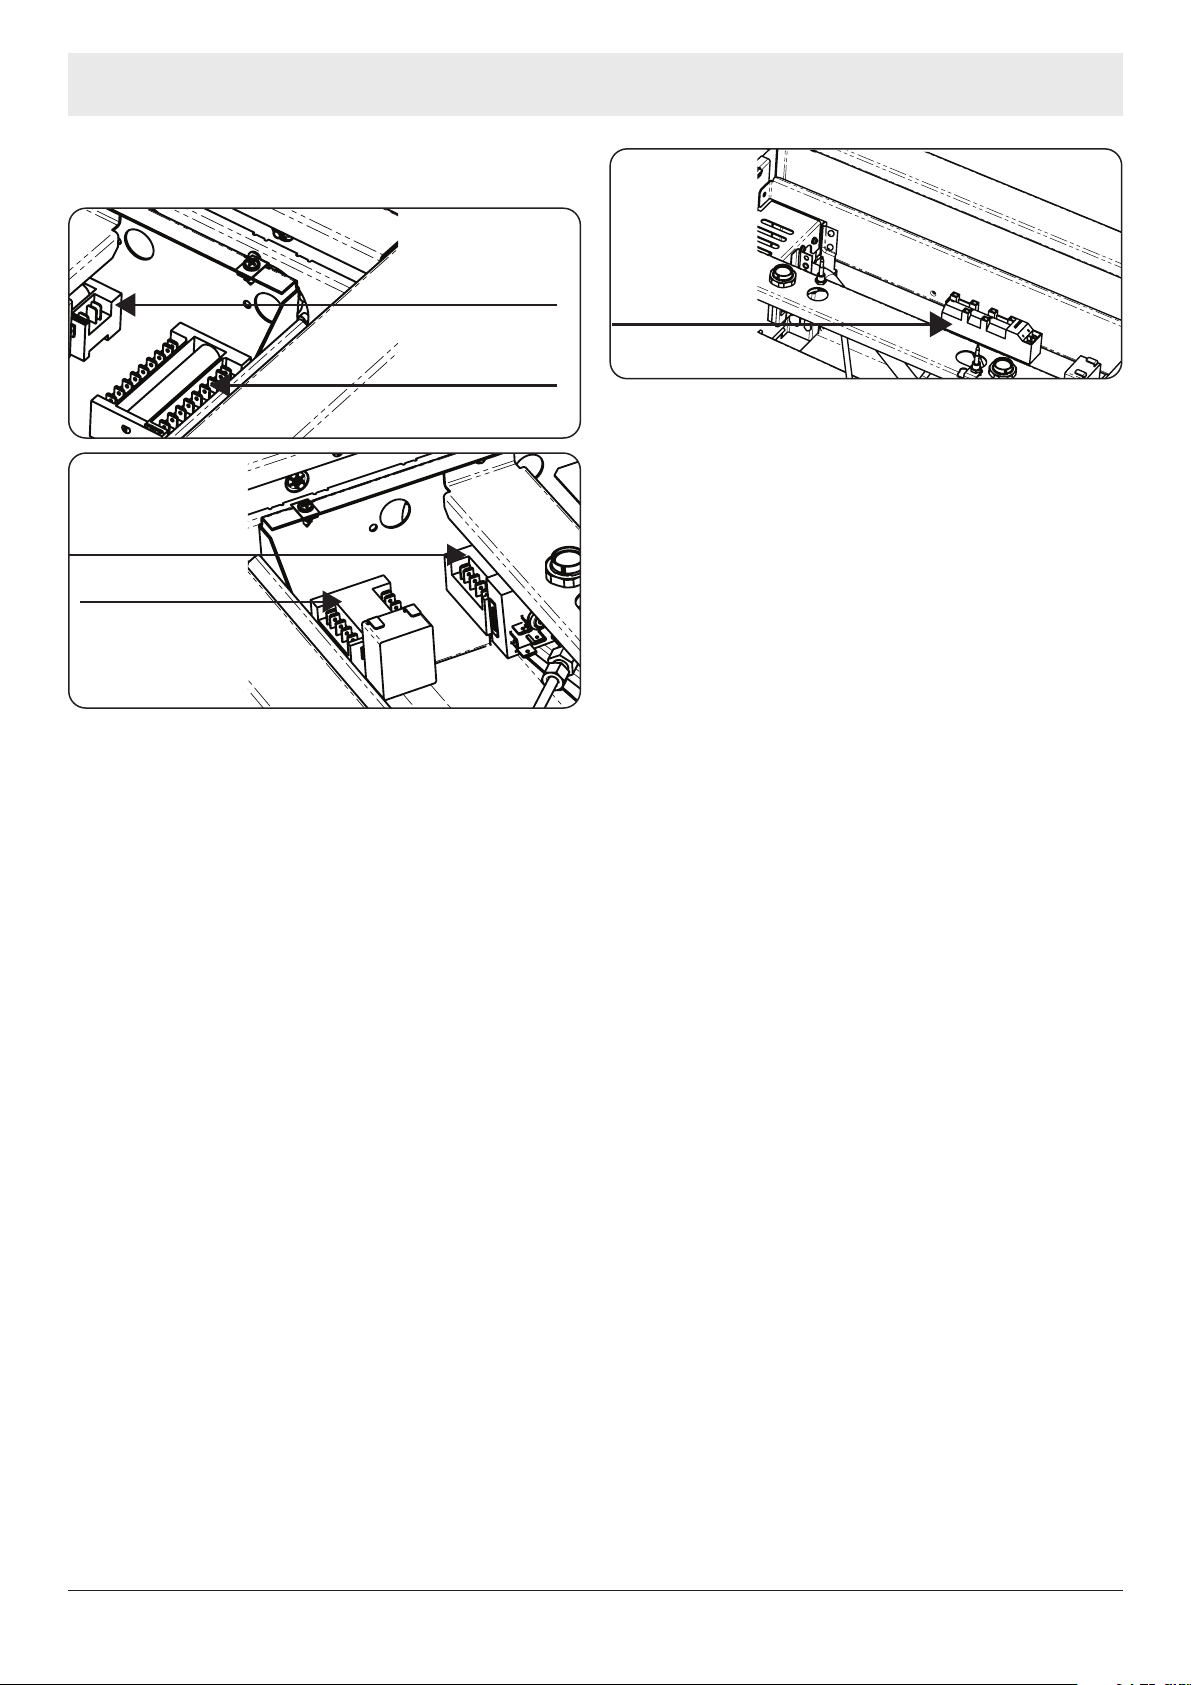
e. The Switches are accessed as shown in the below
illustrations.
LH Multi
Function Switch
LH Thermostat
Switch
RH Oven Switch
RH Broiler Switch
f. Left Hand side - Multi Function Switch and
Thermostat Front Switch
g. Right hand side – Broiler Front Switch.
h. Identify the switch that you need to change.
i. Make a careful note of which coloured wire is located
on which switch terminal
j. Refer to the circuit diagram if required.
k. Re- Assembly: Reassemble in the reverse order, take
care to ensure all wires are reconnected in the correct
order – Please check the function of each switch
prior to nal reassembly, taking care to ensure safe
electrical working practices.
l. Check the electrical safety of the appliance by
carrying out the appropriate electrical safety
checks, earth bond and high Voltage Hi Pot tests.
19. Remove Spark Ignition
Disconnect the appliance from the electricity Supply
Disconnect from the Gas Supply – Remove any
Safety Chains that may be present.
a. Remove the side panels (4. Remove the side
panels).
b. Remove the facia (5. Removal Facia Assembly).
c. Remove the gas hotplate (6. Removal of the Gas
Hotplate).
d. Access is now available for the Spark Ignition Device .
Spark Ignition Device
e. Remove the High Tension Leads and any Earth Lead,
make a careful note of the location of the earth lead
in the generator body.
f. Re- Assembly: Reassemble in the reverse order, take
care to ensure all wires are reconnected in the correct
order – Please check the spark generator functions
correctly prior to nal reassembly, taking care to
ensure safe electrical working practices.
g. Check the electrical safety of the appliance by
carrying out the appropriate electrical safety
checks, earth bond and high Voltage Hi Pot tests.
20. Remove an Oven Circulation Fan
Disconnect the appliance from the electricity Supply
Disconnect from the Gas Supply – Remove any
Safety Chains that may be present.
To remove an over circulation fan, access will be required
from the front and rear of the appliance.
Place protective means on the oor to prevent any damage
to oor whilst moving the appliance forward.
a. Move the appliance away from the wall to gain access
to the rear of the appliance.
b. Remove the rear wire covers as detailed in 8. Remove
the Wire Covers x 3
c. Identify which circulation fan has failed and from the
front of the appliance open the oven and remove the
oven furniture.
d. Identify the Oven Fan Bae mounted at the rear of
the oven cavity. The oven bae is secured by (x4)
screws.
e. The stirring fan is mounted to the rear of the oven
cavity. Remove the fan blade, the blade is secured by
a nut which has an anticlockwise rotation. Carefully
hold the fan blade and remove the securing nut.
f. The stirring fan is secured into the rear of the cavity
by (x3) xings, locate the xings and remove. The
stirring fan can be extracted from the rear of the
appliance. Remove the supply wires from the
fan noting which colour wire is located on which
connection tab.
Loading ...
Loading ...
Loading ...