Loading ...
Loading ...
Loading ...
11
Adjusting the Controls
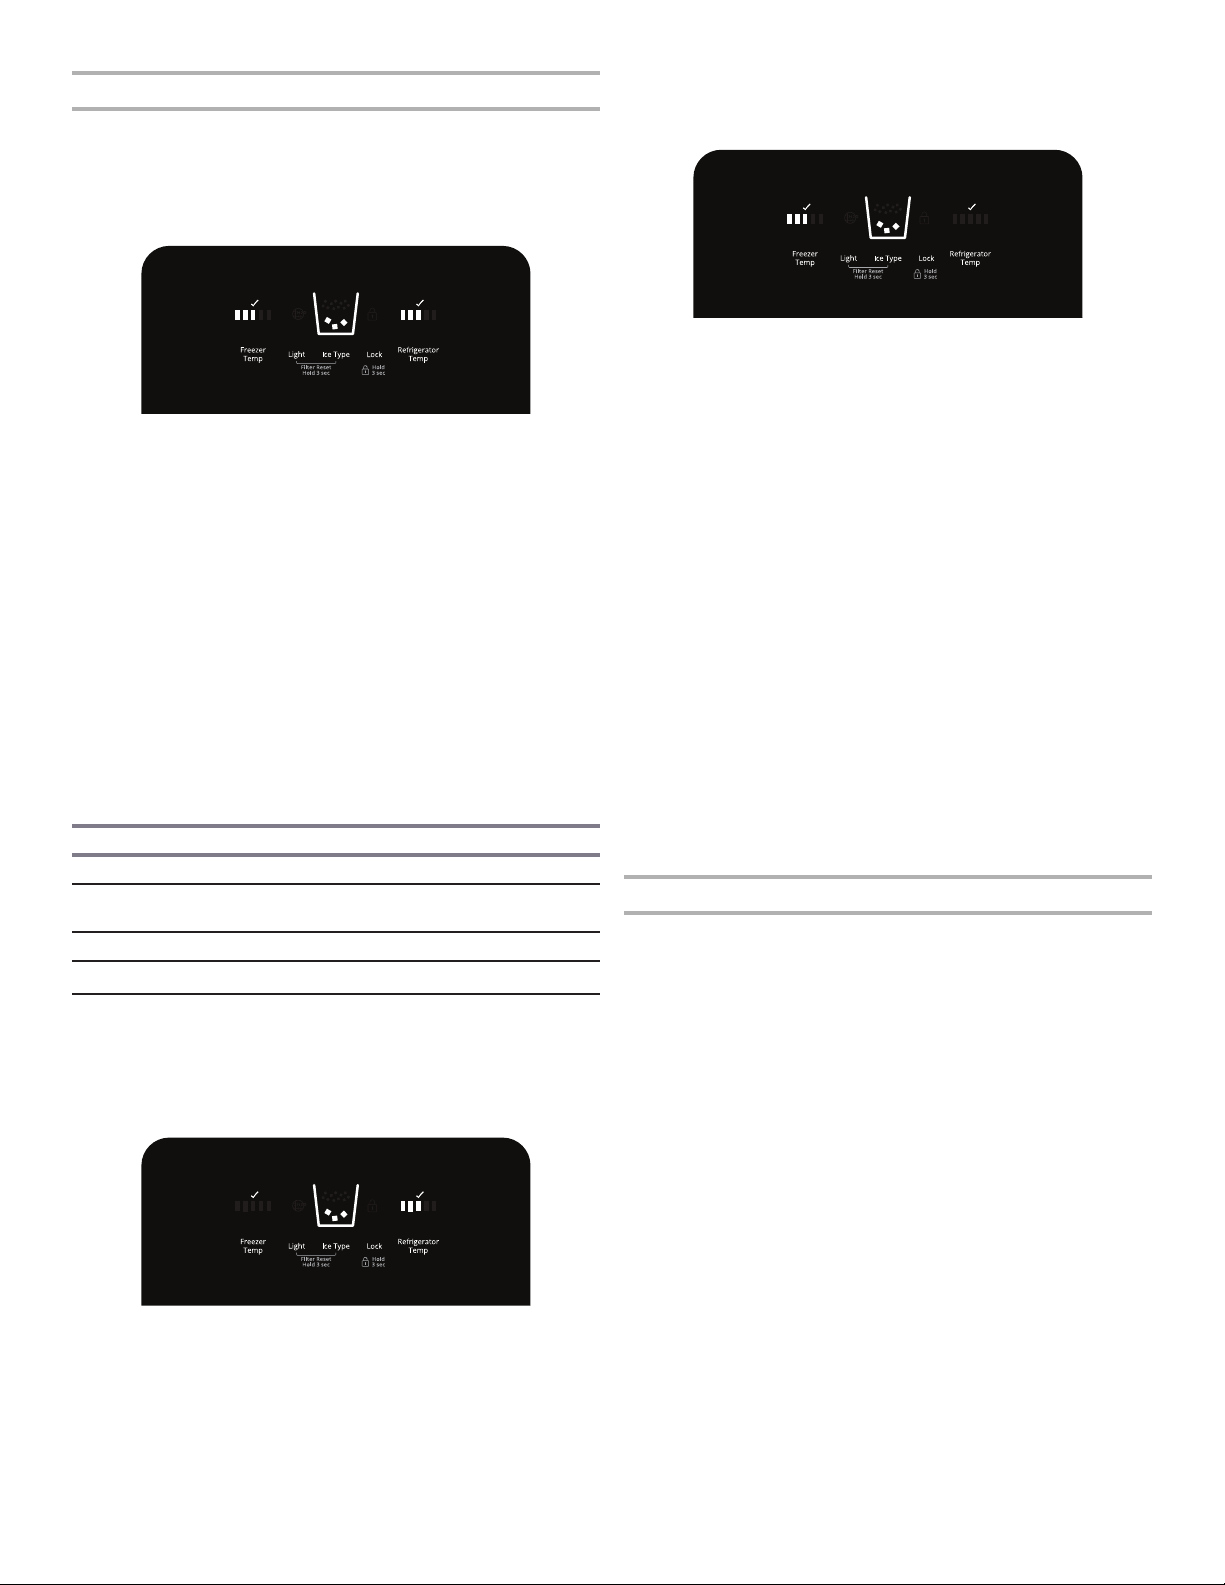
For your convenience, your r
efrigerator and freezer controls are
preset at the factory. When you rst install your refrigerator, make
sure that both controls, the refrigerator and freezer, are still set
to the recommended “mid-setting”. This will be displayed in the
sequence of bars with three illuminated bars.
IMPOR
TANT:
Wait 24 hours before you put food into the refrigerator. If you add
food before the refrigerator has cooled completely, your food
may spoil.
NOTE: Adjusting the set points to a colder than recommened
settings will not cool the compartments any faster.
■ If the temperatur
e is too warm or too cold in the refrigerator
or freezer, rst check the air vents to be sure they are not
blocked before adjusting the controls.
■ The pr
eset settings should be correct for normal household
usage. The controls are set correctly when milk or juice is as
cold as you like and when ice cream is rm.
■ W
ait at least 24 hours between adjustments. Recheck the
temperatures before other adjustments are made.
If you need to adjust temperature in the refrigerator or freezer,
use the settings listed in the chart below as a guide. Wait at
least 24 hours between adjustments.
Condition/Reason: Adjustment:
Refrigerator too warm Refrigerator control one setting higher
Freezer too warm/ too
little ice
Freezer control one setting higher
Refrigerator too cold Refrigerator control one setting lower
Freezer too cold Freezer control one setting lower
The set point range is “1 bar” (least cold) to “5 bars” (coldest)
Refrigerator Contr
ol:
■
Pr
ess REFRIGERATOR to view the current set point for the
refrigerator.
■
Pr
ess REFRIGERATOR again to adjust the set point. The
setting will increase by 1 bar with each press of the button,
returning to 1 bar after reaching 5.
After 2 minutes of inactivity, any changes will be saved and
the display will return to the home screen.
Fr
eezer Control:
■
Pr
ess FREEZER to view the current set point for the freezer.
■ Pr
ess FREEZER again to adjust the set point. The setting will
increase by 1 bar with each press of the button, returning to
1 bar after r
eaching 5.
After 2 minutes of inactivity, any changes will be saved and
the display will return to the home screen.
Water and Ice Dispensers
Depending on your model, you may have one or mor
e of the
following options: the ability to select either crushed or cubed
ice, a special light that turns on when you use the dispenser, or a
lock option to avoid unintentional dispensing.
NOTES:
■
The dispensing system will not operate when either door
(r
efrigerator or freezer) is open.
■
Allow 24 hours for the r
efrigerator to cool down and chill water.
■
Allow 24 hours to produce the rst batch of ice. Discard the
rst three batches of ice produced. Wait 72 hours for full ice
production. Also, take large amounts of ice from the ice bin
rather than through the dispenser.
■
T
he display scr
een on the dispenser control panel will turn off
automatically and enter Sleep mode when the control buttons
and dispenser lever have not been used for 2 minutes or more.
While in Sleep mode, the rst press of a control button will only
reactivate the display screen, without changing any settings.
Flush the W
ater System
Air in the water dispensing system can cause the water dispenser
to drip. After connecting the r
efrigerator to a water source or
replacing the water lter, ush the water system. Flushing the
water dispensing system forces air from the water line and lter,
and prepares the water lter for use.
NOTE: As air is cleared from the system, water may spurt out of
the dispenser.
1.
Using a stur
dy container, depress and hold the water
dispenser lever for 5 seconds, and then release it for 5
seconds.
2.
Repeat Step 1 until water begins to ow
.
3.
Once water begins to ow
, continue depressing and releasing
the dispenser lever (5 seconds on, 5 seconds off) until a total
of 3 gal. (11.4 L) has been dispensed.
Additional ushing may be required in some households.
Loading ...
Loading ...
Loading ...