Loading ...
Loading ...
Loading ...
Some models dispense both cubed and crushed ice. Before
dispensing ice, select which type of ice you prefer. The button
controls are designed for easy use and cleaning.
ICE
For crushed ice, cubes are crushed before being dispensed. This
may cause a slight delay when dispensing crushed ice. Noise
from the ice crusher is normal, and pieces of ice may vary in size.
When changing from CRUSH to CUBE, a few ounces of crushed
ice will be dispensed along with the first cubes.
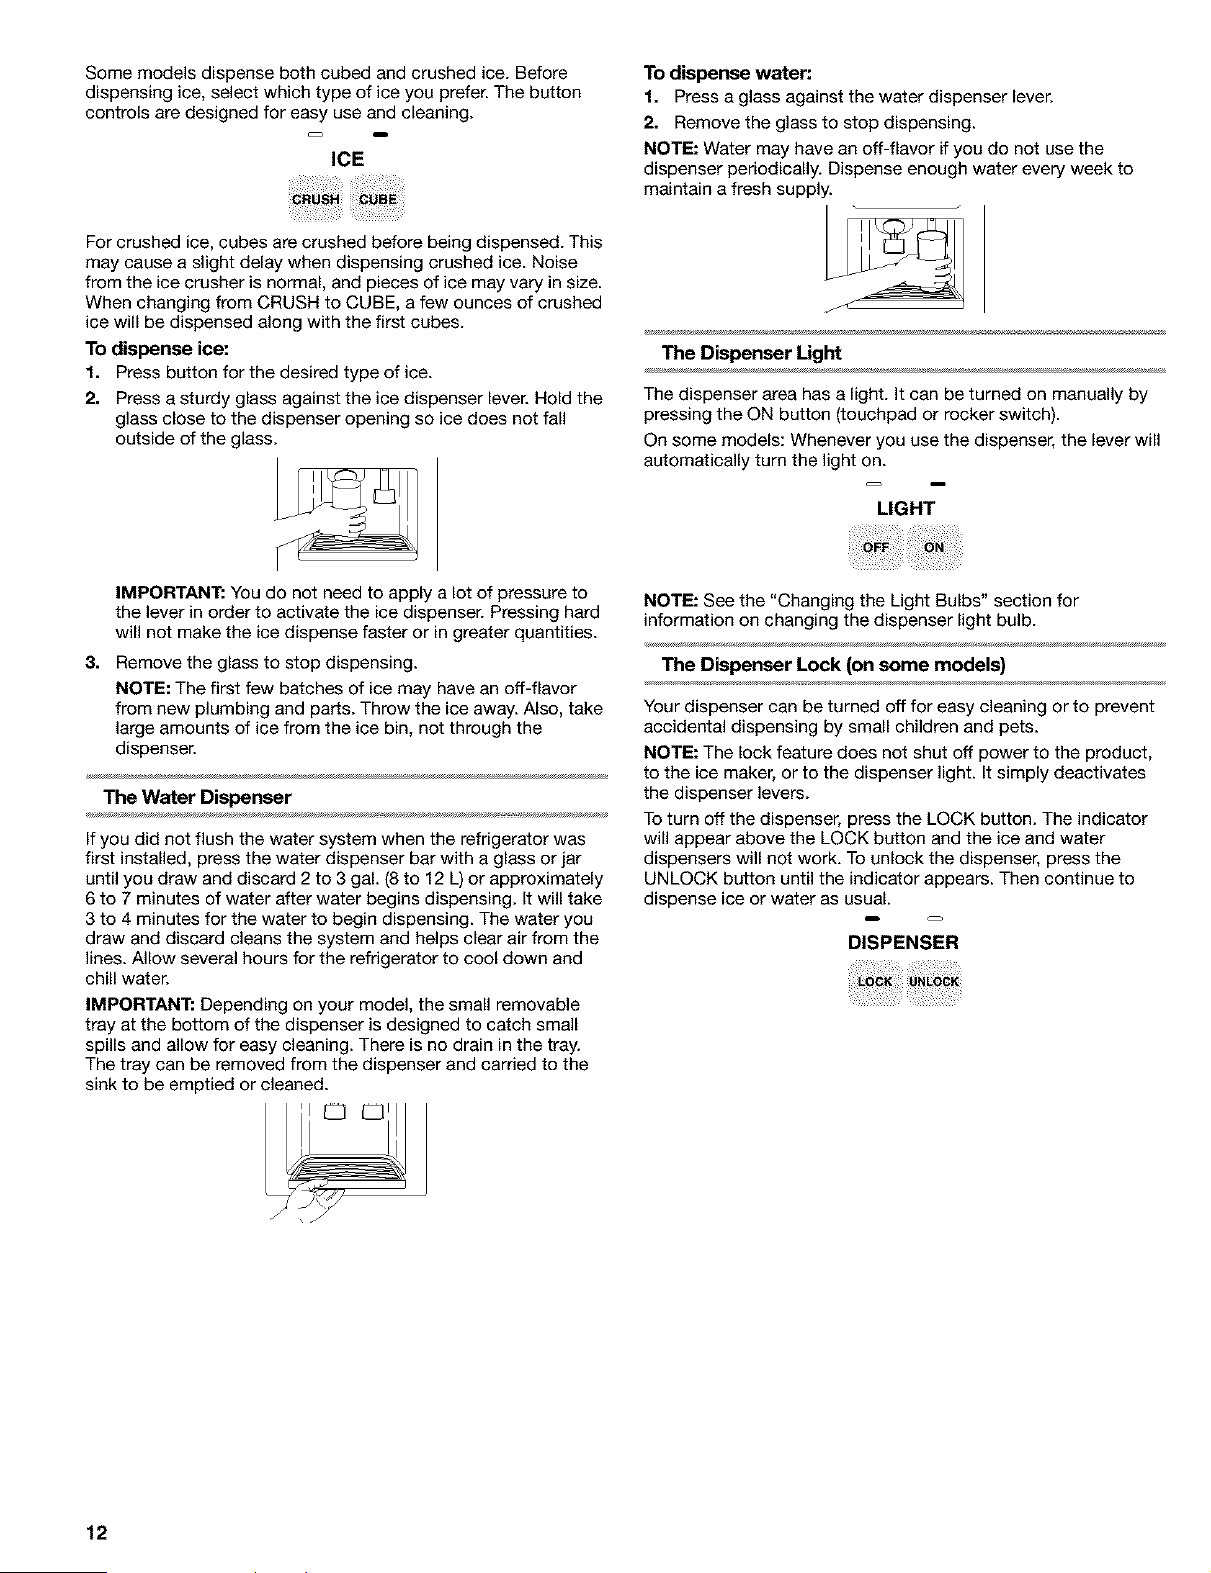
To dispense ice:
1. Press button for the desired type of ice.
2. Press a sturdy glass against the ice dispenser lever. Hold the
glass close to the dispenser opening so ice does not fall
outside of the glass.
To dispense water:
1. Press a glass against the water dispenser lever.
2. Remove the glass to stop dispensing.
NOTE: Water may have an off-flavor if you do not use the
dispenser periodically. Dispense enough water every week to
maintain a fresh supply.
TheDispenserUg_
The dispenser area has a light. It can be turned on manually by
pressing the ON button (touchpad or rocker switch).
On some models: Whenever you use the dispenser, the lever will
automatically turn the light on.
LIGHT
IMPORTANT: You do not need to apply a lot of pressure to
the lever in order to activate the ice dispenser. Pressing hard
will not make the ice dispense faster or in greater quantities.
3. Remove the glass to stop dispensing.
NOTE: The first few batches of ice may have an off-flavor
from new plumbing and par_s. Throw the ice away. Also, take
large amounts of ice from the ice bin, not through the
dispenser.
The Water Dispenser
If you did not flush the water system when the refrigerator was
first installed, press the water dispenser bar with a glass or jar
until you draw and discard 2 to 3 gal. (8 to 12 L) or approximately
6 to 7 minutes of water after water begins dispensing. It will take
3 to 4 minutes for the water to begin dispensing. The water you
draw and discard cleans the system and helps clear air from the
lines. Allow several hours for the refrigerator to cool down and
chill water.
IMPORTANT: Depending on your model, the small removable
tray at the bottom of the dispenser is designed to catch small
spills and allow for easy cleaning. There is no drain in the tray.
The tray can be removed from the dispenser and carried to the
sink to be emptied or cleaned.
NOTE: See the "Changing the Light Bulbs" section for
information on changing the dispenser light bulb.
The Dispenser Lock (on some models)
Your dispenser can be turned off for easy cleaning or to prevent
accidental dispensing by small children and pets.
NOTE: The lock feature does not shut off power to the product,
to the ice maker, or to the dispenser light. It simply deactivates
the dispenser levers.
To turn off the dispenser, press the LOCK button. The indicator
will appear above the LOCK button and the ice and water
dispensers will not work. To unlock the dispenser, press the
UNLOCK button until the indicator appears. Then continue to
dispense ice or water as usual.
DISPENSER
J
12
Loading ...
Loading ...
Loading ...