Loading ...
Loading ...
Loading ...
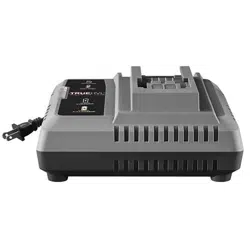
9
1. Connect the charger to the power supply
(120V~, 60Hz). When connected to the
power supply, all indicators on the charger
will shine for 1 second to indicate that self-
check is complete.
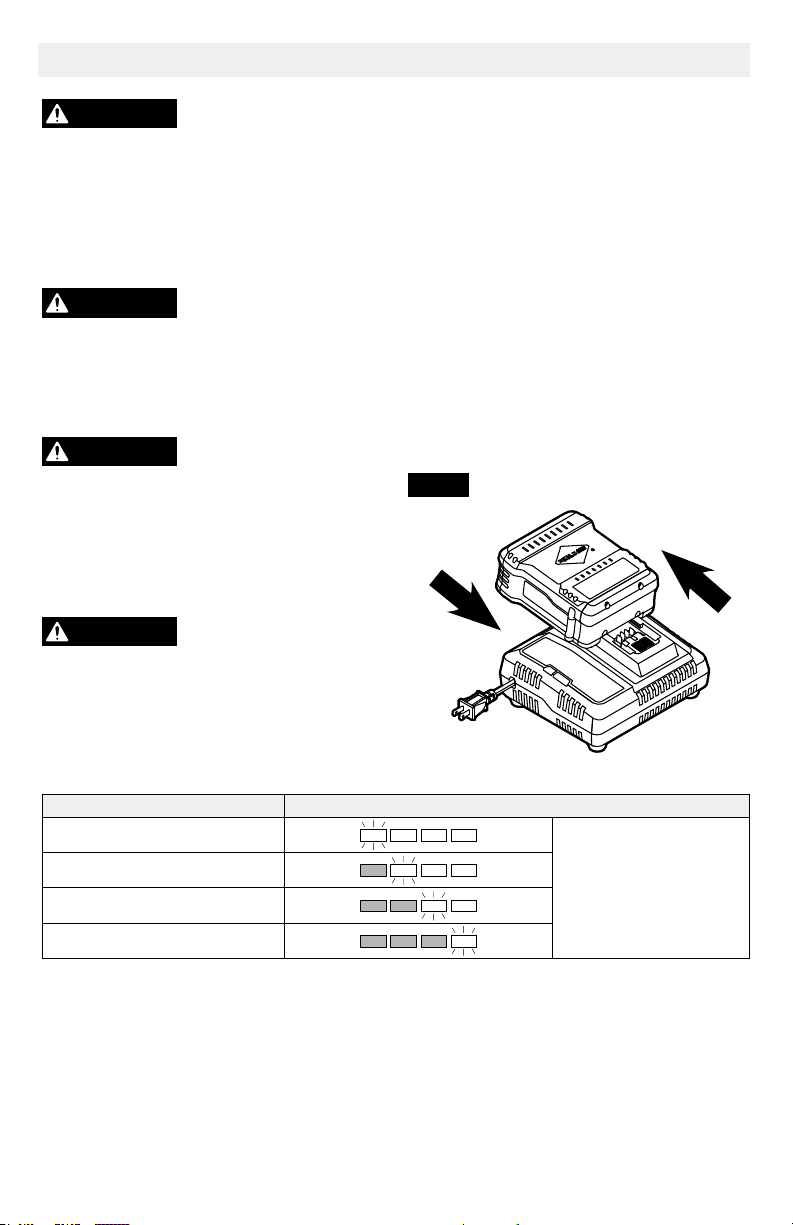
2. Align the raised ribs of the battery pack
with the mounting slots in the charger;
slide the battery pack onto the charger
(Fig. 2).
3. The charger will communicate with the
battery pack to evaluate the condition of
the battery pack.
4. When the battery pack is charging, the
green LED on the charger will flash. The
power indicator on the battery will ash
according to the current capacity level.
The fan in the charger continuously works
to cool the battery pack.
Fig
. 2
Operating Instructions
WARNING
To reduce the risk of re,
personal injury, and
product damage due to a short circuit,
never immerse your charger or battery pack
in uid or allow a uid to ow inside them.
Corrosive or conductive uids, such as
seawater, certain industrial chemicals, and
bleach or bleach-containing products, etc,
can cause a short circuit.
WARNING
The safe use of this product
requires an understanding
of the information on the tool and in this
operator’s manual, as well as knowledge of
the project you are attempting. Before use of
this product, familiarize yourself with all its
operating features and safety rules.
WARNING
Do not attempt to modify
the charger or create
accessories not recommended for use with
this charger. Any such alteration or
modication is misuse and could result in a
hazardous condition leading to possibly
serious personal injury.
HOW TO CHARGE THE BATTERY PACK
WARNING
Do not use the charger
outdoors or expose it to
wet or damp conditions. Water entering the
charger will increase the risk of electric
shock.
NOTICE: Lithium-Ion battery packs are
shipped partially charged. Before using it the
rst time, fully charge the battery pack.
Battery Pack Charge Status Power Indicator
<25%
Last segment ashing,
rest solid
25%~50%
50%~75%
≥75%
5. When the battery pack is fully charged, the
green LED will stop ashing and will shine
green continuously. The power indicator
on the battery pack will go out. Wait until
the cooling fan stops, remove the battery
pack from the charger and disconnect the
charger from the power supply.
6. The battery pack will fully charge if left on
the charger, but it will not overcharge.
NOTICE: A signicantly reduced run time after
fully charging the battery pack indicates that
the batteries are near the end of their usable
life and must be replaced.
The charger may warm during charging. This
is part of the normal operation of the charger.
Charge in a well-ventilated area.
Loading ...
Loading ...
Loading ...