Owner’s Manual
ONE ROW COIN COUNTER
WITH VALUE COUNTING
FS-550D
Royal Sovereign International, Inc.
Please read and retain these instructions.
For more information, please go to www.royalsovereign.com

Thank you for purchasing the Royal Sovereign One
Row Coin Counter, FS-550D.
This manual will provide you with safety information, instructions for optimal
use, and proper care and maintenance for your product. Please read this
manual carefully before operating.
CONTENTS
1
SAFETY INSTRUCTIONS ............................................................................... 2
BOX CONTENTS ........................................................................................ 3
PRODUCT VIEW ......................................................................................... 3
QUICK START GUIDE ................................................................................... 4
PRODUCT OPERATION ................................................................................. 5
TROUBLESHOOTING ................................................................................... 6
SPECIFICATIONS ....................................................................................... 6
WARRANTY ............................................................................................. 7
2
When using this machine follow these safety precautions to reduce risk of fire, electric shock, or injury.
Read & Fully Understand This Owner’s Manual Before Using This Machine.
SAFETY INSTRUCTIONS
WARNING
CAUTION
1. Plug the power cord into a properly grounded wall outlet. Do not alter the electric plug in any
way.
2. Do not use the machine if the power cord is damaged.
3. Do not place the machine in an area where it may be exposed to water or other liquids.
4. Do not take apart the machine. When service or repair is needed bring to a qualified service
repair technician.
5. When unplugging the power plug, grip the plug to pull it out. Pulling the cord may result in
electric shock, fire, or damage to the machine.
6. Do not place objects on the power cord and do not bend it excessively.
7. Do not operate the machine for any other purpose other than its intended use.
8. When using the machine, place it on a level workplace.
9. Do not allow any other materials to enter except coins.
10. Do not put your fingers inside the opening when the machine is running.
1. Before cleaning the machine, unplug the machine from the wall. Do not use liquid or aerosol
cleaners on the machine.
2. Do not use the machine in areas with high temperature or high humidity. This may result in
the machine not working properly. This machine works best at room temperature.
3. Turn off the power when unattended or not in use. Unplug the machine before moving it or
when it is not in use for an extended period of time.
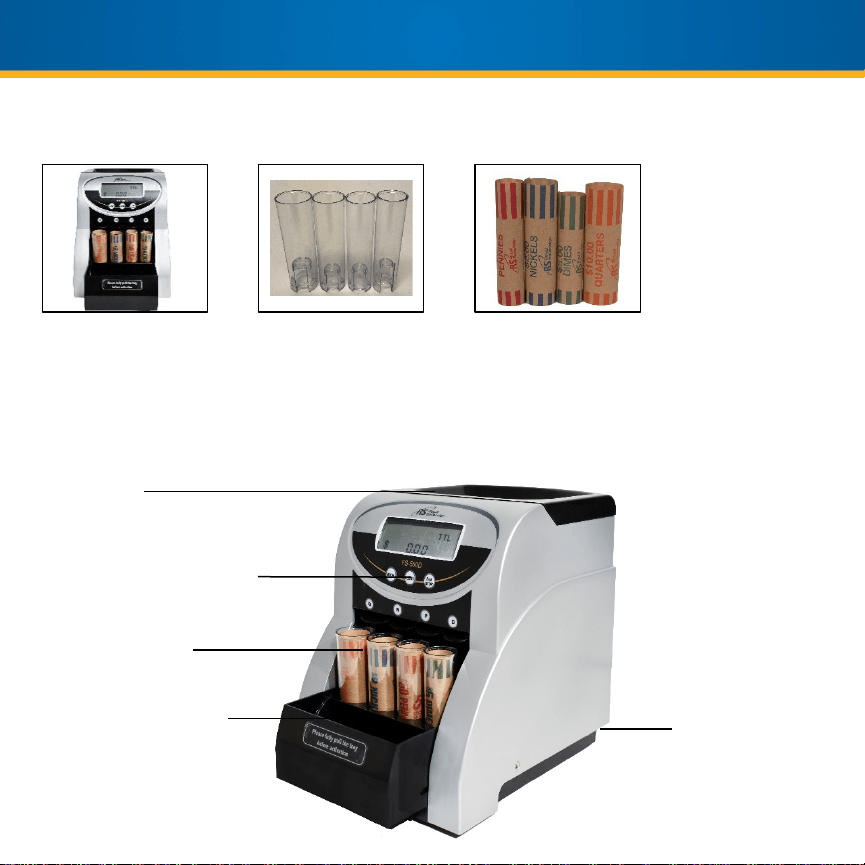
BOX CONTENTS
3
Coin Counter
Coin Tubes Coin Wrapper Starter Pack
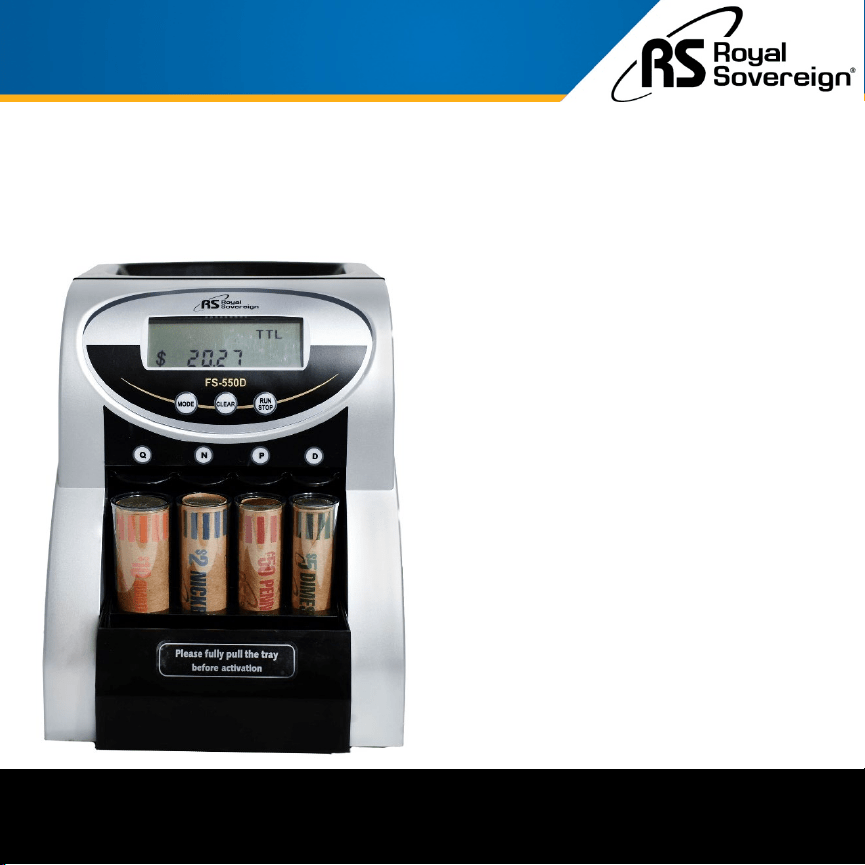
PRODUCT VIEW
Hopper
Control Panel
Coin Tubes
Overflow Tray
Power Switch
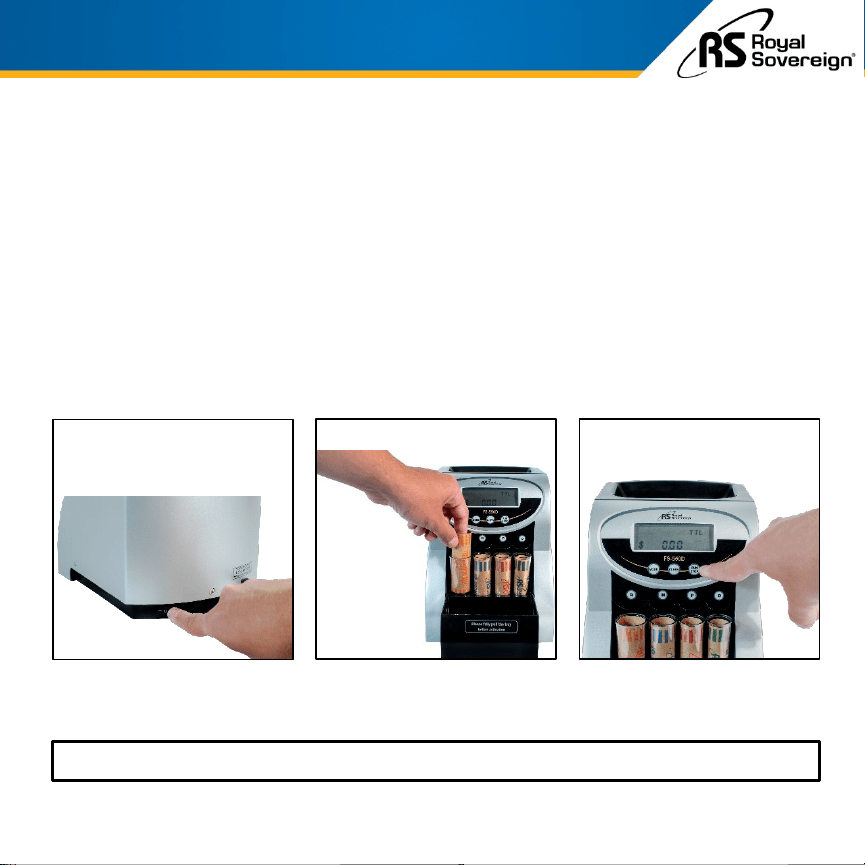
4
1. Plug the power cable into the wall power outlet.
2. On the back of the machine, flip the power switch on (A).
3. Pull the coin tray forward.
4. Insert preformed coin wrappers into the corresponding tubes (B).
5. Press the “RUN/STOP” button to start coin counting (C).
6. Place loose change into the hopper to begin sorting.
QUICK START GUIDE
For More Detailed Instructions, Go To Page 5
A B C
1. Place the machine on a level work surface.
2. Connect the coin counter into the outlet and flip the
power switch on (located on the back of the machine).
3. Pull out the coin tray before beginning to sort the coins.
4. Place coin wrappers into the correct coin tubes.
5. Press the “RUN/STOP” button to power on the machine.
NOTE: You will hear a ticking sound. This is the Royal
Sovereign Patented Anti-Jam Technology working to ensure
smooth operation and accurate counts.
6. Insert your coins into the hopper. The coins will begin to
sort automatically.
7. When a tube is full, the machine will stop sorting and the
display will indicate which coin tube is full by showing a
blinking letter, either Q,N,P,D (Quarter, Nickel, Penny,
Dime).
8. Remove the full tube from the tube tray. Pull out the full
wrapper and replace with a new coin wrapper. Press the
“RUN/STOP” button to continue coin sorting.
NOTE: The display will reset the number of coins for that
denomination. The total dollar amount will not reset and will
continue counting where it left off.
6. After coin sorting is finished, press the “RUN/STOP”
button to turn the motor off. To reset the display, press
the “CLEAR” button.
7. Push the overflow tray back, then flip the switch on the
back of the unit to power off.
5
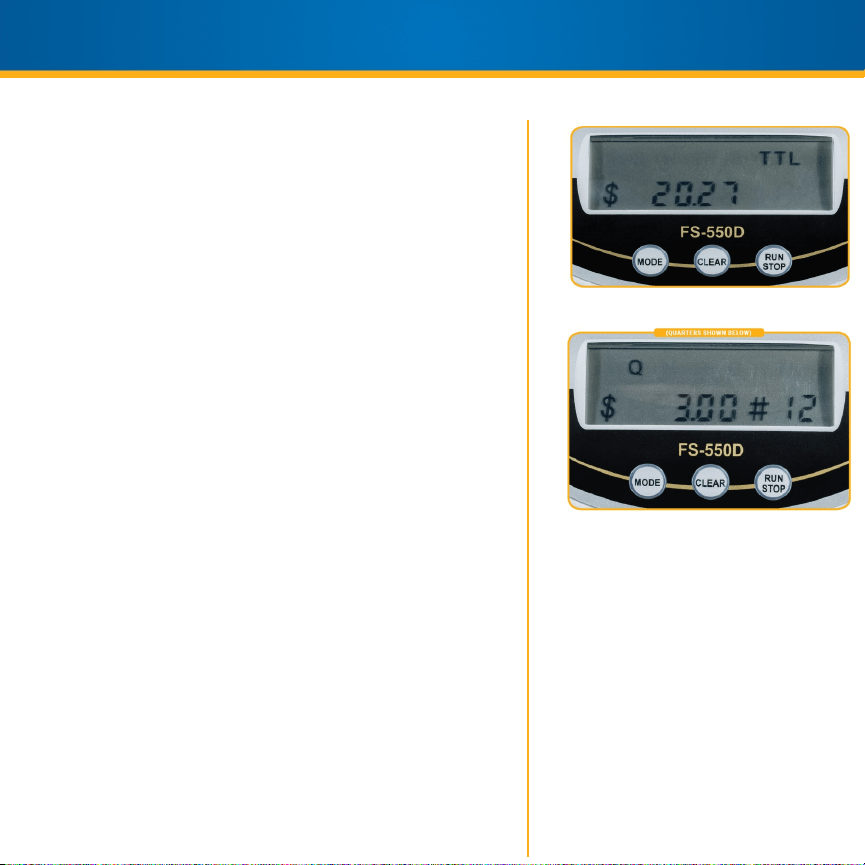
PRODUCT OPERATION
MODE
Once the machine is turned on, by default,
the display will show the total dollar
amount counted (OPTION A). Press the
"MODE" button to switch to the count
values by denomination (OPTION B). The
individual coin count options display the
dollar value and total coins counted by
denomination. Press the "MODE" button to
flip through denominations. Thisfeature
can be changed at any time during the coin
counting process.
OPTION A
OPTION B
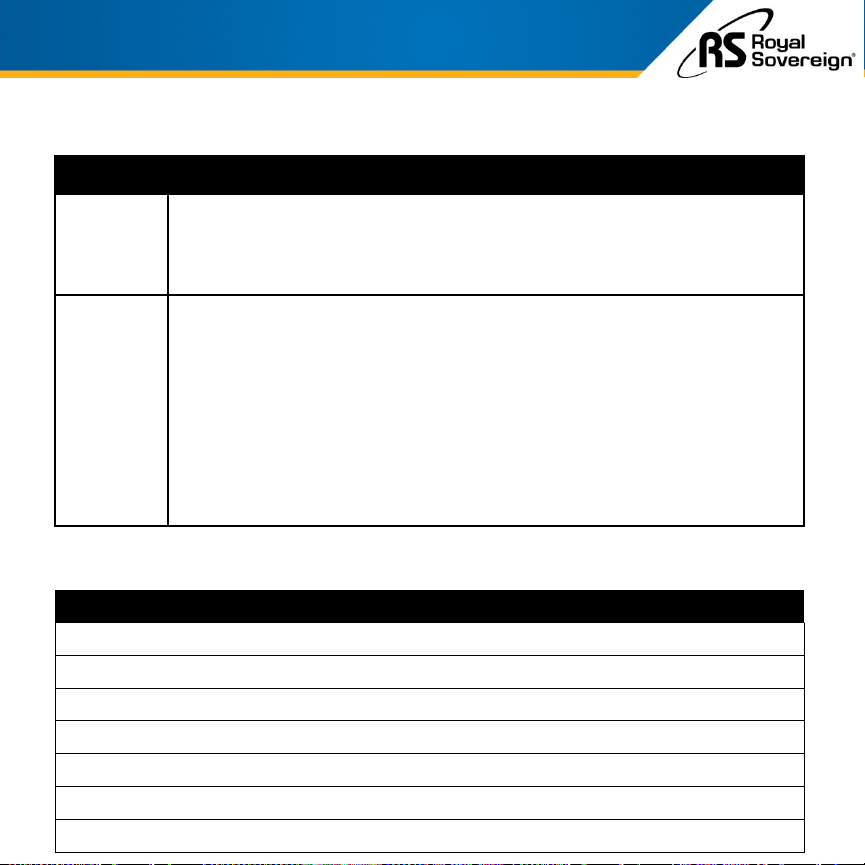
TROUBLESHOOTING
MODEL FS-550D
Sorting Speed 156 coins per minute
Hopper Capacity 200 coins
Motor Type AC synchronous motor
Power Consumption 4 W
Power Supply 120V / 60Hz
Dimensions 9.7” W x 7.2” D x 9.0” H
Weight 4.60 lbs.
SPECIFICATIONS
6
Symptom Solutions
Motor does
not run
1. Check that the power cord is plugged in.
2. Check that the power switch is on.
3. Press the “RUN/STOP” button again.
4. Check that the tube trays are in the correct position, pulled all the way out.
Coins are
not sorting
into the
tubes
Foreign objects and/or bent, damaged, or sticky coins may cause the machine to jam:
1. This machine is designed to resolve jams automatically. Wait about 15 seconds as
the agitation screw and the running vessel rotates back and forth to release the jam.
2. Tap the machine gently on the side to loosen a jam.
3. If the machine is still not sorting, push the “RUN/STOP” button to turn the machine
off.
4. Loosen the hopper lid screw with a coin.
5. Lift the hopper lid exposing the running vessel.
6. Retrieve the jammed item and replace the hopper lid.
7. Screw the hopper lid and push the “RUN/STOP” button to start sorting again.

Royal Sovereign International, Inc. warranties this product to be free from defects in material and
workmanship for a period of one (1) year. This warranty is extended to the original purchaser only.
This warranty only covers products that are properly installed, properly maintained, and properly operated in
accordance with the instructions provided. This limited warranty does not cover any failures or operating
difficulties due to normal wear and tear, accident, abuse, misuse, alteration, misapplication, improper
installation, or improper maintenance and service by you or any third party.
Returned product will not be accepted without a Return Authorization number. To request a Return
Authorization number, please visit us at www.royalsovereign.com. All transportation costs for the return of
damaged product or parts will be the responsibility of the purchaser. Return defective product, in original
packaging, to the address below.
Royal Sovereign International, Inc. requires reasonable proof of your date of purchase from an authorized
retailer or distributor. Therefore, you should keep your receipt, invoice, or canceled check from the original
purchase. The limited warranty shall be limited to the repair or replacement of parts which prove defective
under normal use and service within the warranty period.
Royal Sovereign International, Inc. (and its affiliated companies) SHALL HAVE NO LIABILITY WHATSOEVER
TO PURCHASER OR ANY THIRD PARTY FOR ANY SPECIAL, INDIRECT, PUNITIVE, INCIDENTAL,OR
CONSEQUENTIAL DAMAGES. Some states do not allow the exclusion or limitation of incidental or
consequential damages so the above exclusion and limitations may not apply to you.
For product support and warranty questions, please visit us at
www.royalsovereign.com/CustomerSupport
ROYAL SOVEREIGN INTERNATIONAL, INC.
2 Volvo Dr., Rockleigh, NJ 07647 USA
TEL: +1) 800-397-1025
Email: info@royalsovereign.com
7
ONE YEAR LIMITED WARRANTY