Loading ...
Loading ...
Loading ...
give smooth, fast trimming every time. After the
first charge, a full charge should take 90
minutes. Maximum battery capacity will be
reached only after 3 charging/discharging
cycles. To charge:
• Connect the power adapter to the socket on
the underside of the trimmer.
• Plug the power adapter into a suitable outlet.
• Always check that the charging indicator on
the LCD comes on when you connect the power
lead into the product.
REGULAR CHARGING
• A full charge should take 90 minutes and
will supply enough power for a minimum of
60 minutes of continuous cordless use.
The remaining battery life is shown on the
LCD display.
• In order to maintain the optimum capacity of
the rechargeable battery, the appliance should
be recharged for 16 hours approximately every
3 months.
• The trimmer comes with a quick-charge
feature. A 5-minute charge will provide enough
power for approximately 3 minutes of use.
OPERATION WITH POWER CORD
(NOT CORDLESS)
• Connect the adapter to the base of the
appliance, plug the adapter into a suitable
electrical outlet and the appliance is now ready
for use.
• Always ensure the trimmer is switched off
and unplugged after use unless you intend to
charge the trimmer.
SWITCHING ON/OFF
To switch the trimmer on press the power
ON/OFF button and release. The selected length
will appear on the LCD display. To switch the
trimmer OFF, press the power ON/OFF button
and release. This will display the battery time
remaining in minutes before it disappears.
TRAVEL LOCK
To ensure the trimmer does not accidentally
turn on when traveling, it features a
travel lock:
To lock the trimmer, hold the ON/OFF button for
3 seconds, the comb guide will return to start
position and power will shut off. A countdown of
an additional 3 seconds will appear on the LCD
display. After the 3 second countdown, a pad
lock will appear on the screen.
To unlock the travel lock, hold the ON/OFF
button. A 3 second countdown will appear on
the LCD screen. After 3 seconds the trimmer
will turn on.
When charging the unit, the travel lock is
automatically deactivated.
PREPARATION FOR USE
Always inspect the trimmer before use to
ensure the cutting head is free of hair and
debris and is running smoothly.
USING THE COMB GUIDE
The comb guide allows you to change the
cutting length of your trimmer. You’ll need to
experiment to find your preferred length, but as
a guide, 0.4mm will give you very short stubble,
and 1.6mm will give you a longer stubble look.
2mm+ will give you a short beard.
• Ensure the comb guide is correctly positioned
by pushing the comb guide gently downward to
secure in place.
• Use the digital touch control UP or DOWN
button to adjust the telescopic comb guide to
the required length.
• The cutting lengths are displayed on the LCD
screen in millimeters (mm) – scroll through the
available length settings with the digital touch
controls. There are 15 length settings available:
0.4mm, 0.6, 0.8, 1.0, 1.2, 1.4, 1.6, 1.8, 2.0, 2.5,
3.0, 3.5, 4.0, 4.5, 5.0mm.
• Select your desired length – the length setting
will then remain displayed on the
LCD screen.
• Push the power button to switch the
trimmer on.
USING THE TRIMMER WITHOUT THE
COMB GUIDE
Using the trimmer without the comb guide is
ideal for detailing/shaping and general tidying of
edges.
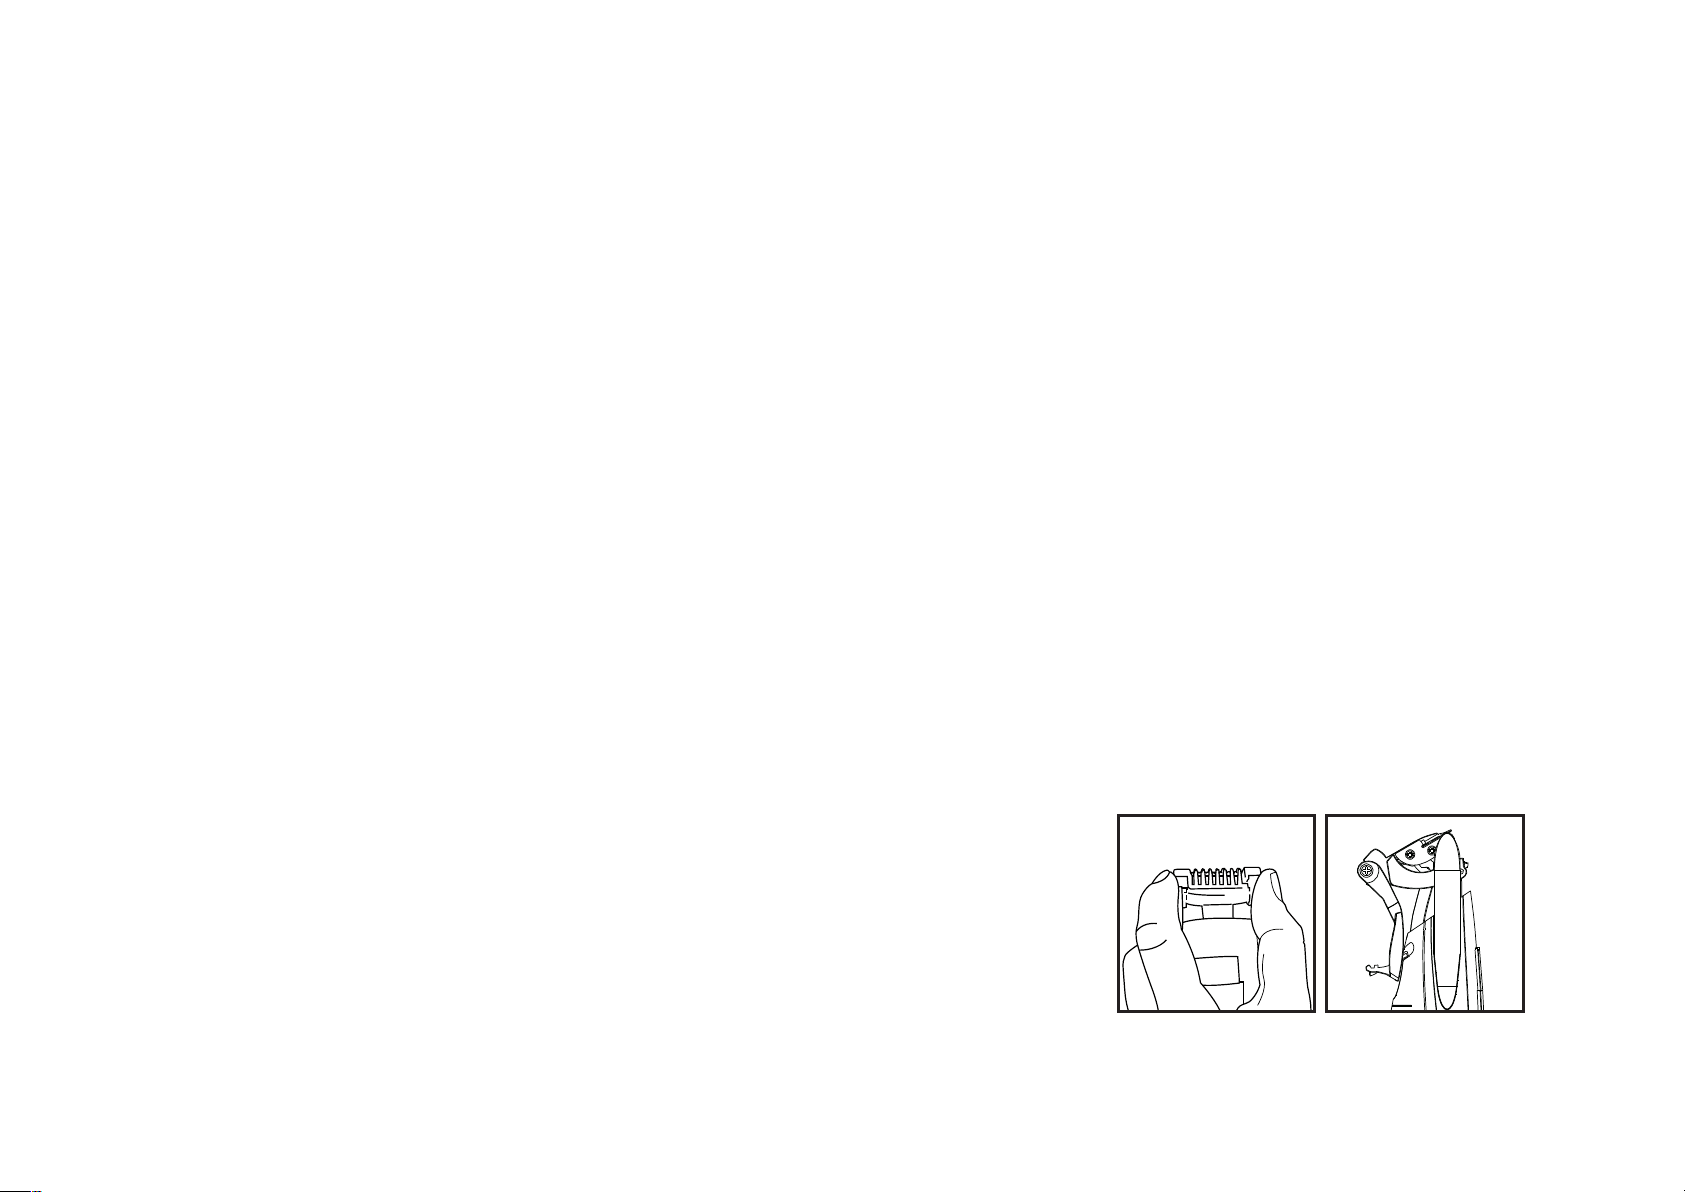
• To detach the comb guide, gently hold the
trimmer in one hand and with your thumb and
index finger, push up on each side of the comb
guide (Fig. 1). Flip the comb guide to the back
of the unit and lock it into position by clicking it
securely onto the fastener on the back of the
handle (Fig. 2).
Fig. 1
Fig. 2
• Switch the trimmer on by pushing the power
ON button. The LCD will illuminate and the
blades will start to move.
Loading ...
Loading ...
Loading ...