Loading ...
Loading ...
Loading ...
2
Preparation
The following instructions must be followed to assemble the SharkBite Connection
System.
Select the correct size tting and pipe
for the job. Check that ttings and pipe
are clean, in good condition and are free
from damage and foreign objects. Also
check that the pipe is round, and free from
scratches, cuts, or gouges. Cut the pipe
so that the ends are square. Ensure that
there are no burrs or damage to the cut
end. Wherever possible proper pipe cutting
tools such as rotary pipe cutters (copper
tubing) or pipe shears (for plastic pipe)
should be used.
Once the pipe end is cut square and clean,
use the SharkBite Depth Deburr Gauge
(sold separately) and a permanent marker
to mark the insert depth on the outside
of the pipe. This mark is used to ensure
that the joint is assembled correctly. To
assemble correctly, the pipe needs to be
pushed into the tting until it meets the
tube stop. Follow these three steps to
insert the pipe into the tting.
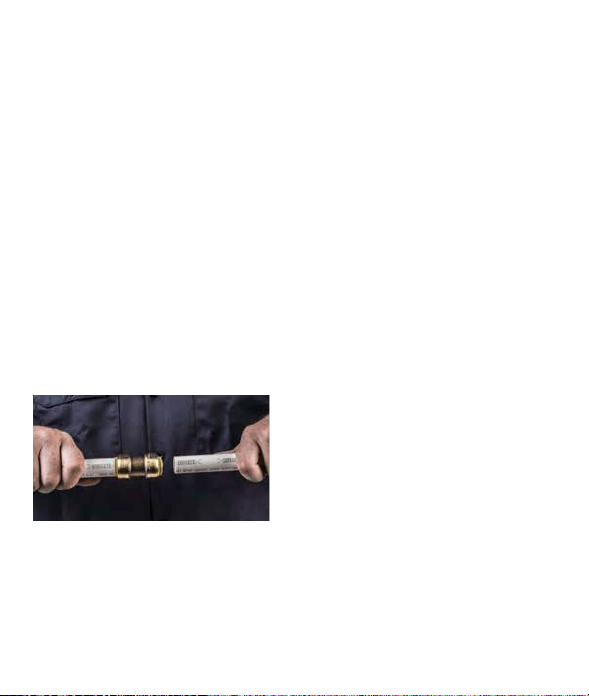
1. Insert the pipe through the release
collar to rest against the grab ring.
2. Push the pipe rmly with a slight
twisting action until it reaches the tube
stop.
3. To ensure that the pipe is correctly
inserted, check that the depth mark is
within 0.005 in (0.13 mm) of the end of
the release collar
Connecting a
SharkBite Joint
SB_InstallationInstructions_2020.indd 2SB_InstallationInstructions_2020.indd 2 5/13/20 2:37 PM5/13/20 2:37 PM
Loading ...
Loading ...
Loading ...