Loading ...
Loading ...
Loading ...
13
SPEED CONTROL WHEEL
To run the sander at a medium speed, set the
speed control wheel (1) to #3 (Fig. 7). To run the
sander at its slowest speed, rotate the speed
control wheel to #1. To run the sander at higher
speeds, rotate the speed control wheel to a
higher number on the wheel. The sander will be
running at its maximum speed when the speed
control wheel is set at "MAX".
It is usually better to use the sander at its
maximum speed setting. Faster speeds will
remove material faster and produce a smoother
finish. However, when using the sander to
remove paint or varnish, using slower sander
speeds will lower the risk of the material being
removed heating up and plugging up the
sandpaper.
SANDING
Clamp or otherwise secure your workpiece to
prevent it from moving under the sander while
being sanded.
WARNING: An unsecured workpiece
could be thrown toward the operator causing
injury.
Place the sander on the workpiece so that the
complete sandpaper surface is in contact with
the workpiece to prevent the sander from over
speeding when turned ON. Turn the sander ON
by pressing on the side of the ON/OFF switch.
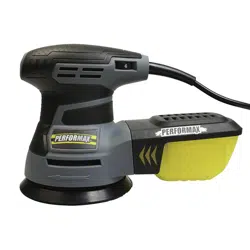
Move the sander slowly over workpiece making
successive passes in parallel lines, circles or
crosswise movements. Because the orbital
motion of the sanding pad moves in tiny circles,
it is not necessary to move the sander with the
grain or in the same direction for successive
passes (Fig. 8).
Upon completion of the sanding operation, turn
the sander OFF by pressing on the opposite
side of the ON/OFF switch. Wait until the
sanding pad comes to a complete stop before
removing it from the workpiece to allow the
automatic break to stop the tool quickly.
WARNING: Your sander should only be
turned ON when the entire surface of the
sanding pad is in contact with the workpiece.
Failure to follow this sanding procedure could
result in loose sandpaper which could result in
possible injury.
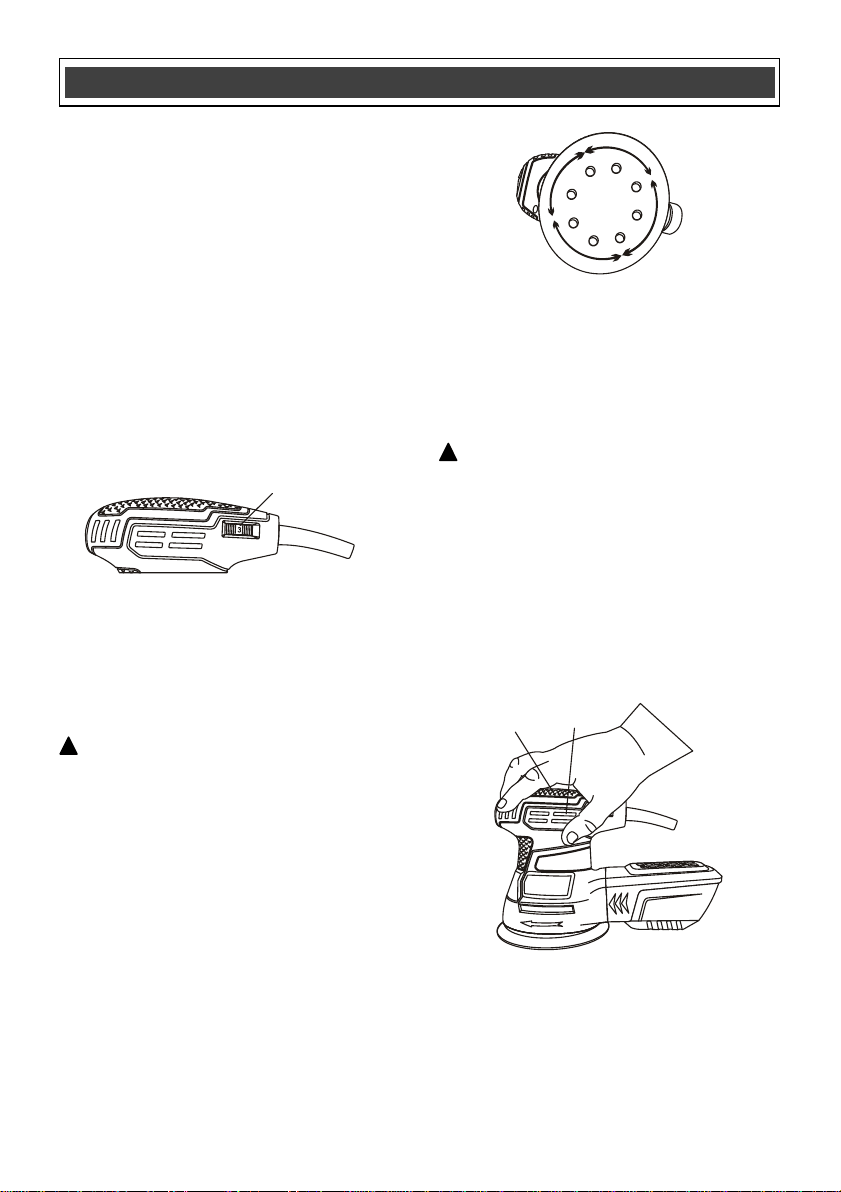
NOTE: Hold the sander with one hand on the
hand grip (1) on top of the sander (Fig. 9). Be
careful NOT to cover the cooling vents (2) with
your hand. Covering the cooling vents could
cause the motor to be damaged by overheating.
!
!
ASSEMBLY AND OPERATING
Fig. 8
Fig. 9
1
2
Fig. 7
1
Fig. 7
Loading ...
Loading ...
Loading ...