Loading ...
Loading ...
Loading ...
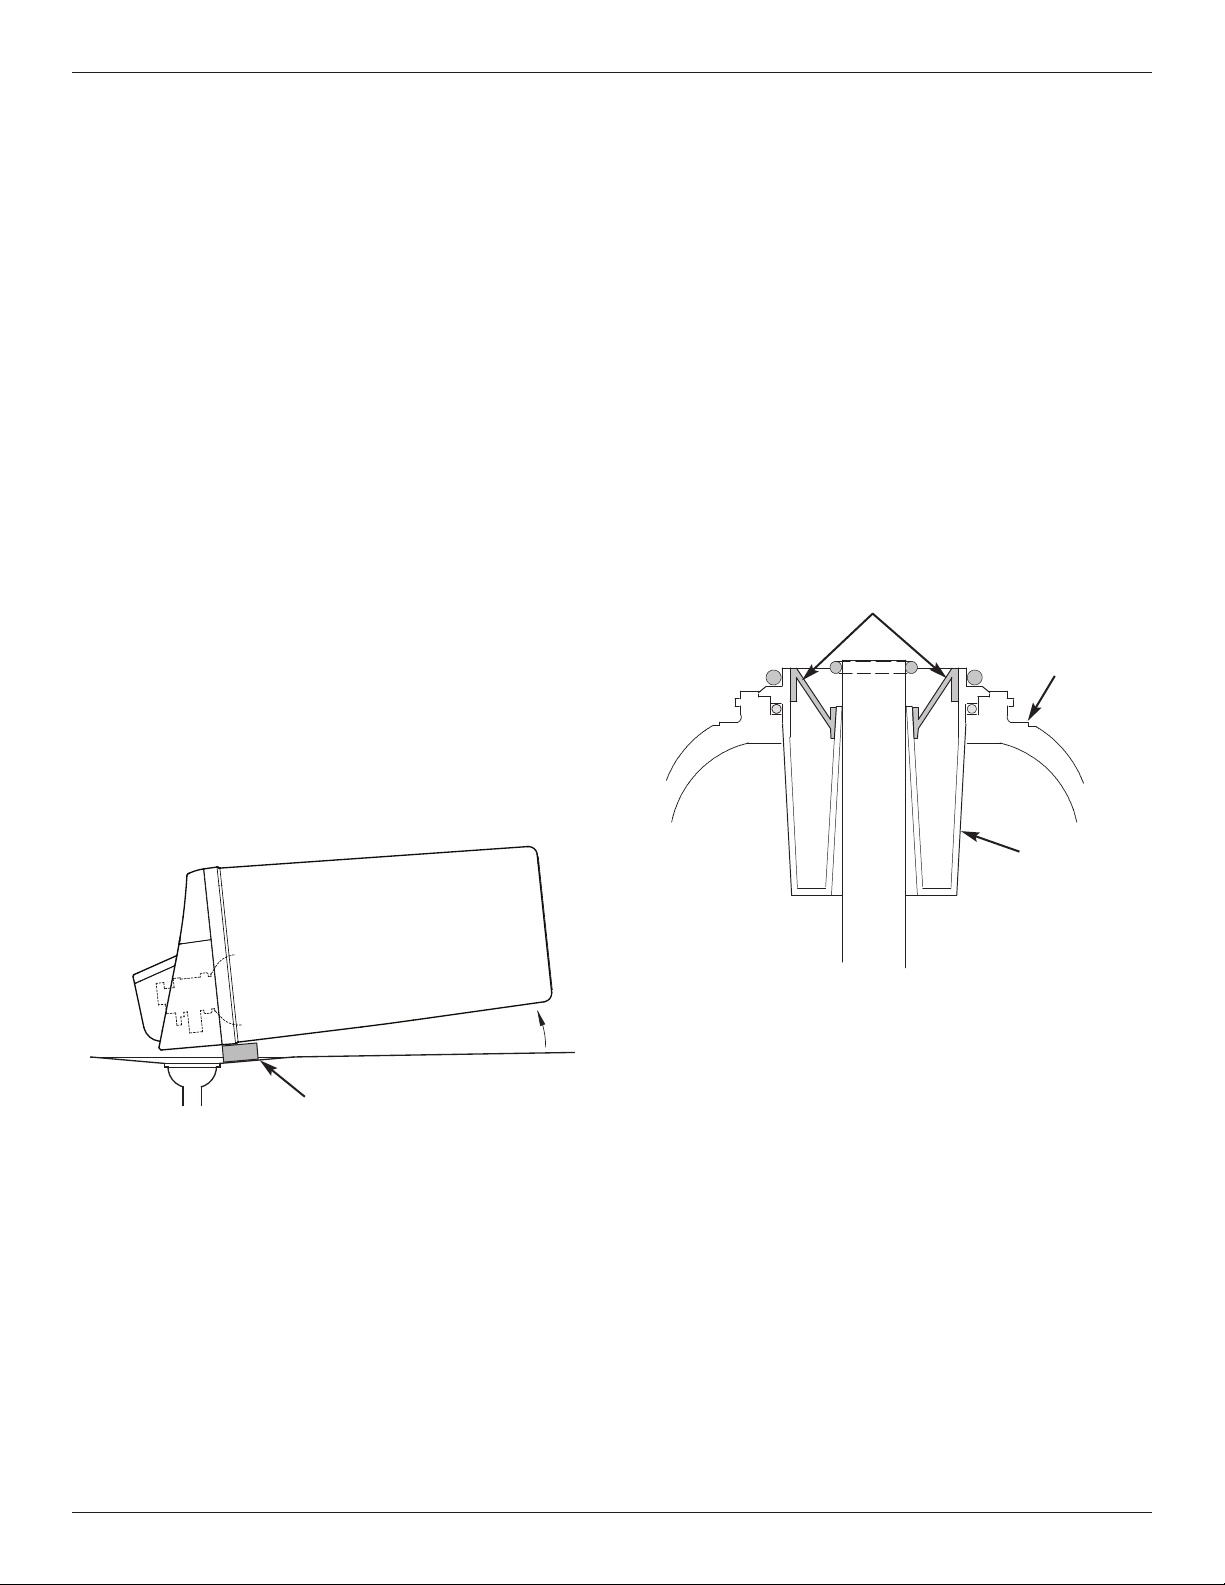
Top
Distributor
Cleansing Screen
Resin
Tank
FIG. 43
19
Routine Maintenance
PROTECT THE WATER SOFTENER FROM
FREEZING
If the softener is installed where it could freeze (sum-
mer cabin, lake home, etc.), you must drain all water
from it to stop possible freeze damage. To drain the
softener:
1. Close the shut-off valve on the house main water
pipe, near the water meter or pressure tank.
2. Open a faucet in the soft water pipes to vent pres-
sure in the softener.
3. Move the stem in the single bypass valve to
bypass. Close the inlet and outlet valve in a 3
valve bypass system, and open the bypass valve.
If you want water in the house pipes again, reopen
the shut-off valve on the main water pipe.
4. Unplug the power supply at the wall outlet. Open
the salt lid and remove the softener’s top cover.
Take off both drain hoses if they will interfere with
moving the softener into position over the drain.
5. Carefully remove the large holding clips at the sof-
tener inlet and outlet. Separate the softener from
the plastic installation adaptors, or from the bypass
valve.
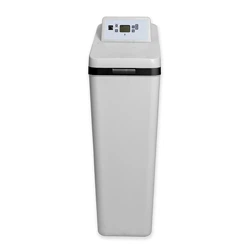
6. Lay a piece of 2 inch thick board near the floor
drain (See Figure 42).
Floor Drain
FIG. 42
Wood Block
7. Move the softener close to the drain. Slowly and
gently, tip it over until the rim rests on the wood
block with the inlet and outlet over the drain. Do
not allow the softener’s weight to rest on the inlet
and outlet fittings or they may break.
8. Tip the bottom of the softener up a few inches and
hold until all water has drained. Leave the softener
laying like this until you are ready to use it. Plug
the inlet and outlet with clean rags to keep dirt,
bugs, etc. out.
CLEANSING FEATURE
The cleansing feature keeps larger particles of sedi-
ment from entering the home’s plumbing system. As
water passes through the softener, the larger sedi-
ment particles are collected in the integrated basket
and then rinsed to the drain before each regenera-
tion. The cleansing feature provides added protection
for water using appliances by reducing the chance of
larger particles entering the various products valves
and screens. The “Clean Feature” may be turned ON
to provide an extra backwash that will help keep the
cleansing screen clean. The default is OFF.
IMPORTANT: The cleansing feature is not intended to
replace pretreatment filtration. For
problem water applications, additional
sediment filtration is recommended.
Loading ...
Loading ...
Loading ...