Battery Saver
Your universal remote control saves battery power by automatically turning off if
any key is pressed for more than 60 seconds. This saves your battery life should
your remote get stuck in a place where the keys remain depressed, such as
between sofa cushions.
Universal Remote Control
Owner’s Manual
Manual del Propietario (parte posterior)
Tip: This remote is already programmed to operate many Samsung-branded TVs
and DVD players, RCA-branded VCRs, Tivo-branded DVRs, DIRECTV-branded
satellite, and Sony-branded audio receivers. Just press the corresponding key—
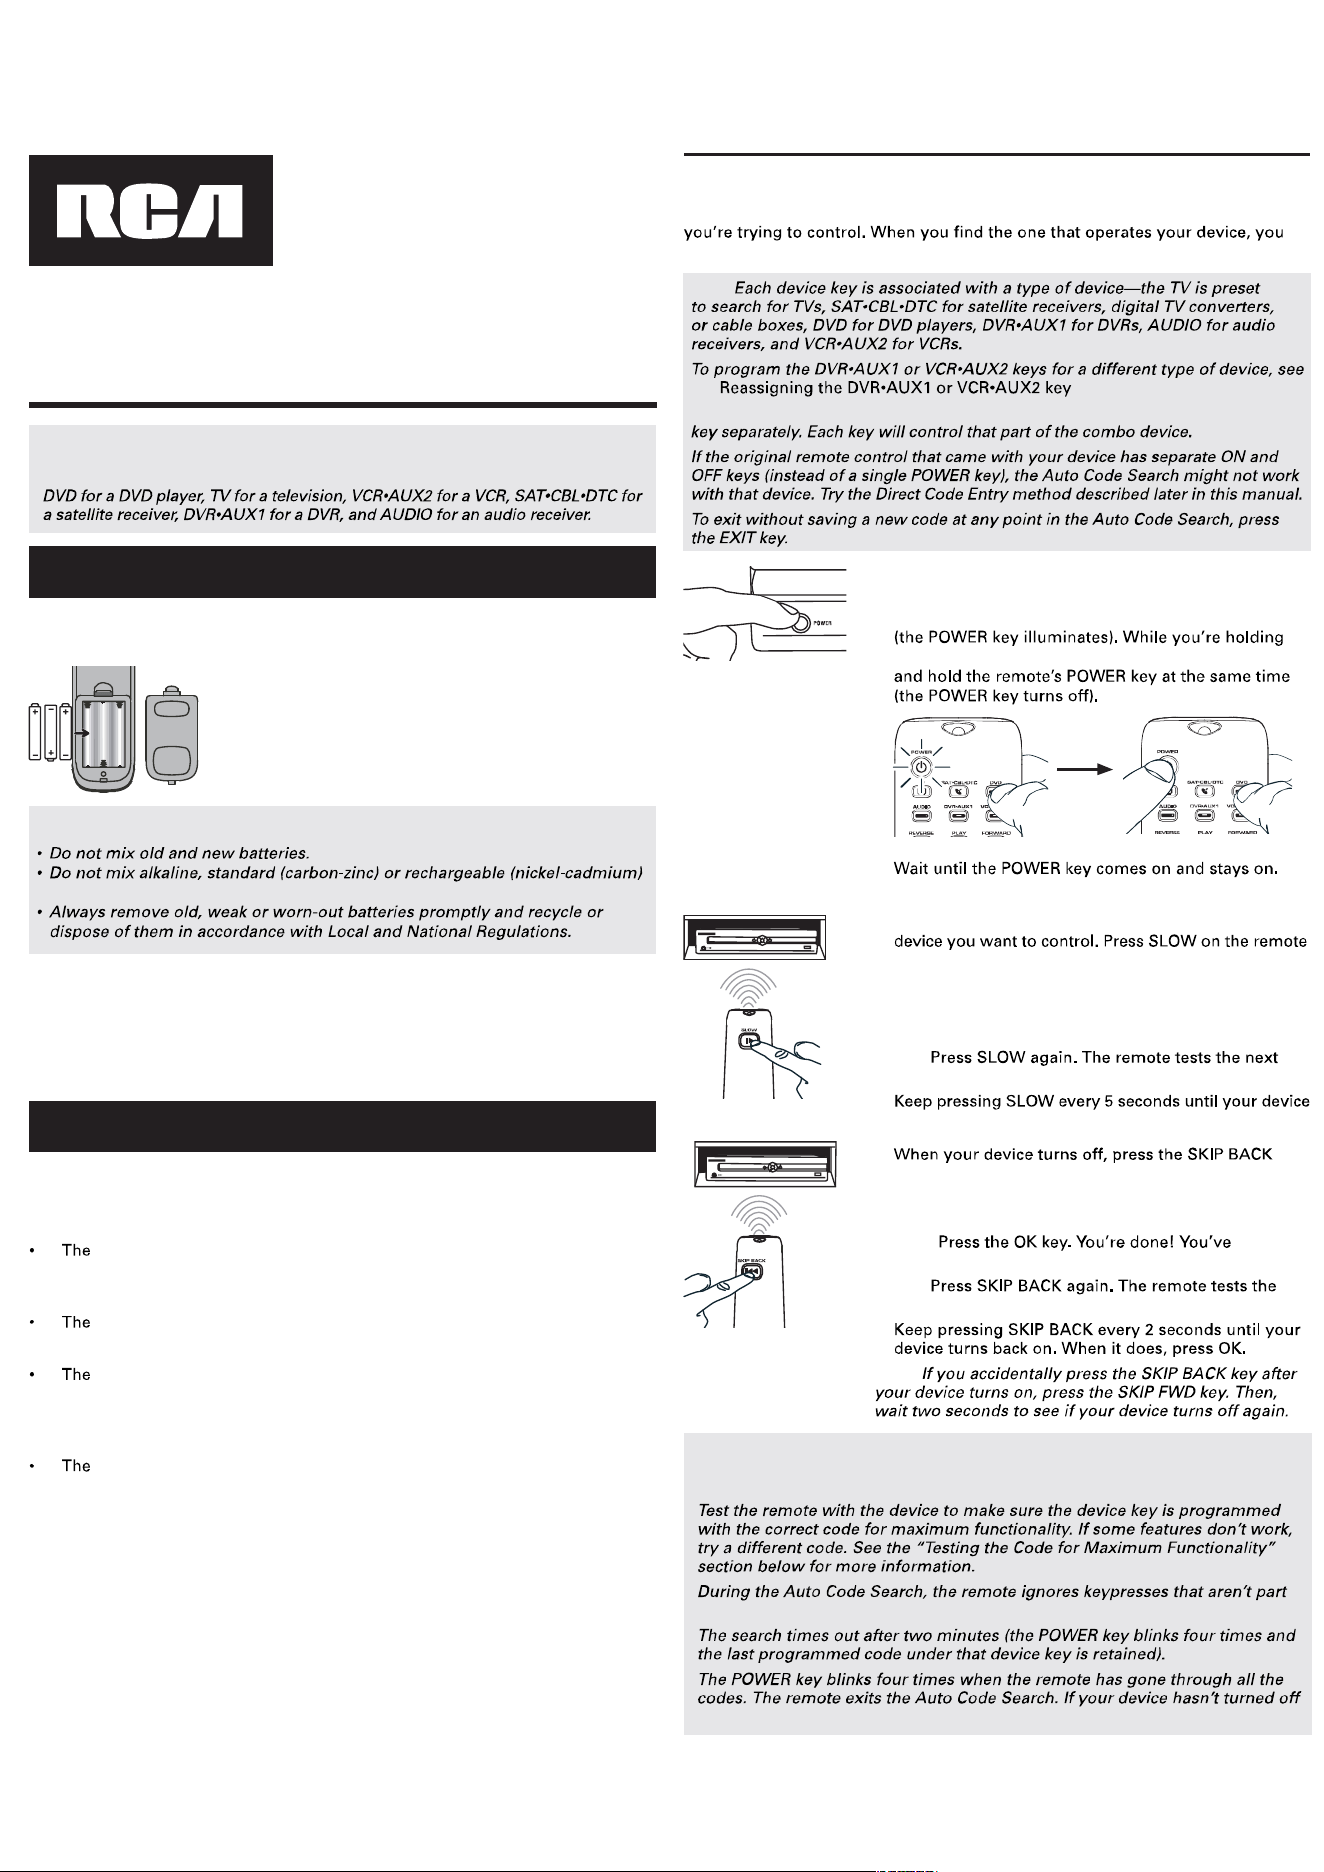
Your universal remote requires three AAA alkaline batteries (not included).
To install the batteries:
1.
Remove the battery compartment cover.
2.
Insert the batteries, matching the (+) and (–) marks
inside the battery compartment.
3.
Push the battery cover back into place.
Battery Precautions:
batteries.
To use this universal remote with your home entertainment system, first you need
to program it to control your devices. There are four ways you can program the
universal remote to operate your devices:
Auto Code Search goes automatically through all the codes for the
device you’re trying to control. It’s the easiest method, but it can sometimes
take longer than some of the other programming methods.
Brand Code Search searches through the codes for select brands of
devices. It’s not as easy as the auto code search, but it can be faster.
Direct Code Entry lets you enter a code from the accompanying code
list for your brand of device. It’s not as easy as the other methods, but it’s
potentially the fastest method. Note: Direct Code Entry is usually the best
method to use for audio devices.
Manual Code Search lets you manually go through all the codes for
the device you’re trying to control.
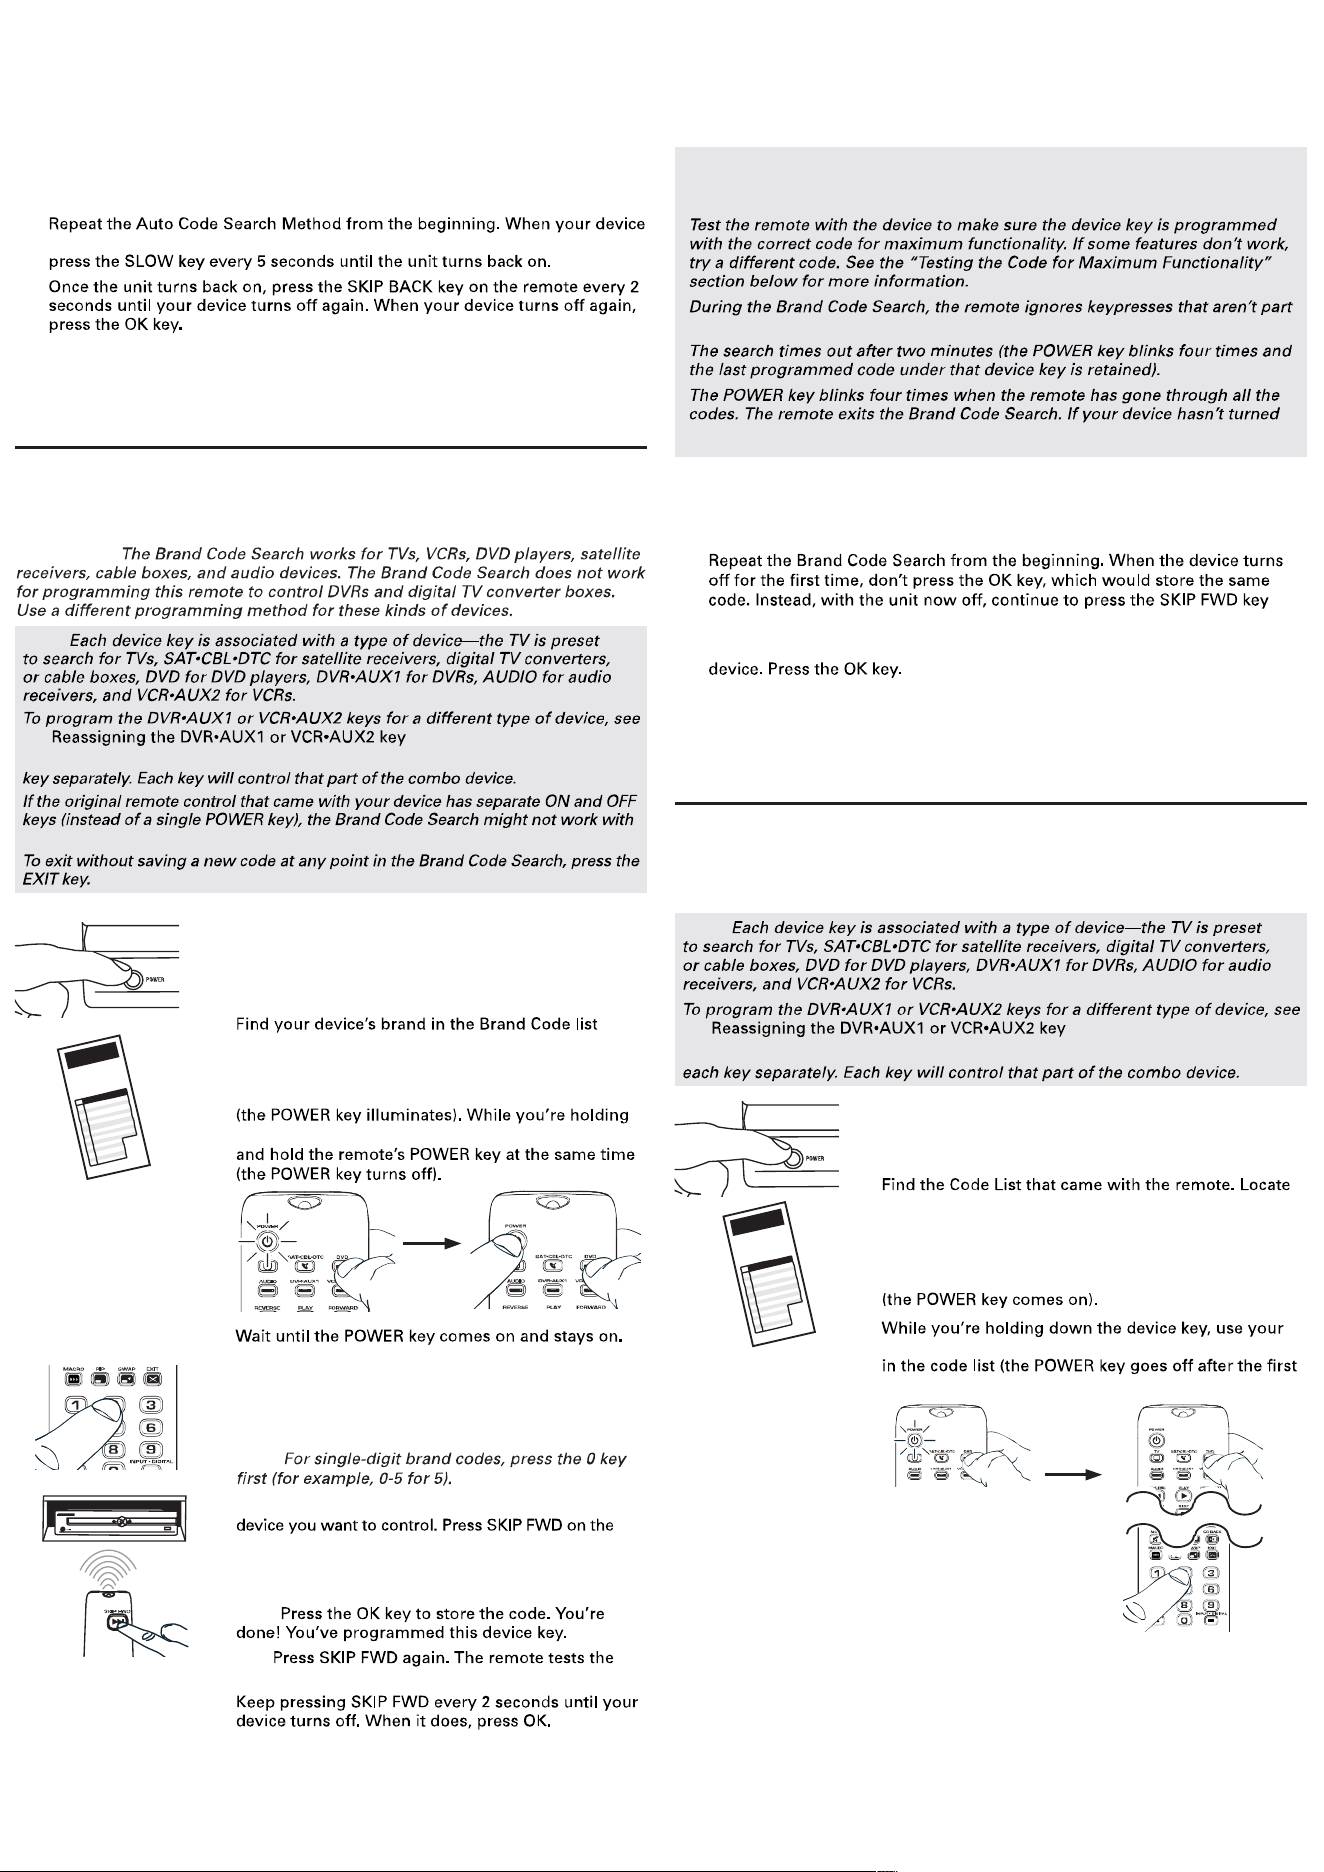
Auto Code Search
The Auto Code Search goes automatically through all the codes for the device
can stop the search and store that code.
TIPS:
the section.
To control combo devices, like TV/DVDs and TV/VCRs, you need to program each
1.
Manually turn on the device you want to control.
2.
Press and hold the device key you want to program
down the device key, use your other hand to press
3.
Then release both keys.
4.
Point the remote directly at the front panel of the
and wait 5 seconds. The remote is testing a batch of 10
codes on your device.
Did your device turn off?
YES: Go to step 5.
NO:
batch of 10 codes.
turns off.
5.
key on the remote and wait at least 2 seconds. The
remote tries the last of the previous ten codes.
Did your device turn on?
YES:
programmed this device key.
NO:
next code in the batch.
Note:
NOTES: Throughout the programming of each key, be sure to keep the remote
pointed at the IR sensor of the device you are currently programming the
remote to control.
of the search.
yet, try a different search method.
Step 1: Install your batteries
Step 2: Program your remote
RCRN06GR
Testing the Code for Maximum Functionality
1. Try a variety of the device’s functions with the remote. If some device
features don’t work, go to the next step to try a different code.
2.
turns off, do not stop searching. Instead, with the unit now off, continue to
3.
4. Test the key’s functionality again by attempting to control a variety of the
device’s functions. If the code that has been stored controls the majority of
the device’s functions, programming is complete. If the code stored does not
give maximum functionality, try another code.
Testing the Code for Maximum Functionality
1. Try a variety of the device’s functions with the remote. If some device
features don’t work, go to the next step to try a different code.
2.
repeatedly until the unit turns back on.
3. Once the unit turns back on, you have found another code that operates the
4. Test the key’s functionality again by attempting to control a variety of the
device’s functions. If the code that has been stored controls the majority of
the device’s functions, programming is complete. If the code stored does not
give maximum functionality, try another code.
Brand Code Search
The Brand Code Search goes through only the codes for one of the select brands
listed in the accompanying code list. If your brand of device is listed, this search
can be very quick and easy.
IMPORTANT:
TIPS:
the section.
To control combo devices, like TV/DVDs and TV/VCRs, you need to program each
that device. Try the Direct Code Entry method described later in this manual.
1.
Manually turn on the device you want to control.
3.
Press and hold the device key you want to program
down the device key, use your other hand to press
2.
section of the accompanying code list. Circle the
number for your brand and keep the list handy.
4.
Then release both keys.
5.
Look at the numbers you circled for your device’s
brand code. Press those numbers on the remote
keypad.
NOTES: Throughout the programming of each key, be sure to keep the remote
pointed at the IR sensor of the device you are currently programming the
remote to control.
of the search.
off yet, try a different search method.
Direct Code Entry
Direct Code Entry lets you enter a code from the accompanying code list for your
brand of device. It’s not as easy as the other methods, but it’s potentially the
fastest method.
TIPS:
the section.
To control combo devices, like TV/DVDs and TV/VCRs, you need to program
1.
Manually turn on the device you want to control.
3.
Press and hold the device key you want to program
other hand enter the first five-digit code for your brand
digit).
2.
the section for the type of device you’re trying to
program, and find your brand in that section. Circle
the codes for your brand and keep them handy.
Note:
6.
Point the remote directly at the front panel of the
remote and wait 2 seconds. The remote is testing a
single code for your device’s brand.
Did your device turn off?
YES:
NO:
next code for your brand.
C
o
d
e
L
i
s
t
s
/
L
s
t
e
d
e
s
c
o
d
e
s
/
L
i
t
a
d
e
C
ó
d
i
g
o
s
C
o
d
e
L
i
s
t
s
/
L
i
s
e
d
e
s
c
o
d
e
s
/
L
i
s
t
a
d
e
C
ó
d
i
g
o
s
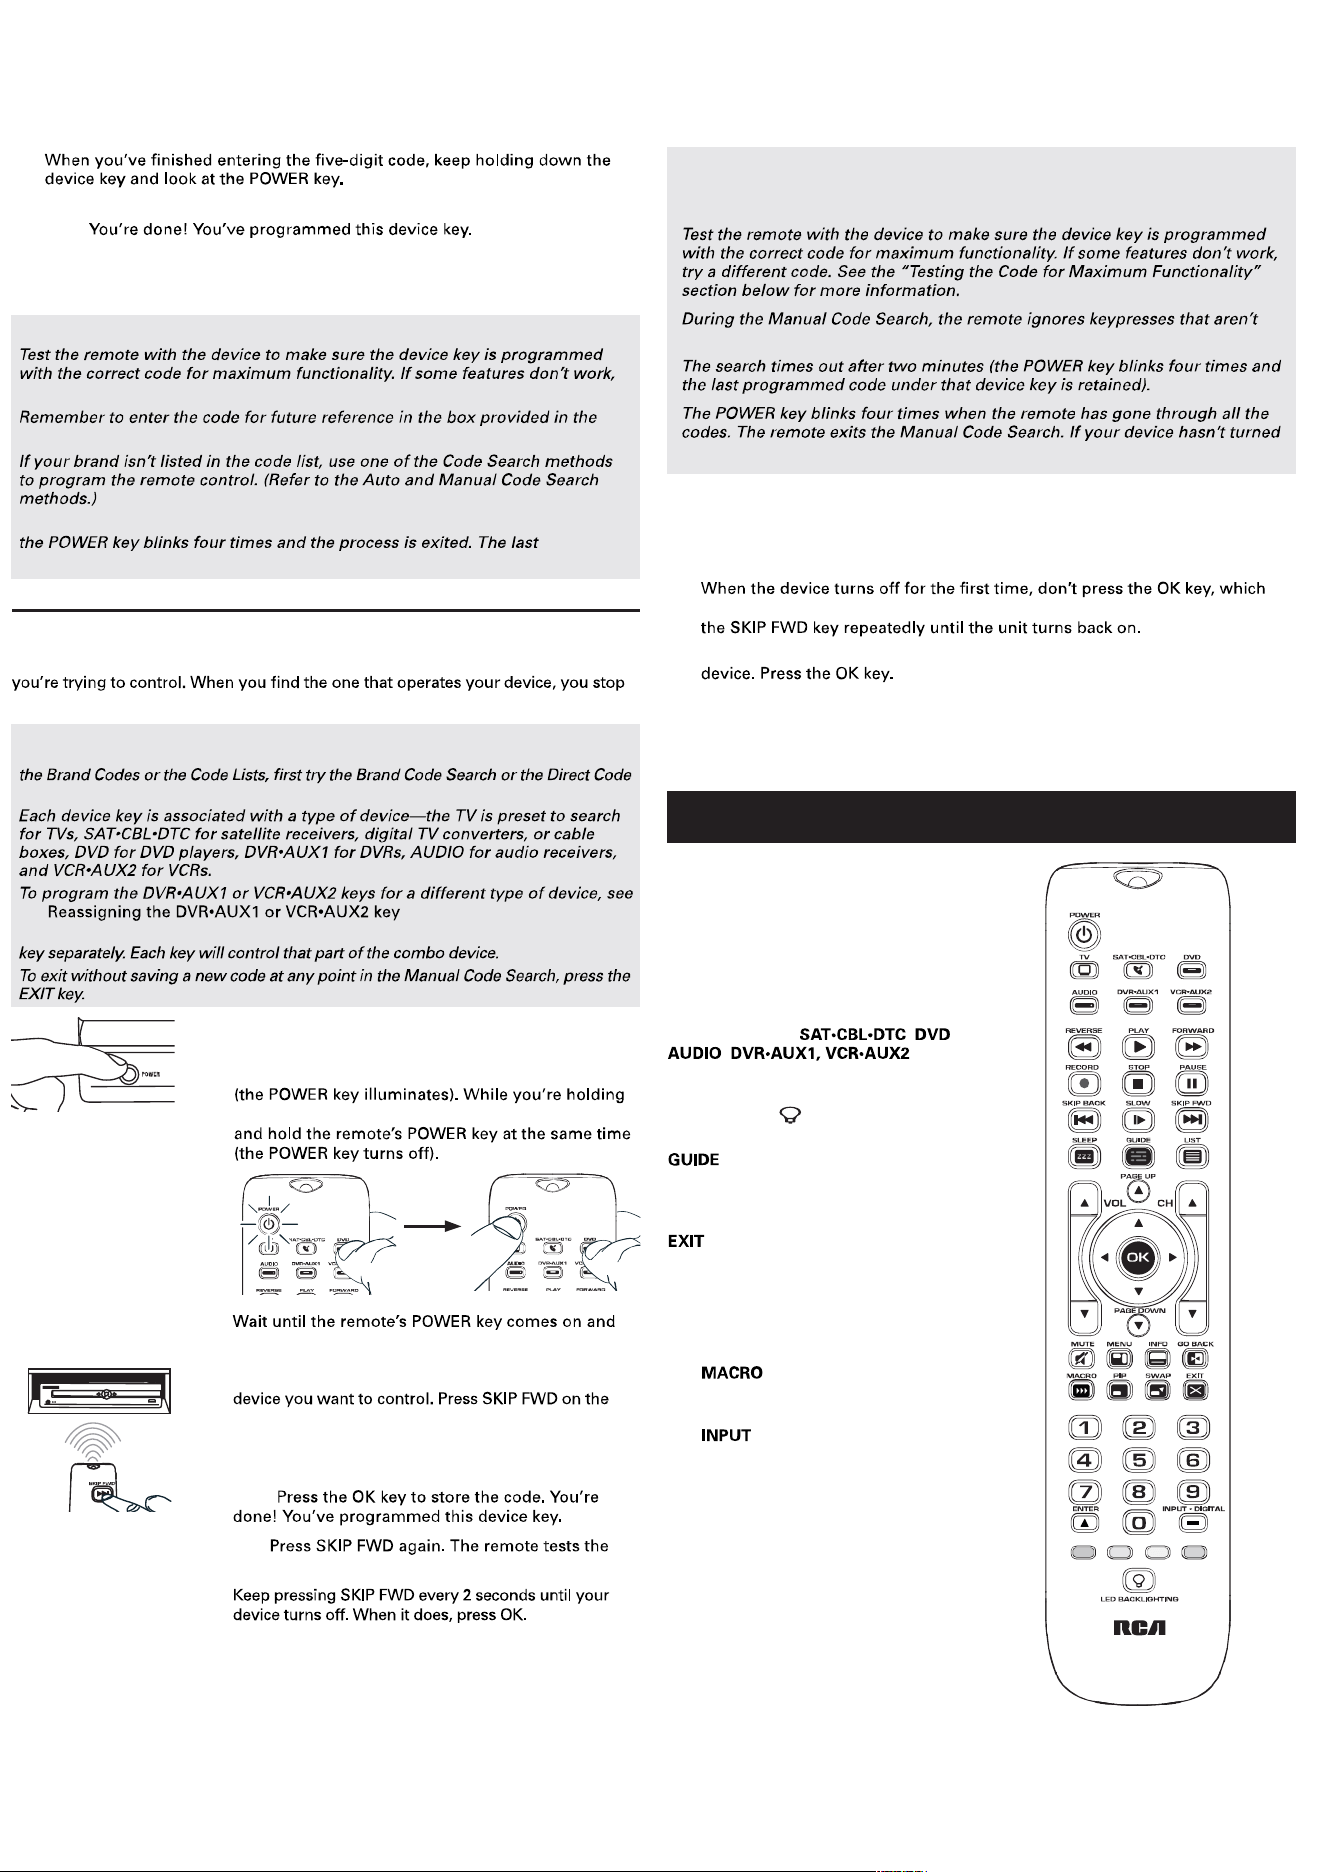
In most cases, the keys on this remote
perform the same functions as the keys
on your original remotes once you’ve
programmed this remote to operate your
components. Many keys on this remote
have other functions as well.
Illuminated POWER key serves as an
indicator light to provide feedback.
Device keys (TV, , ,
, ) put the
remote in the right mode to control your
device.
Backlight key ( ) turns backlighting on/
off.
and MENU put the remote in menu/
guide mode; they also access the same
features as the keys on your original
remotes.
exits remote programming; it also
performs the same functions as on your
original remotes.
Arrow keys act as navigation keys in
device guides and menu systems.
OK key selects your menu choices.
The key, along with the number
keys 1–8, let you store and execute multi-
step actions (macros) in a single keypress
The and — (dash) key has three
functions: (1) it toggles through all the
video or audio sources connected to your
TV or audio device; (2) when the remote is
in VCR mode, this button toggles between
VCR and the TV input; (3) when you’re
entering digital channel numbers directly,
this button lets you separate the main
channel number from the sub-channel
number (such as 59.1).
Actual model may vary from illustration
NOTES
try a different code in the list.
Code Retrieval section of this manual.
If you release the device key any time during the Direct Code Entry procedure,
programmed code under the device key is retained.
4.
Is the POWER key illuminated?
YES:
NO, it blinked four times and turned off: You have either entered a
code number that is not in the code lists or missed a step in the code entry
procedure. Try step 3 again.
Manual Code Search
The Manual Code Search takes you one-by-one through all the codes for the device
the search and store that code.
TIPS: The Manual Code Search method may take a long time because the remote
searches through all of the codes in its memory one-by-one. If your brand is listed in
Entry method.
the section.
To control combo devices, like TV/DVDs and TV/VCRs, you need to program each
1.
Manually turn on the device you want to control.
2.
Press and hold the device key you want to program
down the device key, use your other hand to press
3.
stays on. Then release both keys.
4.
Point the remote directly at the front panel of the
remote and wait 2 seconds. The remote is testing a
single code for your device.
Did your device turn off?
YES:
NO:
next code for your device.
TIP: Because there are so many codes, you may have
to press the SKIP FWD key many times—possibly
hundreds of times.
NOTES
Throughout the programming of each key, keep the remote pointed at the IR
sensor of the device you are programming the remote to control.
part of the search.
off yet, try a different search method.
Testing the Code for Maximum Functionality
1. Try a variety of the device’s functions with the remote. If some features of
your devices don’t work, go to the next step to try a different code.
2. Repeat the Manual Code Search and Entry Method from the beginning.
would store the same code. Instead, with the unit now off, continue to press
3. Once the unit turns back on, you have found another code that operates the
4. Test the key’s functionality again by trying a variety of functions. If the code
controls the majority of the device’s functions, programming is complete. If
the code stored does not give maximum functionality, try another code.
Tour of the Remote
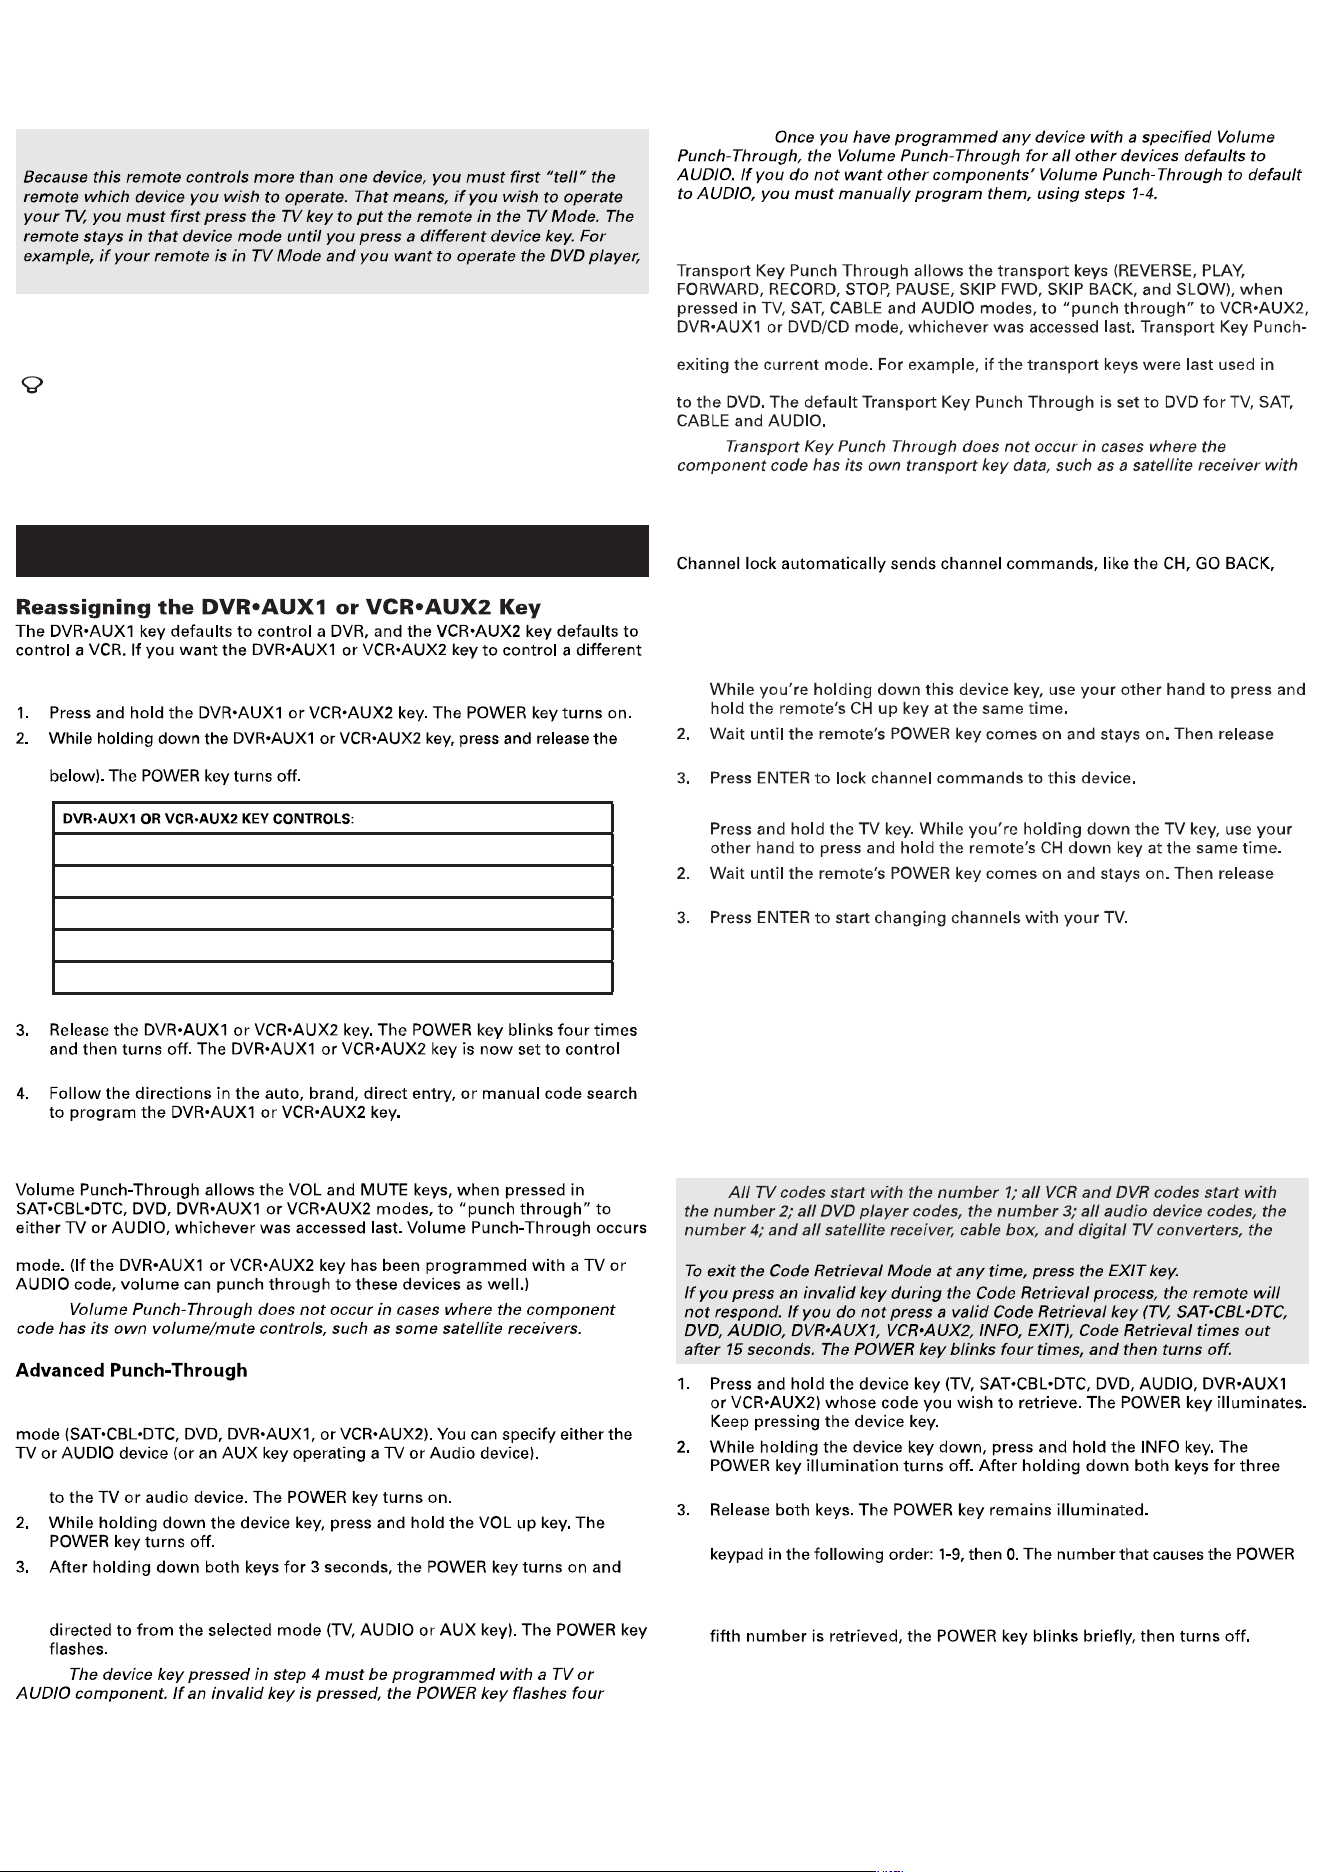
device (an additional TV, DVD, satellite or cable box, for example), you must
reassign it.
number key on the keypad for the device you wish to control (see the chart
Code Retrieval
Once you’ve programmed the remote to control your devices, you may want to
record the codes for future reference. If you used the Direct Code Entry method,
this is easy. Just find the codes you entered and make a note of them in the
boxes below. If you used one of the Code Search methods to program your
remote or if you used the Direct Entry method but don’t remember the code, you
will need to retrieve each device’s five-digit code. Retrieving the actual code and
writing it down will save you time if you ever need to program the remote again.
If the codes are recorded, you can use the Direct Entry method to reprogram
your remote to control your devices, which is quick and easy.
TIPS:
number 5.
seconds, it turns back on.
4. Starting with the number 1 key, press and release each number key on the
key to blink is the first number of the code. As you find each number of the
code, write it down for future reference. Then start with the number 1 key again.
5. Repeat step 4 until you have retrieved all five numbers in the code. After the
IMPORTANT
you must press the DVD key to change device modes.
Advanced Functions
Additional TV press 1
VCR or DVR press 2
Additional DVD press 3
Additional audio device press 4
Additional satellite receiver, cable box, or DTV converter press 5
the device type you selected.
Backlighting
Backlight illumination helps you see the remote control keys better in the dark.
You can turn backlight illumination on or off by pressing the backlight key
( ). Backlighting stays on as long as keys are being pressed and turns off four
seconds after the last keypress. Once the backlight time has timed out, any
keypress will reactivate it. If the backlight illumination is on, and you press the
backlight key, the backlight turns off.
Transport Key Punch-Through
Through occurs automatically and allows you to use the transport keys without
DVD mode and accessed again after pressing the TV key, they will punch through
Note:
a built-in DVR.
Volume punch-through as described above occurs automatically. Advanced punch-
through lets you specify one device for all volume commands for each non-audio
1. Press and hold the device key whose volume commands you want to send
stays on. Release both keys.
4. Press and release the device key you want the Volume Punch-Through to be
Note:
times, then turns off.
Volume Punch-Through
automatically and allows you to control the volume without exiting the current
Note:
Channel Lock
and 0–9 number keys, to your satellite receiver, cable box, or digital TV converter
when you’re in TV mode. This can save you keypresses if you use a device other
than your TV to change channels.
To turn channel lock on:
1. Press and hold the device key for the device you use to change channels.
both keys.
To turn channel lock off:
1.
both keys.
Important:
1
TV CODE
3
DVD CODE
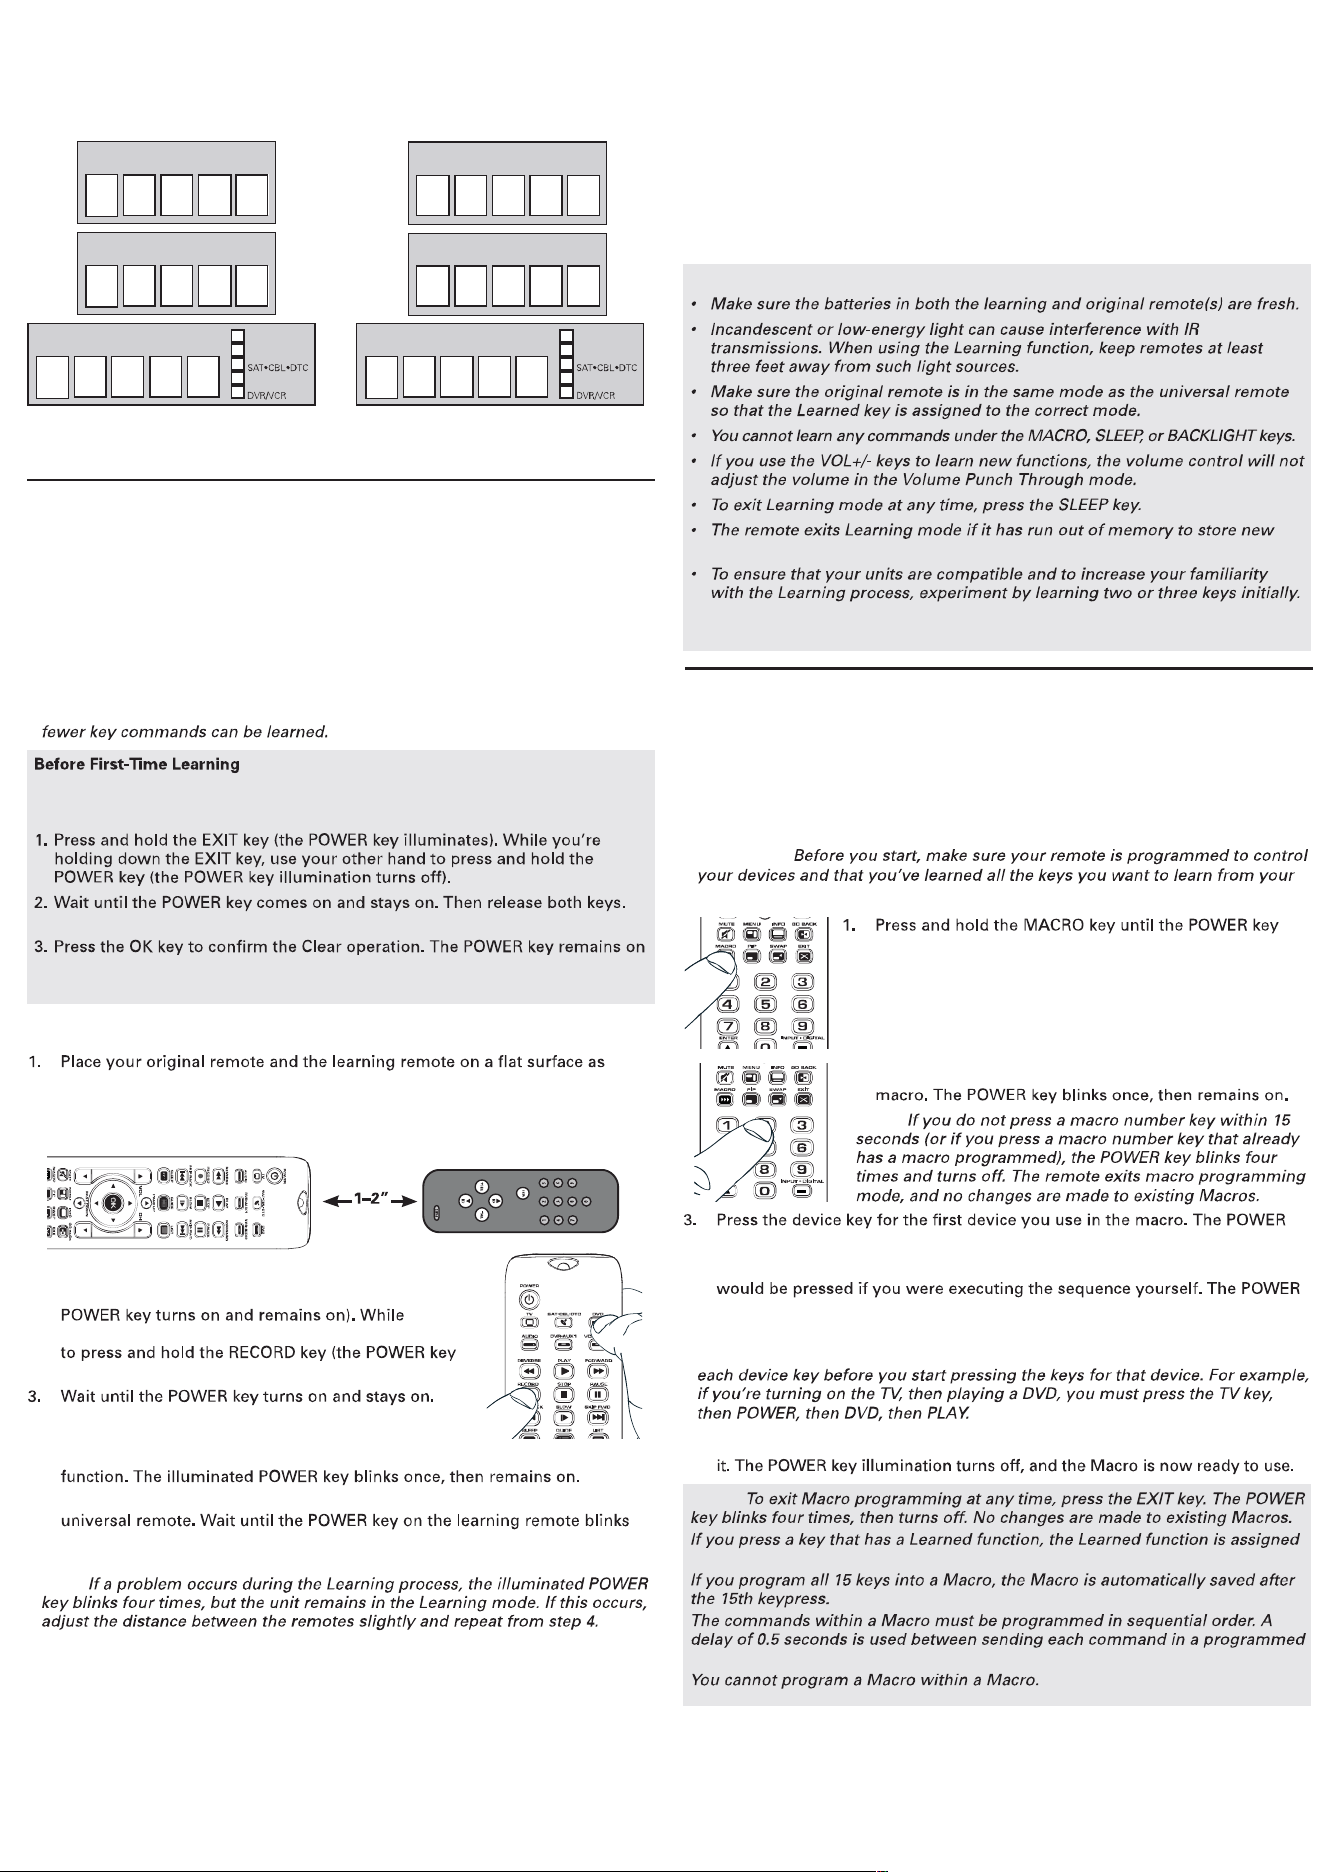
Before you start learning keys for the first time, clear any stored learning
information that might be in the remote. This lets you begin with a clean slate.
The remote is now in the Master Clear mode.
for 2 seconds, then turns off. All Learned functions for all components are
now cleared; all other programming remains intact.
Learning From Your Original Remotes
shown below. Point the top of your original remote at the top of the learning
remote. The IR LED on the original remote should be pointing directly at
the learning remote’s learning sensor, located on the top of the remote. The
remotes should be 1–2 inches apart.
Learning
Codes from the Code Lists include basic functionality for each component they
control. Once you have programmed in the code for your specific component,
you can customize the universal remote to include certain functions from your
original remote(s) that were not embedded in the preset code. Your universal
remote has the ability to learn and store commands from your original remote(s)
under the mode(s) of your choice. The universal remote can store up to 50 key
commands.* Only one original remote can be learned under any one mode (e.g.,
the universal remote can learn commands for one TV remote, one VCR remote,
etc.).
* Some learned signals require more memory than others. In these cases,
2. On the learning remote, press and hold the device
key you want to use the learned function in (the
holding down the device key, use your other hand
illumination turns off).
Then release both keys. The remote is now in
Learning mode.
Macros
The Macro feature lets you execute a sequence of commands with one keypress.
Any sequence of commands that you regularly perform (up to a maximum of 15
per macro) can be stored as a Macro under one of the 1–8 number keys (up to 8
macros).
Programming a Macro
Important:
original remotes.
6. To learn another key for this device mode: Repeat steps 4 and 5 for the
key you want to learn.
To learn keys in a different device mode: Repeat steps 2–5 for the next
device mode.
To save learned keys and exit learning: press the SLEEP key on the
learning remote.
Learning Tips
learned keys.
Then, carry out a Master Clear before learning all the desired functions from
your original remote.
4. On the learning remote, press the key you want to use for the learned
5. On the original remote, press and hold the key you want to teach to the
once, then release the key on the original remote. The learning remote has
finished learning this key.
Note:
turns on and remains on. The remote is now in Macro
Programming mode.
2. Press the number key (1–8) you want to use for this
Note:
key blinks once and remains on.
4. Press each key you want to use in this Macro, in the exact order the keys
key blinks each time a key is pressed. Continue this process for all keys to be
included in the Macro sequence under the given component mode.
Important: If you are using different devices in this macro, you must press
5. Once you are finished programming the Macro, press the MACRO key to save
Notes:
to the Macro sequence.
Macro sequence.
4
AUDIO CODE
5
SAT•CBL•DTC CODE
DVR•AUX1 CODE
DVD
TV
AUDIO
VCR•AUX2 CODE
DVD
TV
AUDIO
Care and Maintenance
and invalidate its warranty.
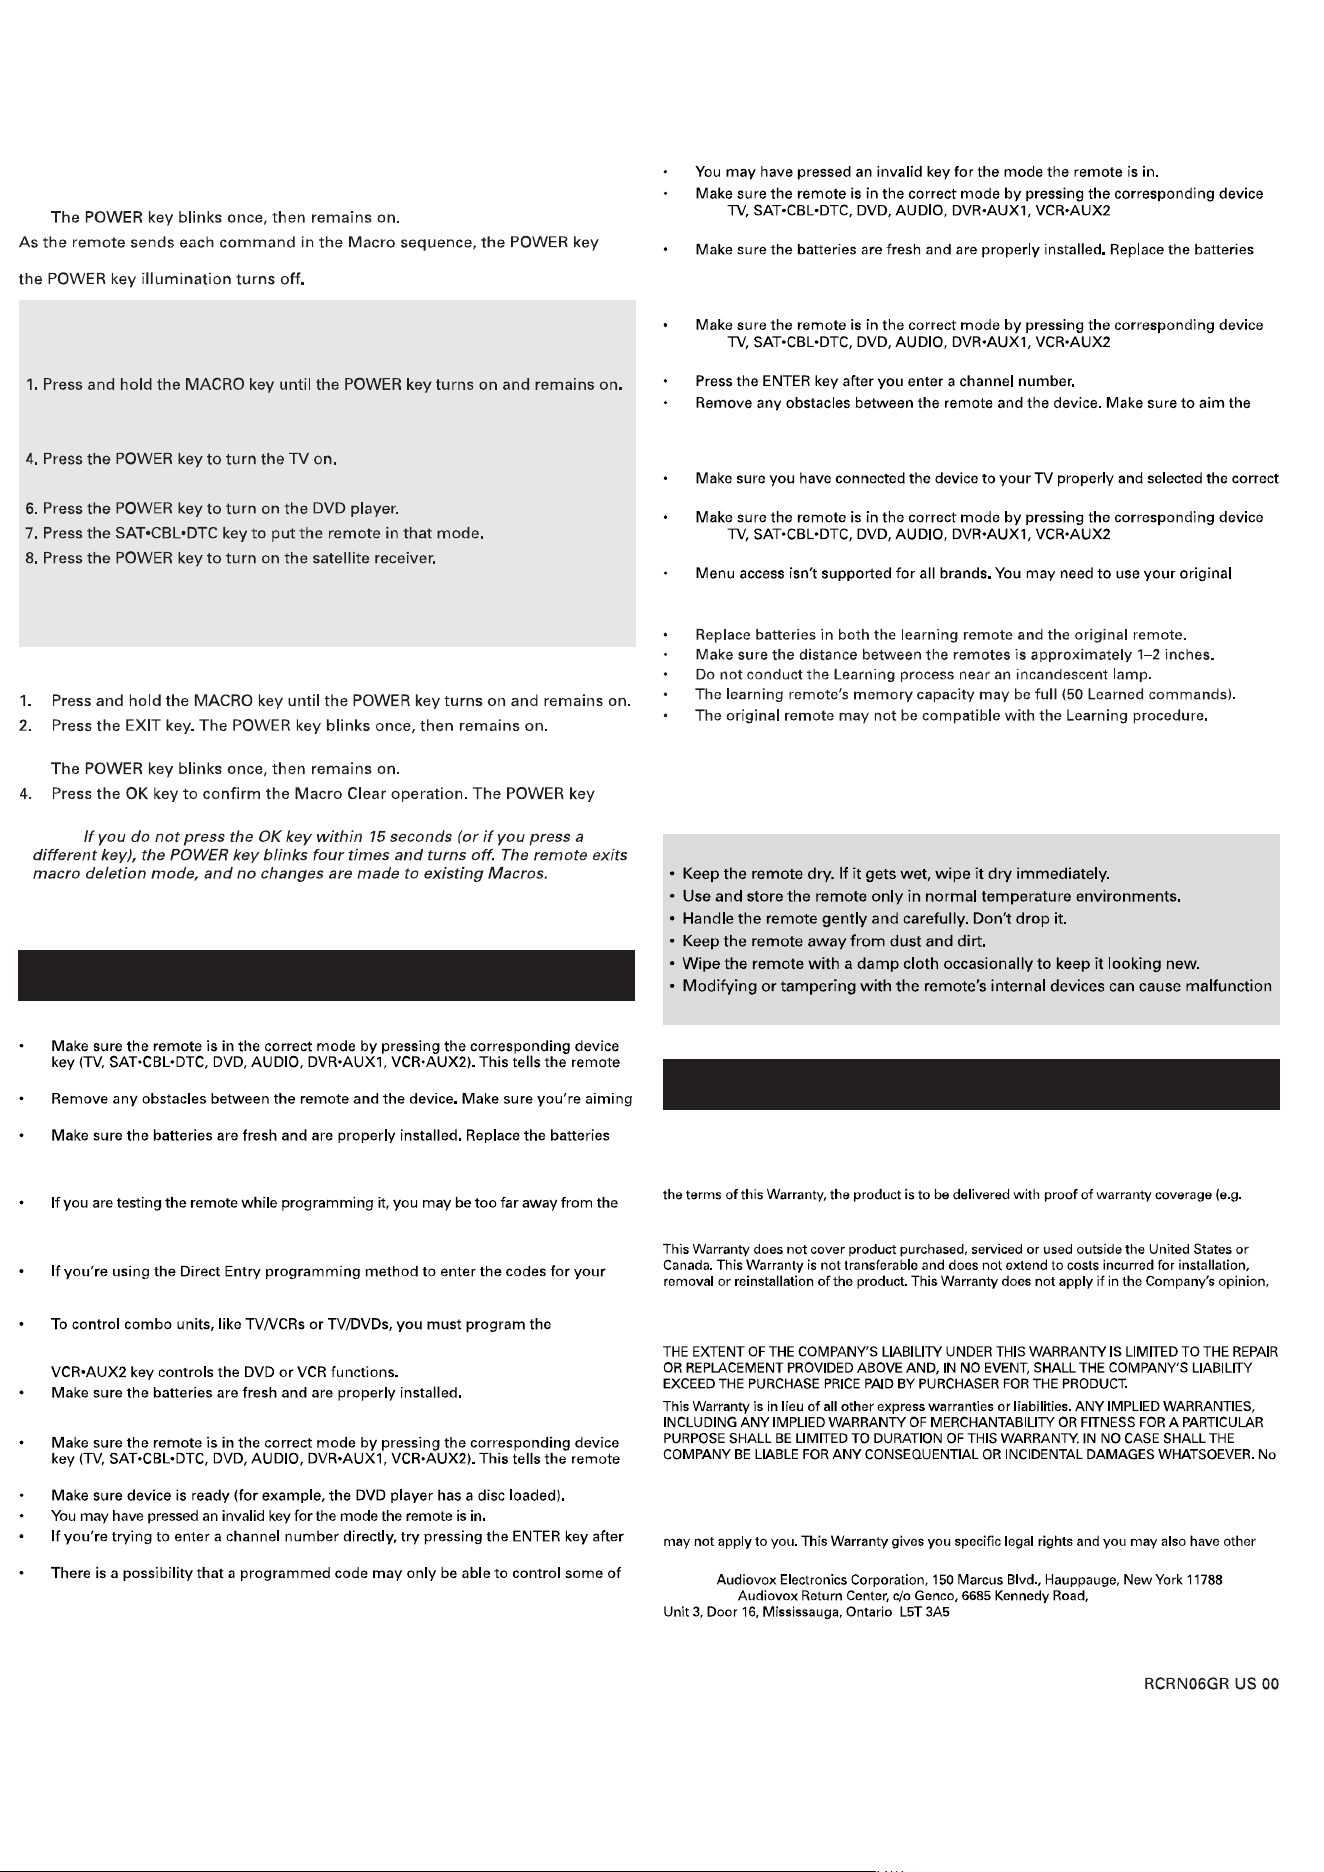
Problem: The remote does not operate your device.
which device to operate.
the remote at the device’s IR sensor.
with three new AAA batteries, if necessary (see the Battery Installation section).
Problem: The remote can’t be programmed to operate your device.
device or at a wrong angle. There must be an unobstructed path between the remote
and the IR sensor on the device. Move closer and make sure you point the remote at the
device you’re trying to control.
brand and the unit is still not functioning properly, try the auto, brand, or manual
search method.
individual corresponding device keys to control each part of the combo unit. Once
programmed successfully, the TV key controls the TV functions, and the DVD or
Problem: The remote doesn’t perform commands properly.
which device to operate.
entering the channel number as this is a requirement of certain models and brands.
your device features (for example, only turns a device on and off). To confirm that
the device key is programmed with the correct code for maximum functionality, test
the device. Attempt to control a variety of the device’s functions with the remote. If
some of the features of your devices don’t work, try programming the remote with a
different code in the list using the Direct Code Entry Method, until you find the code
that allows the remote to control the majority of your device’s functions. Different
codes can provide different levels of functionality.
Problem: The POWER key does not illuminate when you press a key.
key ( ). This tells the remote
which device to operate.
with three new AAA batteries, if necessary (see the Battery Installation section).
Problem: The remote will not change channels on device.
key ( ). This tells the remote
which device to operate.
remote at the IR sensor on the device.
Problem: The device’s menu does not appear on the TV screen.
input. (See your devices’ Owner’s Manuals for proper connection procedures.)
key ( ). This tells the remote
which device to operate.
remote control to access menu functions for some devices.
Problem: The Learning process cannot be completed successfully.
For more information, please visit www.rcaaccessories.com
Consumer Help Line: 1-800-420-7968
Audiovox Electronics Corporation (the “Company”) warrants to you the original retail purchaser
of this product that should it, under normal use and conditions, be proven defective in material or
workmanship during its lifetime while you own it, such defect(s) will be repaired or replaced (at the
Company’s option) without charge for parts and repair labor. To obtain repair or replacement within
dated bill of sale), specification of defect(s), transportation prepaid, to the Company at the address
shown below.
the product has been damaged through alteration, improper installation, mishandling, misuse,
neglect, accident, or the simultaneous use of different battery types (e.g. alkaline, standard or
rechargeable).
person or representative is authorized to assume for the Company any liability other than expressed
herein in connection with the sale of this product.
Some states/provinces do not allow limitations on how long an implied warranty lasts or the
exclusion or limitation of incidental or consequential damage so the above limitations or exclusions
rights, which vary from state/province to state/province.
U.S A.:
CANADA:
Trademark(s) ® Registered
©2010 Audiovox Accessories Corporation
Troubleshooting
Limited Lifetime Warranty
Using a Macro
1. Press the MACRO key.
2. Press the number key assigned to the Macro sequence you want to execute.
blinks once. After the remote sends the last command in the Macro sequence,
An Example Macro
This example shows an “all on” macro for a home theater with a TV, DVD
player, and satellite receiver.
2. Press the 1 key to tell the remote where to store the macro.
3. Press the TV key to put the remote in TV mode.
5. Press the DVD key to put the remote in DVD mode.
9. Press the MACRO key to save.
To execute the Macro, press the MACRO key. Press the 1 key. Your TV, DVD
player, and satellite receiver should all power on.
Deleting a Macro
3. Press the number key (1–8) where the macro you want to delete is stored.
stays on for 2 seconds, then turns off. The selected Macro is deleted.
Note:
5. Repeat steps 1-4 for any other existing Macros to be cleared.