Loading ...
Loading ...
Loading ...
8
mEASUrEmENT
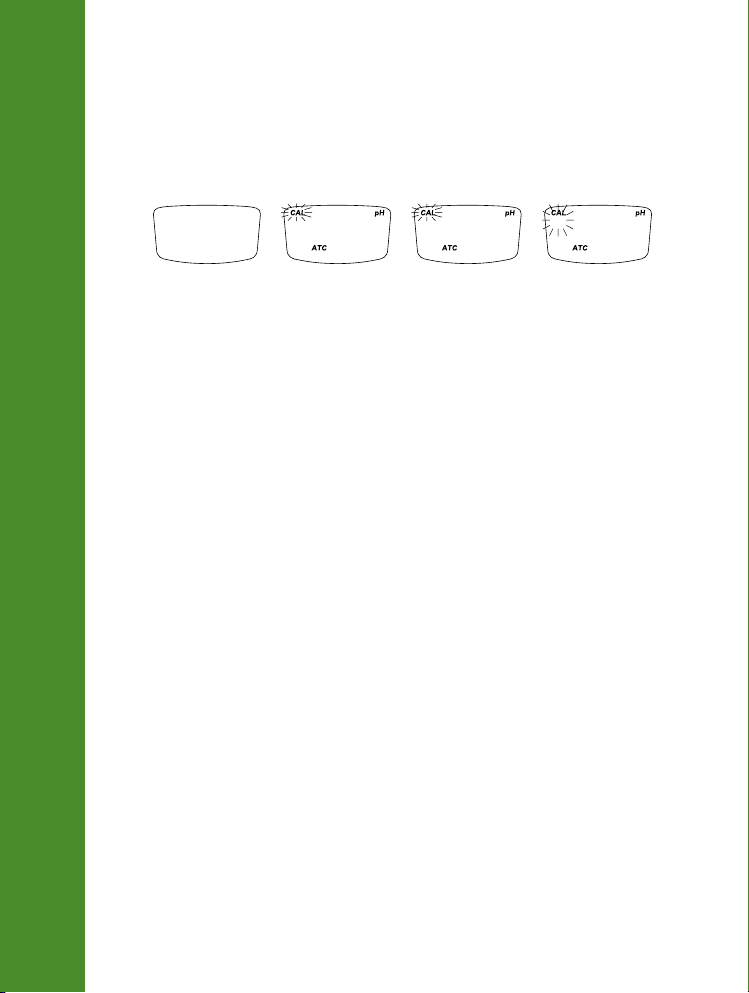
Stand-Alone Tester (Up to Three-Point Calibration)
1. Rinse the electrode tip with purified water and blot dry. Then rinse with the buffer being used for calibration.
2. Press and hold ON/OFF button until “
CAL
MODE
” is displayed.
3. When “
7.01USE
” or “
6.86USE
” is displayed (“CAL” tag blinking), place the electrode tip in the correct buffer.
4. When the buffer has been recognized, “
REC
“ is displayed.
“
WAIT
” is displayed with the stability indicator (
#
) blinking until the reading is stable. Wait until the measurement is
stored and the stability indicator disappears.
CAL
MODE
7.01
USE
7.01
REC
#
7..01
WAIT
5. To save a one-point calibration and return to measurement mode, press the ON/OFF button.
“
CAL
SAVE
” is displayed briefly.
With 2P option selected
6. Place the tip of the electrode in the second buffer rinse beaker, then in the second calibration buffer. Wait until the
measurement is stored and the stability indicator disappears.
7. After the second point has been stored, “
CAL
SAVE
” is displayed briefly and the tester will return to measurement
mode automatically.
With 3P option selected
6. Place the tip of the electrode in the second buffer rinse beaker, then in the second calibration buffer. Wait until the
measurement is stored and the stability indicator disappears.
7. Place the tip of the electrode in the third buffer rinse beaker, then in the third calibration buffer. Wait until the
measurement is stored and the stability indicator disappears.
8. After the third point has been stored, “
CAL
SAVE
” is displayed briefly and the tester will return to measurement
mode automatically.
With Hanna Lab App (Up to Four-Point Calibration)
Connect the tester to the Hanna Lab App and follow the calibration procedure.
See the App Help section for the calibration procedure.
10. MEASUREMENT
The pH tester allows direct testing in the soil without taking samples or creating a slurry.
1. Inspect the pH probe to ensure the bridge electrolyte gel has not dried out. Refill if necessary.
2. Calibrate the pH tester.
3. Using an auger (HI721319), make a 20 mm (0.78”) hole down into the soil.
The hole needs to be the same depth each time to avoid pH discrepancies.
4. Add some distilled or deionized water to the hole; the soil should be damp but not saturated.
5. Rinse the electrode with tap water and insert into the hole.
6. Allow for the reading to develop or stabilize.
7. After measurement, gently rinse off leftover soil (avoid using cloth or wipe).
Note: Direct soil pH testing is not recommended if the ground is stony or hardened as the electrode can be damaged.
If the soil is stony or hard, take a representative soil sample and add HI7051 Soil preparation solution.
Loading ...
Loading ...
Loading ...