Loading ...
Loading ...
Loading ...
7
BLUETOOTh
Bluetooth Pairing
Option: dEL PAIr
Press ON/OFF button to delete saved paired
device.
&
dEL
PAIR
Date & Time
Option: SEt TIME
Press ON/OFF button to set the date and time.
Option: YEAR, MO, DAY, HOUR, and MIN
2021
YEAR
3
MO
15
DAY
Use the Setup button to select the option and press the ON/OFF button to change the selected option.
7. BLUETOOTH
With “
PAIr
BLU
” or “
On
BLU
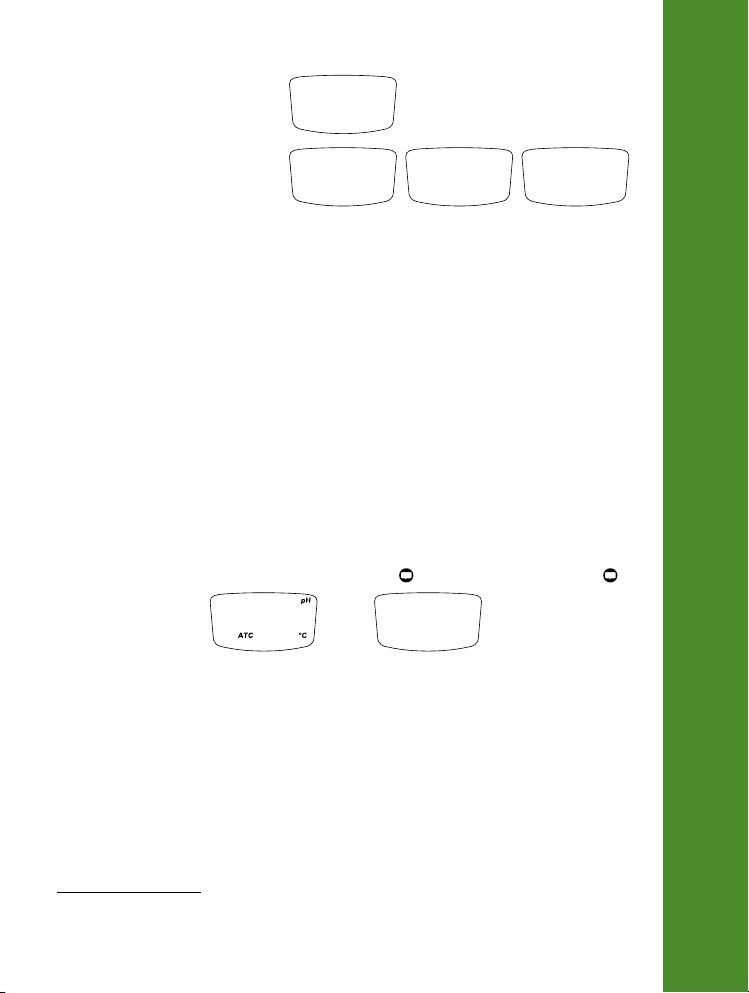
” selected in Setup, the Bluetooth icon (
&
) will blink for up to 45 seconds, indicating the
tester is in discoverable mode. Once connected, the icon will stop blinking. If not connected, the icon is not displayed.
• Select “
OnBLU
”, to enable Bluetooth without bonding.
• Select “
PAIrBLU
”, to enable Bluetooth with bonding. A 6-digit bonding pin is displayed the first time the tester and
smart device are paired. Once the devices are paired, the bonding pin is not required when reconnected.
• Select “
OFFBLU
”, to disable Bluetooth.
• Select “
dEL
PAIR
”, to delete all paired devices. If PAIr BLU is enabled, a bonding pin will need to be re-entered.
8. HANNA LAB APPLICATION
• The Hanna Lab App is available on the App Store
®
and on Google Play.
1
• Consult the Help section of the application for information on calibration, measurement, data logging, and sharing.
• When the tester is in discoverable mode, it will appear in the list of “Available Devices”.
• Within the application, tap “Connect” to pair the tester with the device. All readings are transmitted directly to the
application.
Tag a Measurement
Once connected to the application, the ON/OFF button can be pressed to tag the current reading.
• Press the ON/OFF button from measurement mode. The display shows “
SEt
TAG
”, followed by “
-
TAG
”.
• The reading on the application will flash green and the note icon (
) will be displayed. Tap the note icon ( ) to
add an annotation.
&
10.12
25.6
&
-
TAG
9. CALIBRATION
Preparation & Guidelines
1. Remove the probe from the plastic storage cap. Save the cap for probe storage.
2. Rinse off any storage solution or salts that may be on the body.
3. Verify there is solution inside the pH bulb by shaking the probe down to restore continuity as the solution may have
moved up the stem during shipping.
4. For best results, use a rinse beaker and a separate calibration beaker for each buffer. Discard rinsing buffers after use.
Procedure
For most applications it is recommended to start with pH 7.01 buffer (or pH 6.86).
To restore factory defaults, press and hold the ON/OFF button. “
CAL
CLR
” is displayed.
Note: It is recommended to calibrate the electrode with buffers at the temperature it will be used at.
App Store is a trademark of Apple, Inc.
Google Play and the Google Play logo are trademarks of Google LLC.
Loading ...
Loading ...
Loading ...