
Loading ...
Loading ...
Loading ...
-7-
Article number ...............3 601 K81 310
Maximum scanning depth*
– Operating Mode Concrete . .4.75-in (3.9-in typ.)
120 mm (100 mm typ.)
– Metal objects ........4.75-in (3.9-in typ.)
120 mm (100 mm typ.)
– Cables and water-filled . . 2.36-in (60 mm)
plastic pipes
– Operating Mode Universal ....2.36-in (60 mm)
– Operating Mode Drywall ......2.36-in (60 mm)
Measuring accuracy to the
object’s center* ............. ±0.39-in (± 10 mm)
Minimum distance between
two adjacent objects* ...........1.97-in (50 mm)
Operating temperature ..........14° F to 104° F
(–10° to +40° C)
Storage temperature ............-4° F to 158° F
(-20° C to +70° C)
Automatic switch-off after approx. ..........5 min
Batteries ........................ 4 x AA 1.5V
Max. humidity for the ...... 90% relative humidity
detection of objects. (non-condensing)
Max. humidity for the ...... 50% relative humidity
classification of power cables
Weight ......................... 1.1 lb (0.5kg)
* Depending on size and type of object as well as
material and condition of the base material
The measuring tool can be clearly identified with the
serial number 15 on the type plate.
In terms of accuracy and scanning depth, the
measurement result can be inferior in case of
unfavorable surface quality of the base material.
Technical Data
Preparation
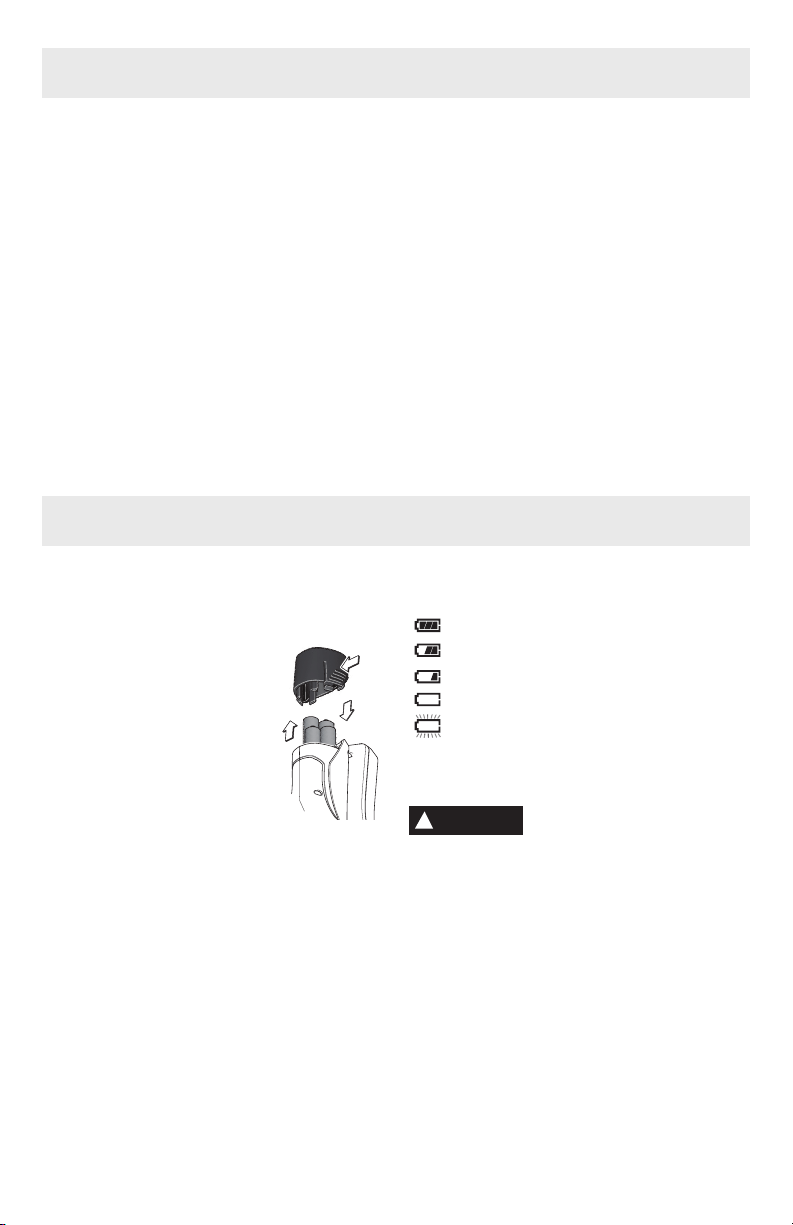
Inserting/Removing the Batteries
(see figure C)
The measuring tool operates with AA batteries.
Use only alkaline batteries.
Inserting AA Batteries
Invert measuring tool and place
batteries into slot 11 as per
the illustration. Next, slide the
sealing cap 13 over the batteries
until you feel it engage and it is
flush with the handle.
Removing AA Batteries
Invert measuring tool and press the unlocking
buttons 12 of the sealing cap 13. Pull off the
sealing cap. Make sure the batteries do not fall
out in the process. Remove the batteries.
Battery Indicator
The battery indicator b always displays the
current battery status:
Battery fully charged
Battery has 2/3 of its capacity or less
Battery has 1/3 of its capacity or less
Battery has 10% capacity or less
Change battery
Always replace all batteries at the same time.
Only use batteries from one brand and with the
identical capacity.
Remove the batteries from
the tool when not using
it for extended periods. When storing for
extended periods, the batteries can corrode
and discharge themselves.
!
WARNING
Loading ...
Loading ...
Loading ...