DIGITAL TIRE PRESSURE GAUGE MANUAL
WARNING
OPERATION INSTRUCTIONS
Thank you for purchasing the 150 PSI Tire
Pressure Gauge from AstroAI. For optimal
performance and safety, please read and
follow all of the instructions below before
operating the device. Please keep this
manual for future reference. We hope you
enjoy your new Tire Gauge! If you experience
the need for any kind of help or support from
our Customer Service team, you are welcome
to contact us with your question via
Do not use this product for applications
outside of its intended use
Read and follow all instructions before use
Check the device for any damage
Do not use this product if it is defective,
please contact us for help
Keep this product out of children’s reach
Do not expose this product to rain or water
Keep this product away from fire, corrosive
liquids, and magnetic substances
This device only works with Schrader valves,
will not work with Presta valves
This product is not suitable for low-
temperature environments
The maximum measurement range is
150psi, any higher pressure measurement
will cause damage to this gauge
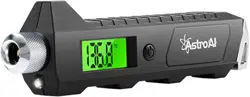
① Press the trigger to turn the
tire pressure gauge on. The
gauge will display “0.0” on the
LCD Screen
SPECIFICATIONS
Range
Display
Power
Operating
Temperature
0-150 PSI / 0-10 BAR
0-10 KG / CM2 / 0-1000 KPA
21 x 10mm LCD display
2×AAA Batteries
23~122°F / -5~50°C
② Place the nozzle straight
on the tire valve you wish to
measure. Press firmly to
ensure a good seal and
prevent air from leaking. Hold
the gauge on the valve until the
measurement display locks. It should only
take a second if you have a good seal
1 Year Warranty Limited Warranty from
AstroAI
Each AstroAI 150 PSI Tire Pressure Gauge
is free from defects in material and
workmanship. This warranty does not cover
damages caused by negligence, misuse,
contamination, alteration, accidents, or
abnormal conditions of operation. This
warranty only covers the original purchaser
and can not be transferred.
AstroAI always wants to provide our
customers with excellent products and
customer service. To know more about us,
please visit us at astroai.com.
Display
Abnormal
Readings
1. Check if this product is
placed in a low-temperature
environment. (Indoor storage
recommended)
2. Dropping of this product
will affect its functions
3. Only works on Schrader
valves, not Presta valves
Air Leaking
1. A small amount of air will
escape when initially placing
the gauge on the valve
2. Ensure there is a good
seal between the valve and
the nozzle
3. Adjust the angle between
the nozzle and the tire valve
make sure it is straight on
4. Contact us for maintenance
or replacement
Gauge
Will Not
Turn On
1. Check if the batteries are
dead, replace them
2. Check if the gauge is
damaged from dropping
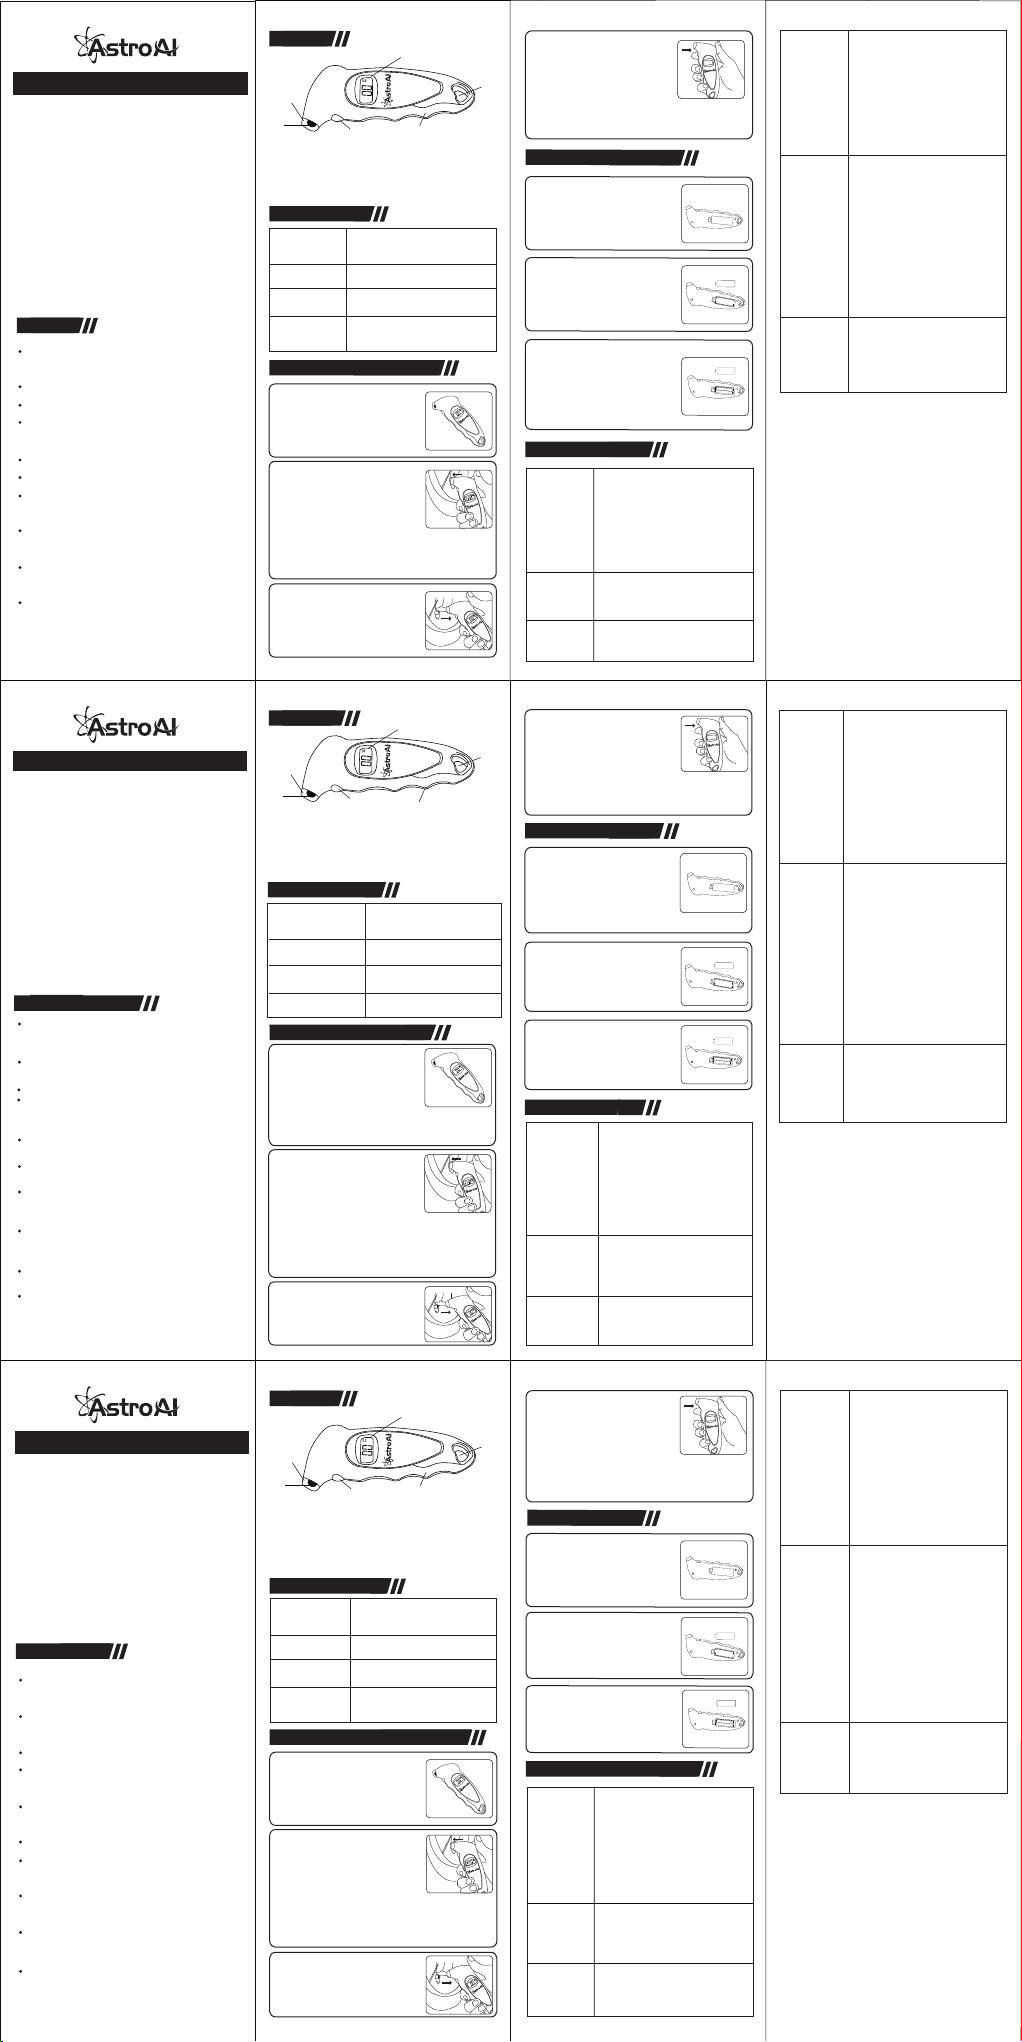
① LED Light ② Nozzle
③ Power/Unit Button Trigger ④ Handle
⑤ LCD Backlit Screen ⑥ Hang Hook
DIAGRAM
⑤
④
⑥
①
②
③
TROUBLESHOOTING
I
naccurate
Readings
1. Adjust the angle between
the nozzle and the tire valve;
make sure it is straight on
2. Check and ensure there is
a good seal
3. Contact us for maintenance
or replacement
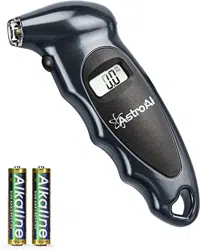
CHANGING THE BATTERY
③ Remove the gauge to
easily read the pressure
① Locate the battery
compartment on the back of
the tire pressure gauge and
remove back cove
② Locate the 2 x AAA
Batteries, remove it from its
place and replace it with new
batteries
③ Take special care to
place the battery with the
correct polarity. Replace the
back cover
④ Click the button to
switch units between PSI,
BAR, KPA and KG/CM².
Press and hold the button
for 3 seconds to turn this
gauge off. The gauge will also
automatically turn off shortly after use
Auto Power
On/Off
This gauge will automatically
shut off when not in use after
20 seconds
Flashing
Screen
Replace the batteries or
contact us for guidance
DIGITAL LUFTDRUCKPRÜFER HANDBUCH
WARNING WARNUNG
BEDIENUNGSANLEITUNGEN
Vielen Dank, dass Sie sich für das 150 PSI
Luftdruckprüfer von AstroAI entschieden
haben. Lesen und befolgen Sie alle
nachstehenden Anweisungen, bevor Sie das
Gerät in Betrieb nehmen, um optimale
Leistung und Sicherheit zu gewährleisten.
Bitte bewahren Sie dieses Handbuch zum
späteren Nachschlagen auf. Wir wünschen
Ihnen viel Spaß mit Ihrem neuen
Luftdruckprüfer! Wenn Sie Hilfe oder
Unterstützung von unserem Kundendienst
benötigen, können Sie uns gerne über
[email protected] kontaktieren.
Verwenden Sie dieses Produkt nicht für
Anwendungen außerhalb des
vorgesehenen Verwendungszwecks
Lesen und befolgen Sie alle Anweisungen
vor dem Gebrauch
Überprüfen Sie das Gerät auf Beschädigungen
Verwenden Sie dieses Produkt nicht, wenn
es defekt ist. Bitte wenden Sie sich an uns,
um Hilfe zu erhalten
Bewahren Sie dieses Produkt außerhalb
der Reichweite von Kindern auf
Setzen Sie dieses Produkt weder Regen
noch Wasser aus
Halten Sie dieses Produkt von Feuer,
ätzenden Flüssigkeiten und magnetischen
Substanzen fern
Dieses Gerät funktioniert nur mit
Schrader-Ventilen, nicht mit
Presta-Ventilen
Dieses Produkt ist nicht für Umgebungen
mit niedrigen Temperaturen geeignet
Der maximale Messbereich beträgt 150
psi. Jede Messung mit höherem Druck
führt zu einer Beschädigung dieses
Messgeräts
SPEZIFIKATIONEN
Bereich
Anzeige
Leistung
Betriebstemperatur
0-150 PSI / 0-10 BAR
0-10 KG / CM2 / 0-1000 KPA
21 x 10mm LCD Anzeige
2×AAA Batterien
23~122°F / -5~50°C
② Setzen Sie die Düse
gerade auf das Reifenventil,
das Sie messen möchten.
Fest andrücken, um eine gute
Abdichtung zu gewährleisten
und das Austreten von Luft
zu verhindern. Halten Sie das Messgerät am
Ventil, bis die Messanzeige einrastet. Es
sollte nur eine Sekunde dauern, wenn Sie
eine gute Dichtung haben
1 Jahr Garantie Eingeschränkte
Garantie von AstroAI
Jeder AstroAI 150 PSI Luftdruckprüfer ist frei
von Material- und Verarbeitungsfehlern. Diese
Garantie deckt keine Schäden ab, die durch
Fahrlässigkeit, Missbrauch, Verunreinigung,
Veränderung, Unfälle oder abnormale
Betriebsbedingungen verursacht wurden.
Diese Garantie gilt nur für den Erstkäufer und
kann nicht übertragen werden.
AstroAI möchte seinen Kunden stets
hervorragende Produkte und einen
hervorragenden Kundenservice bieten. Um
mehr über uns zu erfahren, besuchen Sie uns
bitte auf astroai.com.
Abnormale
Messwerte
Anzeigen
1. Überprüfen Sie, ob dieses
Produkt in einer Umgebung
mit niedrigen Temperaturen
aufgestellt ist. (Innenlagerung
empfohlen)
2. Das Fallenlassen dieses
Produkts beeinträchtigt seine
Funktionen
3. Funktioniert nur mit
Schrader-Ventilen, nicht mit
Presta-Ventilen
Luftleck
1. Beim erstmaligen Aufsetzen
des Messgeräts auf das Ventil
tritt eine geringe Menge Luft aus
2. Stellen Sie sicher, dass
zwischen dem Ventil und der
Düse eine gute Abdichtung
vorhanden ist
3. Stellen Sie den Winkel
zwischen der Düse und dem
Reifenventil ein. Stellen Sie
sicher, dass es gerade aus ist
4. Kontaktieren Sie uns für
Wartung oder Austausch
Messgerät
kann nicht
gestartet
werden
1. Prüfen Sie, ob die Batterien
leer sind, und ersetzen Sie sie
2. Prüfen Sie, ob das
Messgerät durch Fallenlassen
beschädigt ist
① LED-Licht ② Düse
③ Leistung/Einheit-Taste Auslösen ④ Griff
⑤ LCD Bildschirm mit Hintergrundbeleuchtung
⑥Haken
DIAGRAMM
⑤
④
⑥
①
②
③
FEHLERBEHEBUNG
Ungenaue
Messwerte
1. Stellen Sie den Winkel
zwischen der Düse und dem
Reifenventil ein. Stellen Sie
sicher, dass es gerade aus ist
2. Überprüfen Sie, ob eine
gute Dichtung vorhanden ist
3. Kontaktieren Sie uns für
Wartung oder Ersatz
BATTERIEWECHSEL
③ Entfernen Sie das
Messgerät, um den
Druckmesswert leicht zu
lesen
① Lokalisieren Sie das
Batteriefach auf der
Rückseite des Reifendruck-
Messgeräts und
entfernen Sie die hintere Abdeckung
② Locate the 2 x AAA
Batterien, remove it from its
place and replace it with new
batteries
④ Drucken Sie auf die Taste
, um zwischen PSI, BAR,
KPA und KG / CM² zu
wechseln. Halten Sie die
Taste 3 Sekunden lang
gedrückt, um das Messgerät auszuschalten.
Das Messgerät schaltet sich kurz nach
Gebrauch automatisch aus
①
Press the trigger to turn
the tire pressure gauge on.
The gauge will display “0.0”
on the LCD Screen.Drücken
Sie den Auslöser, um den
Luftdruckprüfer einzuschalten. Das
Messgerät zeigt
„0.0“ auf dem
LCD-Bildschirm an
③ Suchen Sie die 2 x
AAA-Batterien, nehmen Sie
sie heraus und ersetzen Sie
sie durch neue
Batterien
Automatisches
Ein- und
Ausschalten
Dieses Messgerät schaltet
sich automatisch aus, wenn
es nach 20 Sekunden nicht
verwendet wird
Blinkender
Bildschirm
Tauschen Sie die Batterien aus,
oder wenden Sie sich an uns,
um Anweisungen zu erhalten
MANUAL DE MEDIDOR DE PRESIÓN DE LLANTAS
ADVERTENCIA
INSTRUCCIONES DE OPERACIÓN
Muchas gracias por comprar el 150 PSI
medidor de presión de AstroAI. Para lograr
un funcionamiento óptimo con máxima
seguridad, lea y comprenda todas las
instrucciones a continuación, antes de
utilizarlo. Guarde este manual del usuario
para su futura referencia. ¡Esperamos que lo
disfrute! Si tiene dudas o necesita ayuda en
cualquier momento, le invitamos a
contactarnos con su pregunta a través de
[email protected]. ¡Gracias de nuevo!
No debe utilizarse para aplicaciones fuera de
su uso previsto
Antes de usar, lea atentamente y siga todas
las indicaciones
Compruebe que el aparato no esté dañado
No use este producto si está defectuoso,
contáctenos para obtener ayuda
Mantenga el producto fuera del alcance de
los niños
No exponga el producto a líquidos y lluvia
Mantenga este producto alejado del fuego,
líquidos corrosivos y sustancias magnéticas.
Este dispositivo solo funciona con válvulas
Schrader, no funciona con válvulas Presta
Este producto no es adecuado para
ambientes de baja temperatura
El rango de medición máximo es de 150 psi,
cualquier medición de presión más alta
causará daños a este medidor
① Presione el BOTÓN para
encender el medidor de
precisión de llantas. Se
mostrará "0.0" en la pantalla
LCD
ESPECIFICACIONES
Gama
Indicador
Energía
Temperatura de
Funcionamiento
0-150 PSI / 0-10 BAR
0-10 KG / CM2 / 0-1000 KPA
Pantalla LCD de 21 x 10mm
2 × pilas AAA
23 ~ 122 ° F / -5 ~ 50 ° C
② Coloque la boquilla recta
sobre la válvula del
neumático que hay que
medir. Presione firmemente
para asegurar un buen
sellado y evitar fugas de aire. Mantenga el
medidor en la válvula hasta que la pantalla
de medición se bloquee. Solo debería
tomar un segundo si tienes un buen sello
AstroAI Garantía Limitada de 1 Año de
AstroAI
Cada medidor de presión para llantas de
AstroAI estará libre de defectos en
materiales y mano de obra. Esta garantía no
cubre daños por negligencia, mal uso,
contaminación, alteración, accidente o
condiciones anormales de operación o
manejo. Esta garantía cubre únicamente al
comprador original y no es transferible.
AstroAI tiene muchas ganas de
proporcionarles el mejor producto y servico
a nuestros clientes. Nos informe más, por
favor ve la página web: astroai.com.
Mostrar
Lecturas
Anormales
1. Compruebe si este
producto se coloca en un
entorno de baja temperatura.
(Se recomienda
almacenamiento en
interiores)
2. La caída de este producto
afectará sus funciones.
3. Solo funciona en válvulas
Schrader, no en válvulas
Presta
Fuga de Aire
1. Se escapará una pequeña
cantidad de aire al colocar
inicialmente el medidor en la
válvula
2. Asegúrese de que haya
un buen sellado entre la
válvula y la boquilla
3. Ajuste el ángulo entre la
boquilla y la válvula del
neumático, asegúrese de
que esté recto
4. Contáctenos para
mantenimiento o reemplazo
El Indicador
no Se
Enciende
1. Compruebe si las baterías
están agotadas,
reemplácese
2. Compruebe si el medidor
está dañado por la caída
① Luz LED ② Boquilla
③ Botón de disparo para encendido/unidad
④ Manilla ⑤ Pantalla LCD retroiluminada
⑥ Gancho para colgar
DIAGRAMA
⑤
④
⑥
①
②
③
PROBLEMAS & SOLUCIONES
Lecturas
Inexactas
1. Ajuste el ángulo entre la
boquilla y la válvula del
neumático; asegúrese de
que sea directo
2. Verifique y asegúrese de
que haya un buen sello
3. Contáctenos para
mantenimiento o reemplazo
CAMBIAR LA PILA
③ Retire el medidor para
leer fácilmente la presión
① Ubique el compartimento
de la batería en la parte
posterior del medidor de
presión de las llantas y luego
retire la cubierta posterior
② Coloque las 2 pilas AAA,
retírese de su lugar y
reemplácelas con pilas
nuevas
③ Tenga especial cuidado
al colocar la batería con la
polaridad correcta. Vuelva a
colocar la tapa posterior
④ Precione el botón para
cambiar las unidades entre
PSI, BAR, KPA y KG/CM².
Mantenga presionado el
botón durante 3 segundos
para apagar este medidor. El medidor
también se apagará automáticamente
poco después de su uso
Encendido
/Apagado
Automático
Este medidor se apagará
automáticamente cuando no
esté en uso después de 20
segundos
Pantalla
Intermitente
Reemplace las baterías o
contáctenos para recibir
orientación