IN220901885V01_US_CA
824-041V81_824-041V80
EN_IMPORTANT, RETAIN FOR FUTURE REFERENCE: READ CAREFULLY.
FR_IMPORTANT:A LIRE ATTENTIVEMENT ET À CONSERVER POUR CONSULTATION
ULTÉRIEURE.
EN_IMPORTANT, RETAIN FOR FUTURE REFERENCE: READ CAREFULLY.
FR_IMPORTANT:A LIRE ATTENTIVEMENT ET À CONSERVER POUR CONSULTATION
ULTÉRIEURE.

EN
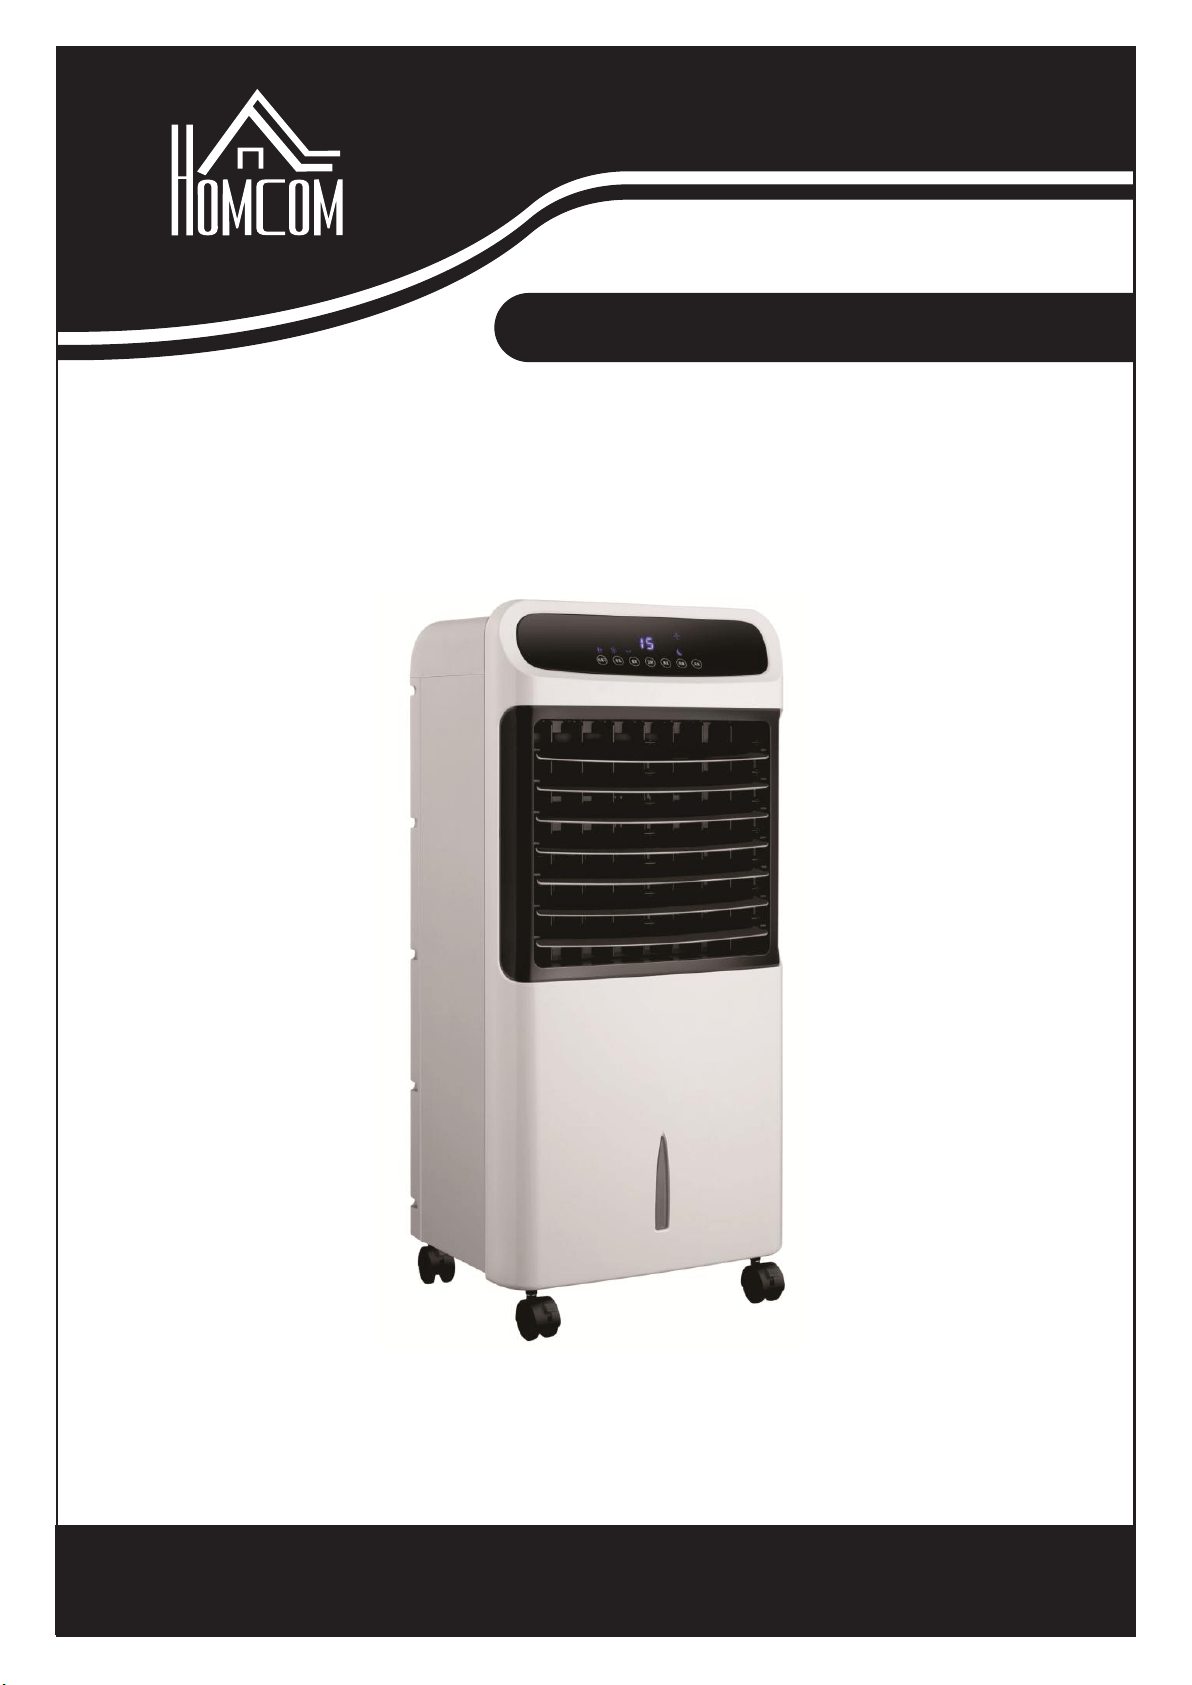
Technical Specifications
⚫ Rated Voltage : 120V~
⚫ Rated Frequency: 60Hz
⚫ General Power: 80W
⚫ Water Tank Capacity: 12L
Assembly of the Air Cooler
1.Remove the packaging carefully taking care not to damage the plastic body with the
scissors or knife
2.Installation of Wheels: place 4 wheels to the holes located at the base of the air
cooler. Insert the wheels tightly to the air cooler’s body.
3.Set the unit on a stable and horizontal base,keeping it away from radiating heat
sources and naked flame.
3. Filling Water: Turn the water tank lock to horizontal position, taking out the water
tank, put in the ice boxes and add clean tap water to the tank. Be sure that water level
in the tank does not exceed the level “MAX” which is located at the back of the tank.
3.Push the water tank to its housing and turn the tank lock to the vertical position.
Operating the Air Cooler
Insert plug to the electrical outlet. The LED indicator showing the room temperature
lights and the air cooler switches to the stand by position. The functions of the unit
can be controlled via board control panel or by remote control.
1.ON/OFF: Press the “ON/OFF” button on the control panel or press the ON/OFF
button on the remote control to turn the unit on. The unit will start at low speed and
normal wind. To switch back to the standby position, simply press the ON/OFF
button on control panel or press the ON/OFF button on the remote control.
2. Speed: Wind speed can be adjusted to 3 levels as low---mid—high by pressing the
‘Speed’ button. Each time the ‘Speed’ button is pressed, an icon will appear on the
LED screen indicating the current speed level.
3. Wind: Press the ‘Wind’ button to choose the wind type. Each time this button is
pressed, an indicator will light on the screen to indicate the type of wind. There are 3
types of winds to choose: Normal—Natural—Sleep
4. Timer: Press ‘Timer’ button to set the fan running time between 0-12 hours, which
switches the unit to standby after preset time. Each time the button is pressed, the
hours will increase one by one and the time indicator will light on the screen.
To cancel the timer, simply press the button until the indicator shows”00”
5. Swing: Press 'Swing' button to change the wind direction. The swing icon will
appear on the screen when the function is activated. Press the button again to stop the
oscillation. The vertical direction of air flow can be adjusted manually by directing

the outlet louvers up and down.
6. Cool: To activate the air cooler function, please press the 'Cool' button. Water pump
will take the water from the tank and pour it onto the cooling pad. Cooling pad
absorbs the heat of the water and the evaporated air is blown out by the help of fan.
The cool breeze blown by the cooler drops the temperature and creates a relaxing
cooling effect.
Caution: If the water level is low or there is no water in the tank, do not activate the
‘Cool’ function. Check the water level and add water if needed. Replace the stale
water with fresh water. It is recommended to replace water in the tank at least once in
a week.
7.Remote control: It is with CR2025 button cell. Before use, please pull out the card
which is inserted at the button of the remote control.
Operating the Water Tank
Check the level of water in the tank frequently. Be sure that water level is not below
the ‘MIN’ marking which is located on the water tank. Activating the ‘Cool’ function
with insufficient amount of water may cause malfunction of the water pump and the
warranty of your product will be void.
Before refilling water, turn your unit to ‘Off’ position by pressing the switch located
on the back panel and unplug the power cord.
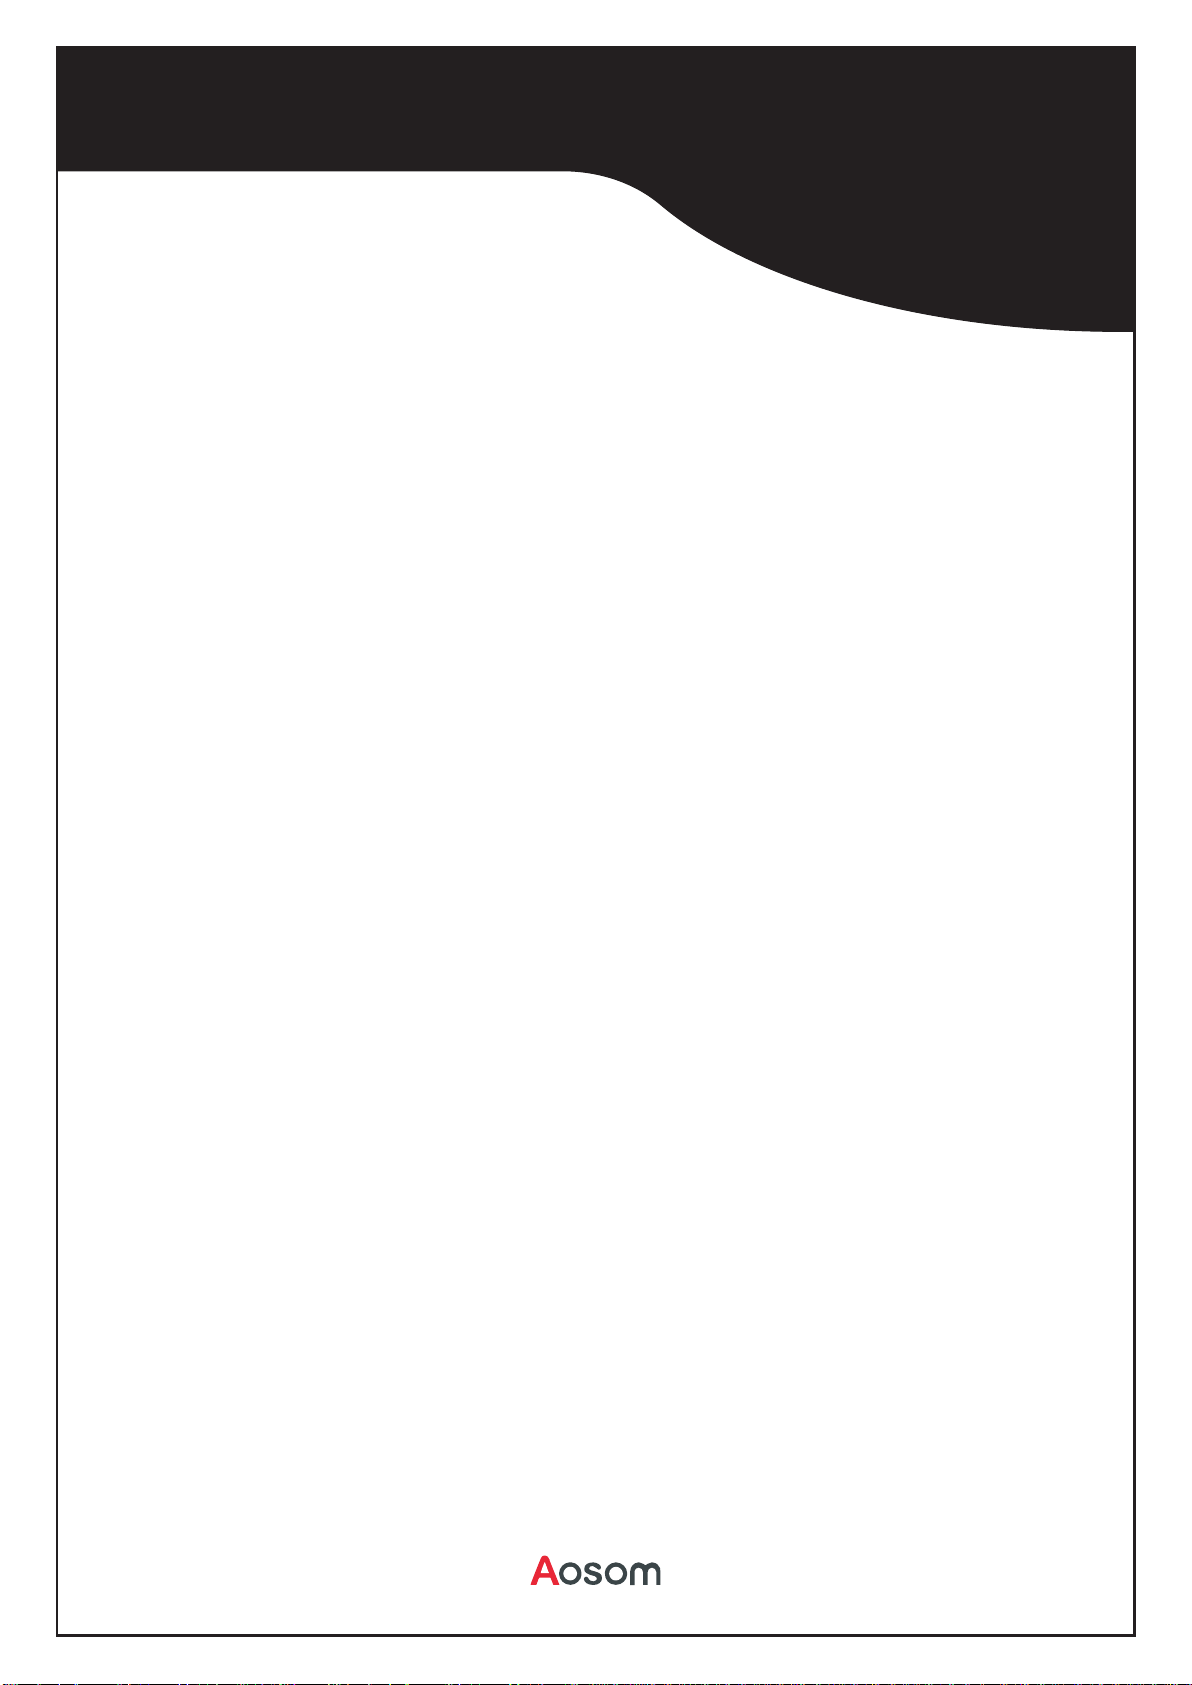
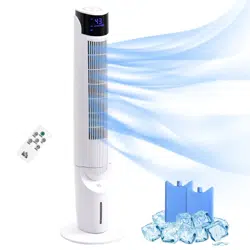
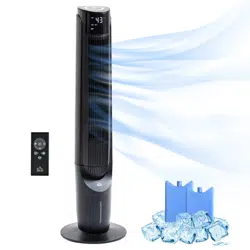
Using the Ice Boxes
In order to increase the cooling effect of your fan, you can use ice boxes which are
supplied with the unit. Before using, place them in the freezing compartment of your
refrigerator for a few hours. Then place them into the large section of the tank and add
water to the ‘MAX’ level. Using the ice boxes will drop the temperature of the air
flow which will create more effective cooling effect.
Safety Precautions
1. Make sure this appliance and the power cord is not damage before operating. In
case of damage, please consult to your authorized technical service.
2. Do not take out water tank before unplugging the power cord plug.
3. Do not insert or allow objects to enter any ventilation or exhaust opening as this
may damage the product and could cause an electrical shock or fire.
4. Do not operate your unit with a cover on it as this may result overheating and
motor damage.
5. The plug must be removed from the electrical outlet when not operating and before
moving, installing, uninstalling and cleaning.
6. Do not add any chemical, metal ingredients into the water tank. These materials are

dangerous and any cause problems.
7. Baby, old people and valetudinarianism should not be exposed directly to the fan
wind for a long time.
8. This appliance should be used under the rated voltage and frequency as indicated in
rating label.
9. If you hands are wet, do not pull out the plug from the electrical outlet.
10. This appliance is not intended for use by persons(including children)with reduce
physical, sensory or mental capabilities, or lack of experience and knowledge, unless
they have been given supervision or instruction concerning use of the appliance by a
person responsible for their safety.
11. Children should be supervised to ensure that they do not play with the appliance.
12. Do not use your fan in or around water which may cause electric shock and risk of
fire.
13. Do not pull the plug while the power is on. Always ensure that the plug is fully
inserted into the electrical outlet before operating.
14. Do not leave your unit under direct sunlight for a long time
Cleaning and Maintenance
After operation for long time, the dust cumulated in the dust filter or cooling pad may
influence the inflow of air. Therefore it is recommended to clean your fan regularly.
Please follow the steps below to clean your device.
Turn off the unit and unplug the power cord before cleaning and maintenance.
1. Dust Filter
To remove the dust filter, first remove the screw, then simply press the locks with both
hands and pull it out. Use neutral cleaning agent and brush to clean the dust and dirts
on the filter. To attach the clean filter, place the bottom of the filter first and then push
upper part until it is locked tightly.
2. Cooling Pad
After removing the dust filter you can see the cooling pad. Press the lock in the
middle and gently pull out the pad. Use a clean or soft brush to remove dust and dirt
from the pad. Rinse with water if needed and leave it to dry in open air. Never use any
chemical cleaning solution that can harm pad.
3. Water Tank
Turn the water tank lock to horizontal position and pull the tank. Use soft cleaning
agents for cleaning. Wash with water and rinse the place it to its housing by pushing
gently. Turn the lock to vertical position.
4. Exterior Cleaning
Clean the exterior case of the fan with a soft damp cloth except control panel. Never
use hard cleaning agent that can harm the case. Make sure the unit is dry before
operating it.
Caution: Never let water contact with the control panel. Always clean it with a soft
dry cloth.
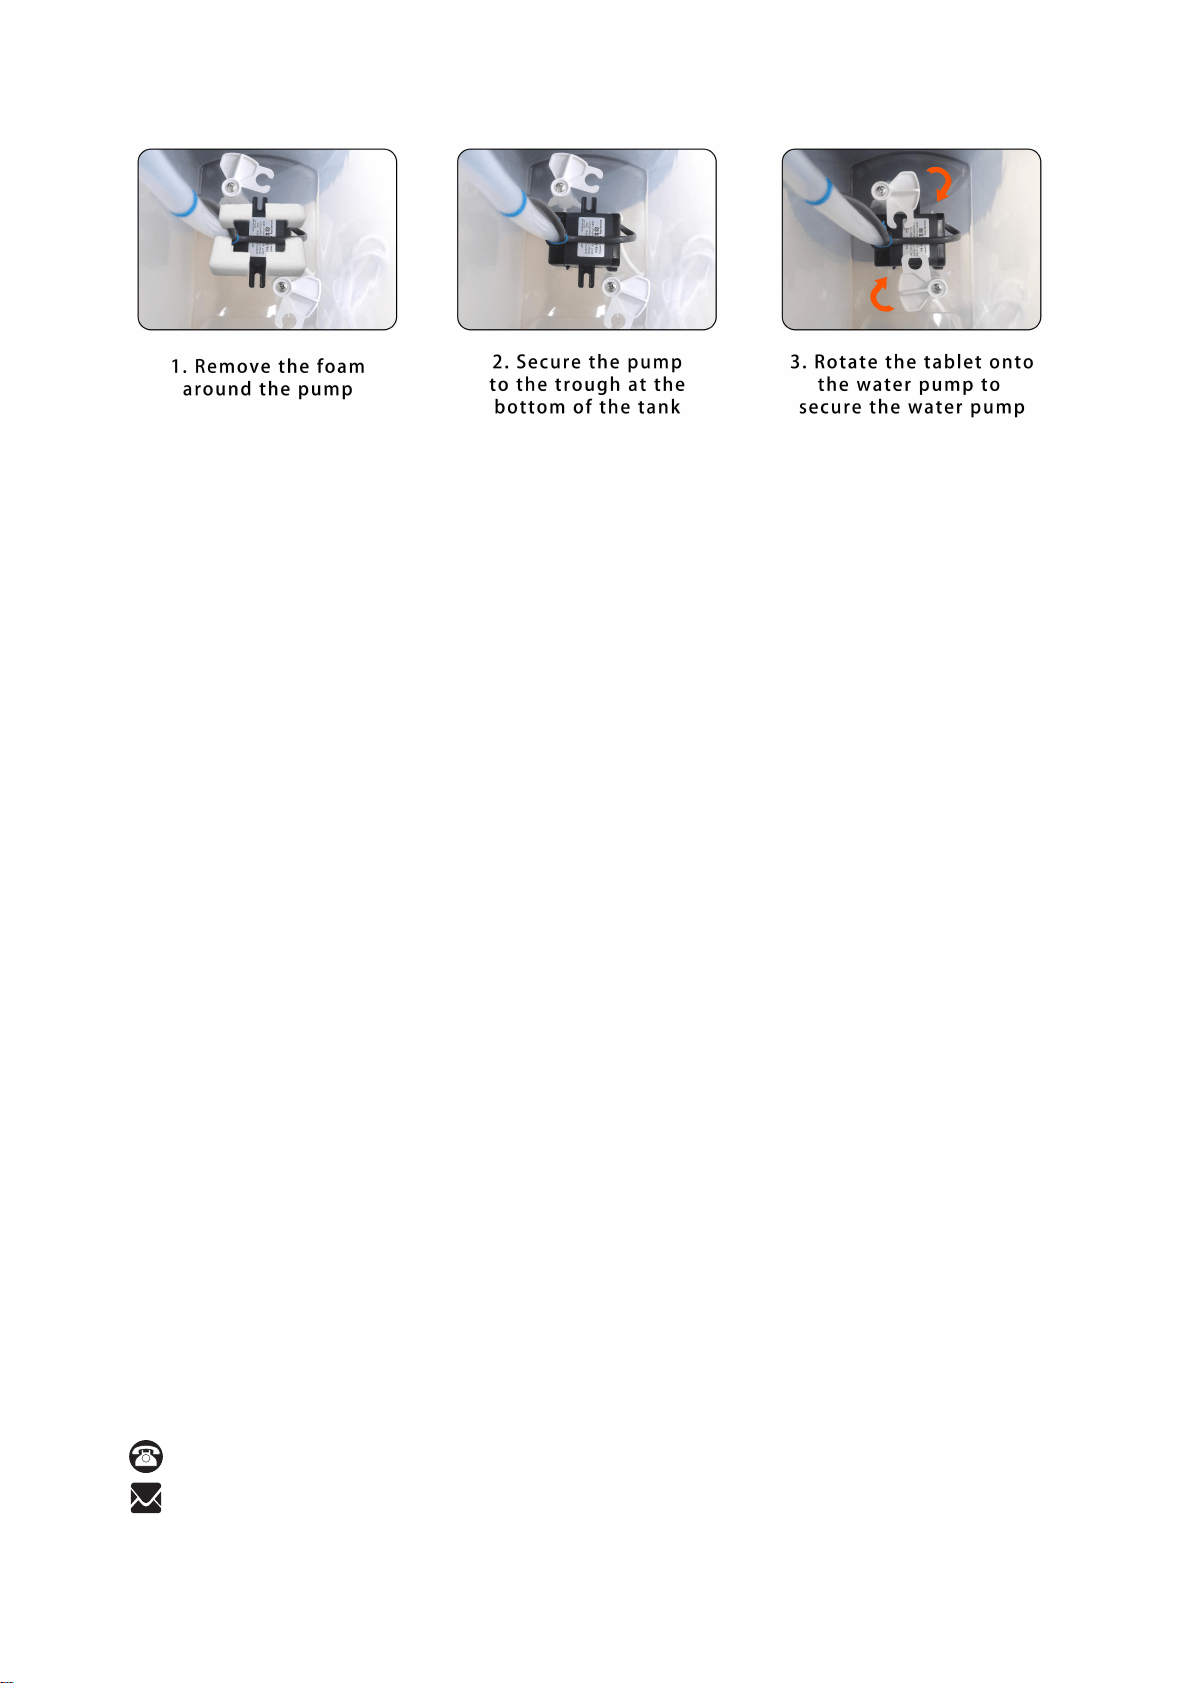
5. Clean the water pump:
If you have any questions, please contact our customer
care center.
Our contact details are below:
001-877-644-9366
customerservice@aosom.com

FR
Spécifications techniques
⚫ Tension nominale : 120V~
⚫ Fréquence nominale : 60Hz
⚫ Puissance générale : 80W
⚫ Capacité du réservoir d’eau : 12L
Assemblage du refroidisseur d’air
1.Retirez l’emballage avec précaution , en prenant soin de ne pas
endommager le corps en plastique avec des ciseaux ou un couteau.
2.Installation de roues : placez 4 roues aux trous situés à la base du
refroidisseur d’air. Insérez les roues bien dans le corps du refroidisseur d’air.
3. Posez l'appareil sur une base stable et horizontale, en le tenant éloigné des
sources de chaleur rayonnante et des flammes nues.
3. Remplissage de l'eau : Tournez le verrou du réservoir d'eau en position
horizontale, sortir le réservoir d'eau, placer les bacs à glace et ajouter de l'eau
propre du robinet dans le réservoir. Veillez à ce que le niveau d'eau dans le
réservoir ne dépasse pas le niveau « MAX » qui est situé à l’arrière du
réservoir.
3.Poussez le réservoir d’eau vers son boîtier et tournez le verrou du réservoir
en position verticale.
Fonctionnement du refroidisseur d’air
Insérez la fiche dans la prise électrique. L’indicateur LED indiquant les
lumières à température ambiante et le refroidisseur d’air se met en position de
veille. Les fonctions de l’appareil peuvent être contrôlées via le panneau de
commande ou par télécommande.
1.ON/OFF : Appuyez sur le bouton «ON/OFF » du panneau de commande ou
appuyez sur le bouton ON/OFF sur la télécommande pour allumer l’appareil.
L’appareil démarrera à basse vitesse et au vent normal. Pour revenir en
position veille, ail suffit d'appuyer sur le bouton ON/OFF du panneau de
commande ou appuyez sur le bouton ON/OFF de la télécommande.
2. Speed(Vitesse) : La vitesse du vent peut être ajustée à 3 niveaux comme
faible---moyenne -élevée en appuyant sur le bouton « Speed ». Chaque fois
que vous appuyez sur le bouton 'Vitesse', une icône apparaîtra sur l’écran
LED indiquant le niveau de vitesse actuel.
3. Wind(Vent) : Appuyez sur le bouton « Wind » pour choisir le type de vent.
Chaque fois que vous appuyez sur ce bouton, un indicateur s’allume à l’écran

pour indiquer le type de vent. Il y a 3 types de vents à choisir :
Normal-Naturel—Sommeil.
4. Timer(Minuterie): Appuyez sur le bouton « Timer » pour régler la durée
de fonctionnement du ventilateur entre 0 et 12 heures, ce qui met l’appareil en
veille après un temps prédéfini. Chaque fois que vous appuyez sur le bouton,
les heures augmentent une par une et l’indicateur de temps s’allume à l’écran.
Pour annuler la minuterie, il suffit d'appuyer sur le bouton jusqu'à ce que
l'indicateur affiche « 00 ».
5. Swing(Balancer) : Appuyez sur le bouton « Swing » pour changer la
direction du vent. L'icône de l'oscillation s'affiche à l'écran lorsque la fonction
est activée. Appuyez à nouveau sur le bouton pour arrêter l'oscillation. La
direction verticale du flux d'air peut être ajustée manuellement en dirigeant les
persiennes de sortie vers le haut et le bas.
6. Cool(Refroidissement) : Pour activer la fonction de refroidissement par air,
veuillez appuyer sur le bouton « cool ». La pompe à eau prélève l'eau du
réservoir et la verse sur le coussin de refroidissement. Le coussin de
refroidissement absorbe la chaleur de l'eau et l'air évaporé est expulsé à l'aide
du ventilateur. La brise fraîche soufflée par le refroidisseur fait baisser la
température et crée un effet de refroidissement relaxant.
Attention : Si le niveau d’eau est bas ou s’il n’y a pas d’eau dans le réservoir,
n’activez pas la fonction « Refroidissement ». Vérifiez le niveau d’eau et
ajoutez de l’eau si nécessaire. Remplacez l’eau viciée par de l’eau douce. Il
est recommandé de remplacer l’eau dans le réservoir au moins une fois par
semaine.
7.Télécommande : Elle est équipée d'une pile bouton CR2025. Avant de
l'utiliser, veuillez retirer la carte qui est insérée dans le bouton de la
télécommande.
Fonctionnement du réservoir d’eau
Vérifiez régulièrement le niveau d’eau dans le réservoir. Veillez à ce que le
niveau d’eau n’est pas inférieur au marquage « MIN » situé sur le réservoir
d’eau. L’activation de la fonction ' Refroidissement ' avec une quantité d’eau
insuffisante peut entraîner un dysfonctionnement de la pompe à eau et la
garantie de votre produit sera annulée.
Avant de remplir l’eau, mettez votre appareil en position « OFF » en appuyant
sur l’interrupteur situé sur le panneau arrière et débranchez le cordon
d’alimentation.
Utilisation des glacières
Afin d'augmenter l'effet de refroidissement de votre ventilateur, vous pouvez

utiliser les glacières fournies avec l'appareil. Avant de les utiliser, placez-les
dans le compartiment de congélation de votre réfrigérateur pendant quelques
heures. Placez-les ensuite dans la grande section du réservoir et ajoutez de
l'eau jusqu'au niveau « MAX ». L'utilisation des bacs à glace fera baisser la
température du flux d'air, ce qui permettra un refroidissement plus efficace.
Consignes de sécurité
1. Veillez à ce que cet appareil et le cordon d’alimentation ne sont pas
endommagés avant de fonctionner. En cas de dommage, veuillez consulter
votre service technique agréé.
2. Ne retirez pas le réservoir d’eau avant de débrancher la fiche du cordon
d’alimentation.
3. N'insérez pas et ne laissez pas d'objets pénétrer dans les ouvertures de
ventilation ou d'évacuation, car cela pourrait endommager l'appareil et
provoquer un choc électrique ou un incendie.
4. Ne faites pas fonctionner votre appareil avec un couvercle, car cela pourrait
entraîner une surchauffe et endommager le moteur.
5. La fiche doit être retirée de la prise électrique lorsqu'elle ne fonctionne pas
et avant tout déplacement, installation, démontage et nettoyage.
6. N'ajoutez pas de produits chimiques ni d'ingrédients métalliques dans le
réservoir d'eau. Ces matériaux sont dangereux et peuvent causer des
problèmes.
7. Les bébés, les personnes âgées et les valétudinaires ne doivent pas être
exposés directement au vent du ventilateur pendant une longue période.
8. Cet appareil doit être utilisé sous la tension et la fréquence nominales
indiquées sur la plaque signalétique.
9. Si vos mains sont mouillées, ne retirez pas la fiche de la prise électrique.
10. Cet appareil n'est pas destiné à être utilisé par des personnes (y compris
les enfants) dont les capacités physiques, sensorielles ou mentales sont
réduites, ou qui manquent d'expérience et de connaissances, à moins qu'elles
soient surveillées ou instruites sur l'utilisation de l'appareil par une personne
responsable de leur sécurité.
11. Les enfants doivent être surveillés afin de s'assurer qu'ils ne jouent pas
avec l'appareil.
12. N’utilisez pas votre ventilateur dans ou autour de l’eau, car cela pourrait
provoquer un choc électrique et un risque d'incendie.
13. Ne tirez pas sur la fiche lorsque l'appareil est sous tension. Assurez-vous
toujours que la fiche est complètement insérée dans la prise électrique avant
utilisation.
14. Ne laissez pas votre appareil sous la lumière directe du soleil pendant une
longue période.

Nettoyage et entretien
Après un fonctionnement prolongé, la poussière accumulée dans le filtre à
poussière ou le coussin de refroidissement peut influencer le flux d'air. Par
conséquent, il est recommandé de nettoyer votre ventilateur régulièrement.
Veuillez suivre les étapes ci-dessous pour nettoyer votre appareil.
Mettez hors tension l’appareil et débranchez le cordon d’alimentation avant le
nettoyage et l’entretien.
1. Filtre à poussière
Pour retirer le filtre à poussière, retirez d'abord la vis, puis appuyez
simplement sur les verrous avec les deux mains et tirez dessus. Utilisez un
produit de nettoyage neutre et une brosse pour nettoyer la poussière et les
saletés sur le filtre. Pour fixer le filtre propre, placez d'abord la partie inférieure
du filtre, puis poussez la partie supérieure jusqu'à ce qu'elle soit bien
verrouillée.
2. Coussin de refroidissement
Après avoir retiré le filtre à poussière, vous pouvez voir le coussin de
refroidissement. Appuyez sur le verrou au milieu et retirez doucement le
coussin. Utilisez une brosse propre ou douce pour enlever la poussière et la
saleté du coussin. Rincez-le à l’eau si nécessaire et laissez-le sécher à l’air
libre. N’utilisez jamais de solution de nettoyage chimique qui pourrait
endommager le coussin de refroidissement.
3. Réservoir d’eau
Tournez le verrou du réservoir d'eau en position horizontale et tirez sur le
réservoir. Utilisez des produits de nettoyage doux pour le nettoyage. Lavez-le
à l'eau et rincez-le, puis replacez-le dans son logement en le poussant
doucement. Tournez le verrou en position verticale.
4. Nettoyage extérieur
Nettoyez le boîtier extérieur du ventilateur avec un chiffon doux et humide, à
l'exception du panneau de commande. N'utilisez jamais d’agent de nettoyage
dur qui pourrait endommager le boîtier. Assurez-vous que l'appareil est sec
avant de le faire fonctionner.
Attention : Ne laissez jamais l’eau entrer en contact avec le panneau de
commande. Nettoyez-le toujours avec un chiffon doux et sec.
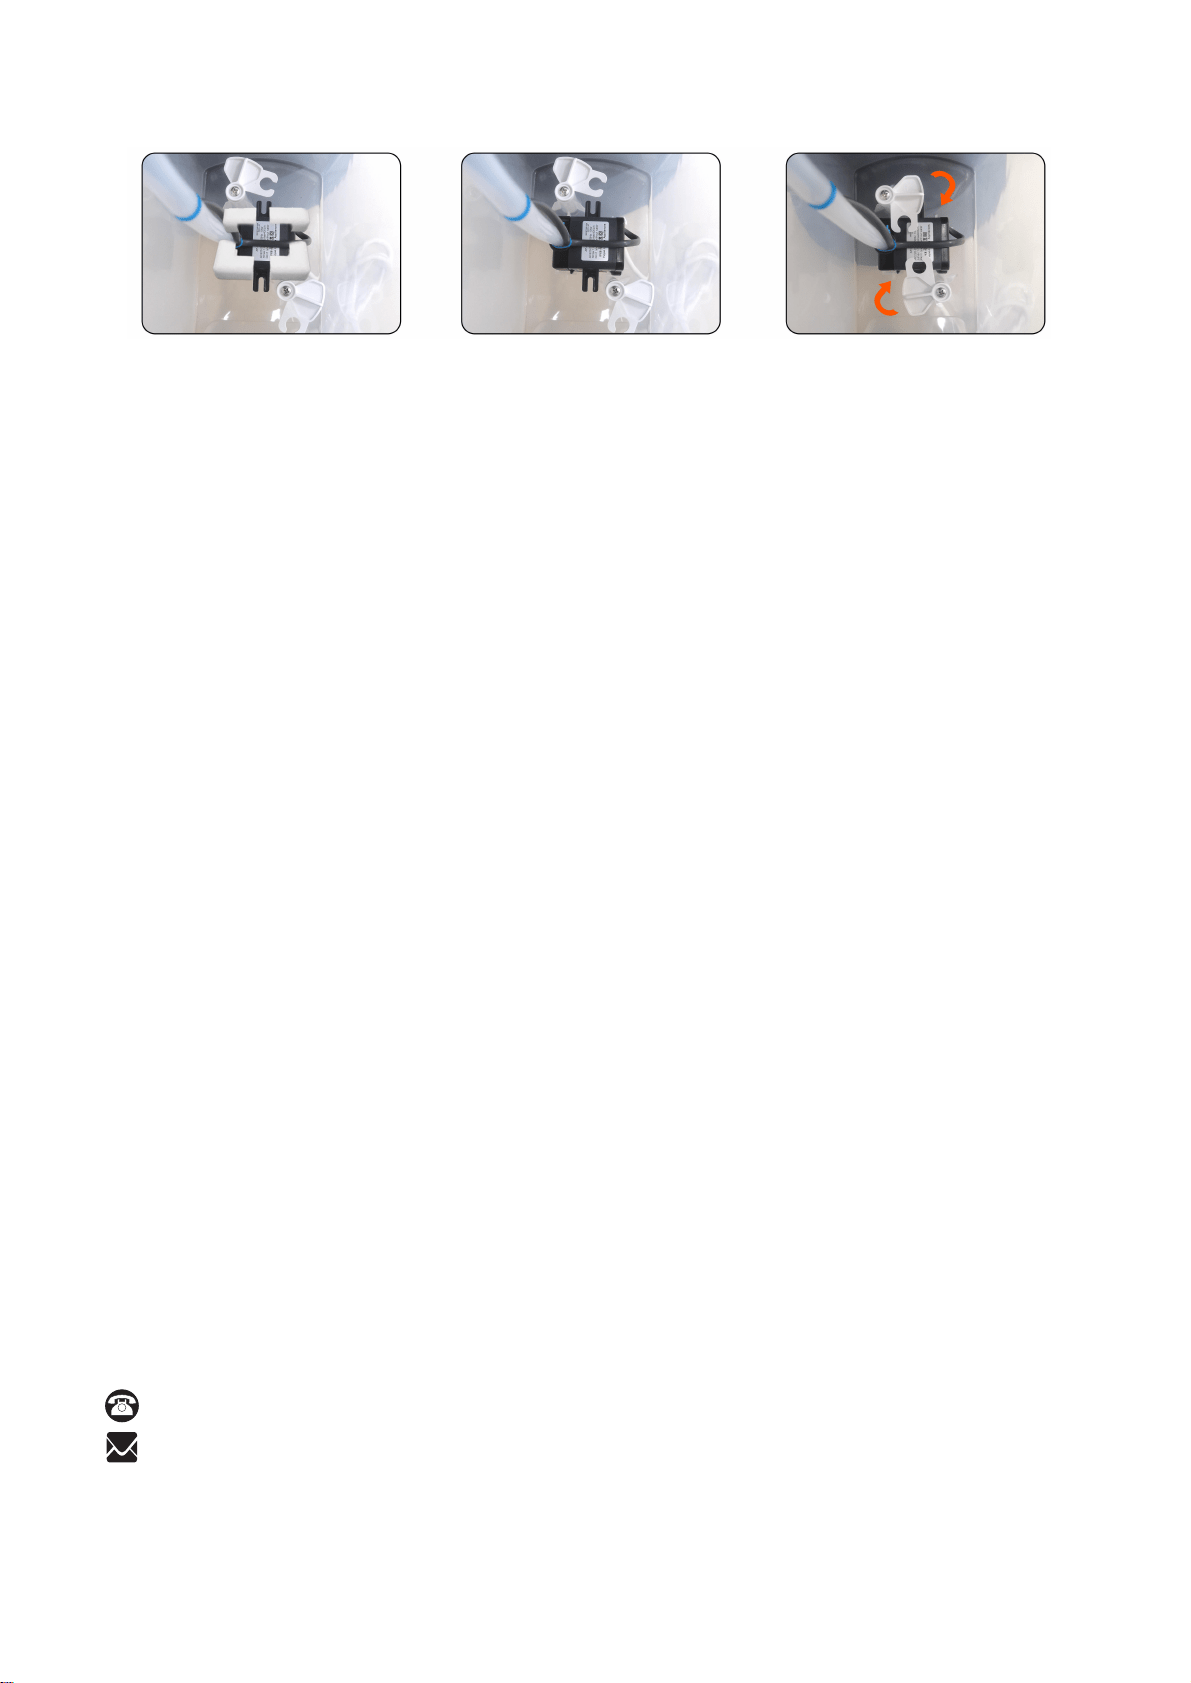
5. Nettoyez la pompe à eau :
1. Retirer la mousse
autour de la pompe.
2. Tout au fond du
réservoir, fixez la pompe
à la goulotte
3. Faites tourner la
pastille sur la pompe à
eau pour la fixer
If you have any questions, please contact our customer care center.
Our contact details are below:
Si vous avez la moindre question, veuillez contacter notre centre d'assistance à la clientèle.
Nos coordonnées sont les suivantes:
416-792-6088
customerservice@aosom.ca