© ®
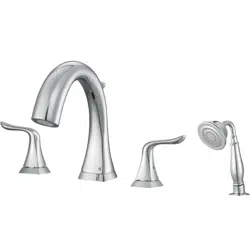
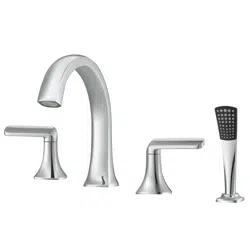
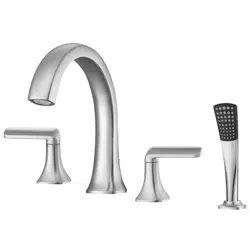
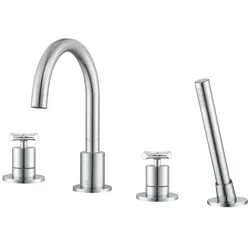
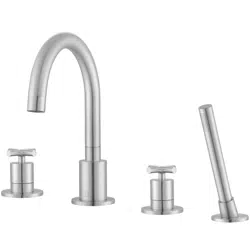
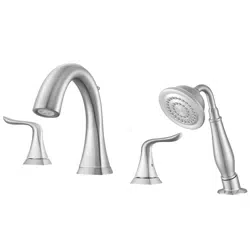
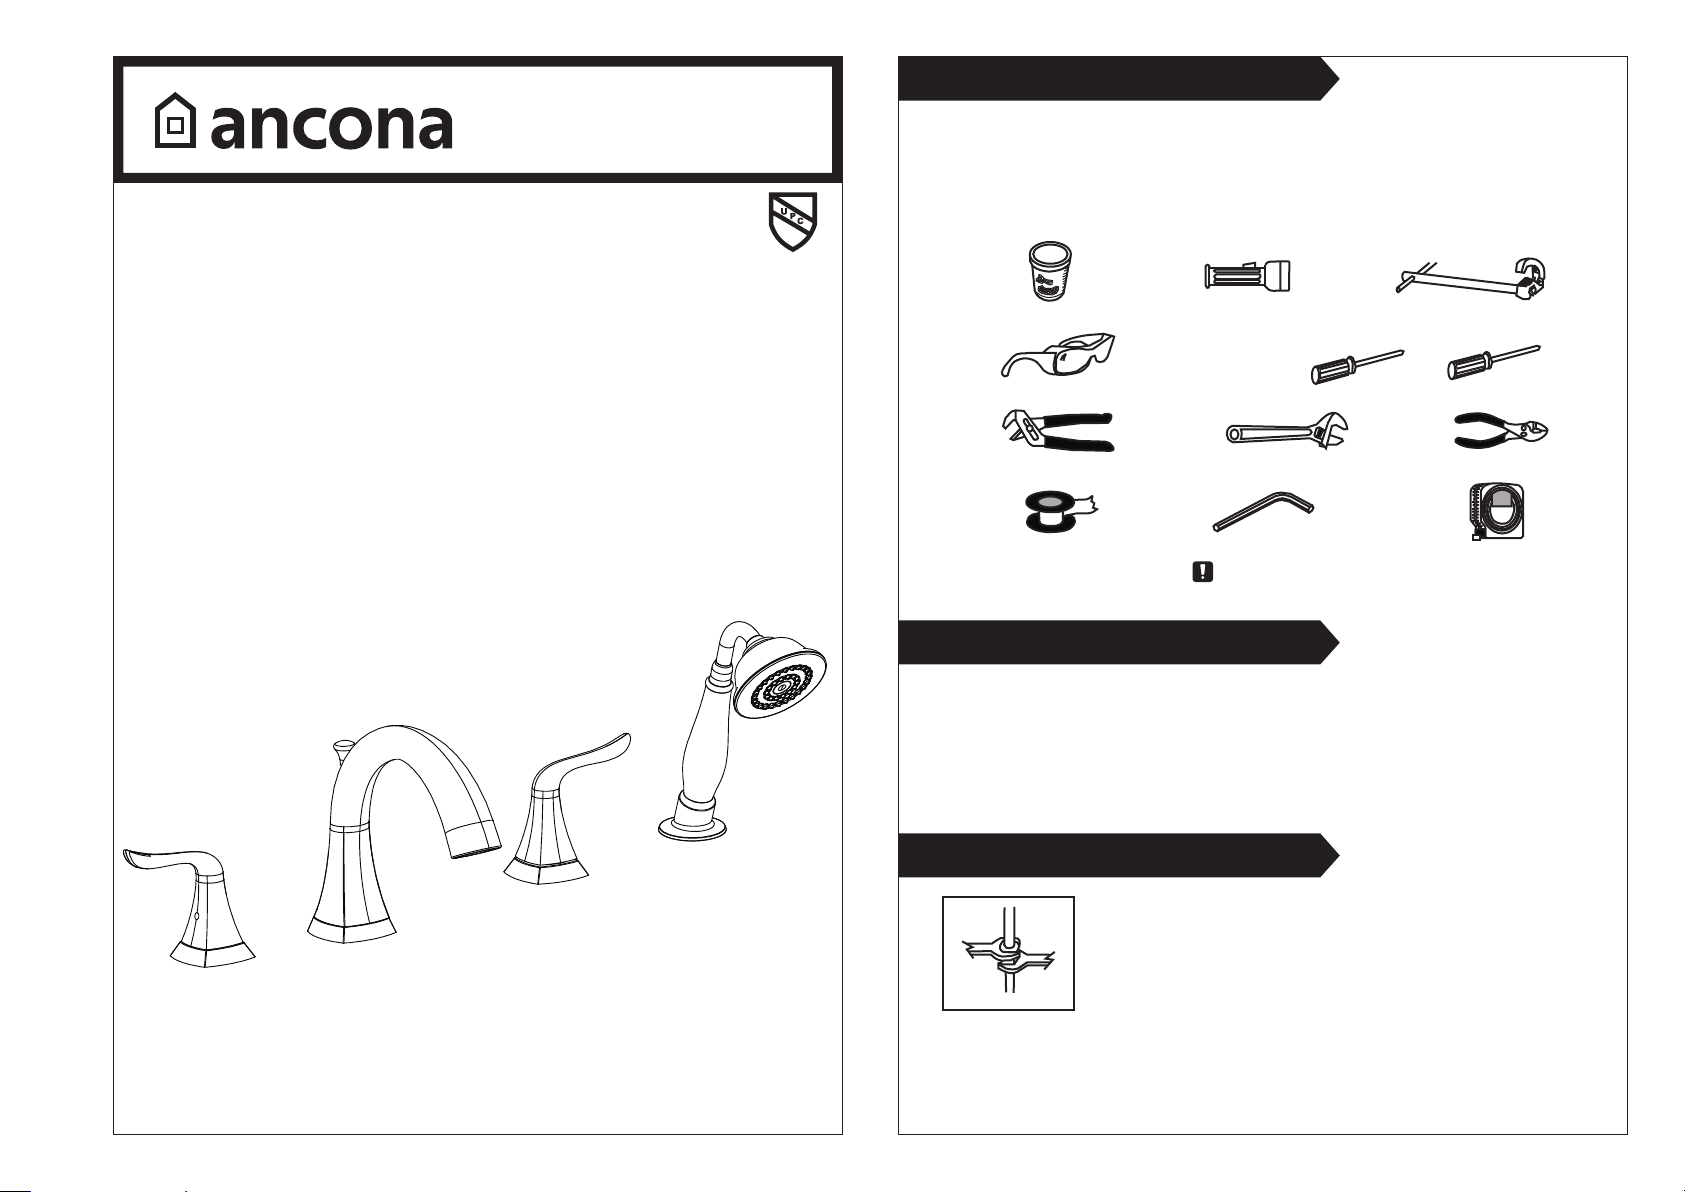
Two Handle Roman Tub Bathroom Faucet
Tools:
PLUMBERS PUTTY FLASHLIGHT BASIN WRENCH
SAFETY GLASSES SCREWDRIVER
PLIERSCHANNELLOCKS ADJUSTABLE WRENCH
HEX-KEY TAPE
Attention:
Helpful Information
Important
Scarlett
2021-03-25 MAAN4532-2
SEALED-TUBE
Please keep the tools for future use!
Gather the necessary tools as shown below to complete the installation of
this faucet. Some may not be needed depending on the model of faucet you
are installing. Check with your local hardware store on the requirements of
your installation situation.
WARNING:
For easy installation, you will need:
• To read all the installation instructions completely before beginning.
• To read all the warning, attention and maintenance information.
• To purchase the proper supply lines.
Tighten connection with two wrenches to prevent
damage to tube body. Be careful not to bend the
stem as this will void the product warranty.
STANDARDS
ASME A112.18.1/CSA B125.1
ASME A112.18.2/CSA B125.2
LISTED IAPMO/cUPC
1.8 gpm/6.8 L/min
•
•
•
•

Faucet Installation
1
2
Tools might be applied to the following places:
Installation size map
Disassemble the parts as shown.
Position the parts as shown and
secure each part with respective tools.
3
Position the hand shower and secure it
with fixing kit.
Caution: DON'T FORGET THE
O-RING BETWEEN THE HAND
SHOWER AND HOSE.
10.2 cm
(4 in.)
23.5 cm (9.2 in.)
12.7 - 15.2 cm
(5 - 6 in.)
8.3 cm (3.2 in.)
1/2-14NPSM
3.5 - 3.8 cm
(1.3 - 1.5 in.)
18.5 cm (7.2 in.)
11 cm (4.3 in.)
8.1 cm
(3.2 in.)
18.8 cm
(7.4 in.)
6.2 cm
(2.4 in.)
10.4 cm
(4.1 in.)
5.9 cm
(2.3 in.)
5.4 cm
(2.1 in.)
19.2 cm
(7.5 in.)
Max. 3.8 cm
(1.5 in.)
12.7 - 15.2 cm
(5 - 6 in.)
12.7 - 15.2 cm
(5 - 6 in.)
O-ring

Checking and Testing
Maintenance:
4
Connect to water supply lines with either
risers with the coupling nuts or
supplied tube head interior connector or
5
6
Connect the parts with supply lines
as shown and tighten them with
wrench.
Simply rinse the surface with clear water or
mild liquid detergents (if necessary). Dry the
faucet with a clean soft cotton cloth. Do not
use any cleaning agents containing acids
polish abrasives or harsh cleaners.
Maintenance
Check all connections at arrows for
leaks, retighten if necessary.
BUT DON’T OVERTIGHTEN
1
2
3
Disassemble the screw ②with
allen key
③, take out the handle ①
and base
④.
If faucet leaks from the handle or drips from spout, please replace cartridge following the steps:
Unscrew the old cartridge② with
Adjustable Wrench①, then take it
out.
Place a new cartridge in the
cartridge seat, then screw the base
and assemble the handle by
securing the screws. Repeat the
above steps for the other cartridge
if necessary.
Warning: The supply valves are
not included, please purchase
them at your local hardware store.
Hot water
Cold water
A. B. C.
1
2
3
4
1
2

1. Clean it with water and dry it with soft cloth.
2. Clean the product with gentle liquid or glass cleaner.
3. Don't use acid cleaner.
4. Don't clean with abrasive material, abrasive paper or knife.
Parts listCleaning and care
Daily cleaning and care are required in order to keep the product shining and working properly.
NO.
Screw1
2
3
4
5
6
7
8
9
10
11
12
13
14
15
16
17
18
19
Handle
Handle base
Screw nut
O-ring
Handle spline
Washer
Gasket
Screw nut
Screw
Cartridge
Inlet tube
Lift rod bail
Spout body
O-ring
O-ring
Lift rod base
Screw
Spout base
20
O-ring
21
22
23
24
25
26
27
28
29
O-ring
Overflow pipe
O-ring
Washer
Gasket
Screw nut
Lift rod
Diverter spring
Connector
30
Diverter core
31
32
33
34
35
36
37
38
39
Diverter
Diverter clamp spring
Single valve
Washer
Spout
Cartridge
Shower
Shower base
Washer
40
41
42
43
44
Screw nut
Supply line
Pull out hose
Screw button
Allen key
45
Supply line
PART NAME