Loading ...
Loading ...
Loading ...
98
CUSTOM WOOD FRAME INSTALLATION (DFIM Model) (cont.)
Step 5: Clamp panel to door
Set the overlay panel on the door front, align the edges, and clamp together. Clamp the panel firmly but be careful
not to crush the foam in the door or scratch the door.
Step 6: Drill holes in overlay panel
Remove the hinge adapter bushings from the top and bottom door hinge adapters. (See Figure 4). Using the holes in
the hinge adapters drill 5/16” (8 mm) diameter clearance holes into the overlay panels 3/4” (20 mm) deep. These will
be clearance holes for the top and bottom hinge pins.
Also, at this time, drill the screw pilot holes for attaching the overlay panel to the door. Select the size of the hole from
Table B. Be careful not to drill the pilot holes through the overlay panel but only 1/2” (12.7 mm) deep.
Model WH
15”
W
H
Figure 2
Solid Door Models
Front of
overlay
panel
14-3/4”
(37.5 cm)
30-5/16”
(76.1 cm)
Table A
Solid Door Models
Material Type
Hardwood
3/32” (2.4 mm) Diameter. Pilot Hole
Softwood
5/64” (2.0 mm) Diameter. Pilot Hole
Table B
#8 Wood Screw
CUSTOM WOOD FRAME INSTALLATION (DFIM Model) (cont.)
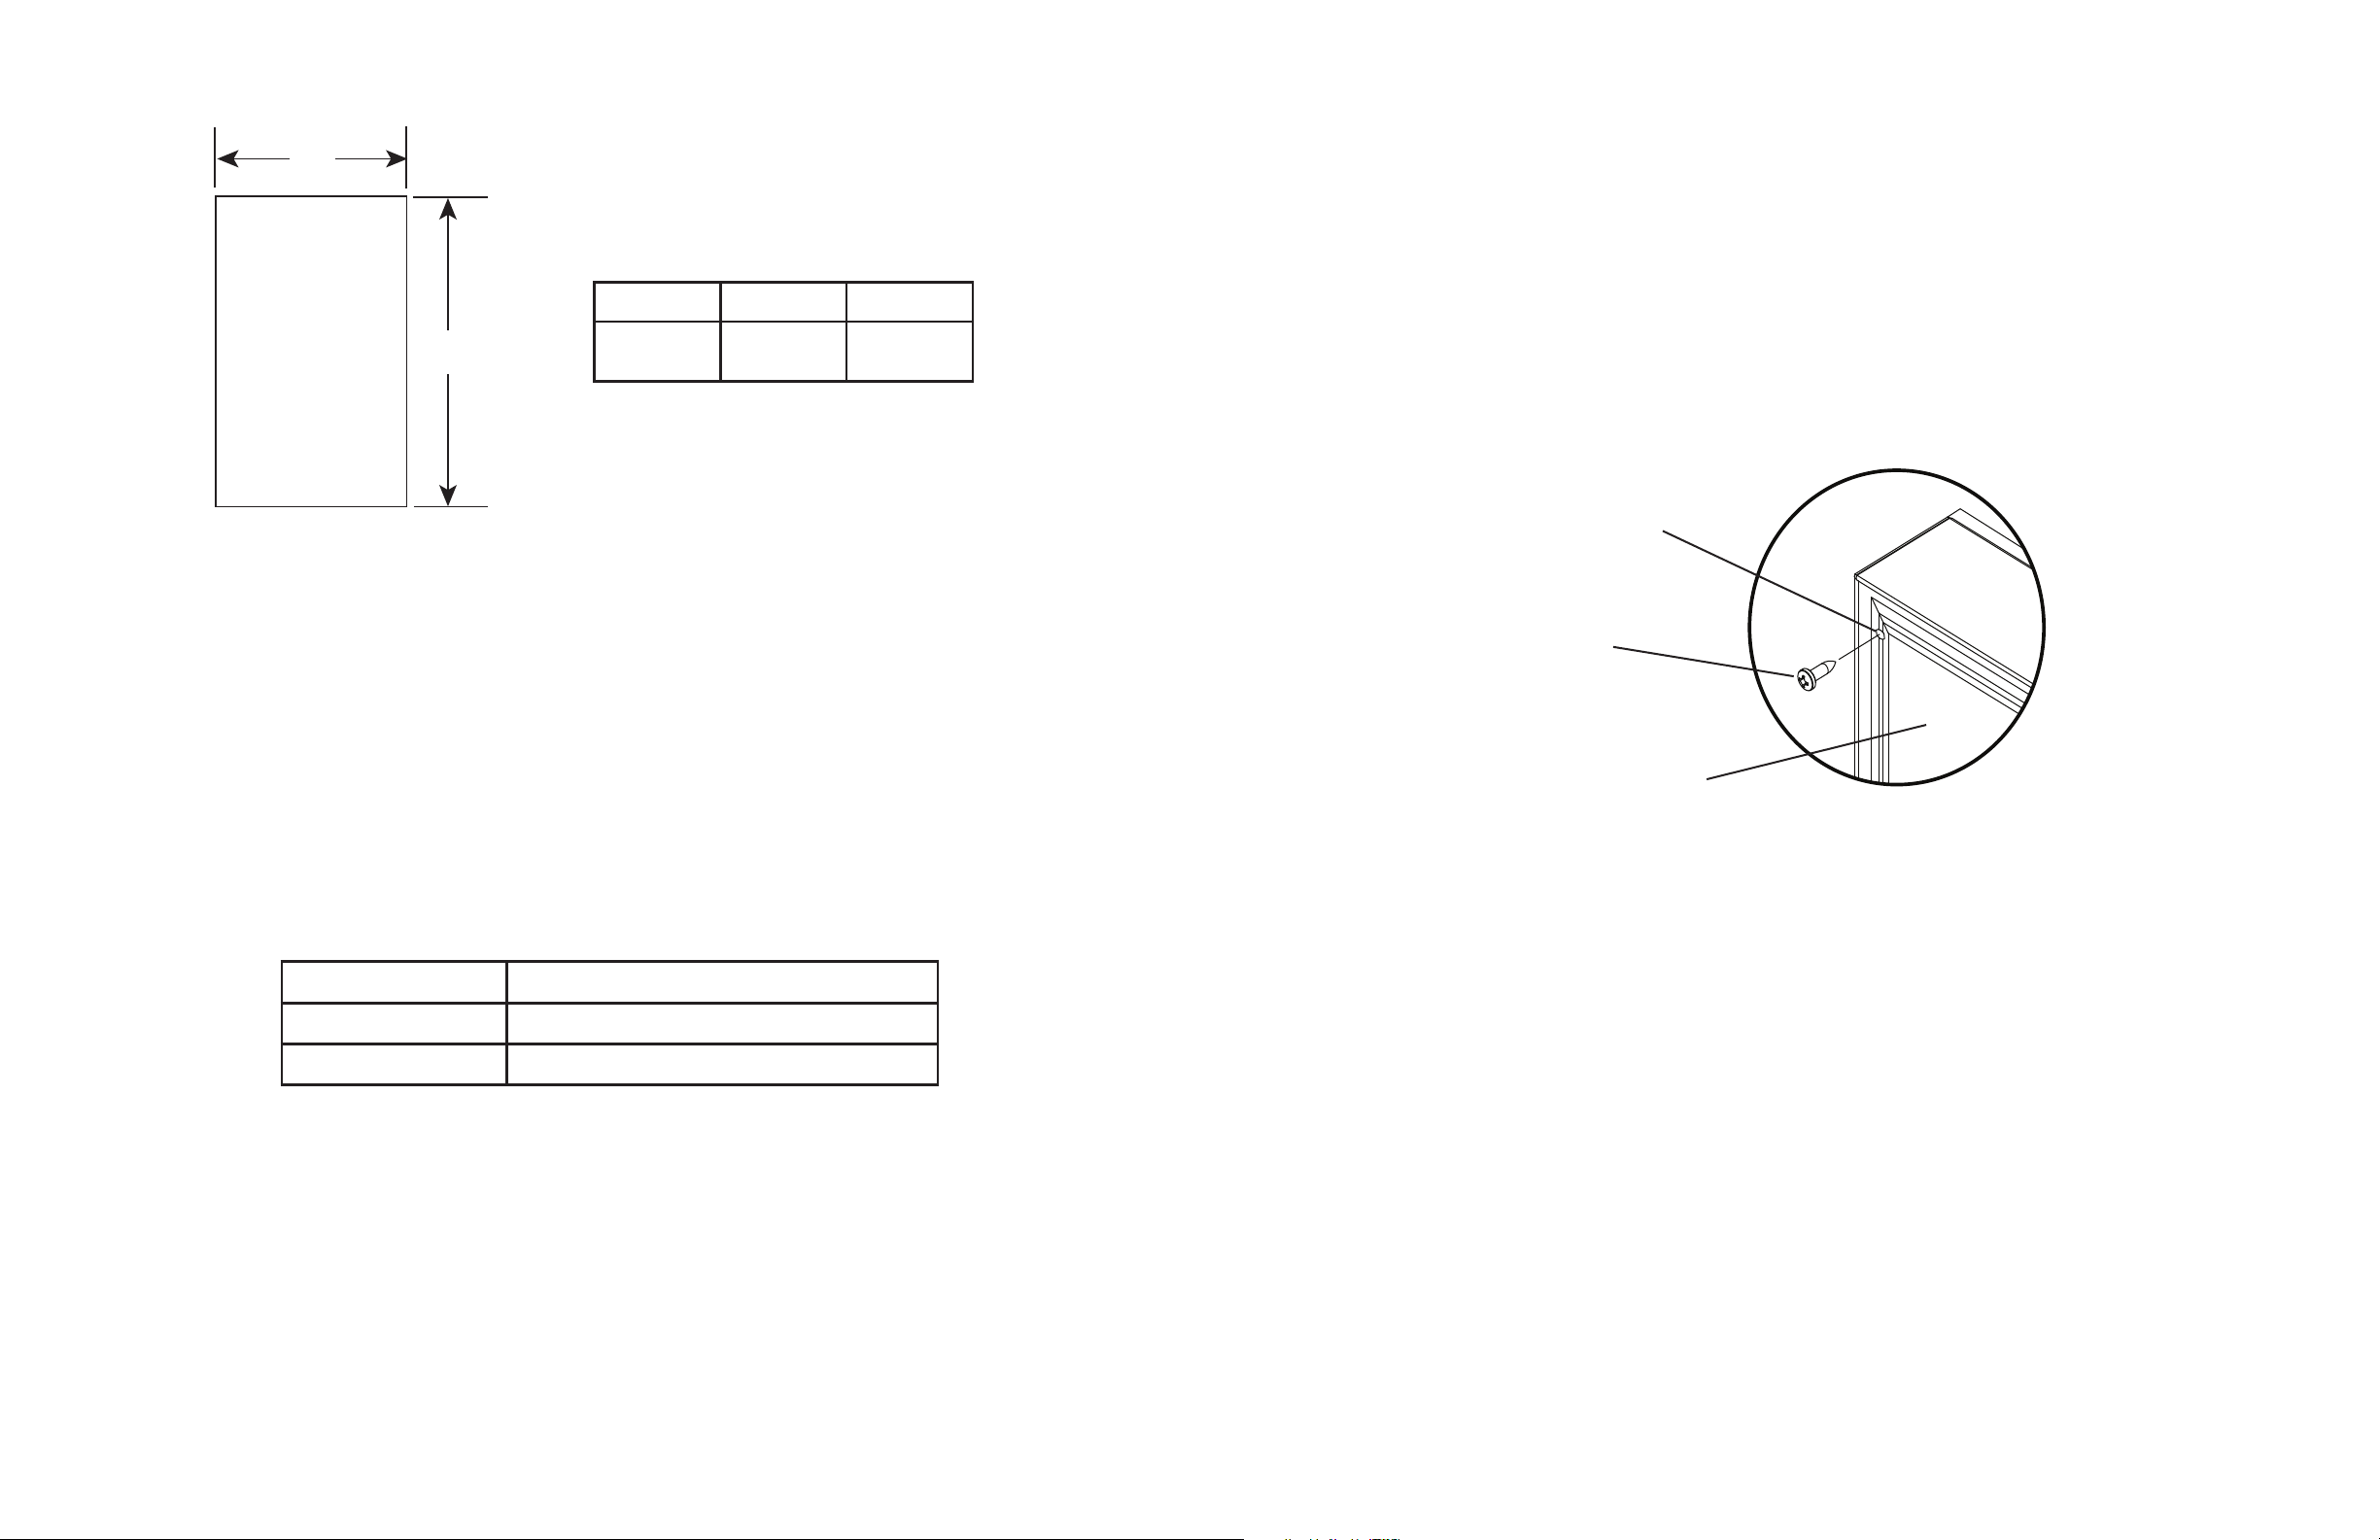
Step 7: Secure overlay panel to the door
With the #8 wood screws provided, fasten the overlay panel to the door. (See Figure 3).
Step 8: Install door gasket
Press the door gasket into the door channel. Make certain the gasket corners are fully inserted. If applicable insert the
key into the lock and make certain the lock operates properly.
Step 9: Install the door
Install the top and bottom hinge adapter bushings back into the hinge adapters that were removed in Step 6. Install
the door by reversing the procedure from Step 2. Install the top hinge pin so the screw head is flush with the top
surface of the hinge. If applicable insert key into lock and verify the lock cam works properly with the catch bracket on
the front of the refrigerator cabinet.
Clearance hole through
door gasket channel
#8 Wood Screw
Back of door
Figure 3
Loading ...
Loading ...
Loading ...