Loading ...
Loading ...
Loading ...
Installation Instructions
UNPACKING THE WASHER
WARNING: Recycleor destroy the carton
and plQsticbQgsafter the washer is unpQcked.Make
materiQIsinQccessibleto children. Children might use
them for plQy.Cartons covered with rugs, bedspreQds
or plQsticsheets can become airtight chambers causing
suffocation.
1. Cut and remove the top and bottom packaging straps.
2. While it is in the carton, carefully lay the washer on its
side.DONOTlay the washer on its front or back.
3. Turn down the bottom flaps-remove all base packaging,
including the cardboard, styrofoam base and styrofoam
tub support (insertedin center of base).Savethe stacking
brackets located on the styrofoam pad that covered
the top of the washer.
NOTE: If you are installing a pedestal, proceed to
the installation instructions that come with the pedestal.
4. Carefully return the washer to an upright position and
remove the carton.
5. Carefully move the washer to within/4 feet (122cm)
of the final location.
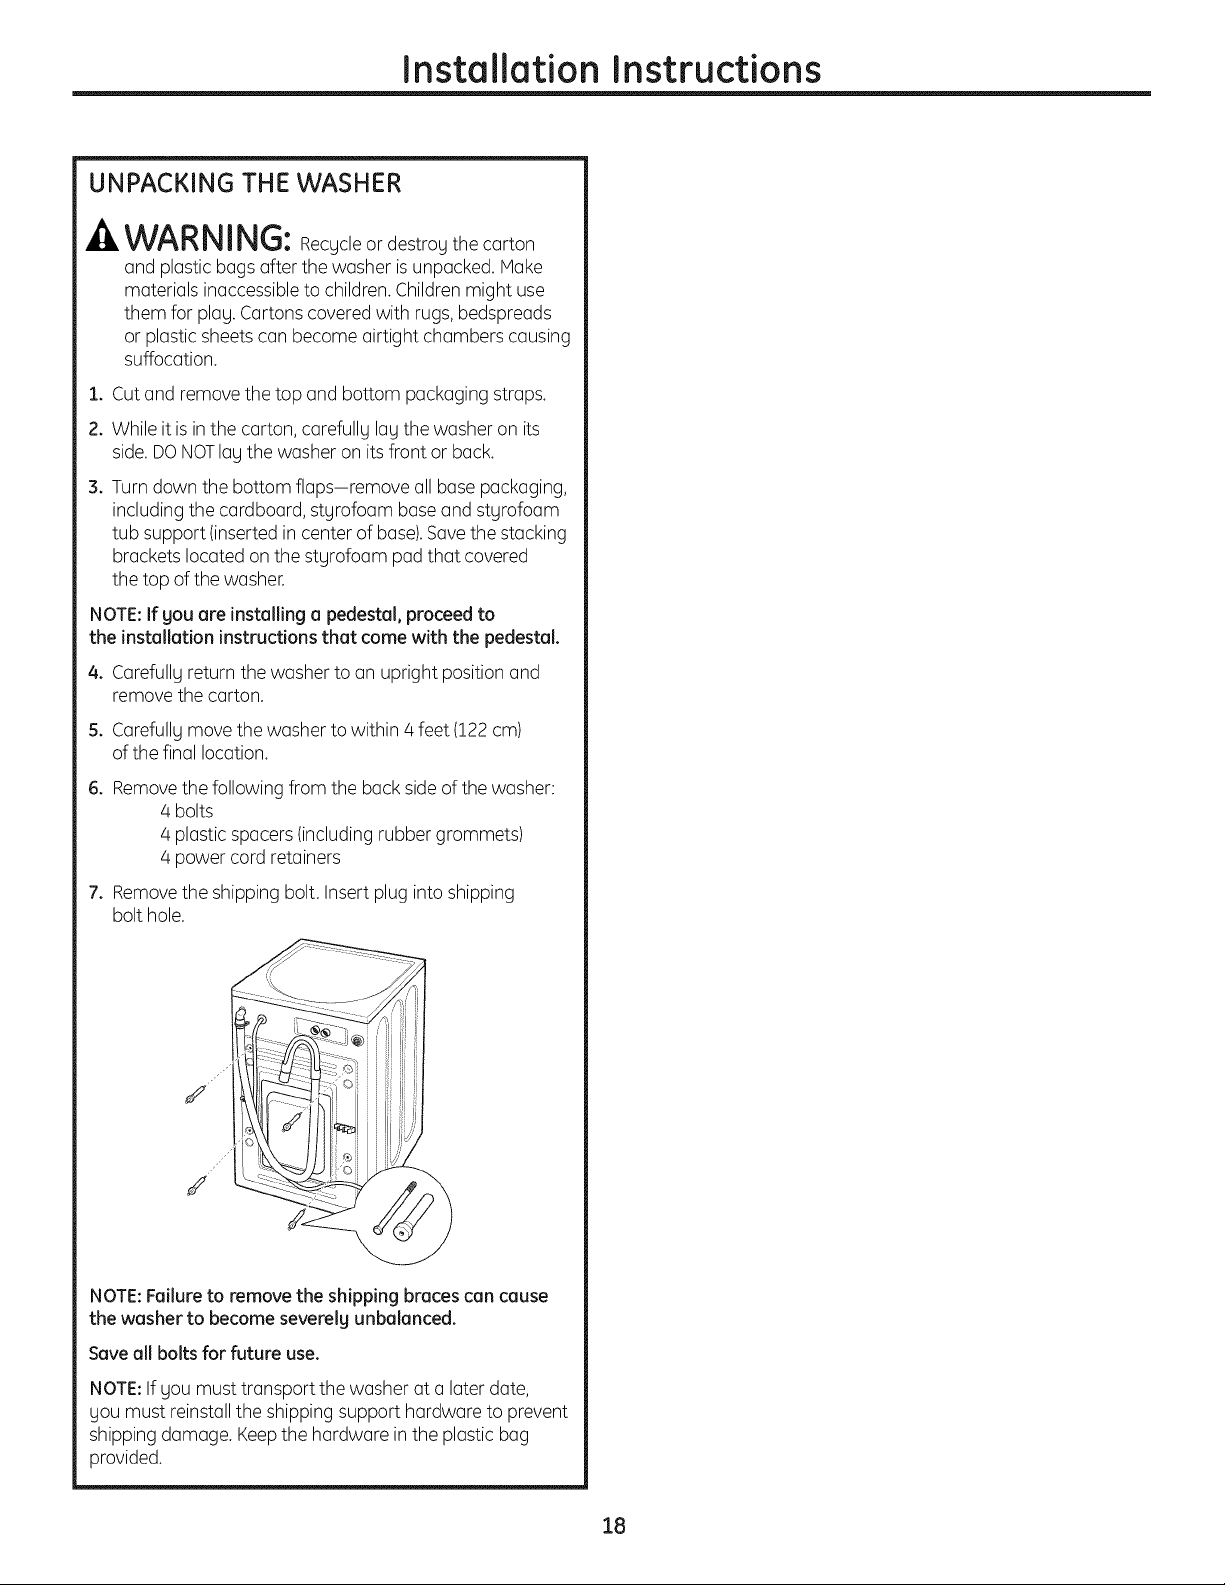
6. Removethe following from the back side of the washer:
/4bolts
/4plastic spacers (including rubber grommets)
/4power cord retainers
7. Removethe shipping bolt. Insert plug into shipping
bolt hole.
J
is
J
NOTE: Failure to remove the shipping braces can cause
the washer to become severely unbalanced.
Save all bolts for future use.
NOTE:If you must transport the washer at a later date,
you must reinstallthe shipping support hardware to prevent
shipping damage. Keepthe hardware in the plastic bag
provided.
18
Loading ...
Loading ...
Loading ...